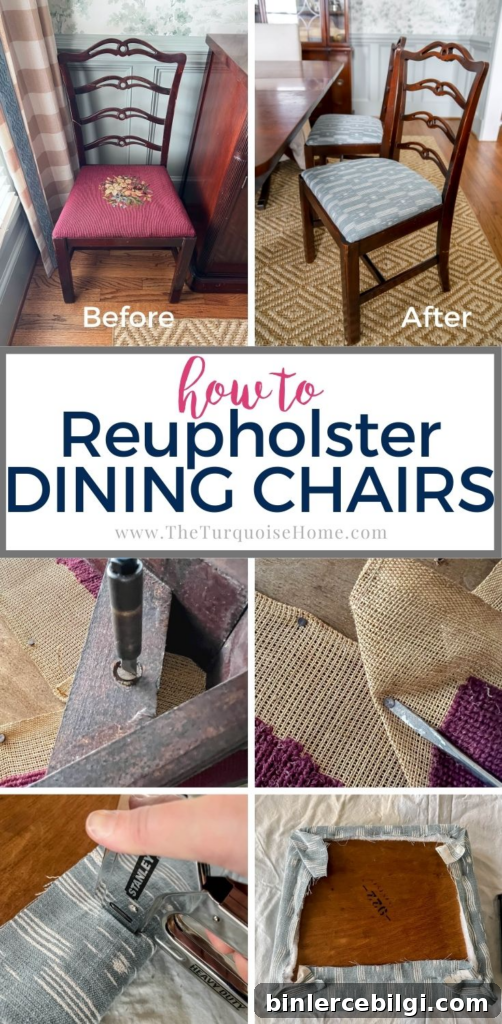
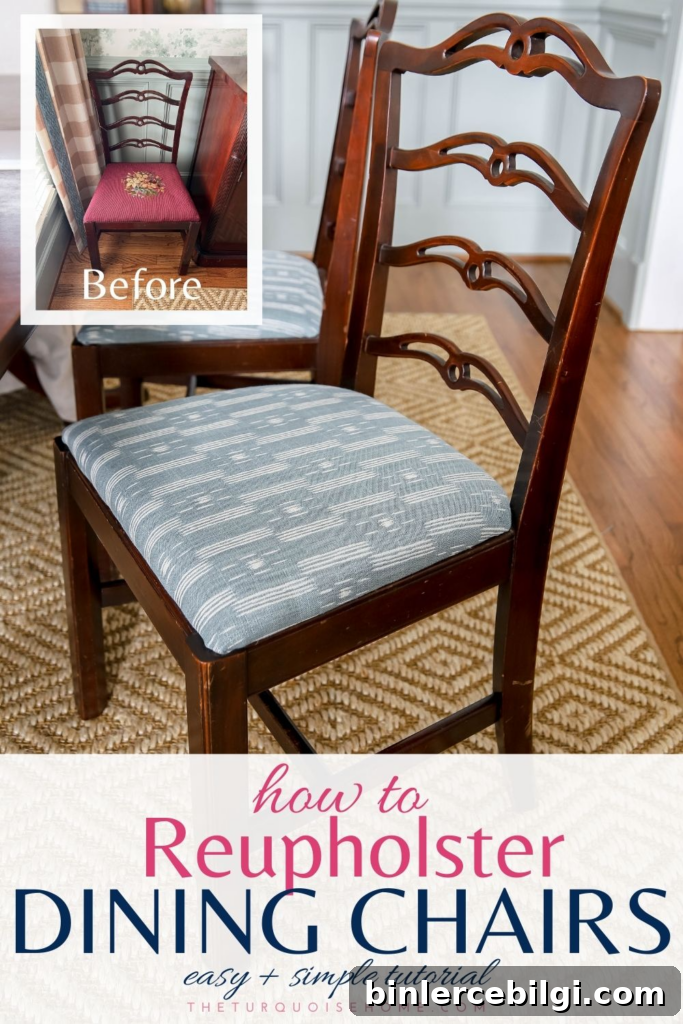
Follow this simple, step-by-step DIY guide to reupholster dining chair seats using basic tools in just seven easy steps.
Reupholstering dining chair seat covers is one of the most approachable upholstery projects for beginners. If you’ve never tackled upholstery before, you’ll be surprised at how straightforward it is. In minutes you can give a tired chair a fresh new look that fits your room’s style—perfect for anyone new to DIY projects.
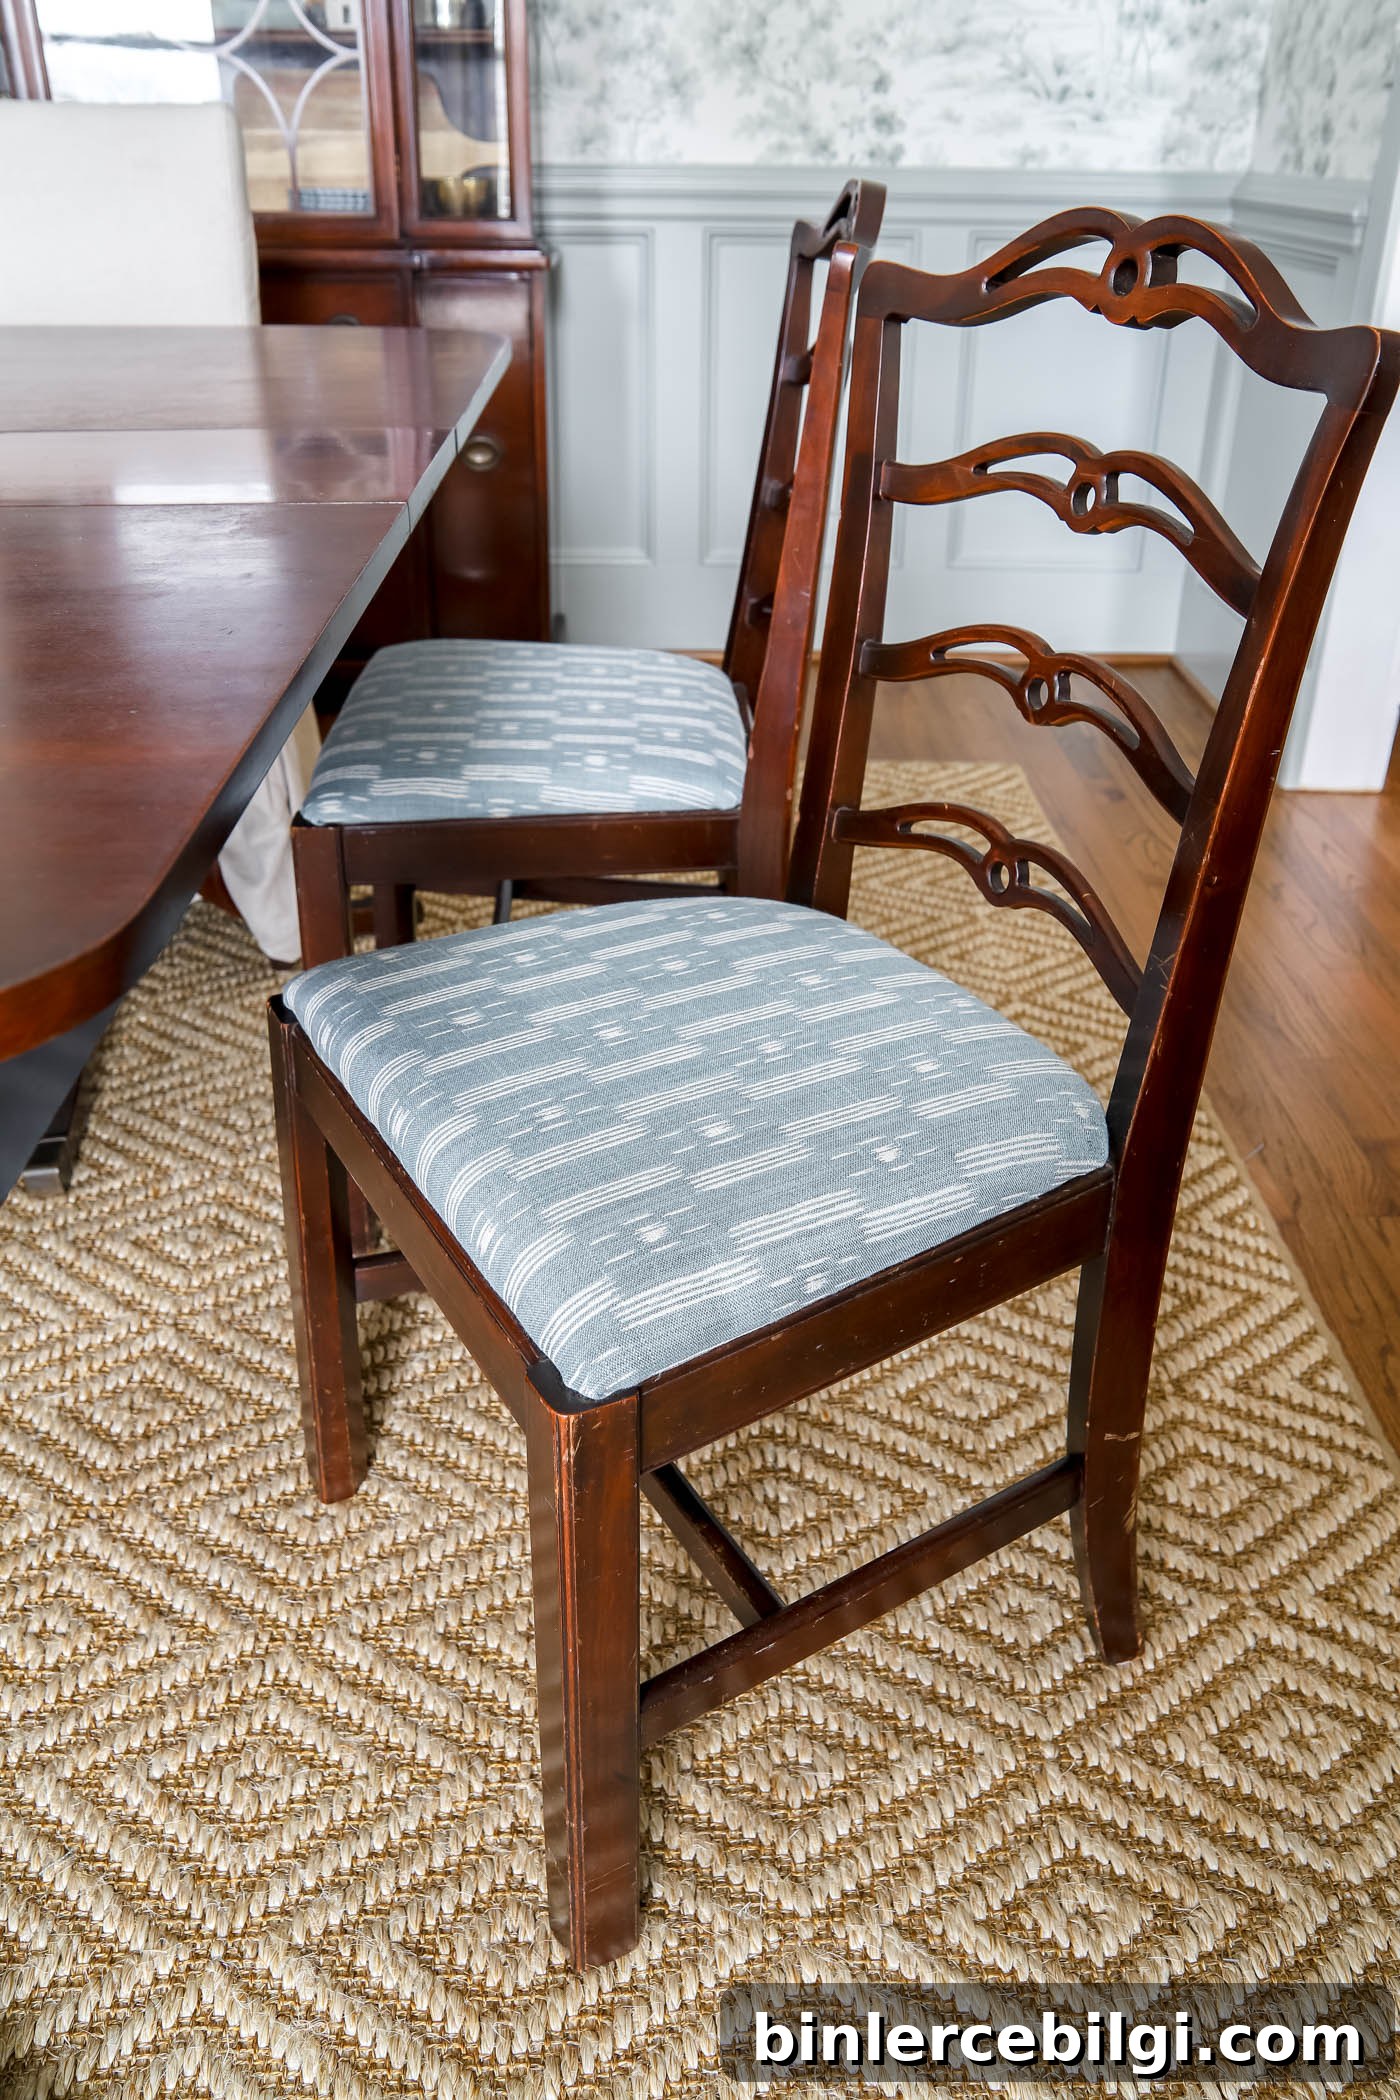
As part of my ongoing dining room makeover, I decided to replace the seat covers on my 80-year-old dining chairs. The original raisin-colored needlepoint covers were family-made and held sentimental value, but they clashed with the blue-green aesthetic I’m creating. Rather than discard them, I kept them for a future project and recovered the seats with a fabric that better matches my new palette.
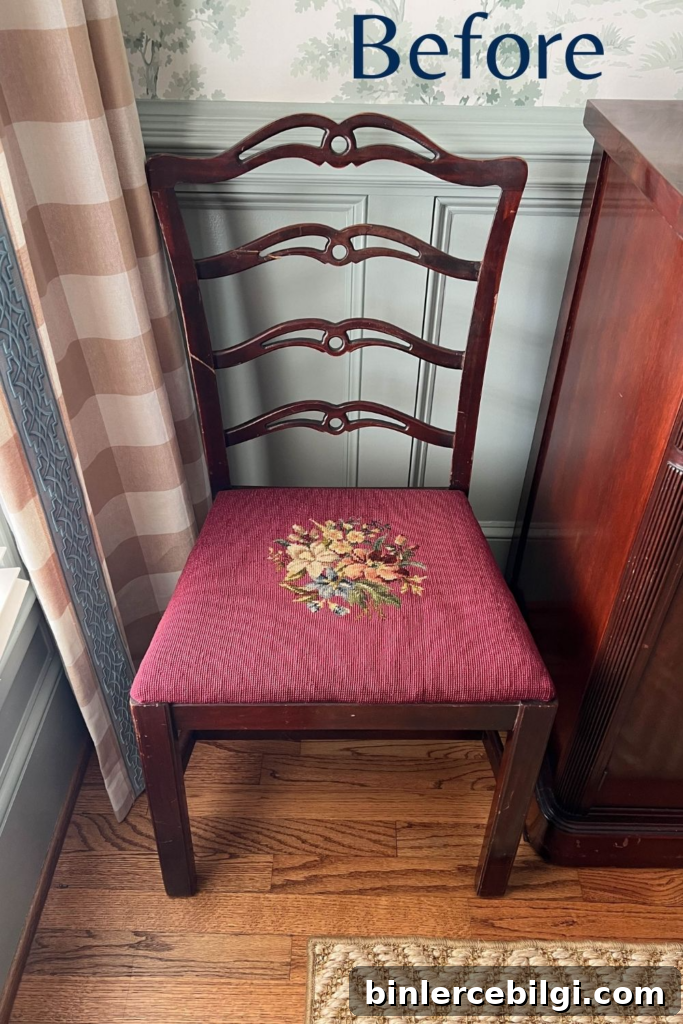
Originally I planned to have pleated slipcovers sewn, but after discussing options with my seamstress we decided it made more sense to recover the seat cushions directly. She gave three practical reasons: the existing cushion foam was very old and should be replaced, recovering the cushions used less fabric and cost less than making full slipcovers, and the old needlepoint covers could be repurposed into something beautiful later.
Encouraged to do the recovering myself, I gave it a try. The first seat took about an hour while I learned the steps, and once I had the process down each subsequent seat took about 20 minutes. With basic tools and the right materials, this is a quick, budget-friendly way to refresh dining chairs.
How to Choose the Right Fabric for Dining Chairs
Choose a durable upholstery fabric designed for frequent use and spills. Look for home-decor or upholstery-weight fabrics that resist wear and hide stains. Heavy cotton blends, synthetic blends, and performance fabrics are good options for dining chairs.
If you’re on a budget, consider repurposing fabrics such as shower curtains, tablecloths, or heavier drapery panels—these can offer great patterns and durability at a lower cost.
See the FAQ section at the end for common questions on fabric amounts and cost.
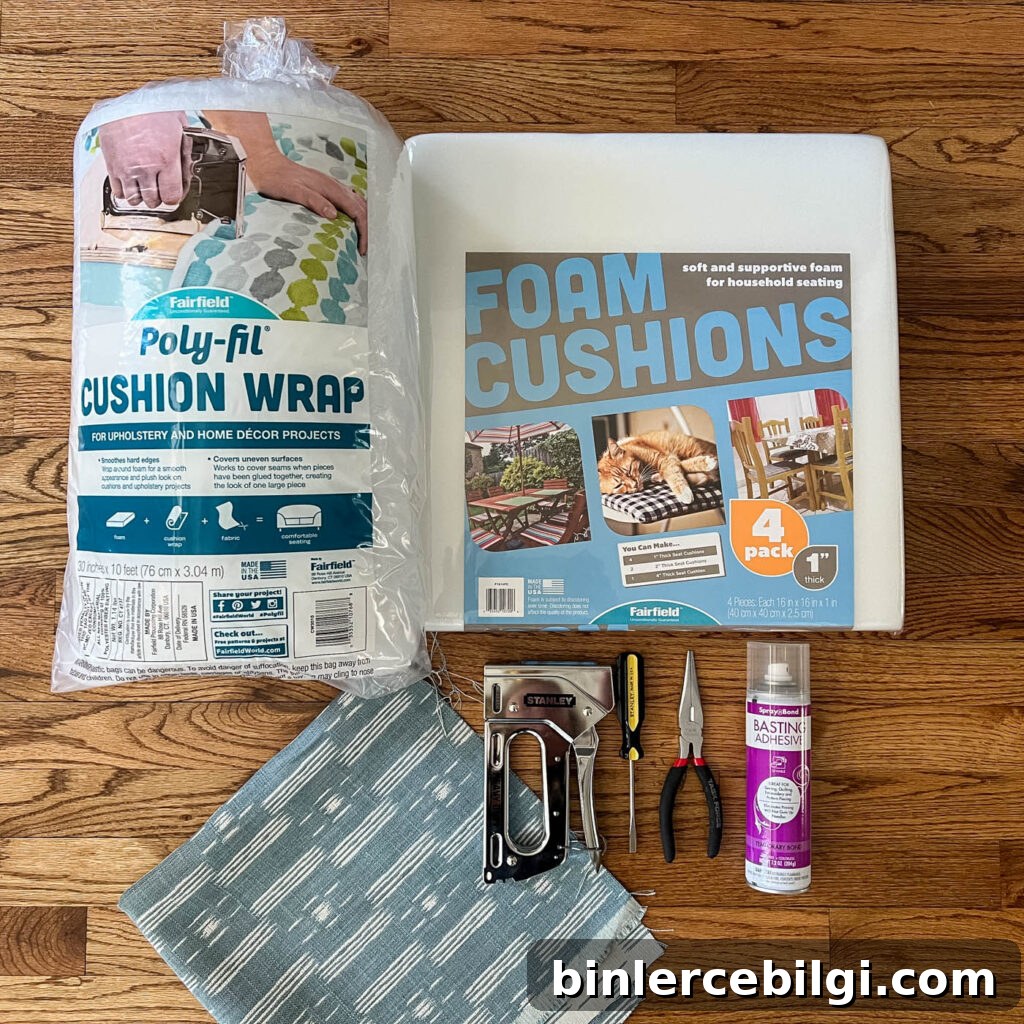
Supplies Needed to Reupholster Dining Chairs
- Chairs with a removable fabric seat
- Upholstery fabric for the new covers (allow about 4″ extra on each side)
- Upholstery foam — 1″ works, 2″ provides more cushion
- Cushion wrap batting
- 1/2″ plywood if you need to replace the seat board
- Optional: temporary basting adhesive to hold layers in place
Note: The fabric I used is a Marla print in teal by a manufacturer available through design professionals. If you want the same fabric, consult a local designer or fabric source. You can also reuse any foam or batting from the original seat if it’s still in good condition; mine was decades old so I replaced it.
Tools Required
- Drill or screwdriver to remove the seat from the chair
- Flat head screwdriver or staple remover to remove old staples or tacks
- Fabric scissors — keep a dedicated pair for fabric only
- Needle-nose pliers for stubborn staples
- Staple gun (manual works fine) and 3/8″ or 1/2″ staples
- Jigsaw, if you need to cut a replacement plywood seat board
- Tape measure
Step-by-Step: How to Reupholster a Chair Seat Cover
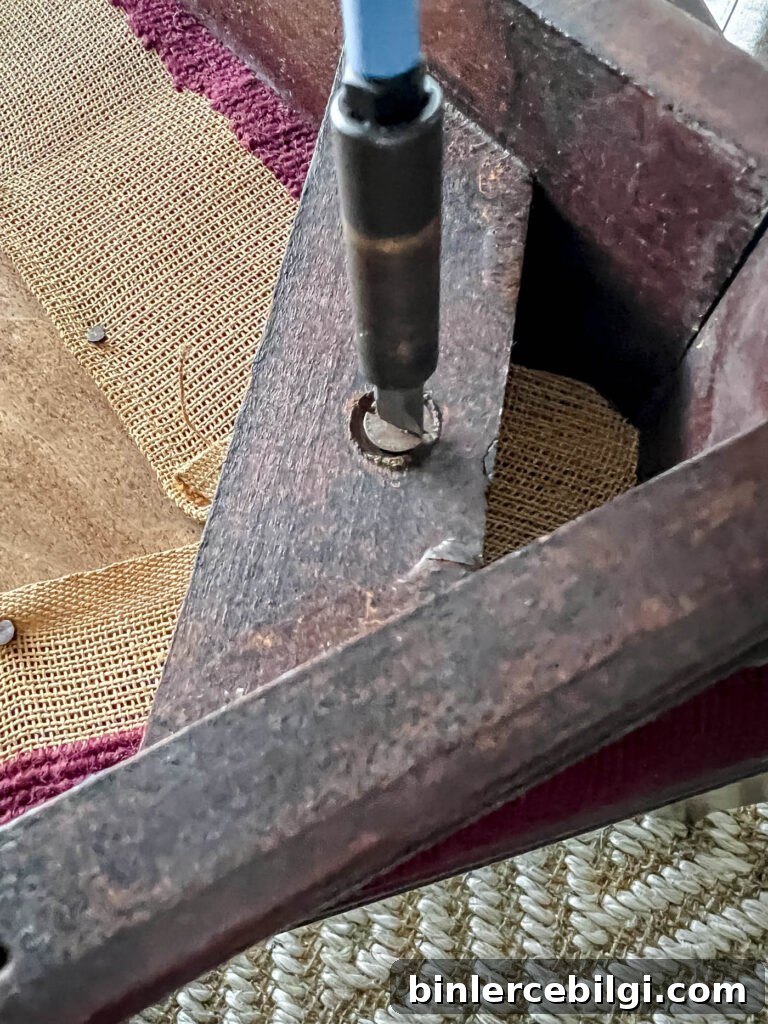
1. Remove the seat from the chair
Flip the chair over and locate the screws that secure the seat to the frame. Use a drill or screwdriver to remove them and lift the seat off the chair.
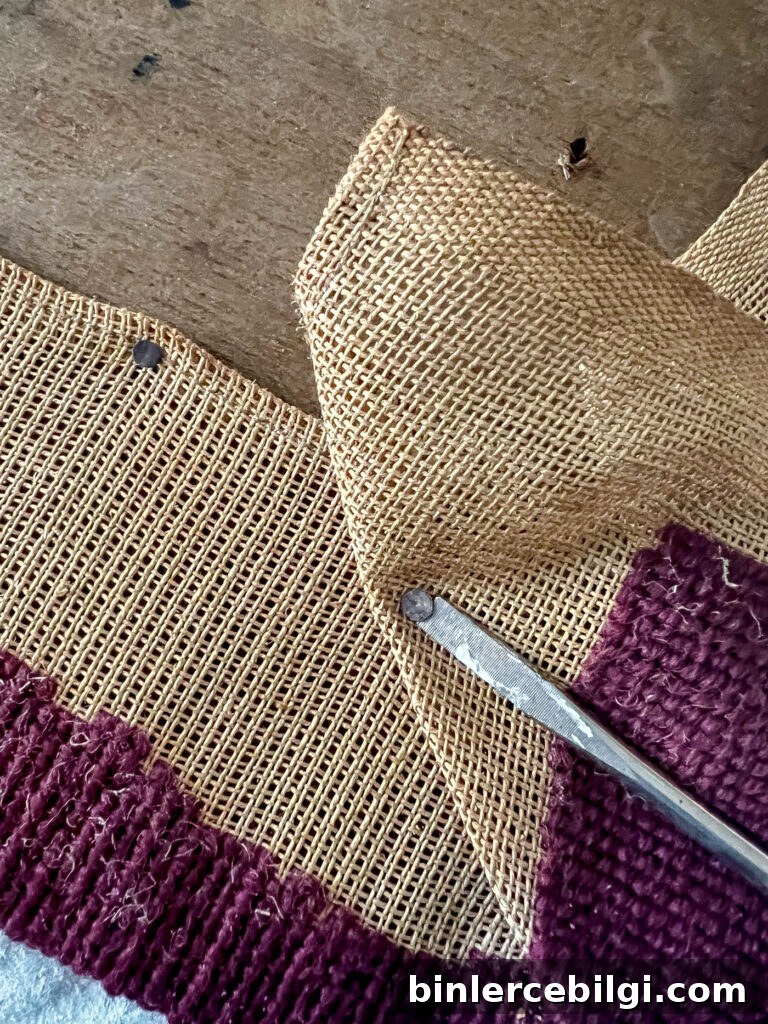
2. Remove the old fabric
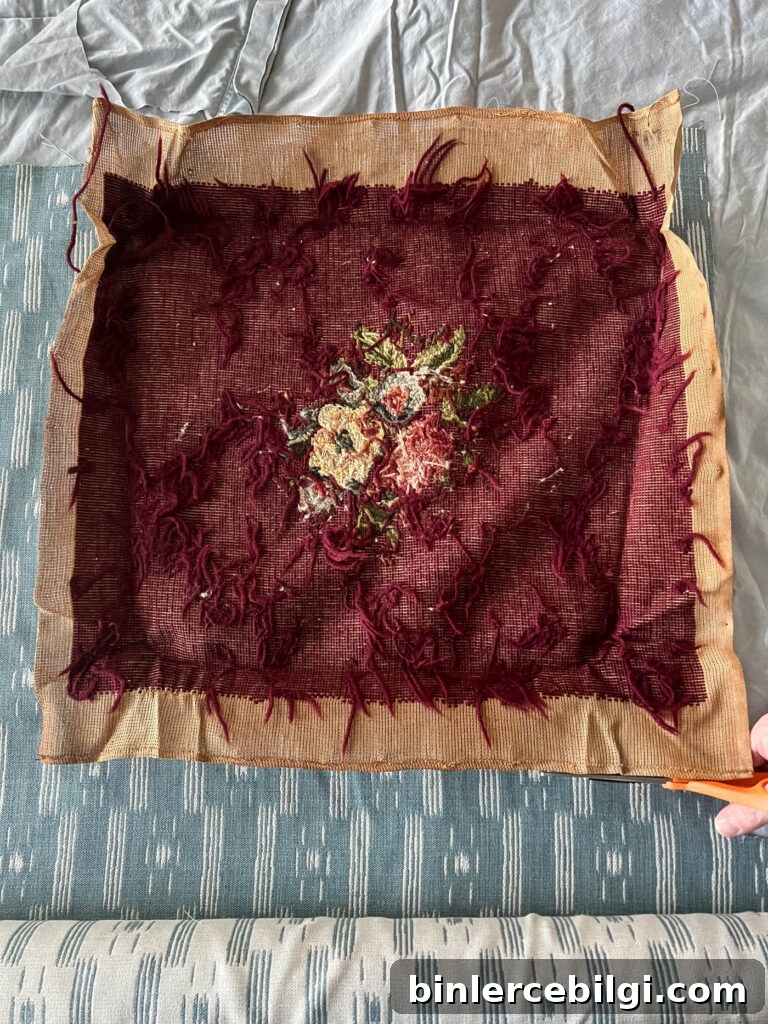
Turn the seat over and remove staples or tacks holding the old upholstery. A flat head screwdriver, staple remover, or needle-nose pliers work well. Keep the original fabric pieces to use as a cutting template for your new fabric.
3. Make new seat boards, if needed
If the seat board is cracked or broken, trace the old seat onto 1/2″ plywood and cut a replacement with a jigsaw. Otherwise, you can reuse the original board.
4. Replace the foam
If the existing cushion foam is worn, lay new foam on the seat board, trace its outline, and trim it to fit. You can join multiple pieces if necessary—batting will help create a smooth, unified shape.
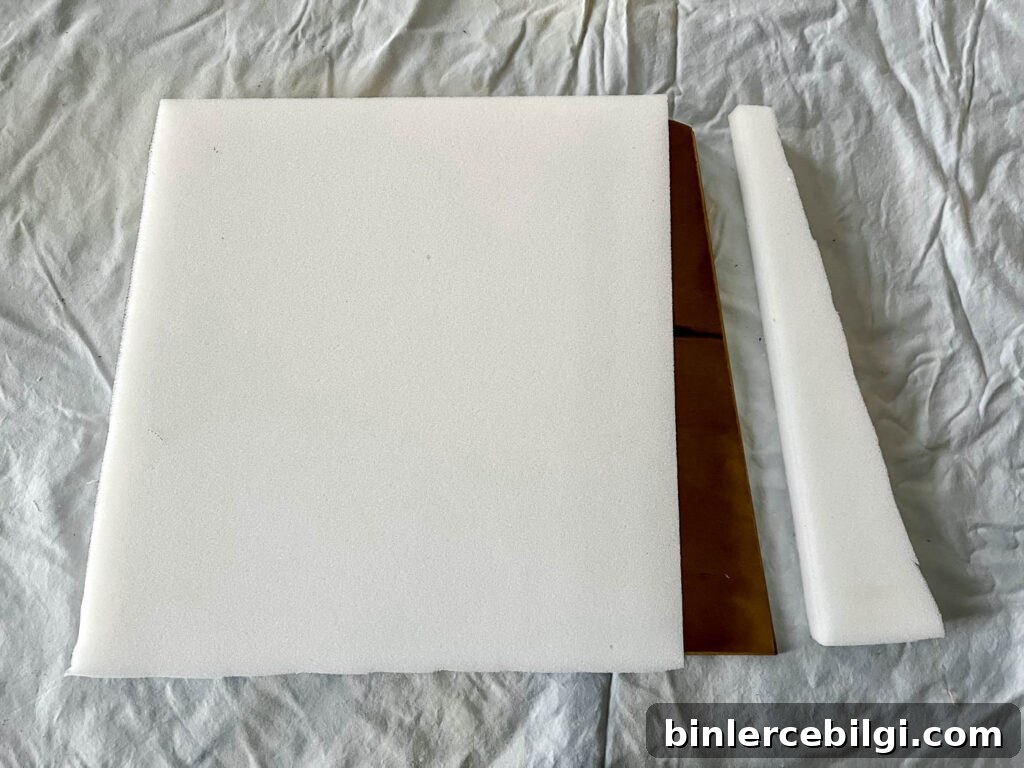
A temporary basting adhesive helps hold foam and batting layers in place while you work.
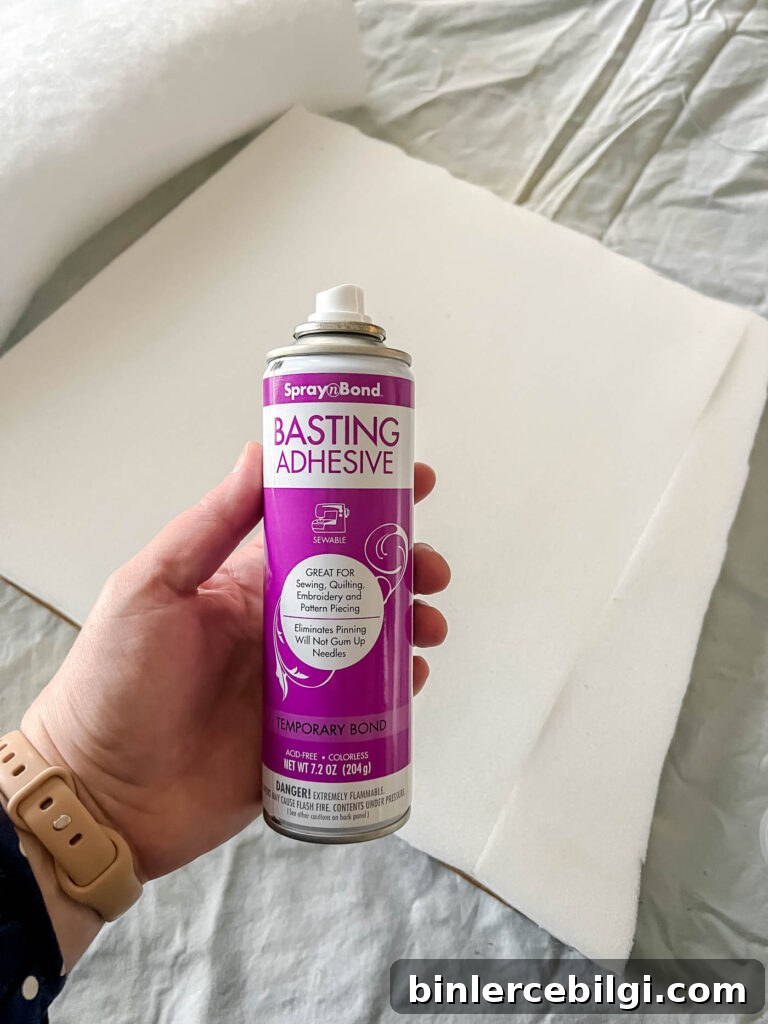
5. Add batting over the foam cushion
Cut batting so it overlaps the seat by about 3″ on all sides and wrap it around to the underside of the seat. Notch the corners to reduce bulk for a cleaner finish.
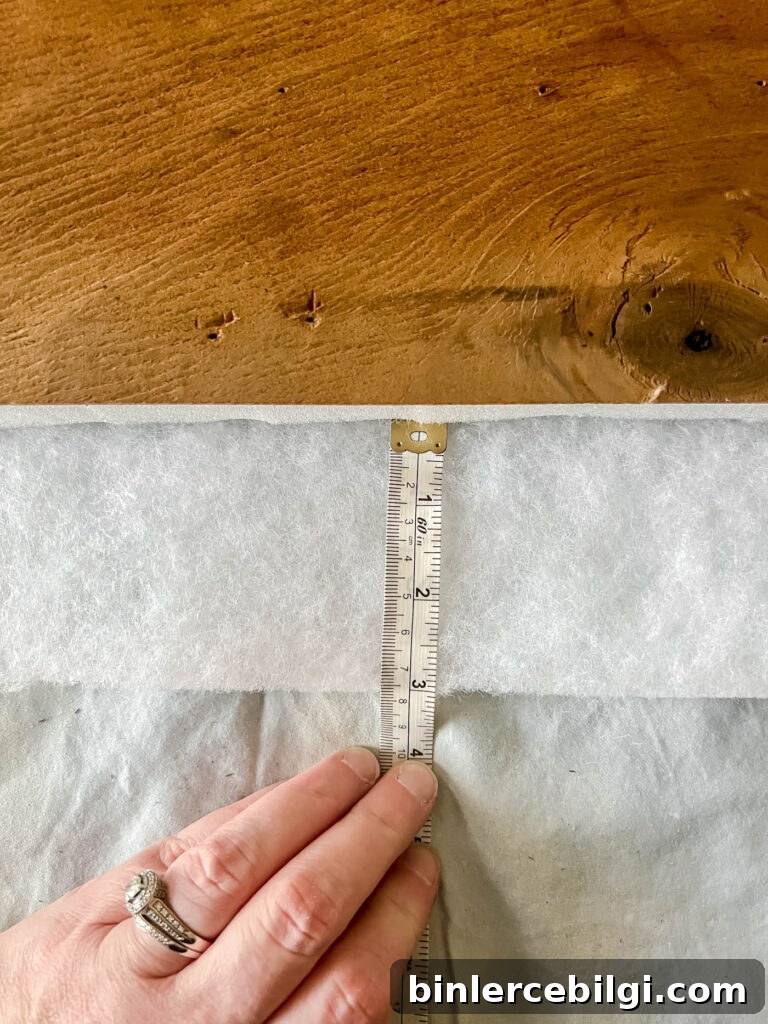
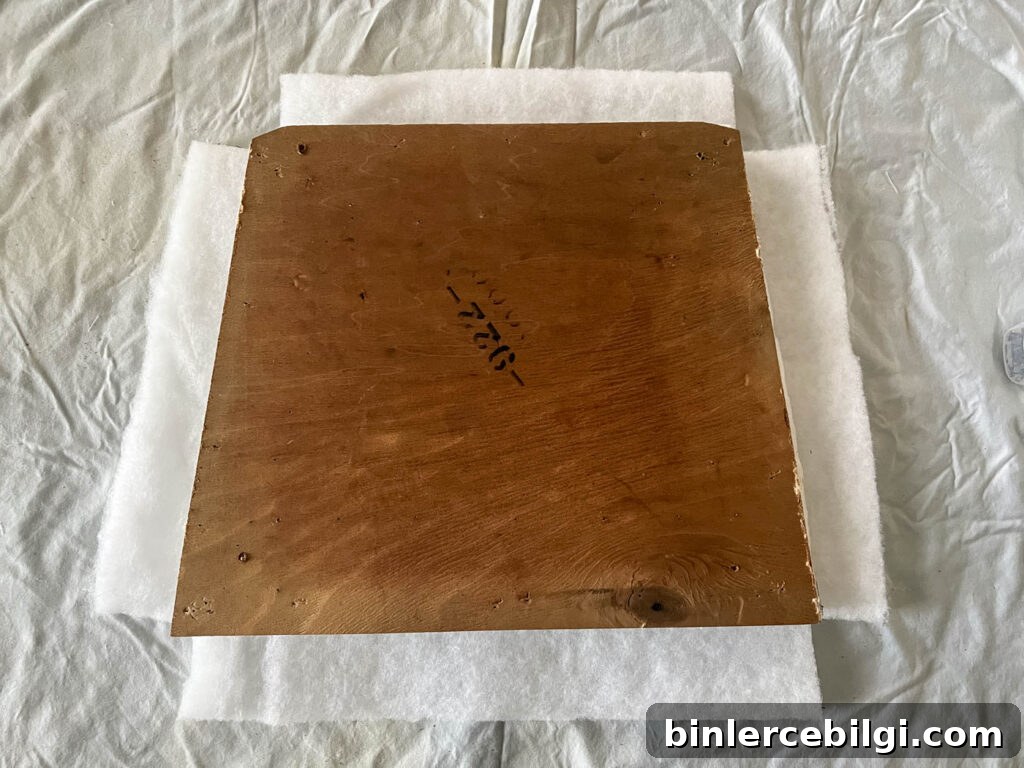
6. Cut the new fabric
Plan pattern placement and direction before cutting. Allow at least 4″ extra fabric on every side to wrap under the seat and staple. Use the removed old fabric as a template and cut slightly larger to allow for centering and adjustments.
7. Staple the fabric to the underside of the chair
Find and mark the center of the seat, align the fabric to that point (especially if using a patterned fabric), then pull the fabric snug and staple the front edge to the underside. Add one staple to the center of each side, keeping the fabric taut. Check the top of the seat to ensure the fabric lies smoothly.
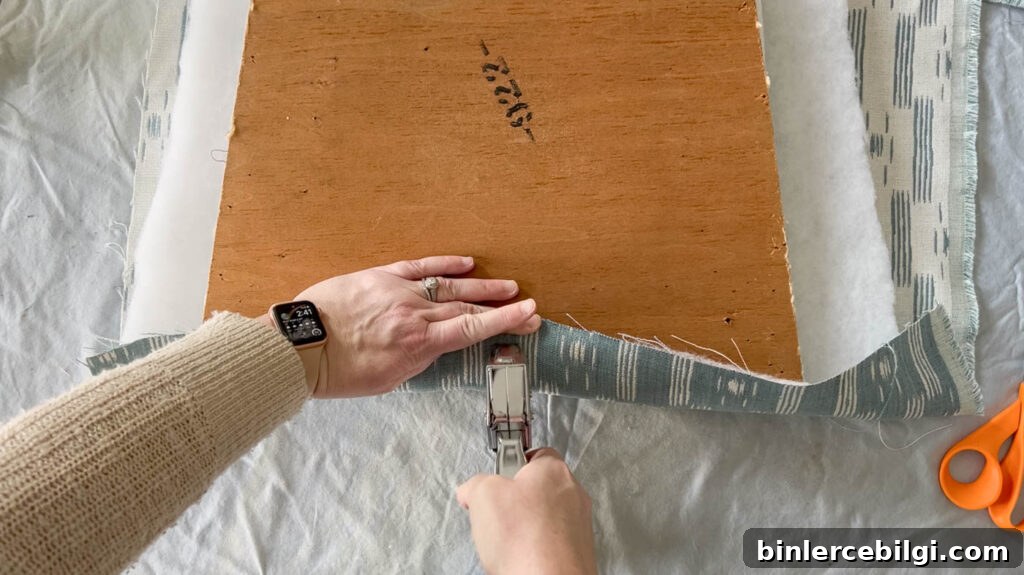
Continue stapling outward from the center toward each corner, keeping fabric tension even. If it looks puckered, remove a few staples and adjust before proceeding.
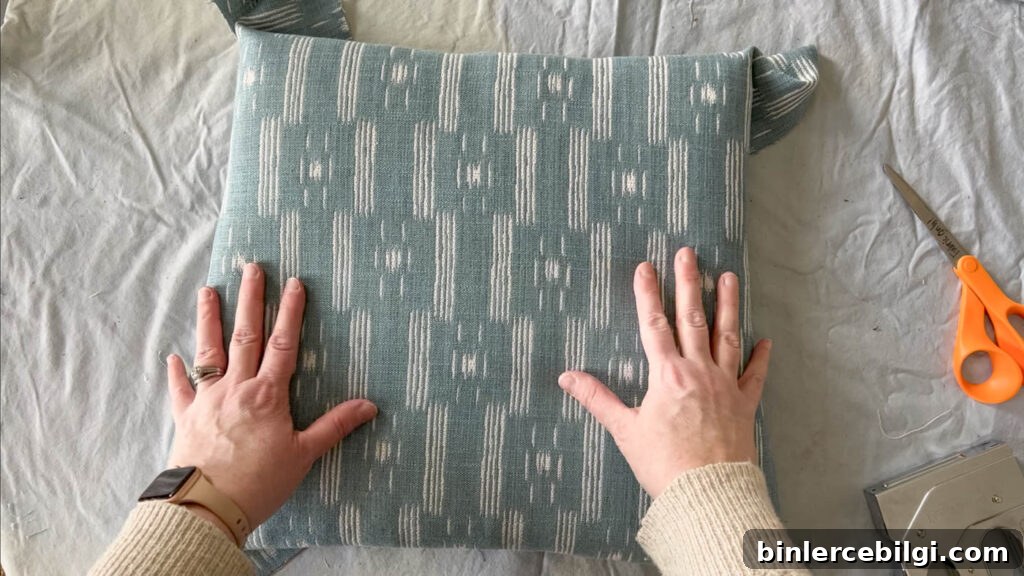
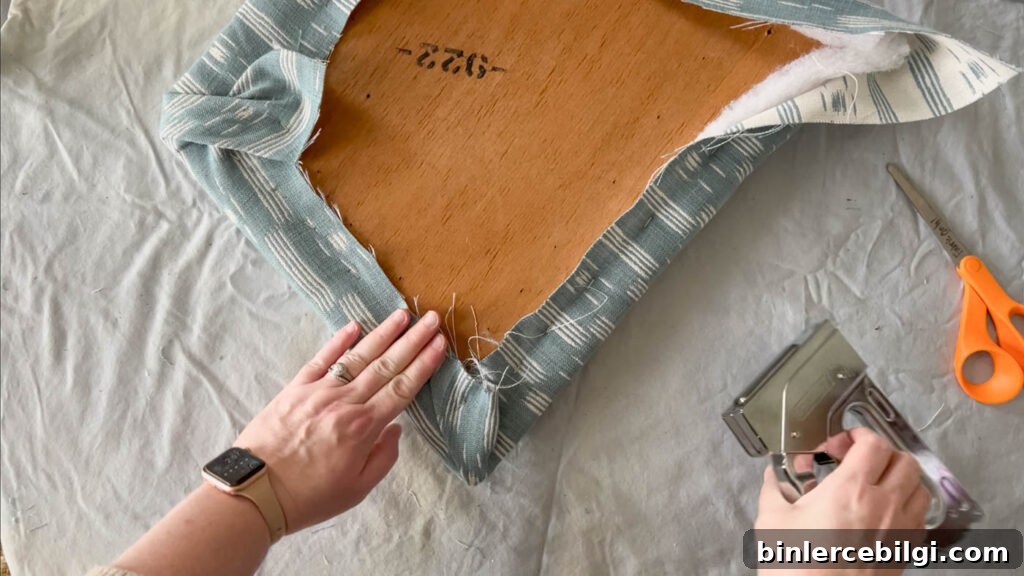
Stapling the corners
Corner folds can feel intimidating, but think of them like gift wrapping. Trim excess fabric and fold the corners into neat pleats or mitered folds, then staple close to the corner. Practice on the underside first if needed—once you get comfortable, corners become quick and tidy.
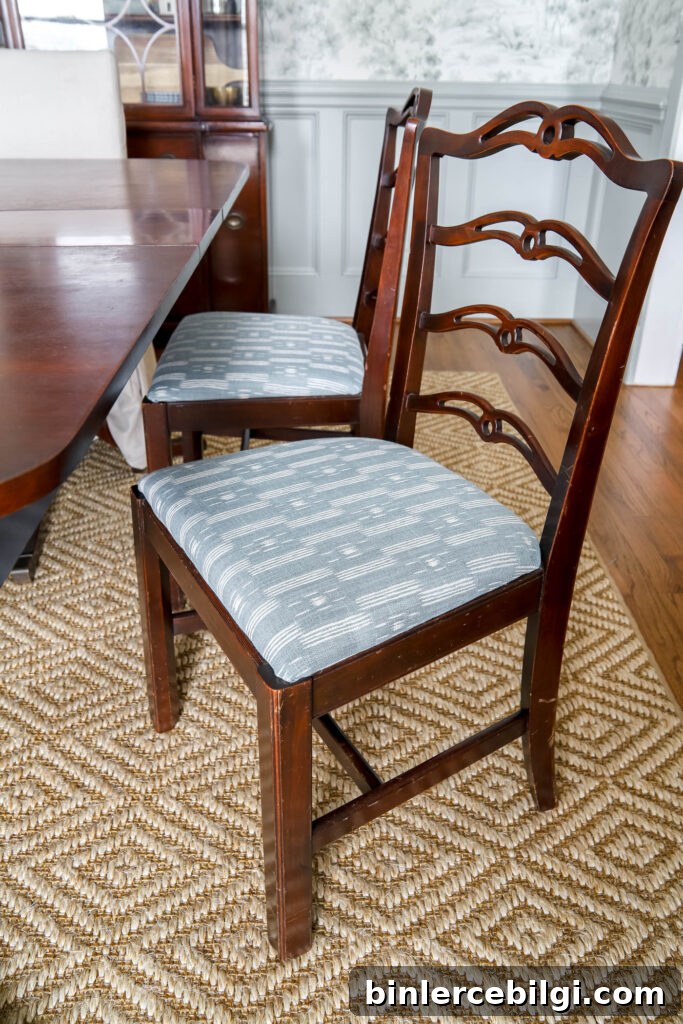
When everything is securely stapled, reattach the seat to the chair frame and admire the refreshed look. A recovered seat can make an old chair feel brand new at a fraction of the cost of replacement.
Video tutorial
If you prefer visual instruction, search for a step-by-step reupholstery video that demonstrates removing staples, trimming foam, adding batting, and folding corners. Watching the folding and stapling steps can make the process much easier to master.
FAQs: Reupholstering Dining Chair Covers
Is it hard to reupholster a chair?
No. Reupholstering a chair seat is a beginner-friendly DIY task. With basic tools and patience—especially when folding corners—most people can achieve professional-looking results.
How much fabric do I need?
Fabric needs vary by seat size. A good rule is to allow at least 4″ extra on every side of the seat. For an 18″ seat, cut a piece at least 22″ square. When in doubt, cut a bit larger; you can trim after fitting. If reupholstering multiple chairs, measure one seat and multiply, plus a little extra for mistakes and pattern matching.
How much does it cost?
Cost depends on fabric price and whether you need new foam, batting, or tools. If you already own tools, supplies (foam, batting, staples) commonly run around $10–$20 per chair, plus the cost of fabric.
Can I reupholster without removing the old fabric?
Yes. If the existing foam and batting are in good condition, you can lay new fabric over the old fabric. If you plan to replace the foam or reuse the old fabric for another project, it’s best to remove the original covering first.
Related projects
Other DIY projects from this dining room makeover:
- How to install paste-on-wall wallpaper
- How to paint outlet covers
- Traditional dining room design plans