
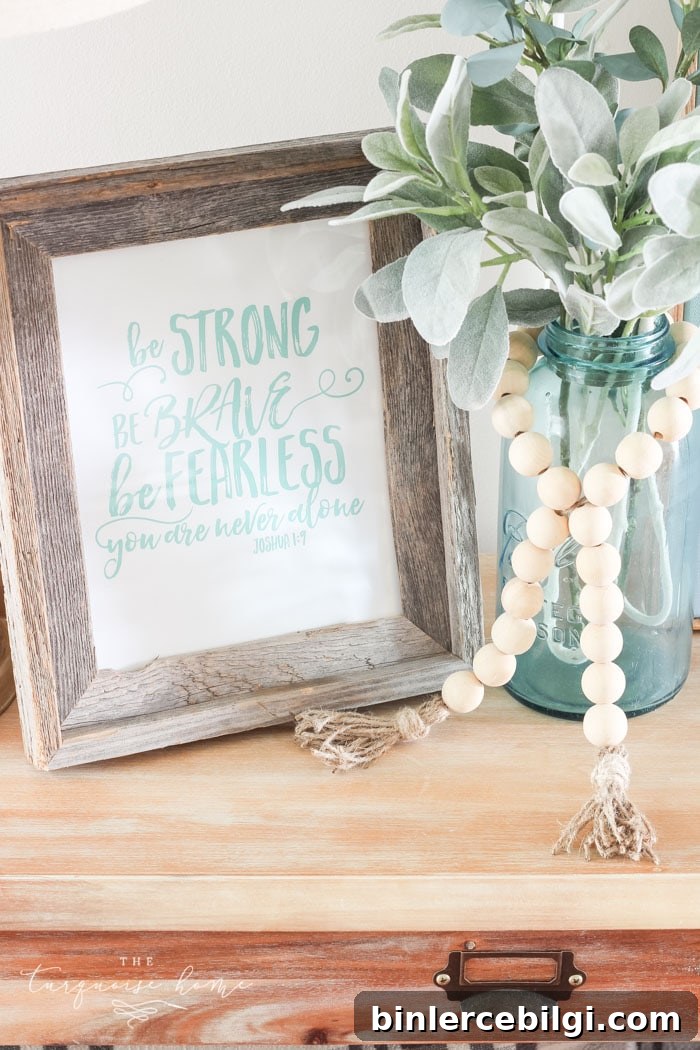
How to Make a Cute DIY Wood Bead Garland in About 10 Minutes
Wood bead garlands have been a favorite in home decor for a while now. Think of them as delicate wooden necklaces that add texture, movement, and a touch of farmhouse charm to shelves, jars, vases, and tiered trays. They’re simple, inexpensive, and quick to make—perfect for anyone who wants an easy decor update.
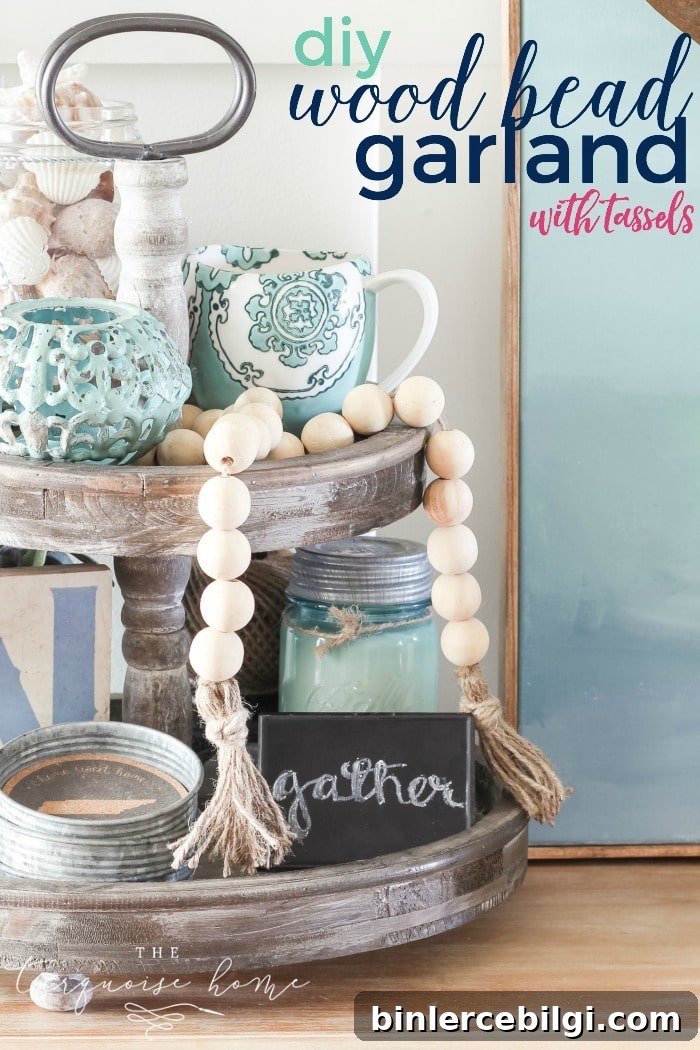
I made this garland in roughly ten minutes while juggling kids and a camera, so it’s truly fast. The basic version uses only wood beads, jute twine (or another cord), and scissors—two materials plus a cutting tool. In this guide I’ll walk you step-by-step through making a simple wood bead garland with tassels and share ideas for customizing it to match your style.
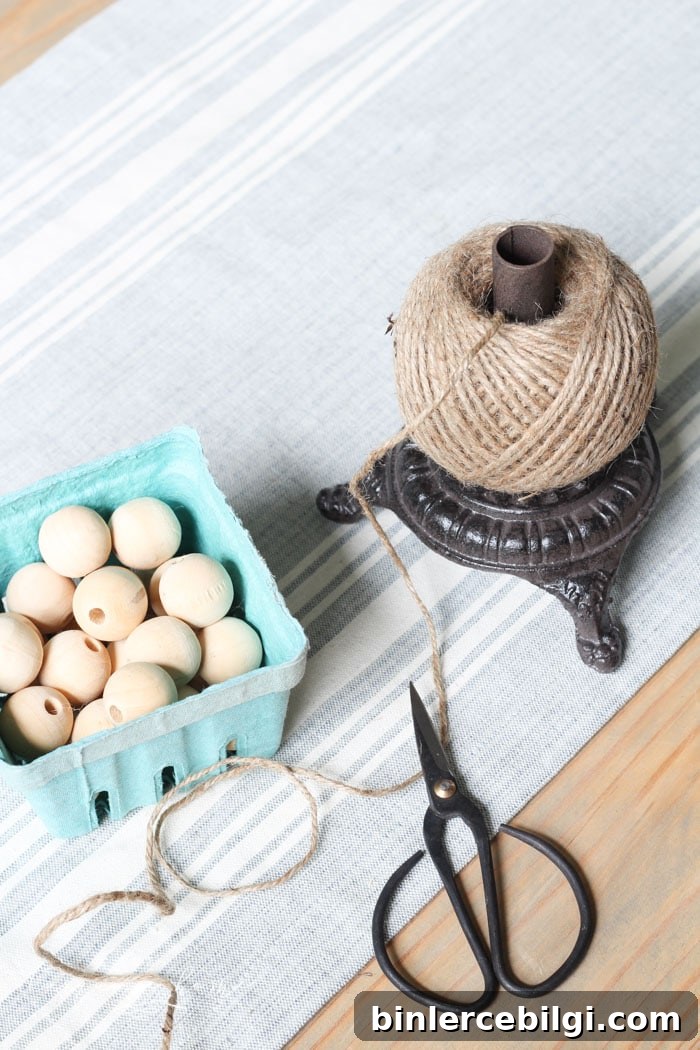
Supplies You’ll Need for a DIY Wood Bead Garland with Tassels
- Wood beads — Choose the size that fits your look. The garland shown uses medium 25 mm beads, but smaller or larger sizes work, too. Try to avoid beads that are too tiny if you want a bold farmhouse look.
- Jute twine or any sturdy string, yarn, or cord that will pass through the bead holes and complement the natural style.
- Scissors for cutting twine and trimming tassels.
Steps to Make a DIY Wood Bead Garland with Tassels
Step 1. Gather Your Supplies
Collect your beads, twine, and scissors. If you want a fuller look, choose larger beads or plan for more beads on a longer string. The sample garland uses medium beads and ends up with 27 beads total.
Step 2. Make Your First Tassel
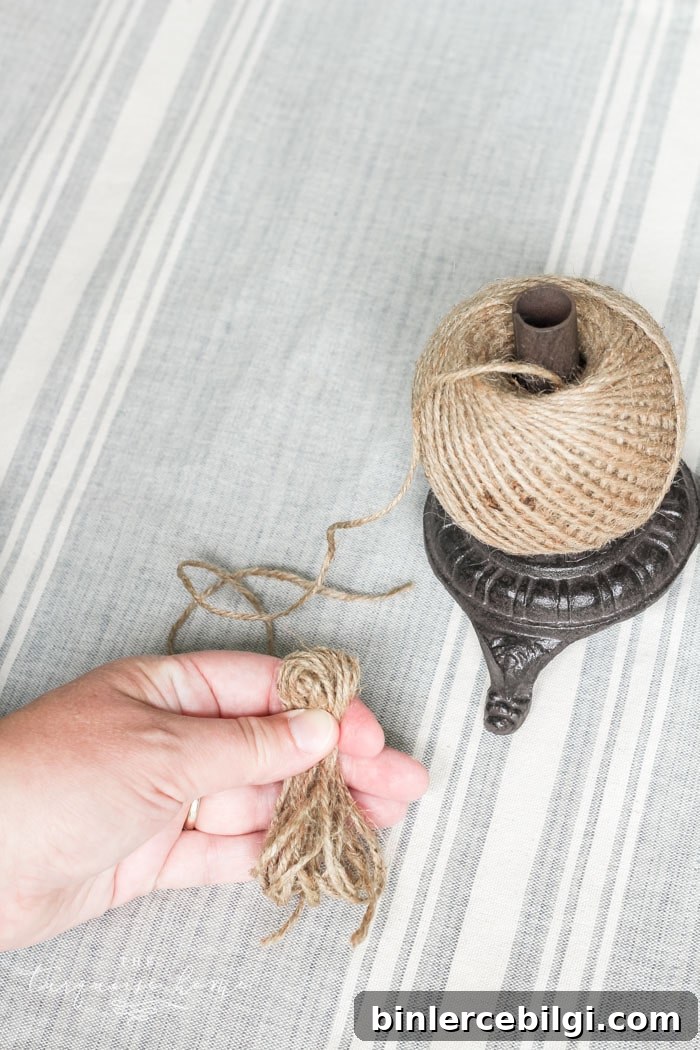
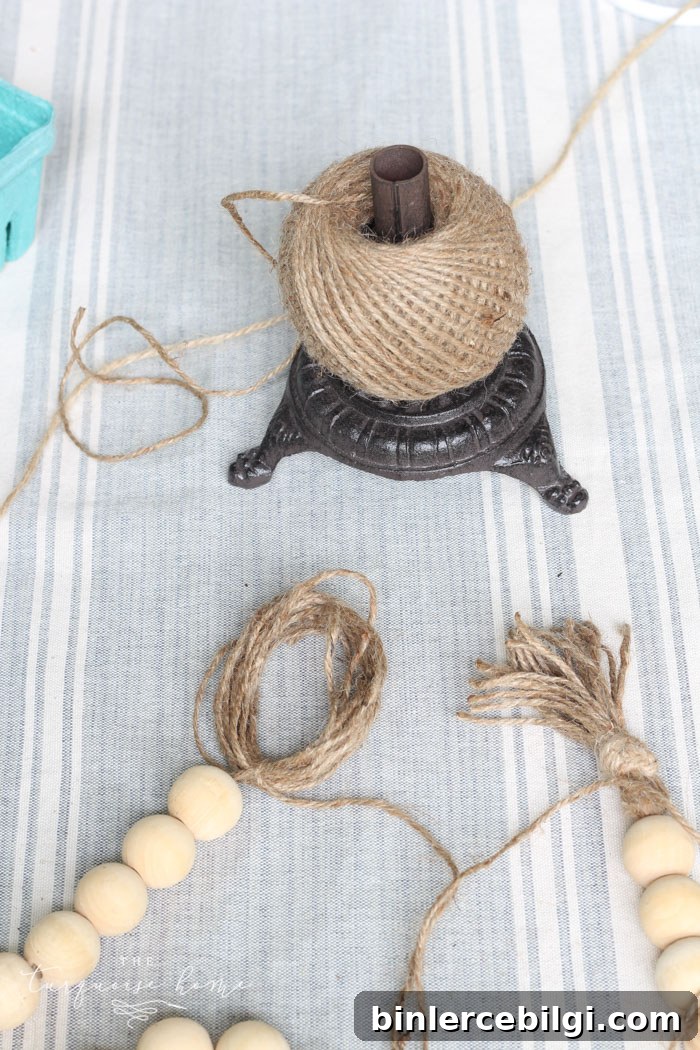
Start by wrapping an end of the jute around four fingers several times to form a bundle. There’s no exact number—wrap until the tassel looks the thickness you want. Count the wraps so your second tassel matches the first; I wrapped about 15 times for each tassel.
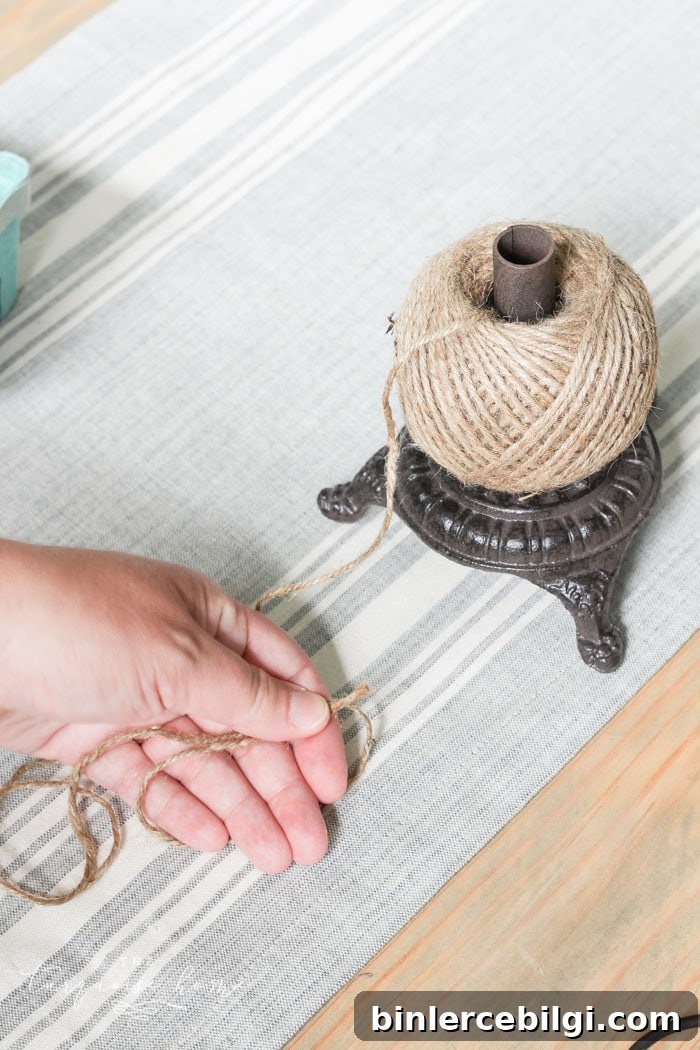
When you finish wrapping, make sure the cut end of the twine sits next to the starting end so the tassel will hang evenly.
Step 3. Tie Off the Top of Your Tassel
Pinch the looped bundle at the top, opposite the cut ends. Use a piece of the jute twine to tie the top tightly where you pinched so the loops stay together and form the tassel’s head. This will also provide a point to attach the tassel to the main garland cord.
Step 4. Wrap the Top of the Tassel
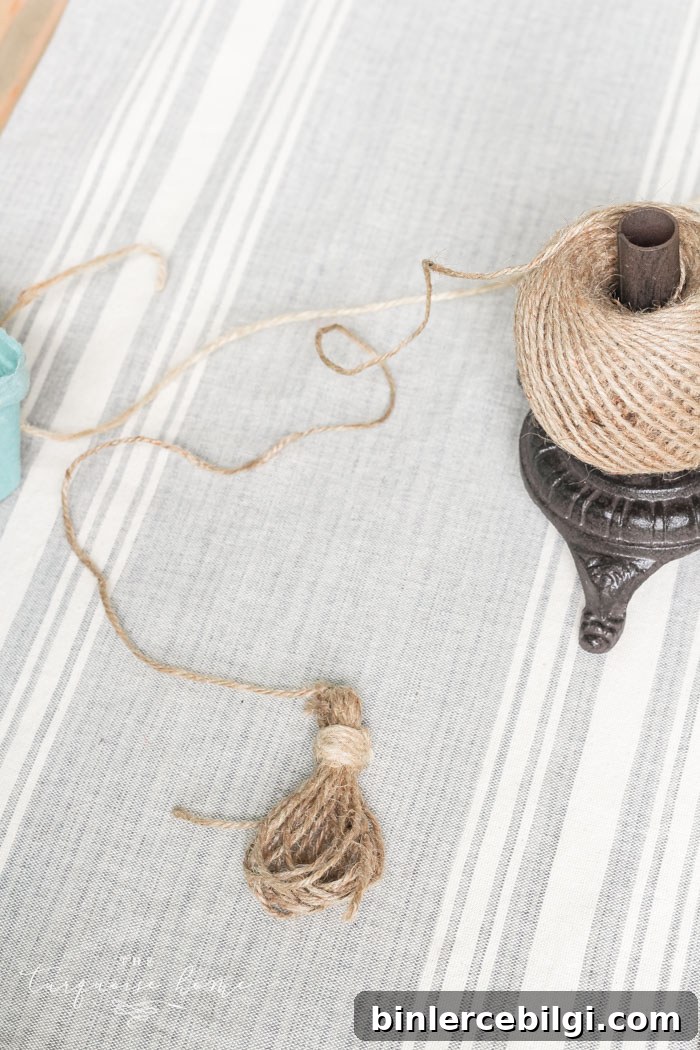
Take a longer piece of twine and wrap it around the tassel head several times to create a neat top. Tie it off and tuck the loose ends in with the tip of your scissors or trim close to the knot for a clean finish.
Step 5. Cut the Bottom Loops to Finish the Tassel
Cut the bottom loops so the tassel hangs freely. Trim any uneven ends to neaten the shape and give the tassel a tidy appearance.
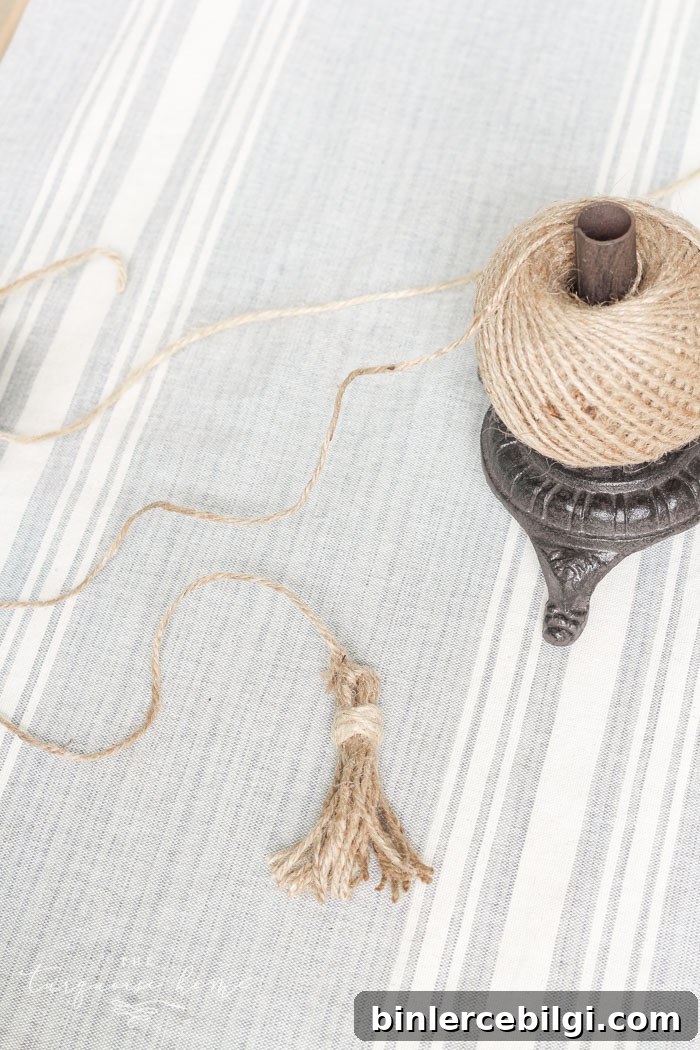
First tassel complete—easy and fast!
Step 6. Cut the Main String to the Length You Want
Decide how long you want the garland (not including tassels). The example is about 26 inches long and holds 27 beads. Cut the main cord a little longer than the finished length—allow an extra 8–12 inches to accommodate tassels and tying.
Step 7. String Your Beads
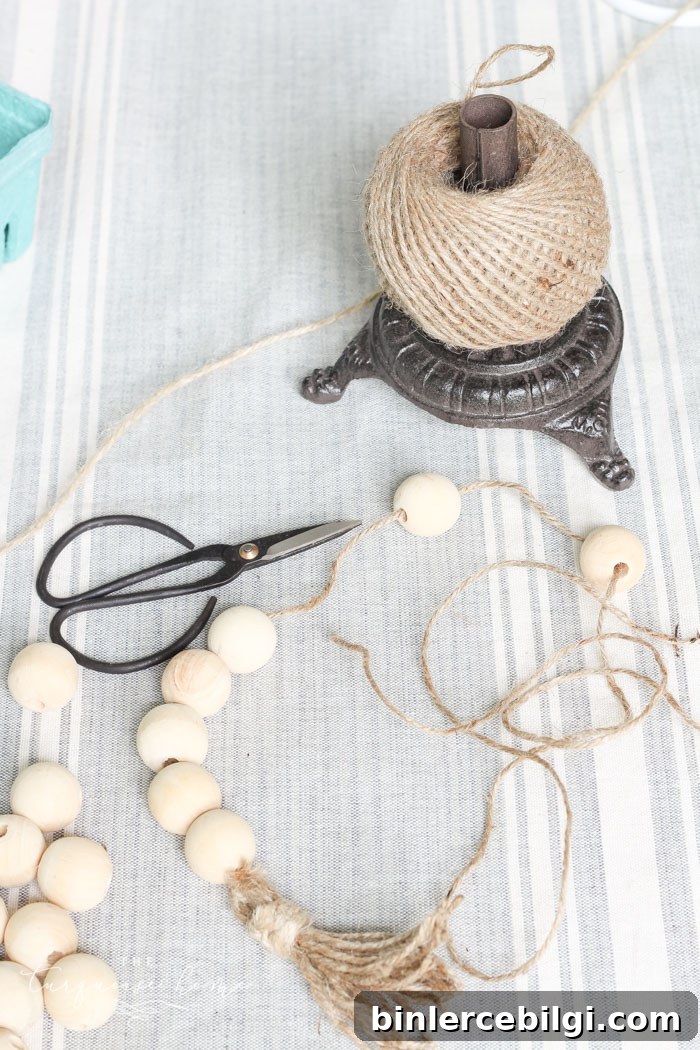
Slide beads onto the main cord until you reach your desired spacing and length. You can use fewer beads for a minimalist look or many beads for a fuller statement. Longer garlands can be wrapped around columns, stacked on trays, or used as layered accents.
Step 8. Make and Attach the Second Tassel
Repeat steps 2–5 for the second tassel, this time attaching it to the cut end of your beaded cord so the tassels sit at each end of the garland. Leave a small tail if you want a little extra movement.
Once both tassels are attached, your basic wood bead garland is finished. It’s a versatile, stylish piece that you can customize however you like.
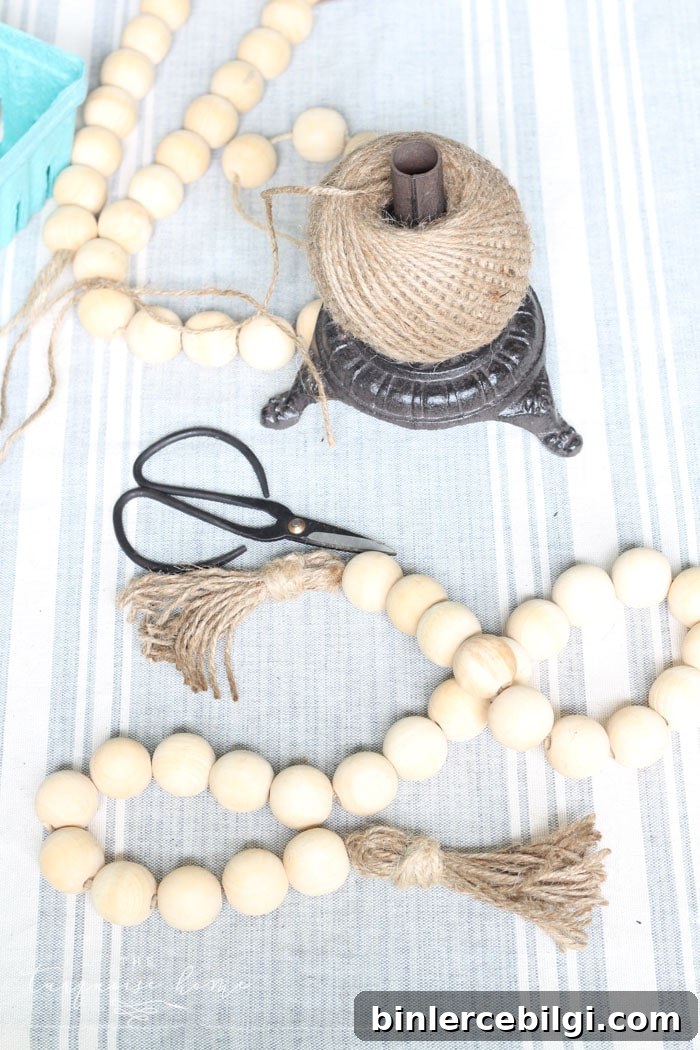
Customization ideas: paint the beads or buy pre-colored ones, mix bead sizes for visual interest, add small charms or wooden tags to the tassels, or swap jute for colorful yarn to change the mood. You can make multiple shorter garlands to layer on trays or one very long garland to drape over mantels and stair spindles.
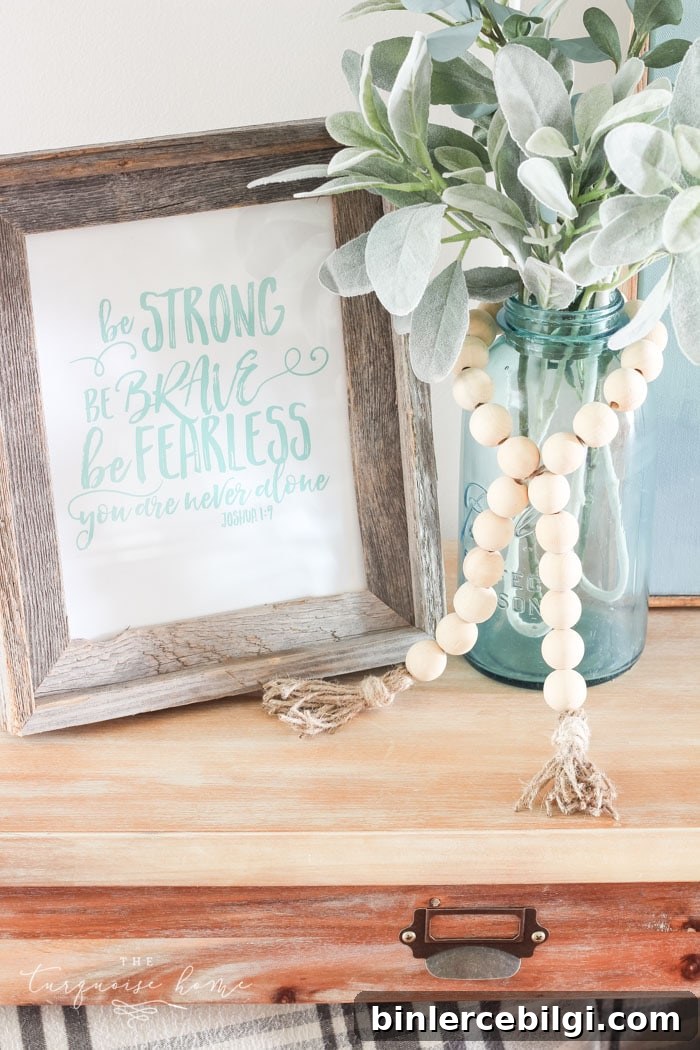
How to Use Your Wood Bead Garland
These garlands look great draped over jars and vases, wrapped around candle stands, layered across tiered trays, or hung on hooks and knobs as small accent pieces. They add an instant touch of handcrafted charm and work well with farmhouse, coastal, modern, and boho styles.
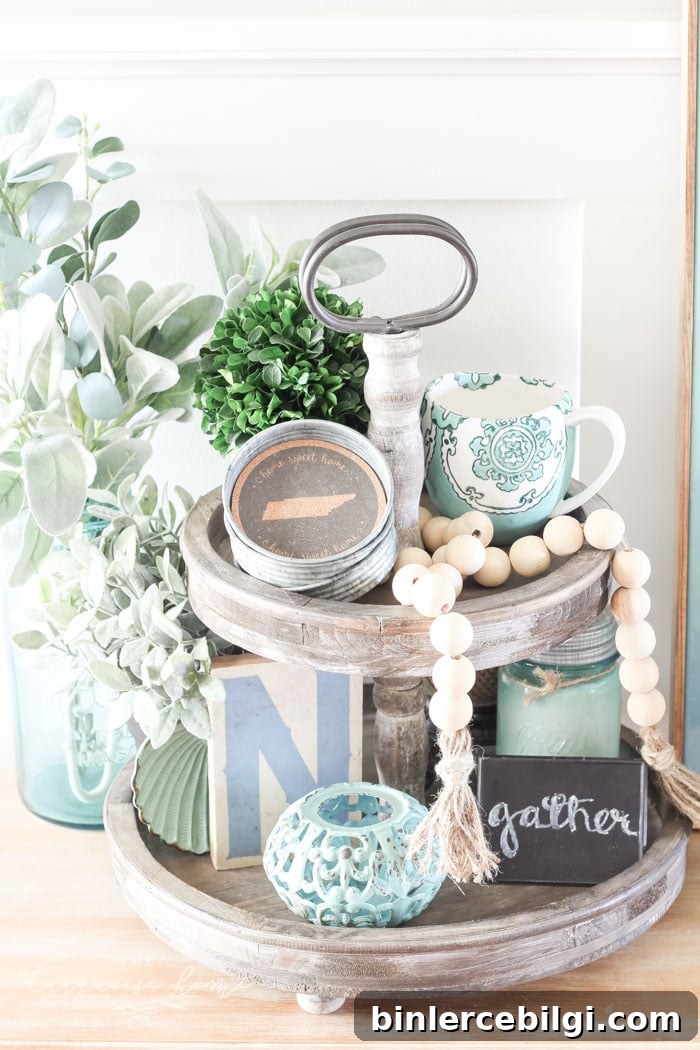
If you don’t have time to make one, many handmade garlands are available for purchase, often with a variety of colors and finishes. But making your own is rewarding, inexpensive, and allows complete customization.
This quick craft will leave your DIY spirit satisfied: it’s affordable, fast, and endlessly adaptable. How will you style your new wood bead garland?
More DIY and Decorating Ideas You Might Like:
- Tips for hanging and styling garlands around the home
- Ways to layer small decor pieces on tiered trays
- How to refresh jars and vases with simple accessories