
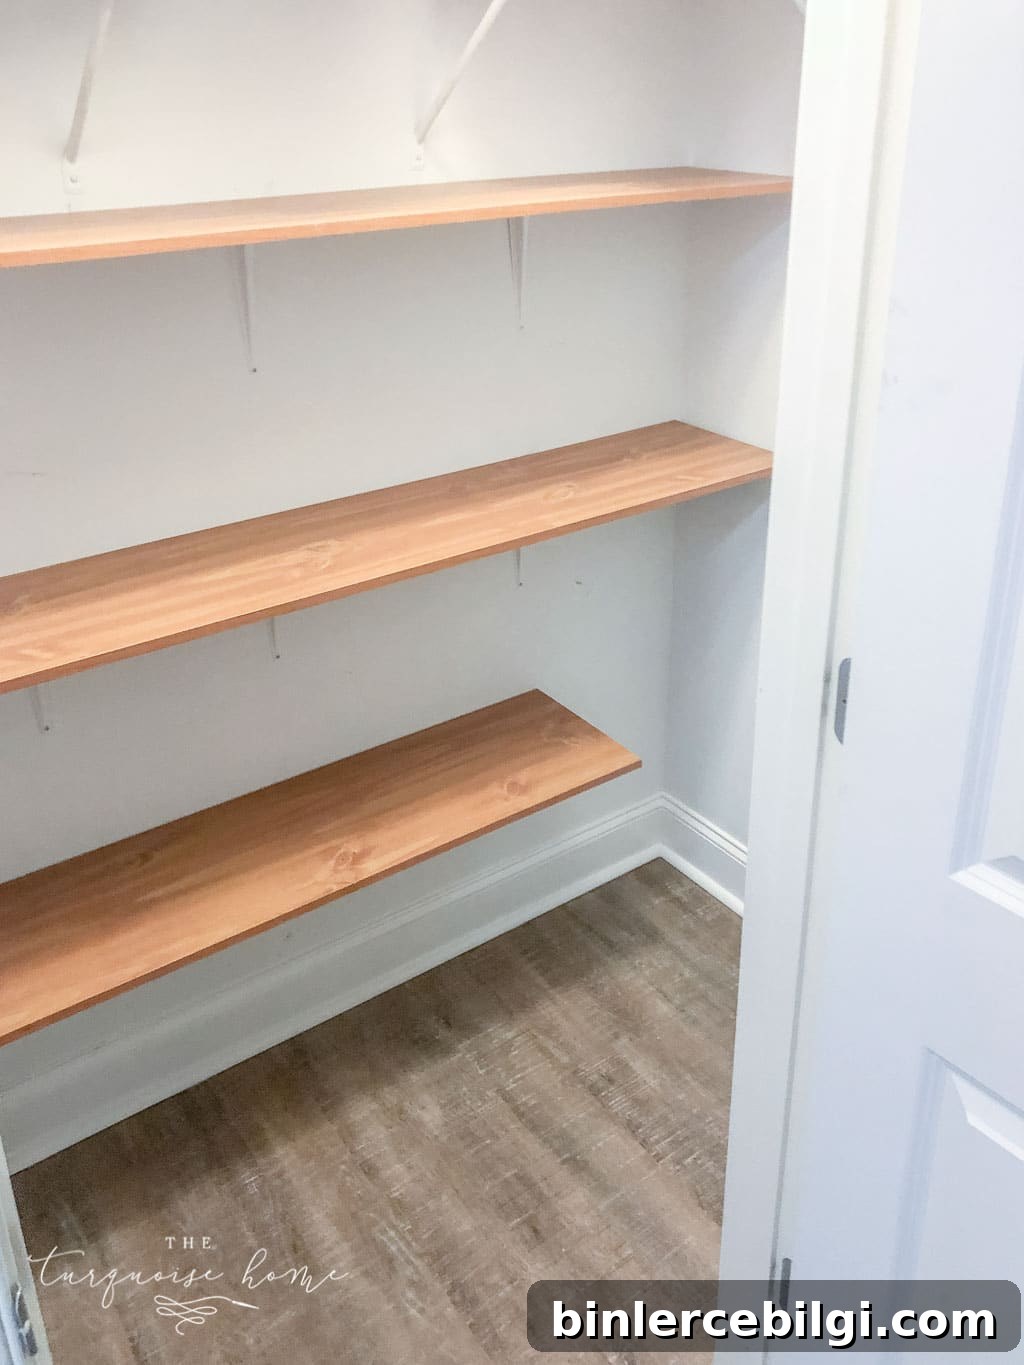
Learn how to convert an empty closet wall into useful storage with this easy DIY closet shelves tutorial. It’s a quick afternoon project that makes a big difference.
This project is a beginner-friendly home improvement task—simple, fast, and practical. If you’ve been thinking about adding shelves to a closet or unused nook, this guide will give you the confidence and clear steps to get it done.
These shelves are straightforward to build and deliver excellent storage for coat closets, linen closets, a pantry, or a kid’s closet. Once your boards are cut, installation typically takes 30–60 minutes. Let’s dive in.
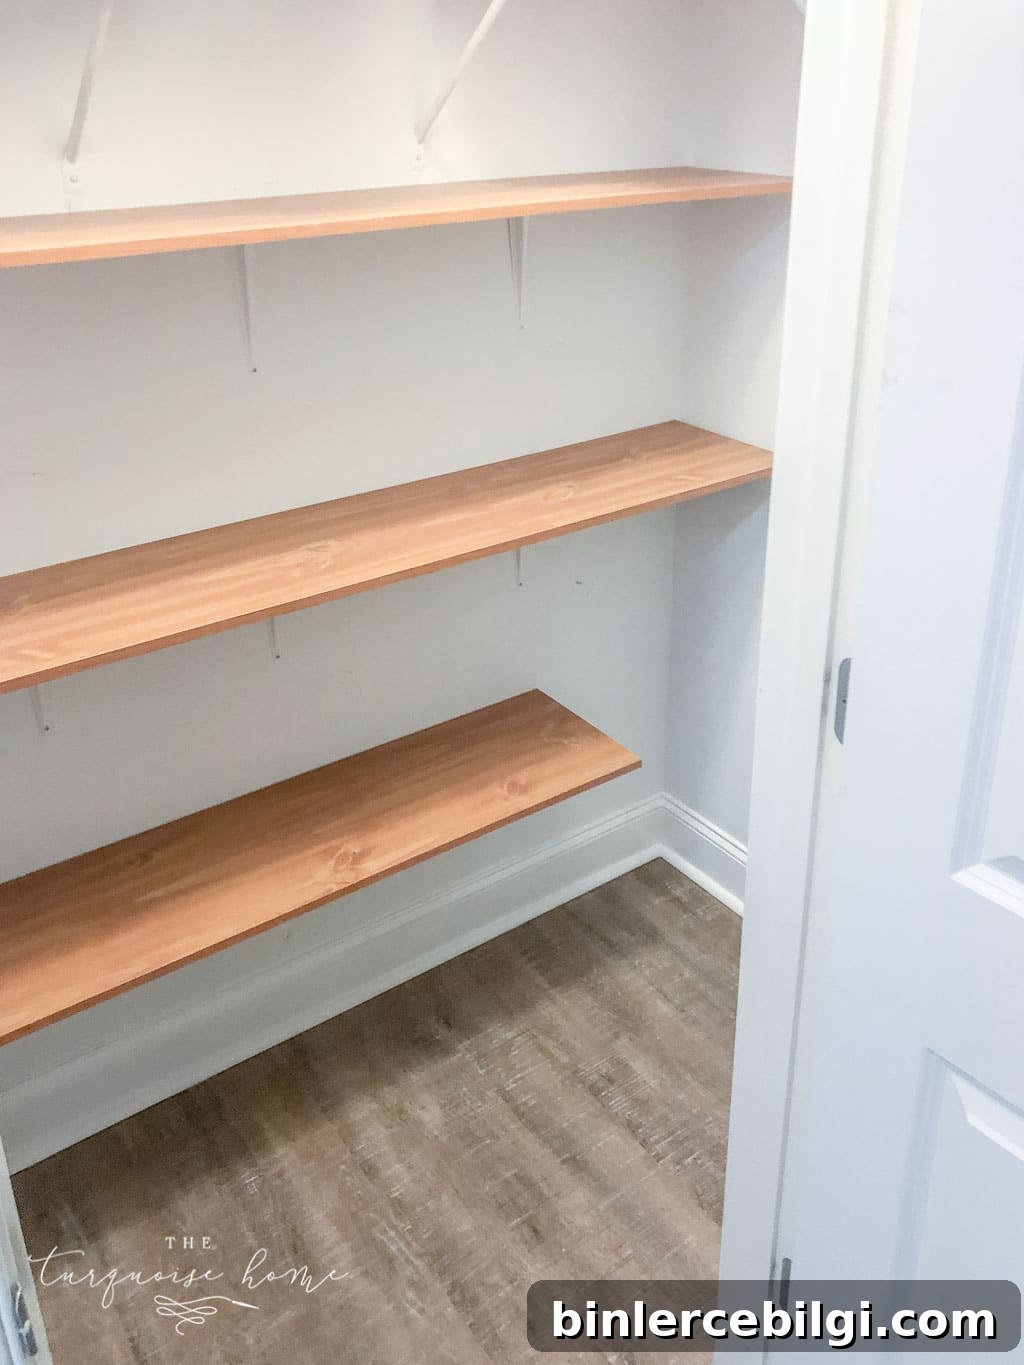
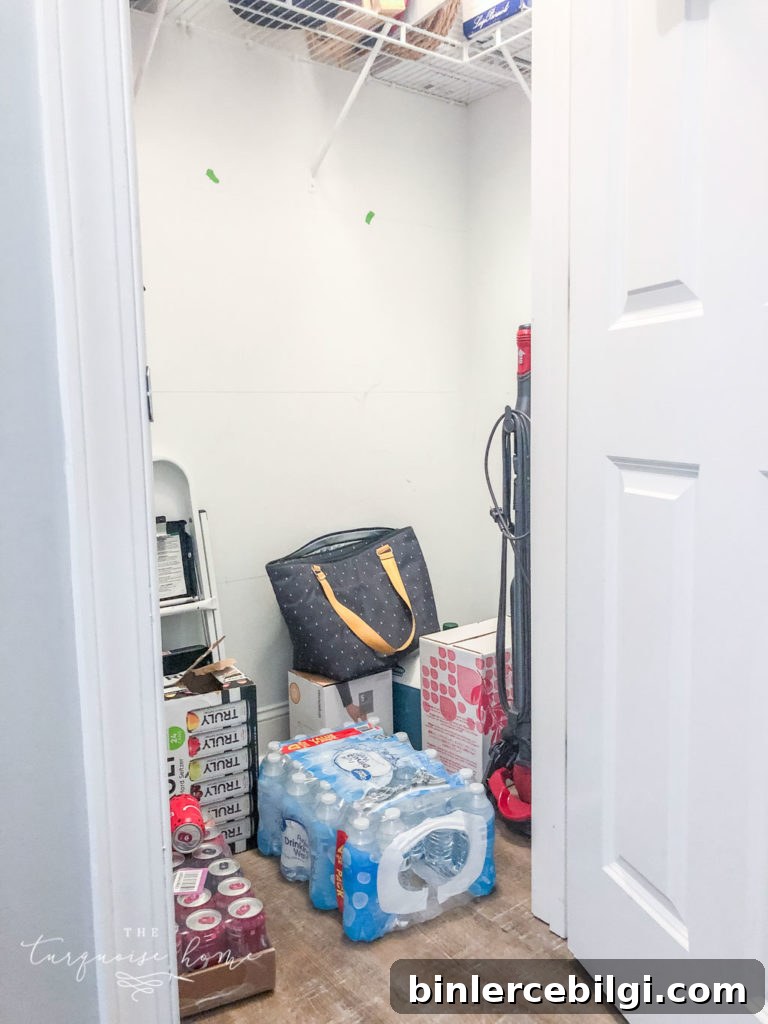
For years I eyed the coat closet in our hallway as wasted potential. Custom closet organizers can be expensive, so a simple DIY shelving solution made far more sense. When we had to clear out this closet for floor work, I finally got the push to build the shelves I’d been planning.
This post contains affiliate links for convenience. See my full disclosure for more information.

Want to Save This?
Bookmark this page or save the images so you can reference the step-by-step instructions when you’re ready to build.
Supplies for DIY Closet Shelves
- Boards — laminated shelving or MDF cut to the width and depth of your closet space. I chose laminate so the shelves are wipeable and require no staining or sealing.
- Brackets — choose brackets rated for the weight you expect to store. Decorative or simple metal brackets both work well.
- Screws — 1½” screws to attach brackets to the wall; ¾” screws to fasten the shelf boards to the brackets.
- Drill with appropriate driver bits.
- Stud finder to locate studs for secure mounting.
- Miter saw (or have boards cut at the hardware store) to size the shelving pieces.
- Level to make sure shelves sit straight.
- Measuring tape to measure board lengths and spacing.
Tips for Creating Closet Shelves
- Measure the items you plan to store so each shelf height fits bottles, containers, small appliances, or foldable items.
- Always attach brackets into wall studs for the strongest support. Even high-quality anchors can fail under heavy loads over time.
- Customize shelf widths and heights to fit special items—folding tables, tall cereal boxes, or bulk goods. Adjust the layout for your household’s needs.
How to Build Closet Shelves
I kept this design intentionally simple: plain boards resting on brackets and secured from underneath. This approach mirrors basic open shelving and makes installation fast while remaining sturdy and functional.
These steps apply to a standard closet, hallway coat closet, pantry nook, or a shallow walk-in closet.
1. Find the Wall Studs
Before buying supplies, locate the studs to determine how many brackets you’ll need and where they can be mounted. I usually use a stud finder, but you can also tap the wall to feel where it becomes solid. Mark each stud location vertically so you can align brackets.
2. Mark the Horizontal Lines for Each Shelf
Use a level to draw straight horizontal guide lines for each shelf height. Plan spacing based on the tallest items you expect to store on each shelf.
3. Cut the Boards to Size
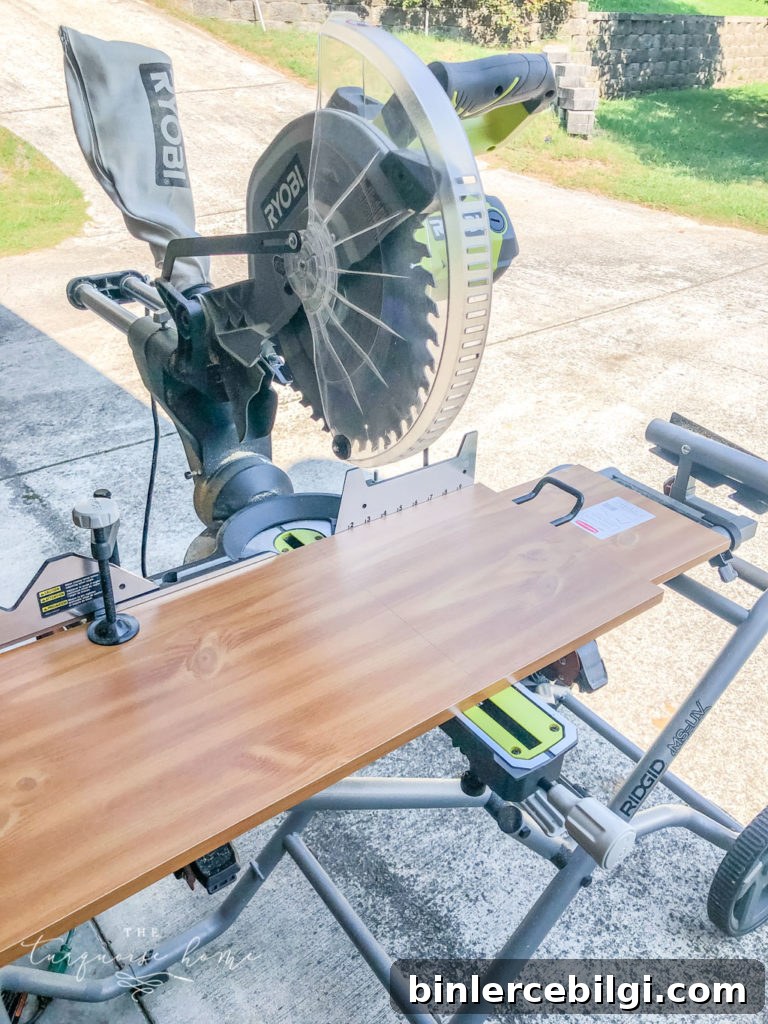
Have boards cut to the exact width of your closet. Laminate shelves are low maintenance and easy to wipe clean—handy for a pantry or high-traffic storage area. A miter saw gives the cleanest edges, but large home centers can cut boards for you if you don’t have tools at home.
4. Position All Boards in the Closet First
Before screwing brackets to the wall, place each cut board where it will sit. In shallow closets you may not be able to maneuver boards into place after brackets are installed, so test fit everything first.
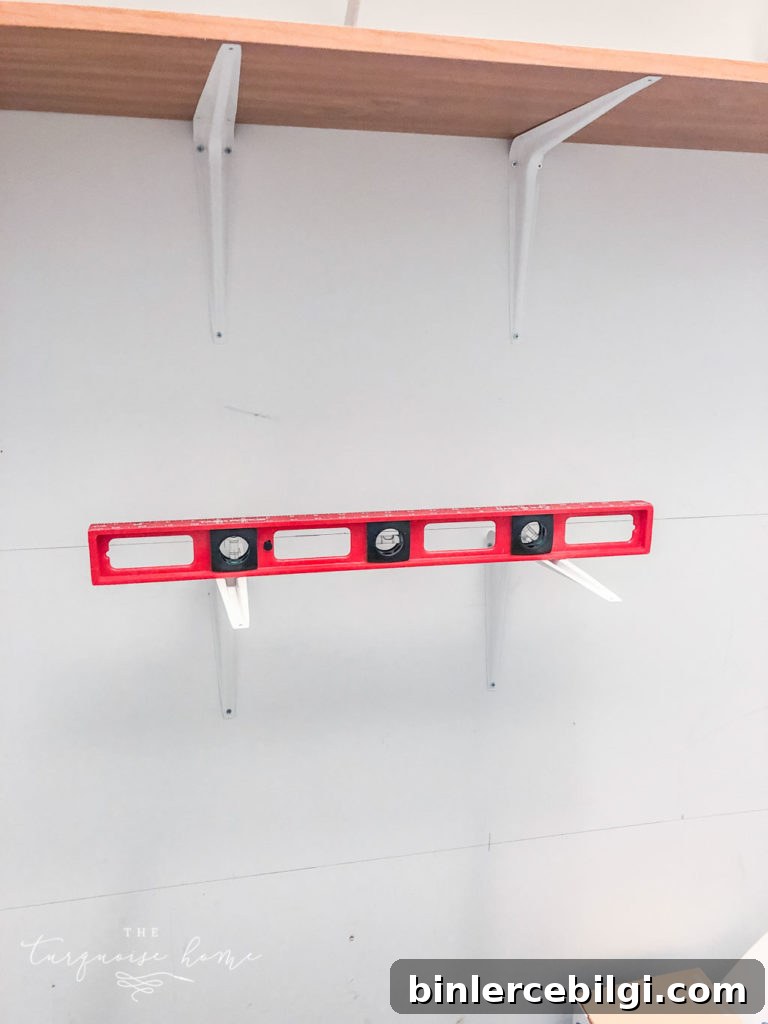
5. Install the First Bracket
Screw the first bracket into a stud, then lay a level across it to mark and install the remaining brackets for that shelf. Make sure every bracket lines up and is screwed into studs whenever possible for the best long-term strength.
Tip: For very small or narrow spaces, you can use narrow cleats (1×2 or 1×3) fastened to the wall to support shelves instead of visible brackets.
6. Set the Shelf Boards on the Brackets and Secure Them
Place each shelf on the brackets and fasten from underneath so the screws are hidden. Use short screws long enough to hold the board but short enough to avoid puncturing the shelf surface from above.
7. Repeat for Remaining Shelves
Continue the process for each shelf level. Once all shelves are installed, do a final check with the level and tighten any loose fasteners.
When finished, enjoy the new functional storage. I moved overflow items off the top of the fridge and dryer into these shelves, which cleared clutter and made everything easier to find.
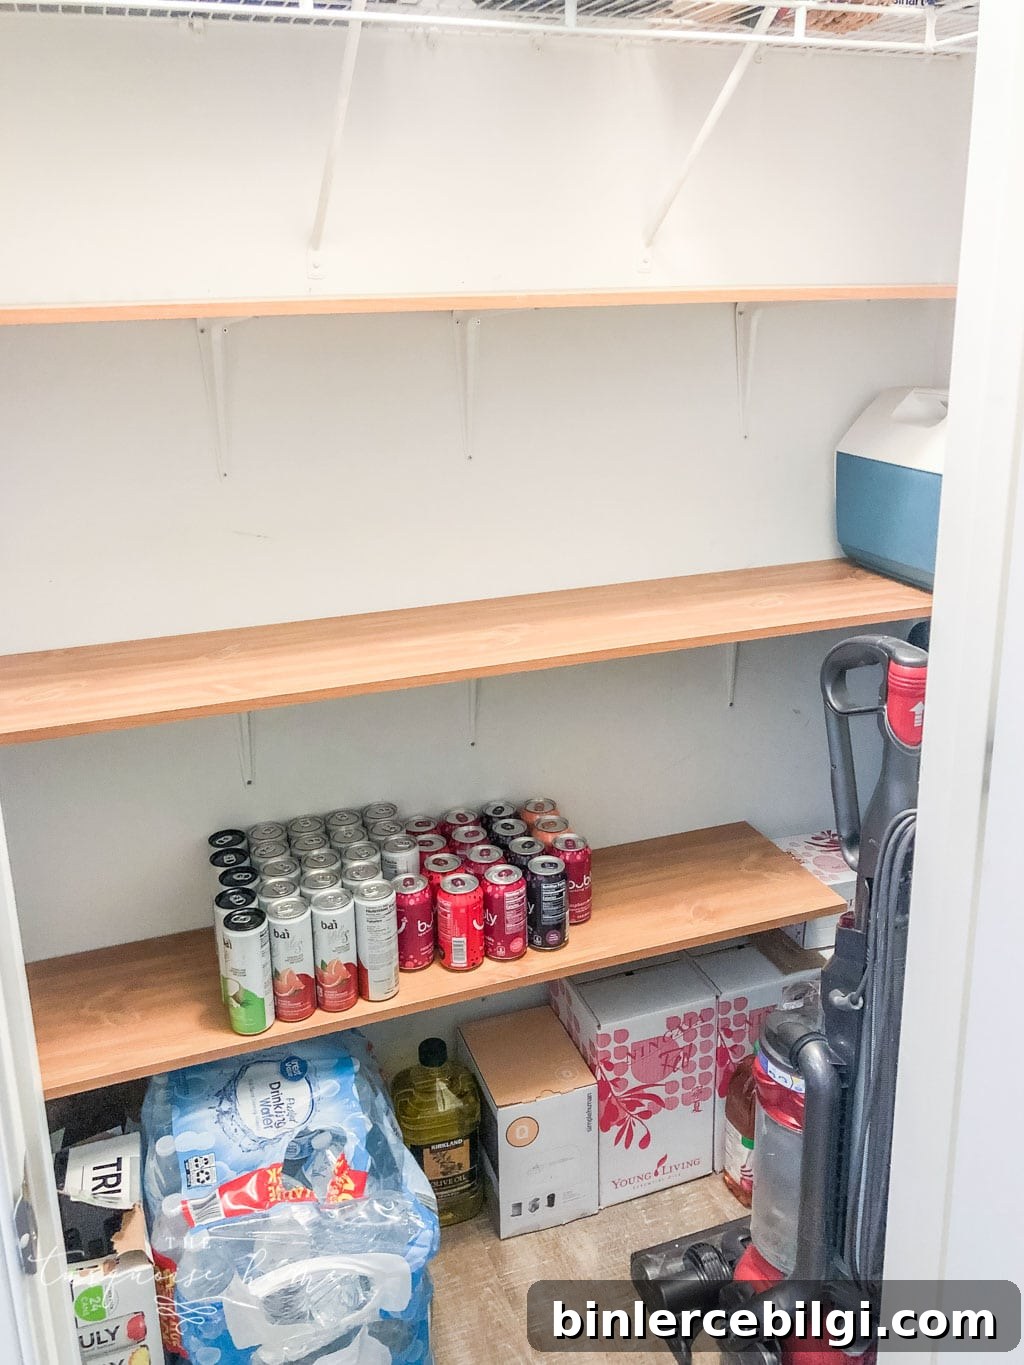
No more piles on the closet floor and fewer overstuffed cabinets in the kitchen—this small upgrade gives big day-to-day benefits. Give yourself permission to live with the shelves a bit before buying bins and organizers; you’ll know better what sizes and types of containers will be most useful.
More Posts You Will Love
Other related projects and ideas I’ve written about that you may find helpful:
- Budget-Friendly DIY Shelving Ideas for Your Home
- DIY Farmhouse Shelves for Less than $40
- IKEA Spice Racks Used as Bookshelves
- How to Build DIY Closet Shelves (detailed built-in style)
- DIY $10 Ledges for a Nursery