
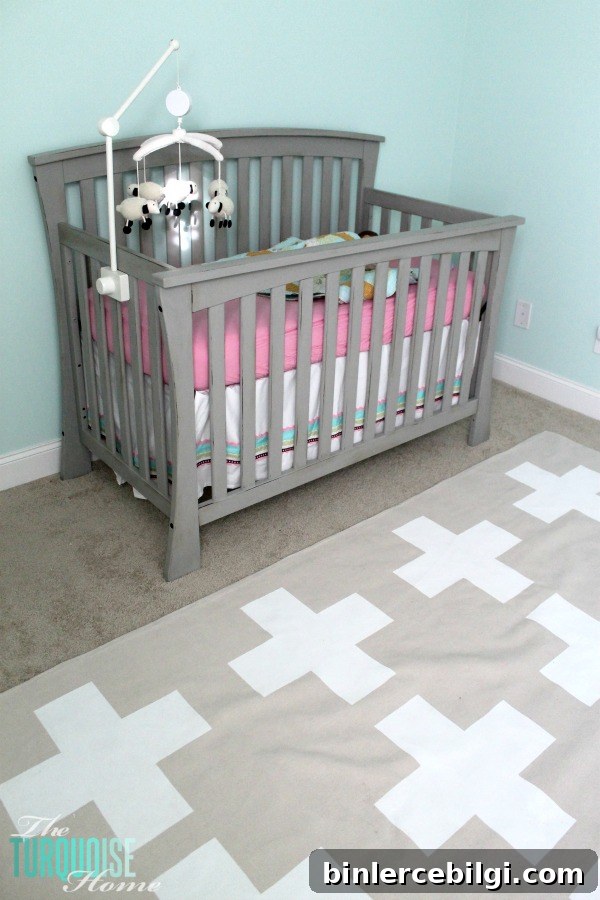
I finally completed another portion of Baby G’s nursery, and I’m thrilled with how the painted drop cloth rug turned out. Now that she’s sleeping in the room, I’m eager to finish the remaining projects and reveal the completed space. The rug is a big step toward making the room feel pulled together.
Projects take much longer with a newborn. With my first child I had months of maternity leave and fewer home responsibilities, but now I’m a work-at-home mom with a preschooler and a newborn. My days are mostly about surviving—keeping everyone fed, warm and content—so DIY time is limited. Still, slowing down the process means the results feel even more rewarding.
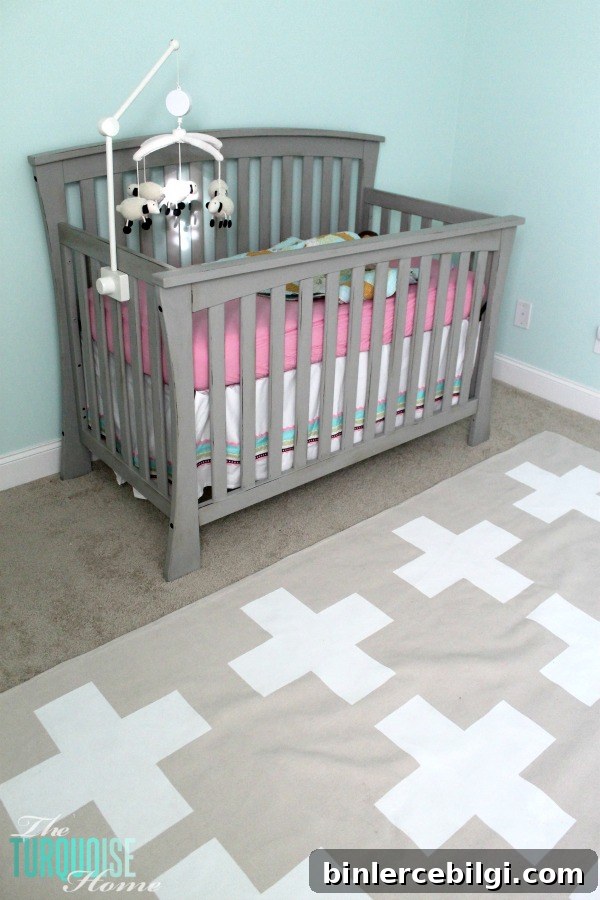
I loved the Swiss cross rug from my nursery inspiration board but didn’t want to spend a fortune. I found an affordable alternative that provides the same visual impact: a painted canvas rug made from a drop cloth. This is an unconventional approach to floor covering, but it’s budget-friendly, customizable, and perfect for a nursery aesthetic.
What you’ll need:
– Drop cloth (I used a 12 x 9 foot drop cloth folded in half to make a 9 x 6 rug)
– Super 77 spray adhesive
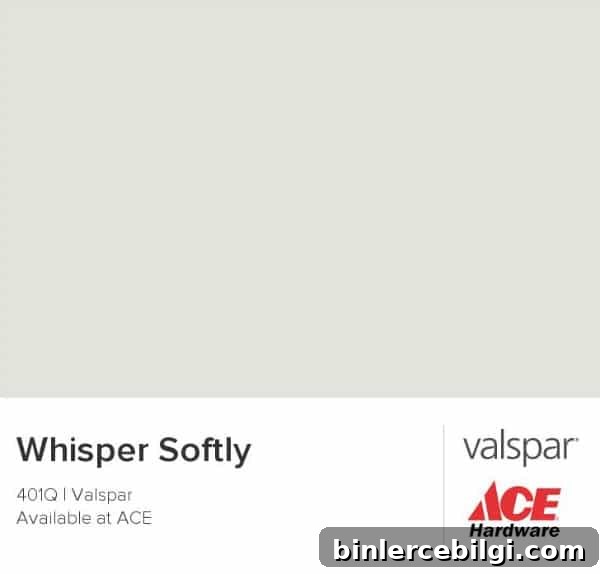
– Paint (I used the color Whisper Softly from Valspar)
– Quality paint brush (Purdy or similar)
– Frog Tape or another good painter’s tape
Step 1 – Prep.
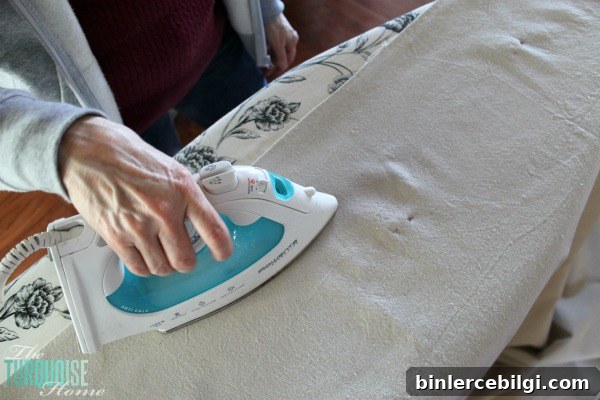
Start by washing and drying the drop cloth. This prevents future shrinkage if the rug needs to be washed. Thoroughly iron the fabric to remove creases—this step makes it much easier to work on and gives cleaner painted lines.
Step 2 – Fold it in half.
Have a helper for this step. Fold the 12 x 9 drop cloth in half to get a 9 x 6 rug and align the corners as best you can—drop cloth edges are rarely perfectly straight. Pin the sides and a few inches away from the fold, then iron the folded seam. A well-creased seam is essential for the next step.
Step 3 – Spray adhesive.
Work outdoors or in a well-ventilated garage. Lay down a sheet or newspaper to protect the ground and keep the drop cloth clean. Open up the folded rug and spray the adhesive over one side. In hindsight, I recommend spraying both sides for a stronger bond, but one side worked in my case.
Step 4 – Stick the two sides together.
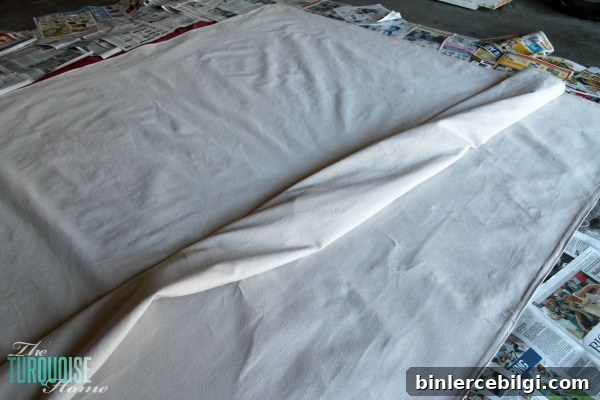
Carefully lay the top layer over the bottom, starting from the center and smoothing outward to remove wrinkles. This step definitely needs two people—press and flatten as you go, and don’t hesitate to lift and re-seat sections if wrinkles appear. Patience here avoids bubbles and uneven adhesion.
Step 5 – Plan your design.
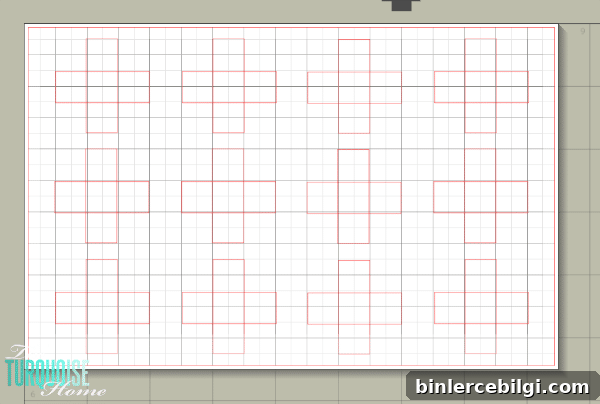
I used design software to map the Swiss cross pattern so the crosses would be centered and evenly spaced. Careful measuring and layout planning pay off when you tape and paint.
Step 6 – Tape off your design.
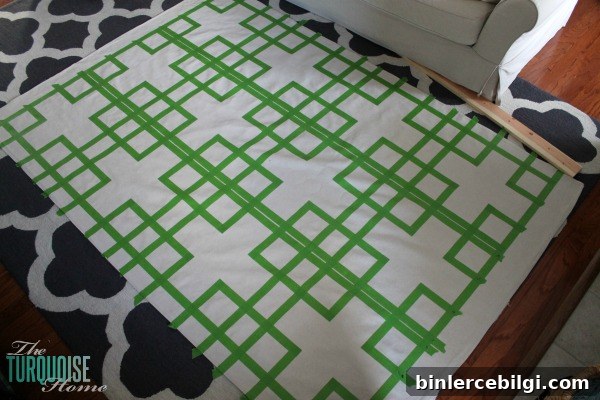
Use Frog Tape or a similarly reliable painter’s tape, and a straight edge to mark your lines. Double-check that the board you’re using as a straight edge is actually straight. Taping is the most time-consuming part of the project; take your time to ensure even spacing and crisp lines.
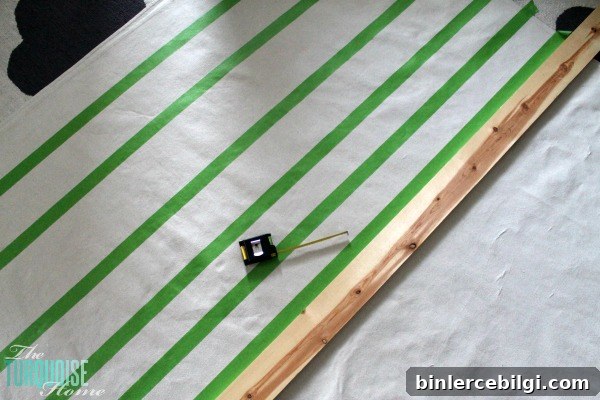
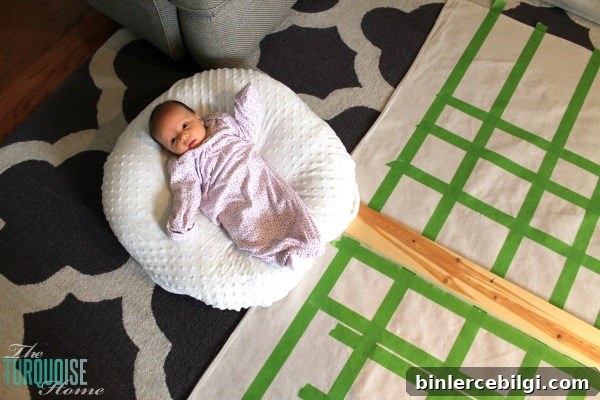
Working on top of an existing rug or padded surface helps protect your knees and makes the process more comfortable. Expect to reposition and retape sections as needed until the layout looks right.
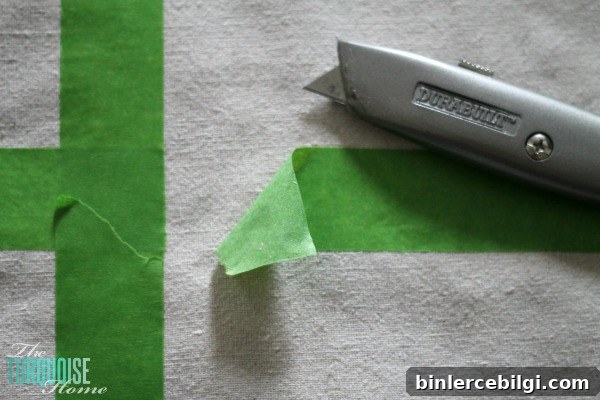
Step 7 – Cut away unnecessary tape.
Trim any excess tape with a box cutter or utility knife, cutting only through tape and not into the fabric. This creates clean edges for painting and helps the final lines look sharp.
Now the design is ready to paint. Seeing the pattern come together at this stage is very satisfying.
Step 8 – Paint!
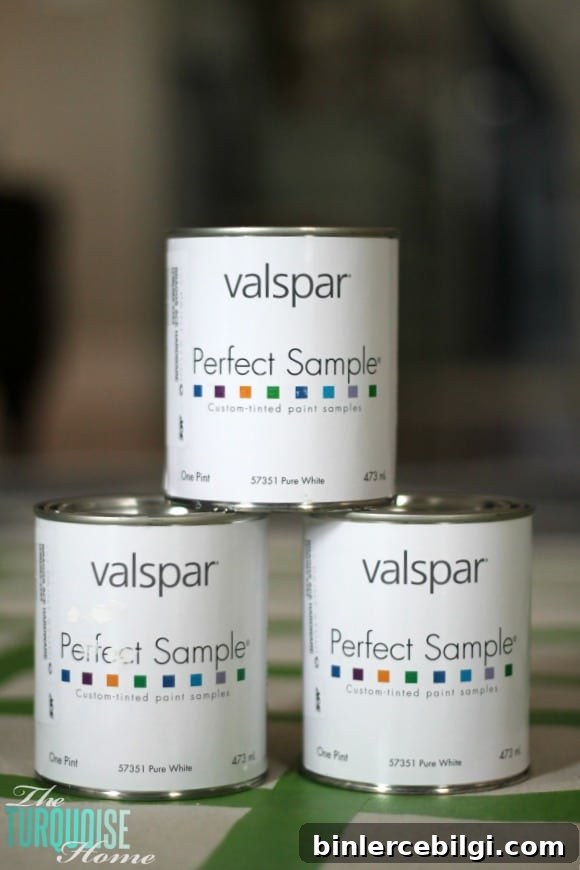
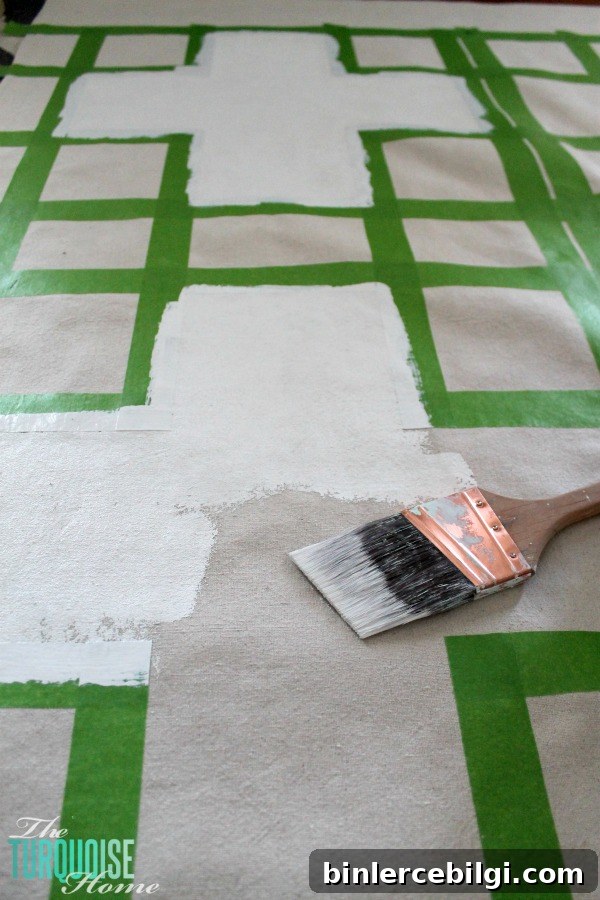
I used a pint of Whisper Softly, a neutral with green undertones that can read slightly gray in different light. Fabric painting requires technique: press the tape firmly and always brush away from the tape edge rather than toward it to avoid seepage under the tape. This project used the entire pint of paint.
After the paint dried, I removed the tape to reveal clean crosses. The painted areas are a little stiff—sanding lightly with an orbital sander or mixing paint with fabric medium before painting can help keep the fabric softer. I used fabric medium on curtains before and it made a noticeable difference.
Because the two layers are only spray-adhered, I plan to stitch the edges for durability. The spray adhesive holds well for now, but stitching will ensure the layers stay together over time.
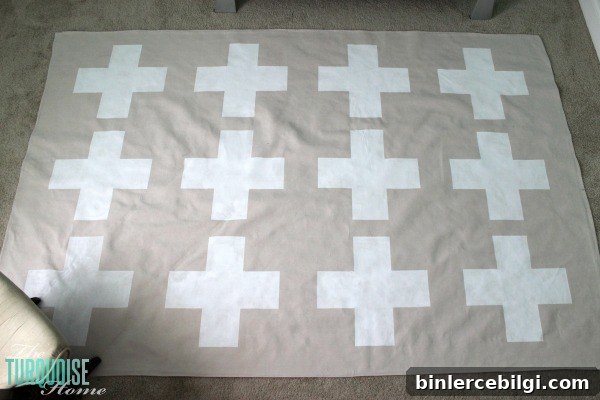
Photographing the entire rug was a challenge because it’s large, but I’m very happy with the final result. It adds personality and softness to the nursery without breaking the bank.
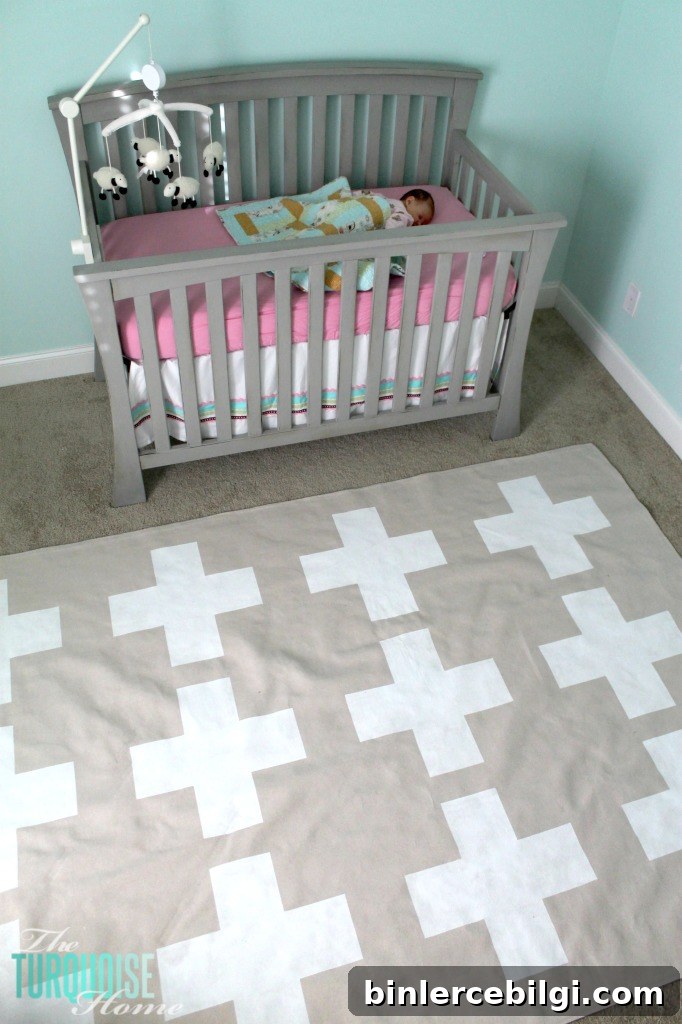
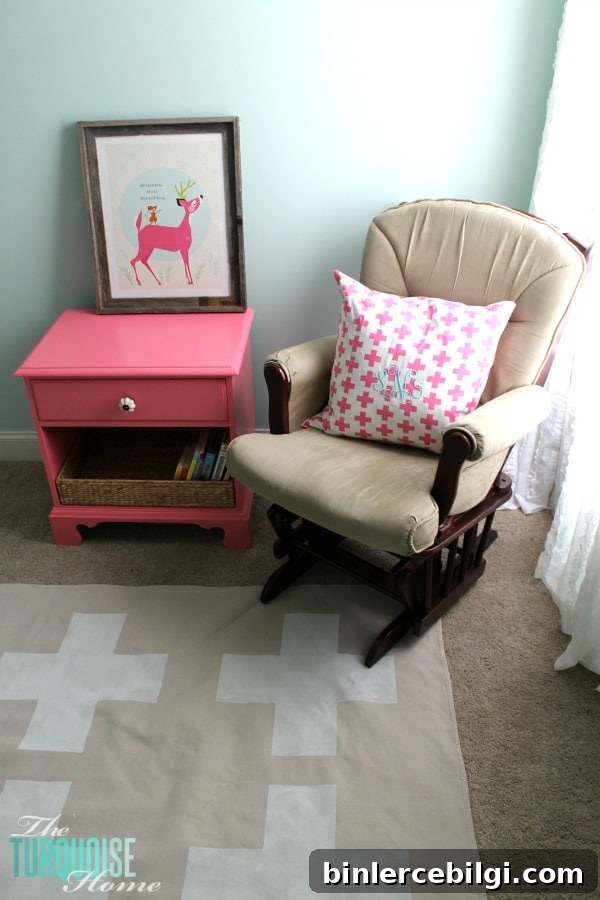
Would I recommend this approach? Yes—if you want a budget-friendly, customizable rug and don’t mind a little extra effort. It’s a fun, rule-breaking way to add pattern and personality to a nursery or any room. I have only a few more nursery projects left before the final reveal, and I can’t wait to see the space complete.