

Create a simple DIY winter wreath using any seasonal greenery you can find. Finish it with a cluster of pretty bells for a festive, timeless look.
As the holidays approach, it’s the perfect time to gather inspiration and start making decorations. A handmade wreath is a quick, budget-friendly project that easily transitions from Christmas into the rest of winter—add a few red berries for the holidays, then remove them to keep the wreath looking fresh through January and beyond.

This wreath can hang on your front door, an interior door, a chalkboard, or even over a mantel. It’s easy to make, customizable, and stores compactly once the season is over. Below you’ll find a simple supplies list, step-by-step instructions, and a few tips for styling and caring for your wreath.
Supplies You’ll Need to Make a Winter Wreath
- Greenery: Choose faux or fresh stems—eucalyptus, cedar sprigs, pine or fir, and stems with small pine cones work well.
- Grapevine wreath form: Round or square, depending on your preference.
- Hot glue gun and spare glue sticks.
- Bells: A small cluster of metal or golden bells for a festive focal point (optional but highly recommended).
- Floral wire cutters or sharp scissors for trimming stems.
More Bell Options
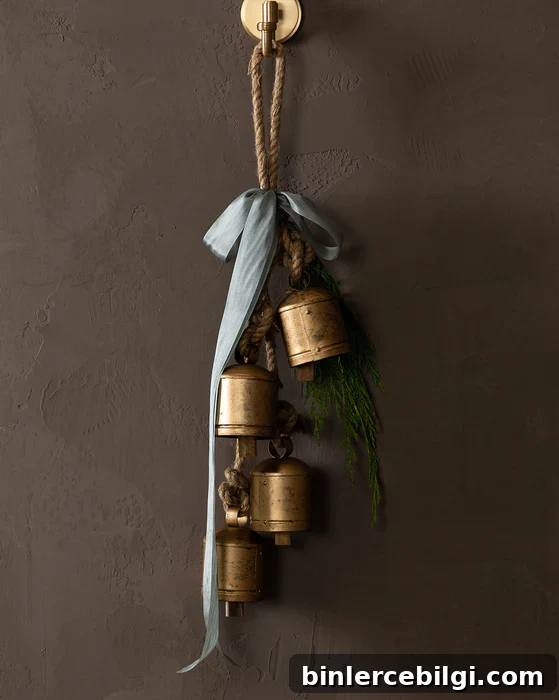
Holiday winter bells make a beautiful accent—look for small, lightweight bell clusters that you can tie or glue onto your wreath without weighing it down.
3-Pack metal bells are great if you want multiple focal points or to add bells to several wreaths and garlands.


Golden bell door hanger styles add a classic, elegant touch and pair well with natural greens.
How to Make a Winter Christmas Wreath
This is a straightforward project you can complete in under an hour. I filmed a short video to show the key steps, but the written instructions below cover everything you need.
1. Choose Your Wreath Shape
Select a grapevine wreath form that suits your space. Round wreaths are classic and versatile; a square form adds a modern twist. Either will work as the base for your winter design.
2. Gather the Greenery
Collect all the stems you plan to use. Faux eucalyptus, evergreen stems with brushed white pine cones, and cedar sprigs create a layered, textured look. If you prefer a natural option, snip fresh branches from your yard—pinecones, twigs, and small sprigs make the wreath feel organic and seasonal.
3. Take Apart the Greenery
Use floral wire cutters to trim each stem from larger bunches. Keep individual stems fairly short—under five inches works well—so they tuck into the grapevine base easily and create a full appearance without sticking out awkwardly.
4. Place the Stems in the Wreath
Start tucking stems into the grapevine form around the wreath, spacing them evenly. Alternate different types of greenery to build depth—place cedar, then pinecone stems, then a few eucalyptus sprigs to soften the look. Work in small sections so you can adjust density as you go.
5. Continue Until the Wreath Is Full
Keep adding stems and filling gaps until you’re happy with the shape and fullness. Use more of the bulkier evergreens for structure and scatter delicate sprigs for texture. Rotate the wreath as you work so it looks balanced from every angle.
6. Secure Stems with Hot Glue
For extra hold, gently pull back a stem, apply a small dab of hot glue to the base, and press it into the grapevine. The glue keeps stems secure during handling and when the wreath hangs outdoors in mild weather.
7. Add Festive Bells
Finish the wreath with a cluster of bells—hang them from floral wire or tie them with ribbon and nestle them among the greens. Bells create a focal point and add a cheerful, seasonal accent that works for both holiday and winter decor.
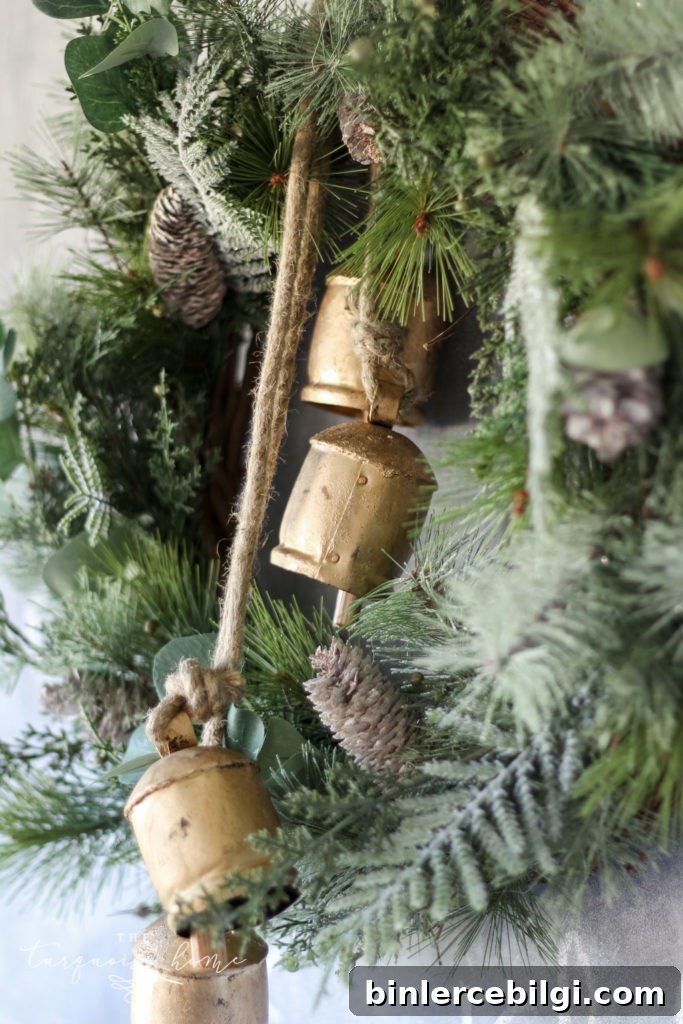
I hung mine on a chalkboard, but this wreath also looks wonderful on a front door, above a fireplace, or as part of a winter tablescape. It’s light, versatile, and easy to refresh for different seasons.
Video Tutorial for Winter Wreath
If you prefer a visual guide, I recorded a short video demonstrating these steps—watching the process can make assembly feel even easier.

Leave the wreath up through January for a cozy winter look, or take it down and store it flat in a box to reuse next year. If you used fresh greens, the wreath will look best for a few weeks—consider misting it occasionally to preserve freshness.
More Christmas Bell Ideas
Bells are a versatile holiday accent. Try adding them to mantel garlands, stair garlands, or door hangings to tie your seasonal decor together. Small clusters look charming and unify a room when repeated in multiple places.

Try pairing your wreath with a matching mantel garland for a coordinated holiday display.

More posts you might enjoy:
- Best Christmas Tree Collar Ideas
- The Best Artificial Christmas Trees
- How to Decorate the Kitchen for Christmas
- How To Display Kitchen Cabinet Wreaths
- Christmas Bedroom Decor Ideas & Inspiration
If you have questions about this winter wreath or want tips on sourcing materials and styling, leave a comment and I’ll be happy to help.