
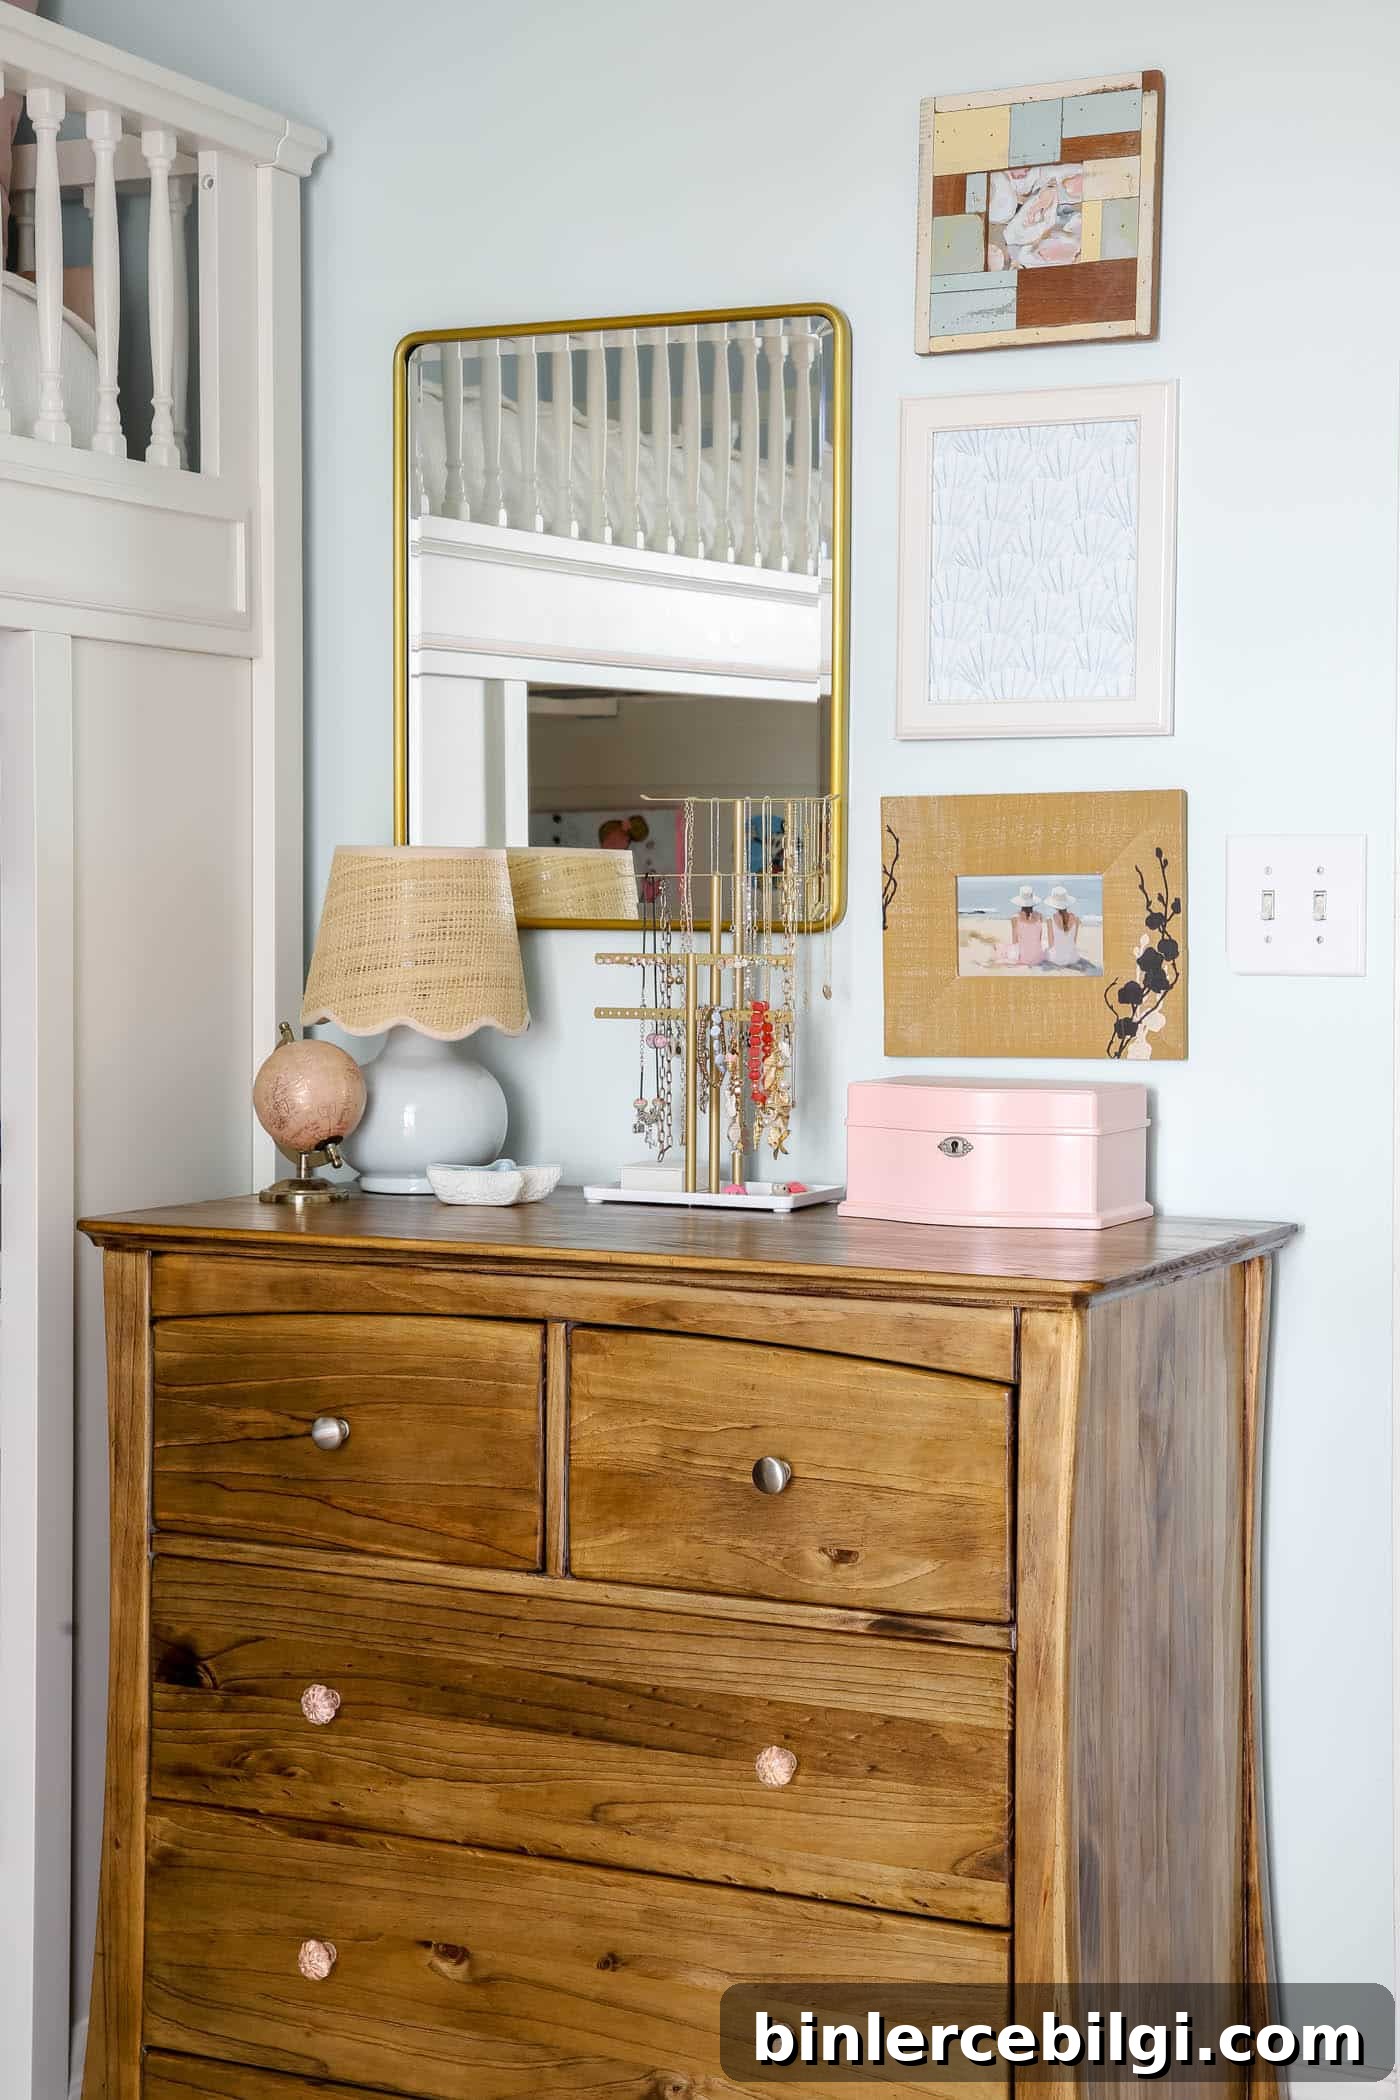
Have you ever found an attractive old dresser at a thrift shop or inherited a worn table that just needs some care? Refinishing wood furniture is one of the most budget-friendly ways to revive dated or tired pieces. The best part: you don’t have to be a professional to get great results.

In this step-by-step guide you’ll learn how to refinish wood furniture with confidence. With some time, basic supplies, and a bit of elbow grease, you can transform a scratched or outdated piece into something beautiful and useful again.
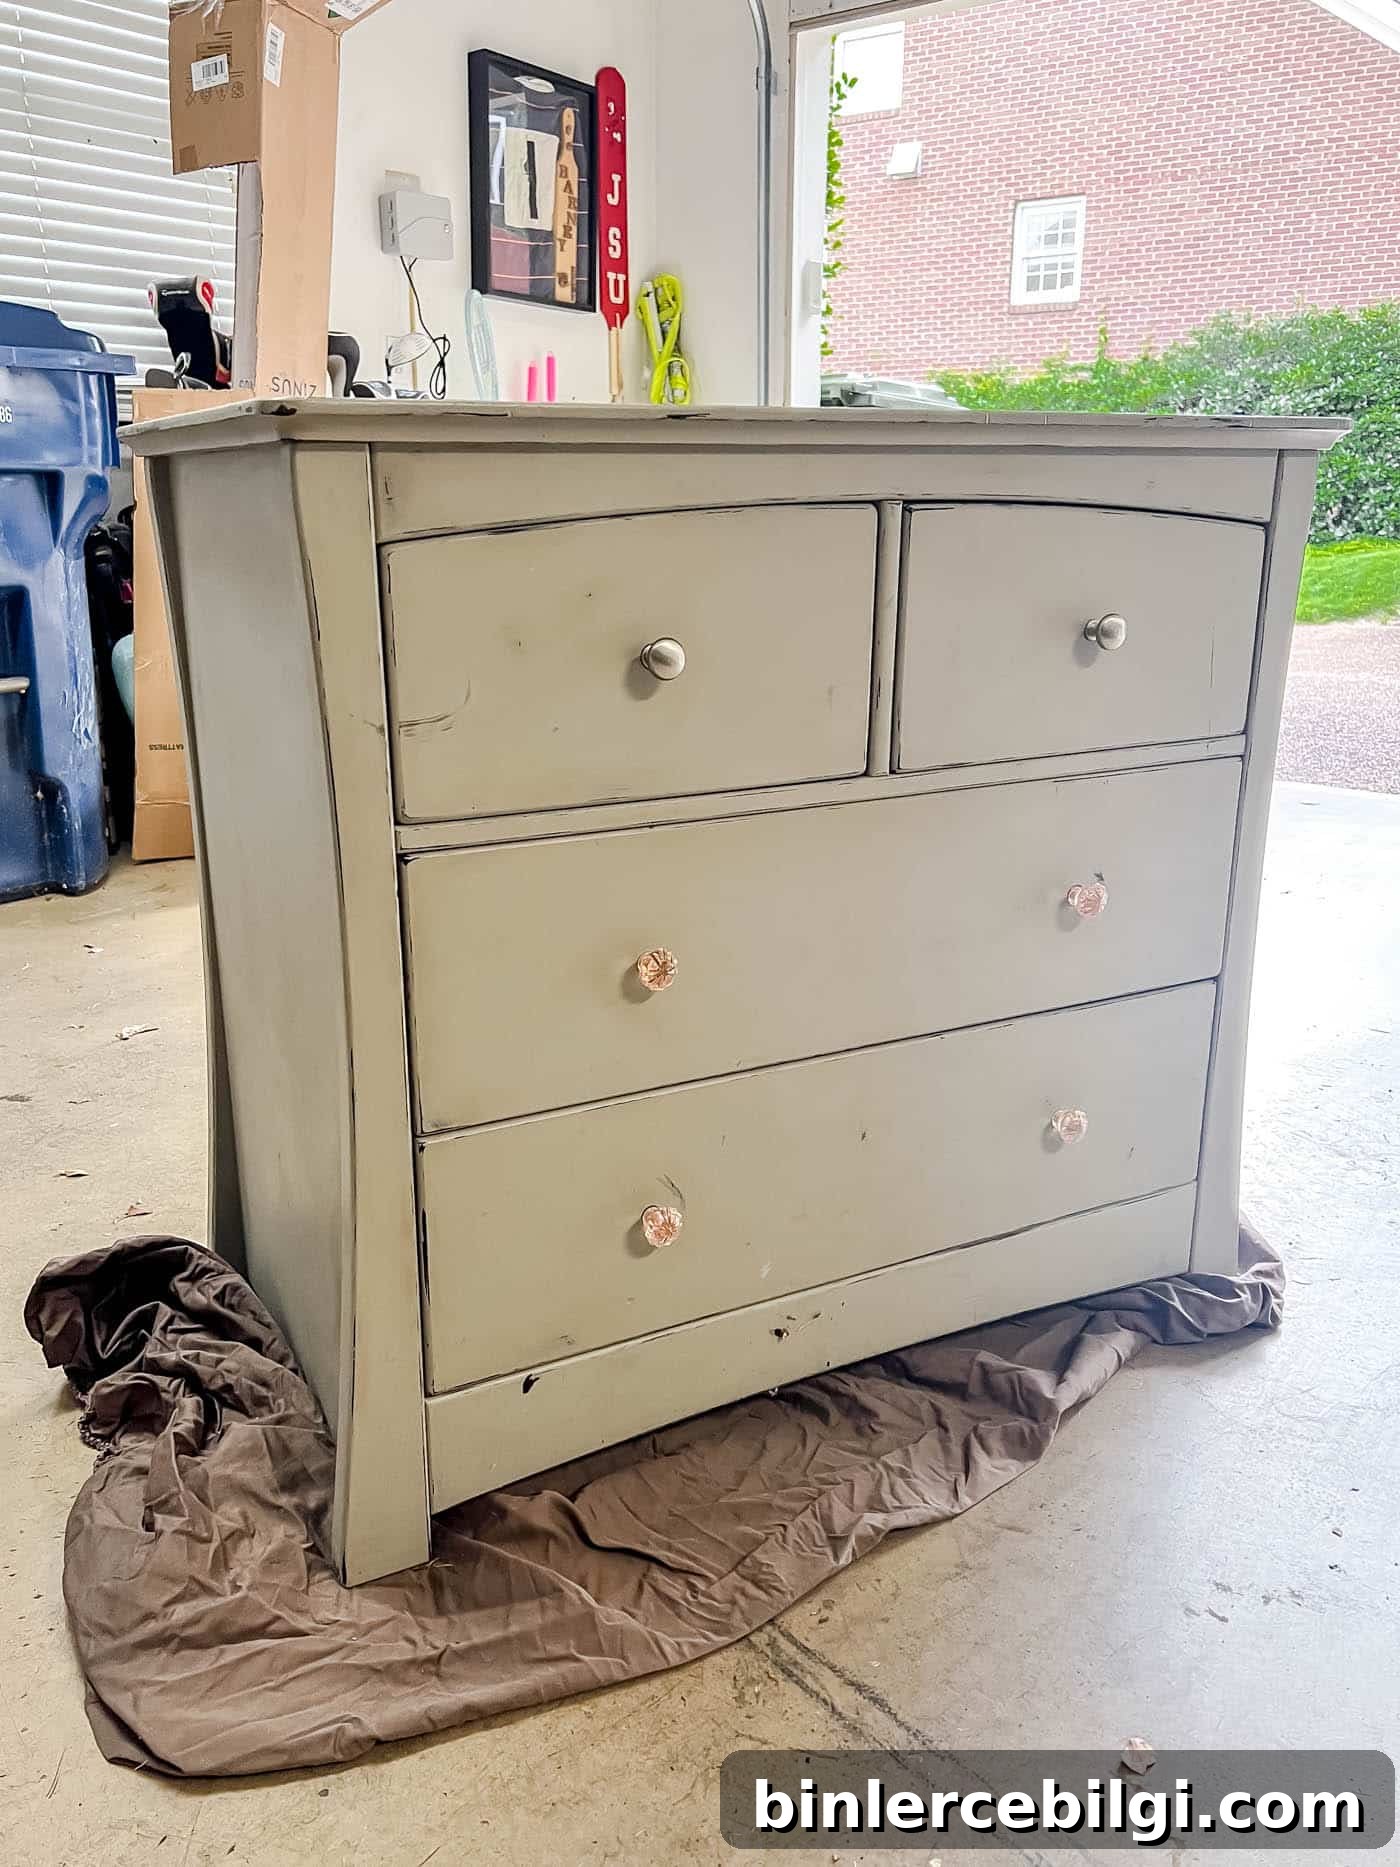
I’ve been slowly redecorating my younger daughter’s bedroom and needed a small dresser that would also double as a jewelry station. A worn changing table sat in our garage and, although it was no longer in daily use, it had great structure and solid wood—perfect for a refresh.
Here’s the messy desk and nightstand situation I started with:

This simple, budget-friendly makeover gave the room a cleaner look and provided a tidy spot for her jewelry and small keepsakes.
This post contains affiliate links for your convenience.
Why Refinish Instead of Replace?
Refinishing wood furniture saves money, reduces waste, and preserves sentimental value. Solid wood pieces can last for decades, and often all they need is a fresh finish to highlight the grain and restore their character. Refinishing is also a satisfying DIY project—you get to say, “I did that!” when you stand back and admire the final result.
The dresser I chose had been a changing table for my girls as babies. After moving it out a year ago for a larger dresser, I realized it fit the space perfectly and was worth bringing back to life.

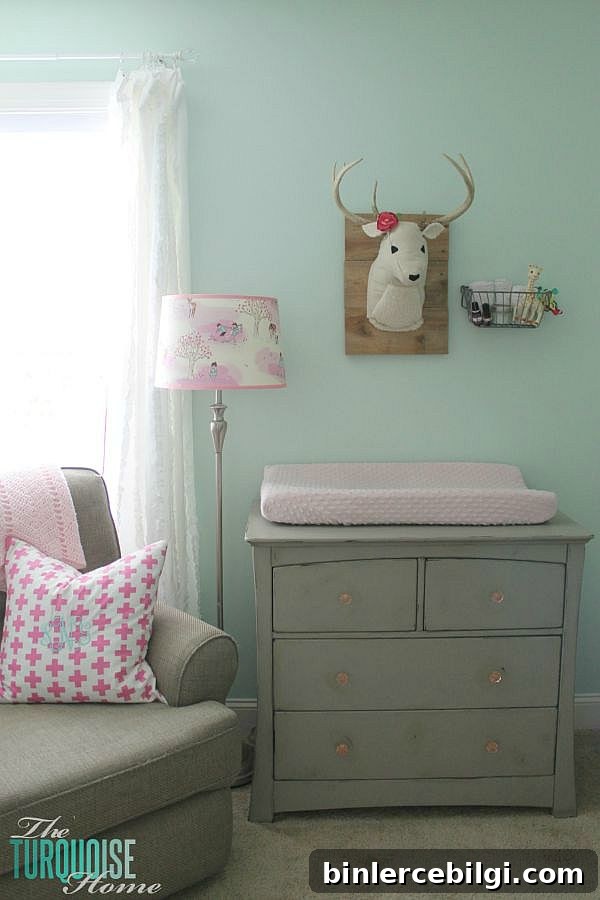
Because it’s solid wood and fit the space perfectly, refinishing was an obvious, sustainable choice rather than buying a new piece.
Supplies You’ll Need
Gather your tools before you begin so you can work efficiently. A typical list includes:
- Drop cloth or tarp
- Screwdriver (to remove hardware)
- Chemical paint stripper gel (optional but effective for heavy finishes)
- Sandpaper (coarse, medium, and fine grits)
- Orbital or sheet sander (or sanding block for hand sanding)
- Wood cleaner or mild soap and water
- Safety gear (gloves, respirator mask, safety glasses)
- Wood conditioner (optional, for more even stain absorption)
- Wood stain or paint and primer
- Paint brushes, rags, or foam applicators
- Polyurethane or finishing wax to seal the surface
How to Refinish Furniture to Stain or Paint
This process focuses on stripping and re-staining, but many of the same steps apply when painting. If you plan to paint, you can often skip heavy stripping and perform lighter sanding and priming instead.
1. Choose Your Piece & Prep Your Space
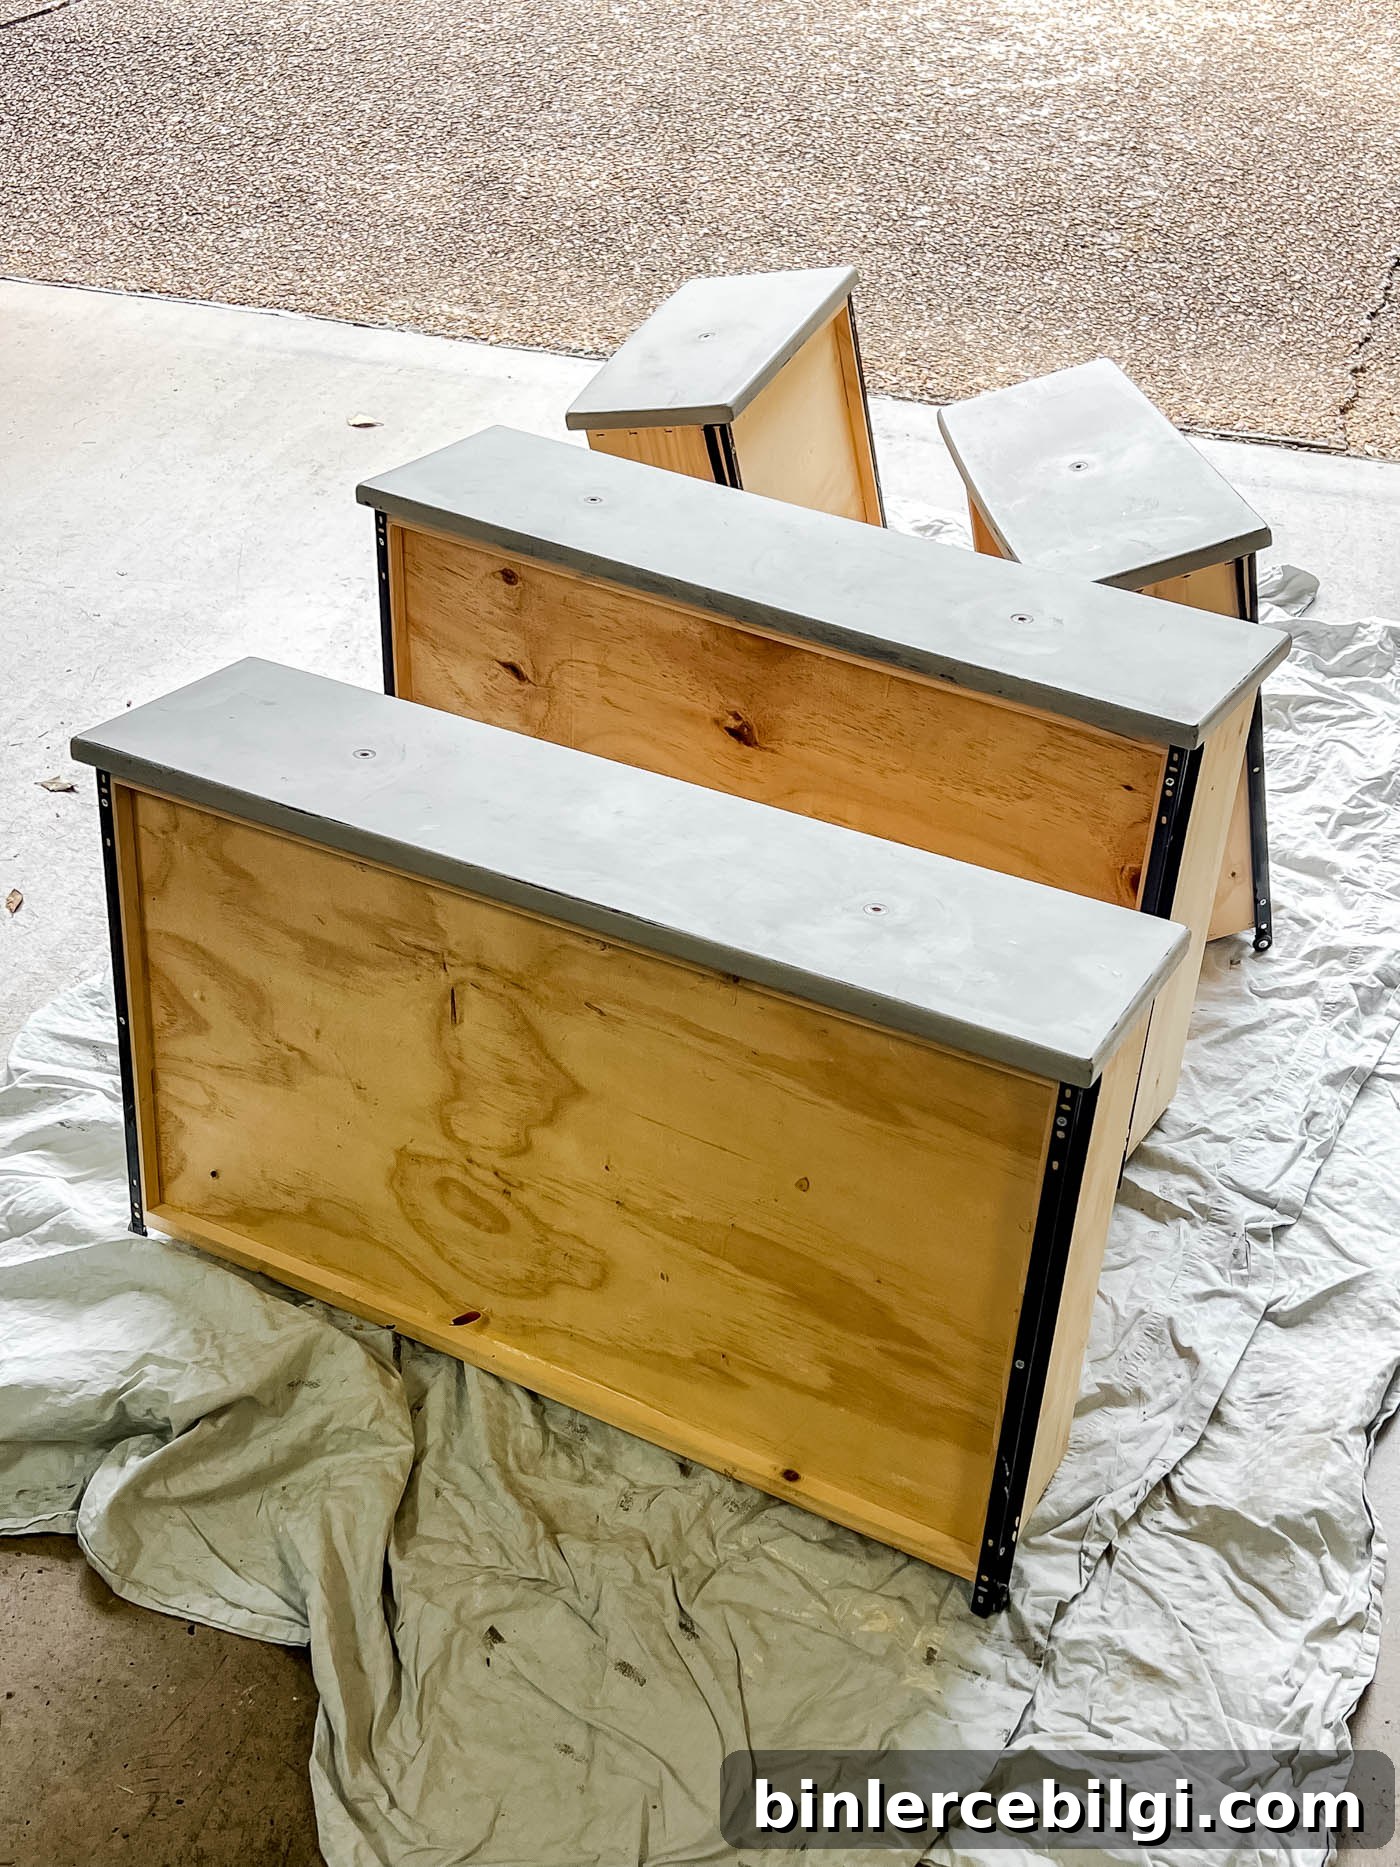
Pick a solid, well-built piece with good lines. Work in a well-ventilated area—outdoors or in a garage is ideal—and protect surfaces with a drop cloth. Remove drawers, doors, and hardware, and store small parts in labeled bags for reassembly.
2. Clean Thoroughly
Even furniture that looks clean can have years of polish, dirt, and grease in the grain. Wipe surfaces with a wood cleaner or mild soap-and-water solution and allow everything to dry completely before proceeding. If you’ll be stripping and sanding, this step can be lighter, but never skip it when painting.
3. Strip the Old Paint
Apply a paint stripper gel per the manufacturer’s instructions. Don’t let the stripper dry on the surface—if needed, cover the treated area with plastic wrap to extend its action. After the finish has softened, use a scraper or putty knife to remove the old paint or varnish.
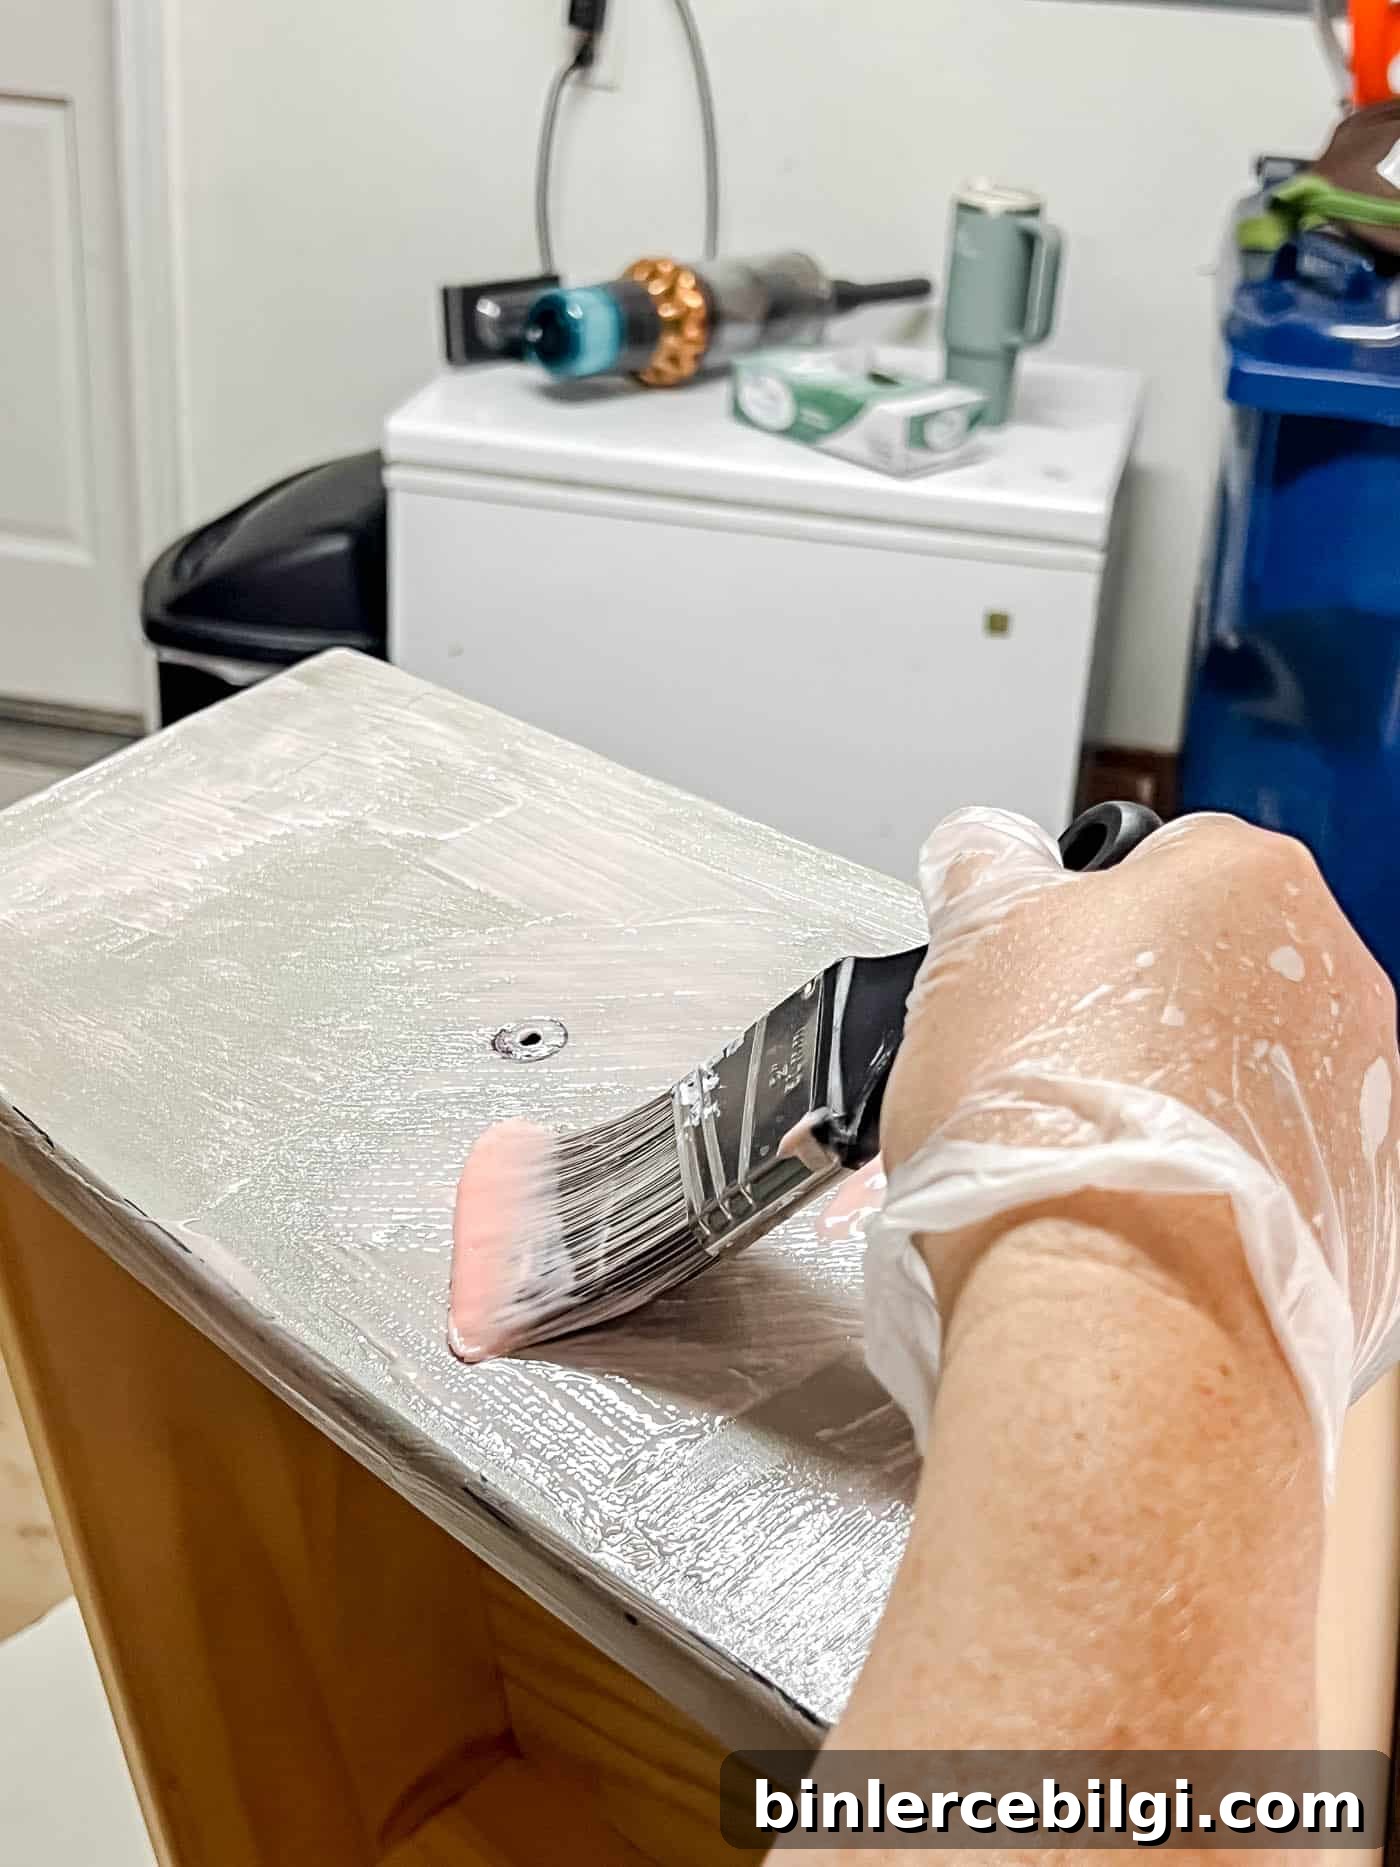
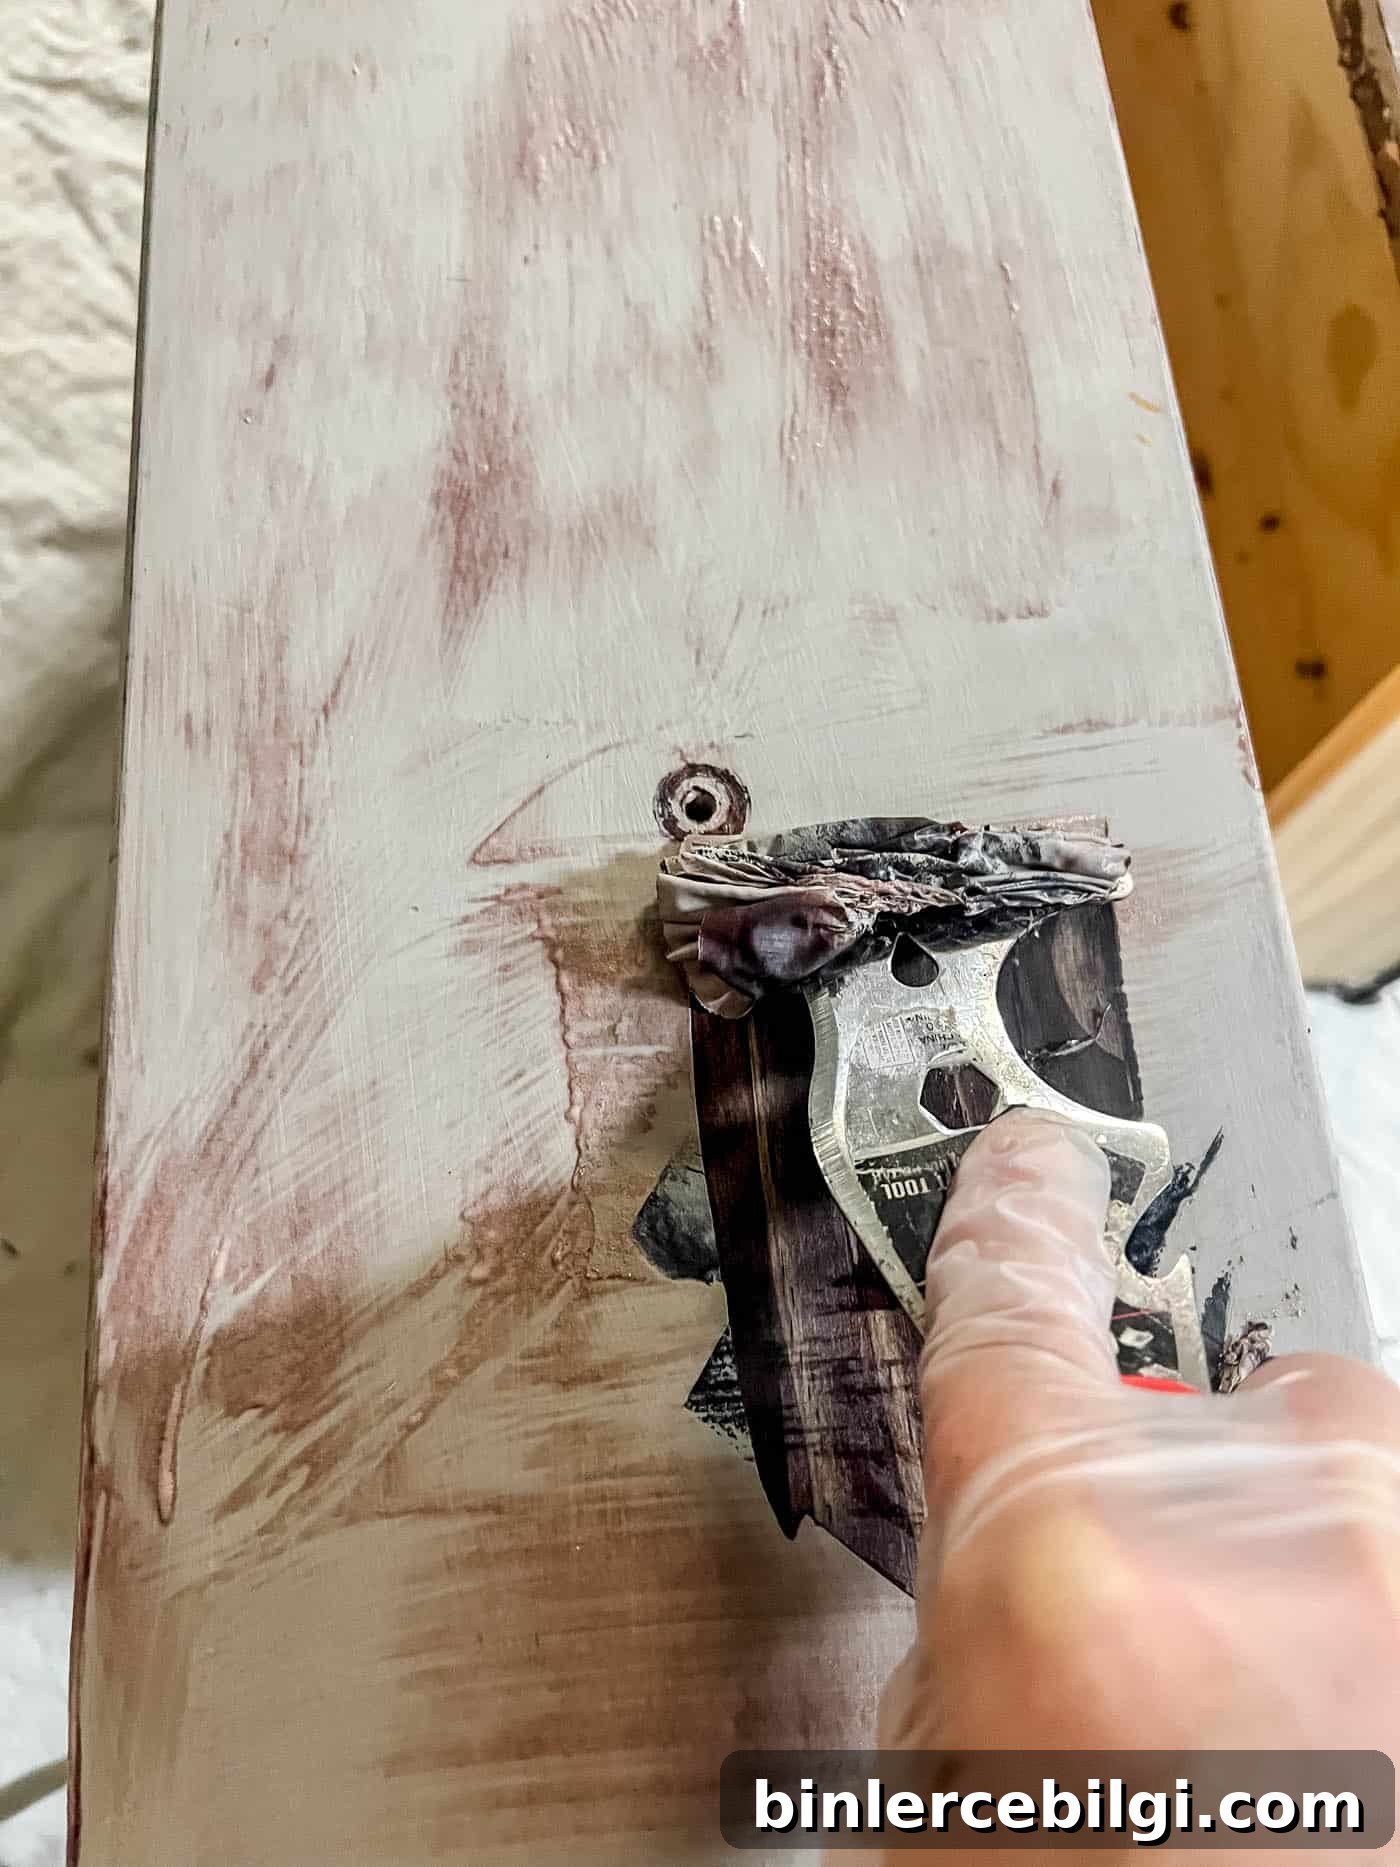
Tip: Repair any holes, cracks, or deep gouges with wood filler before you sand.
4. Sand the Surface
Sanding is essential. Start with a coarse grit to remove remaining finish, then progress to medium and fine grits until the surface is smooth. Always sand with the wood grain to avoid visible scratches.
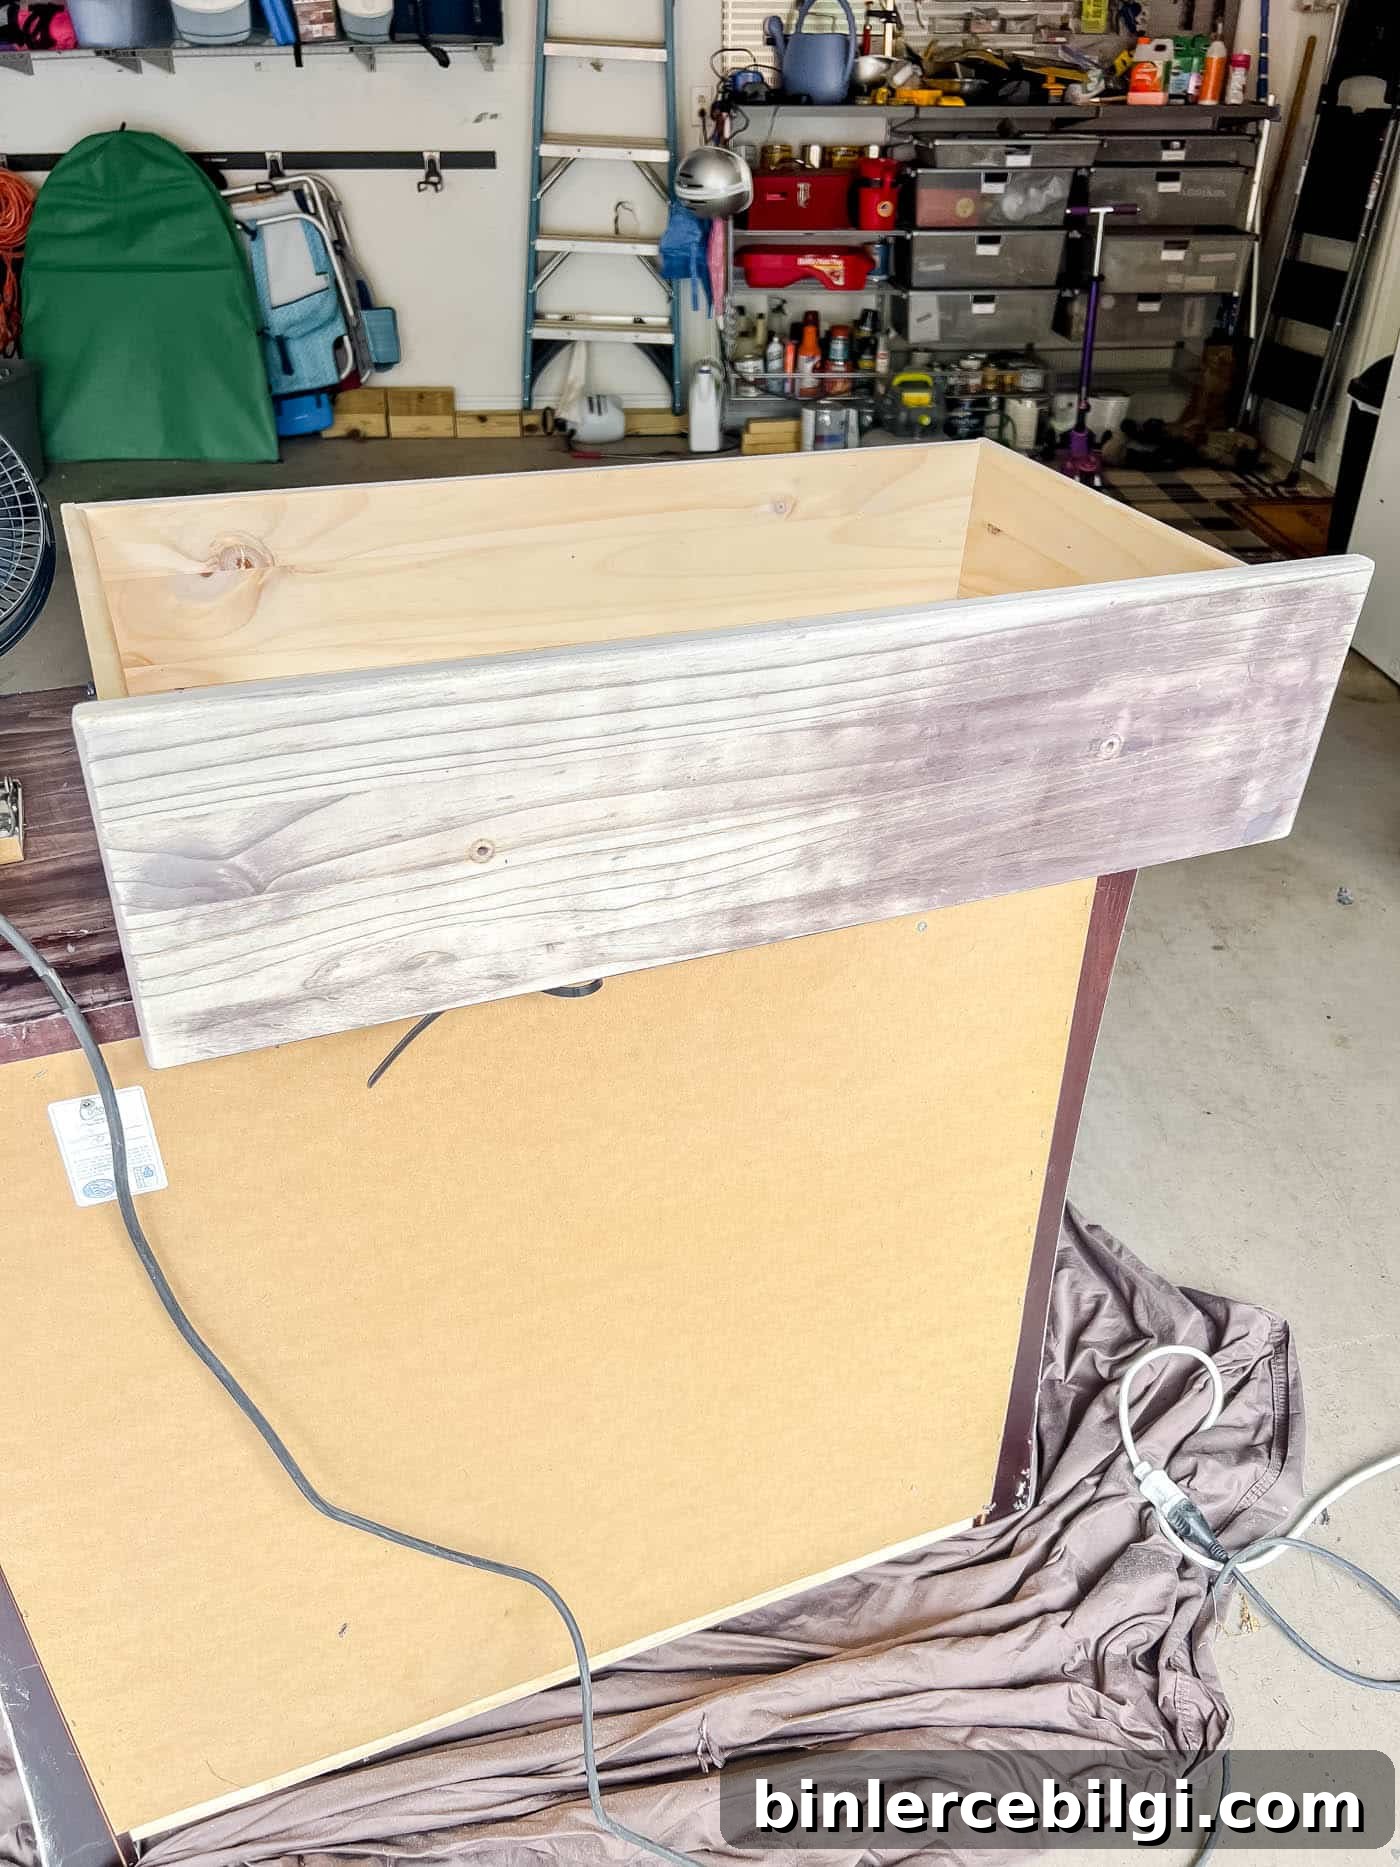
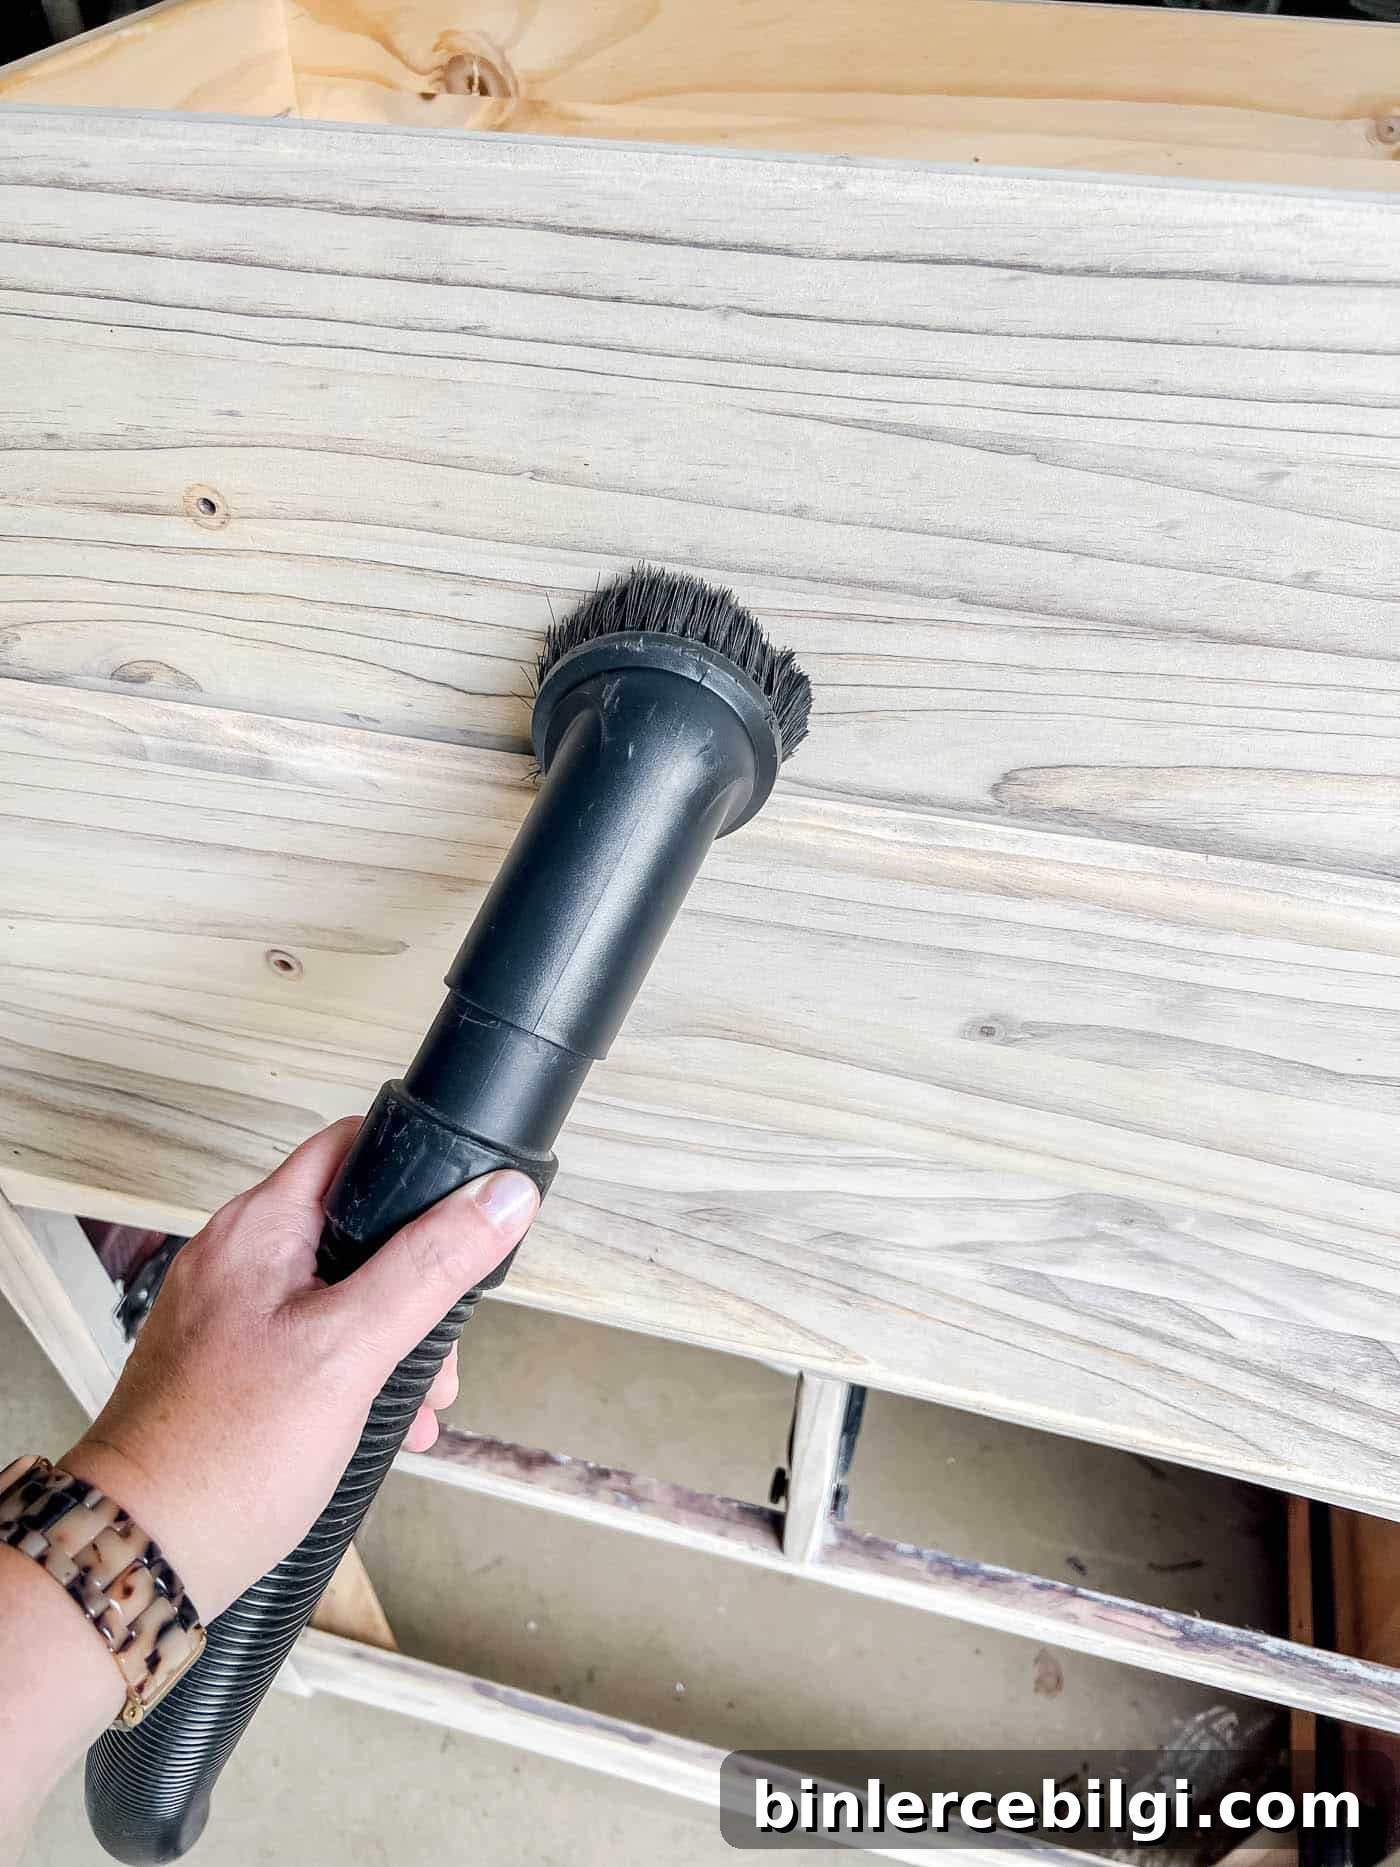
For this project I used 80 grit, then 180, and finished with 220 grit—use what you have available. Vacuum the dust and wipe the piece with a damp cloth or tack cloth before staining or painting.
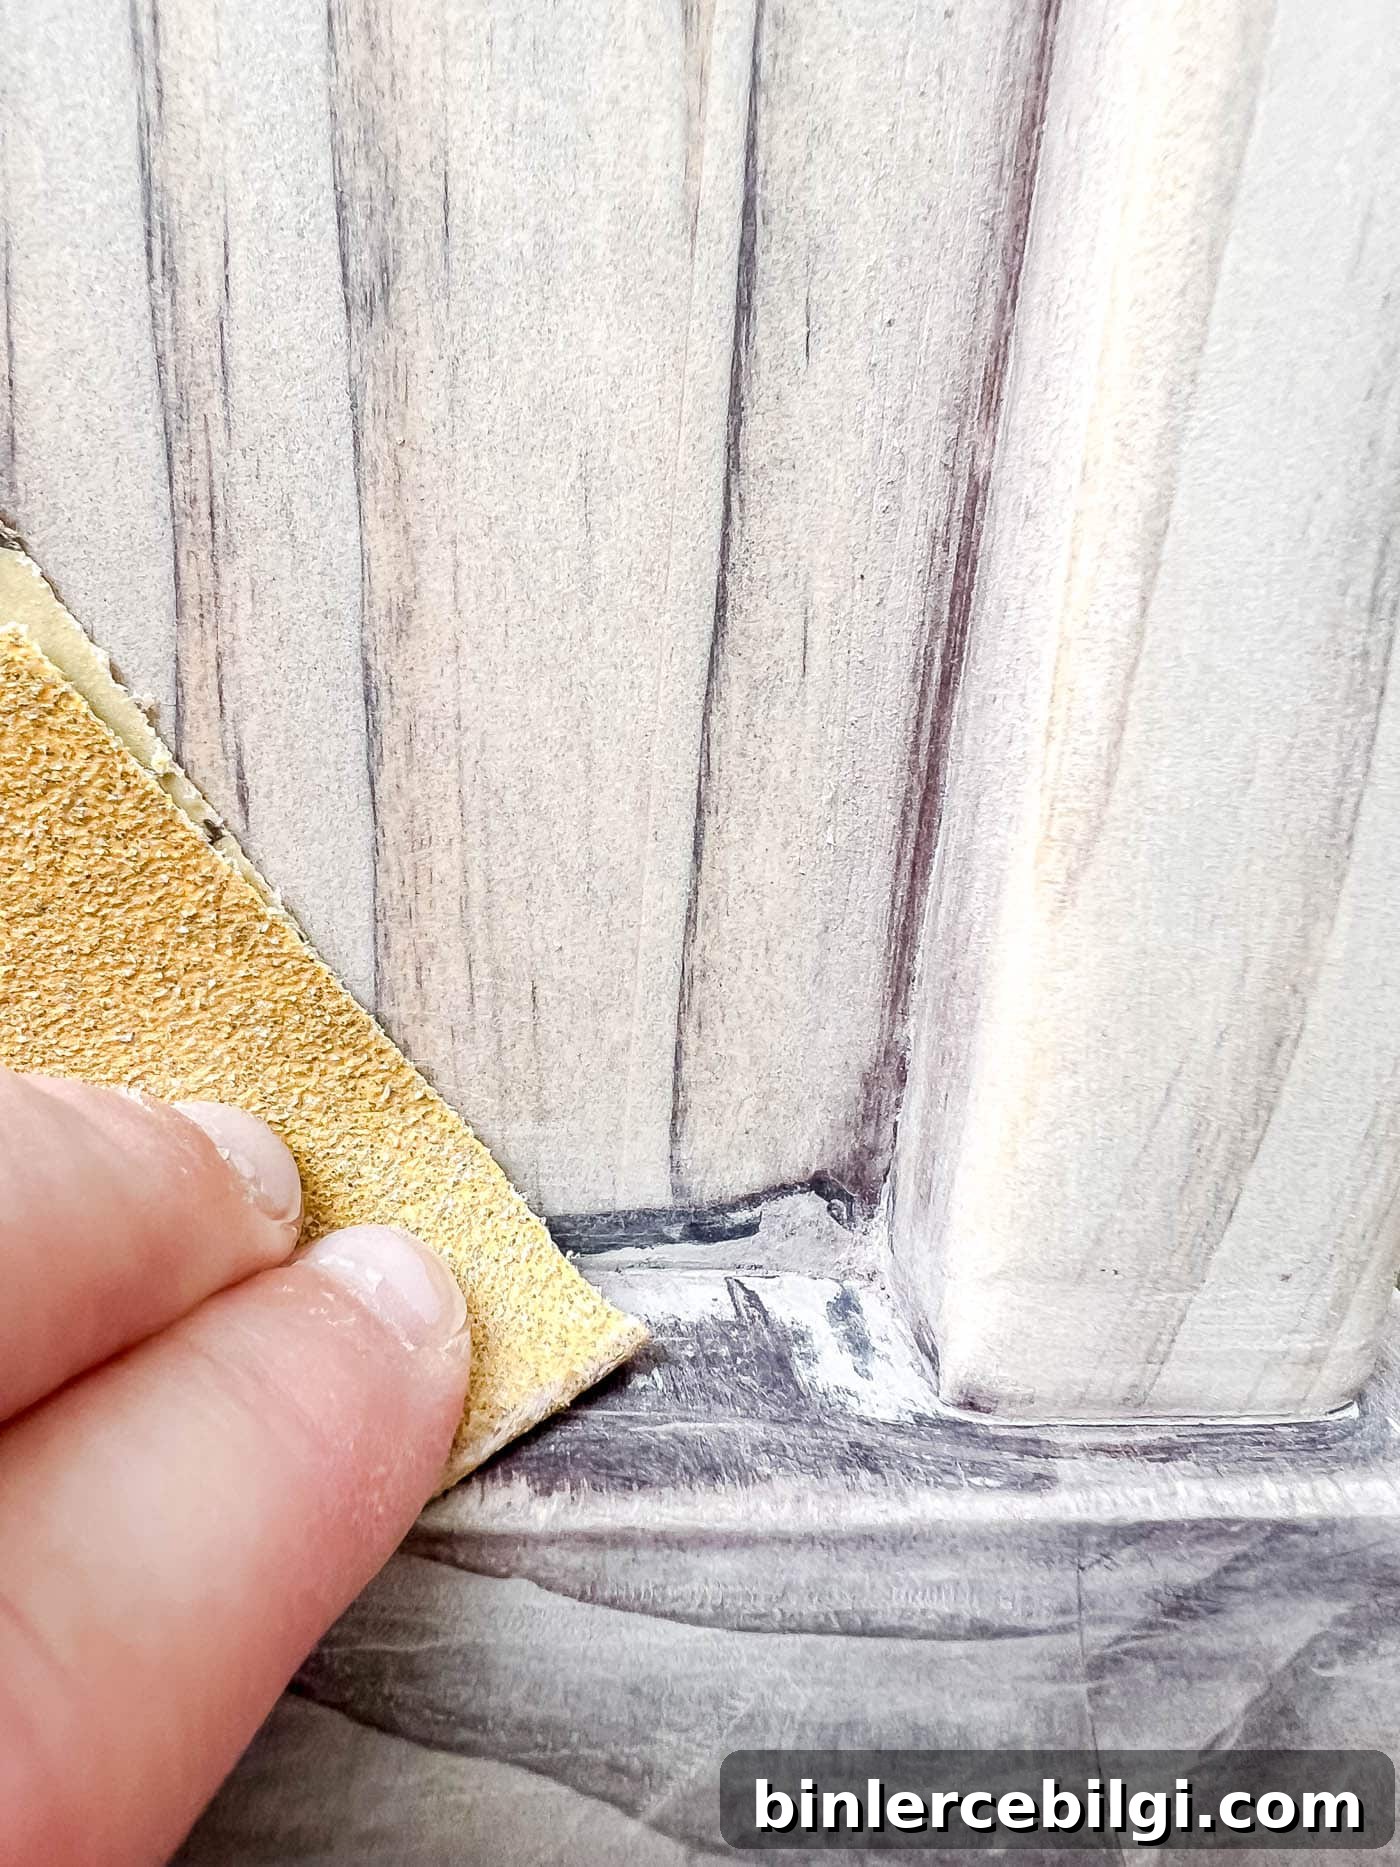
Tip: Orbital sanders save time, but a sheet sander or hand-sanding can give better control on delicate or detailed pieces to avoid swirl marks.
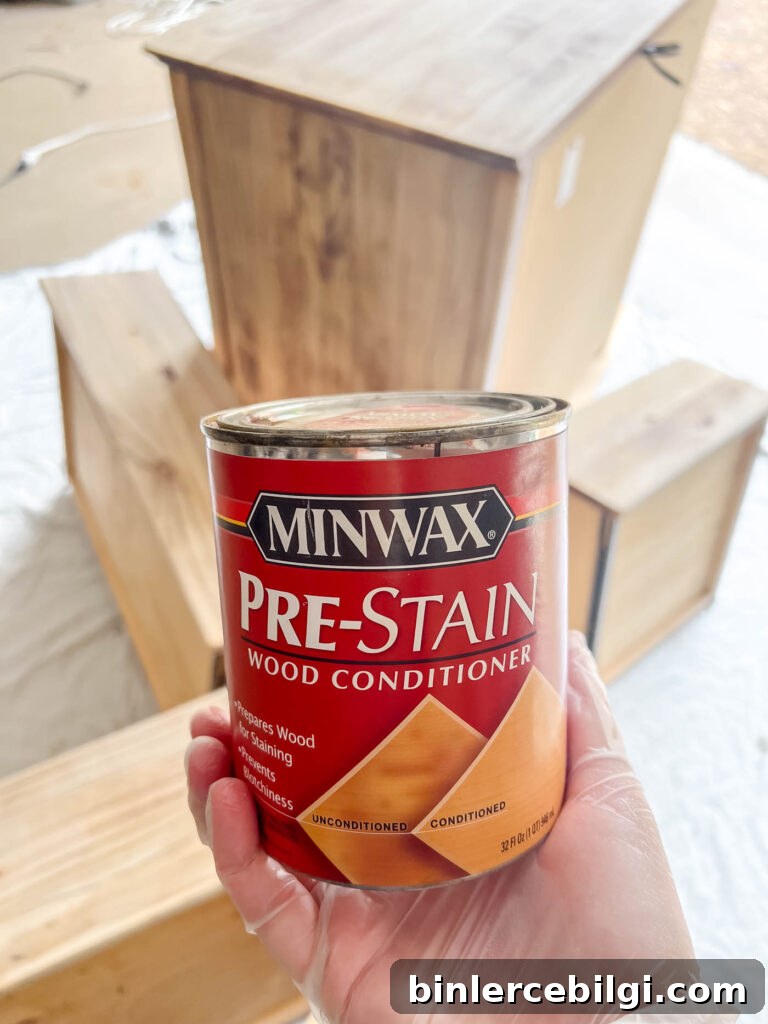
Optional: Use a pre-stain wood conditioner on bare wood for a more even stain absorption, especially on soft woods.
5. Apply Stain or Paint
Now choose between highlighting the wood with stain or refreshing the piece with paint.
- For stain: Apply using a rag or foam applicator, then wipe off the excess. Apply multiple thin coats to deepen the color as needed.
- For paint: Use a quality brush or sprayer and apply thin, even coats. Prime if the wood or old finish requires it.
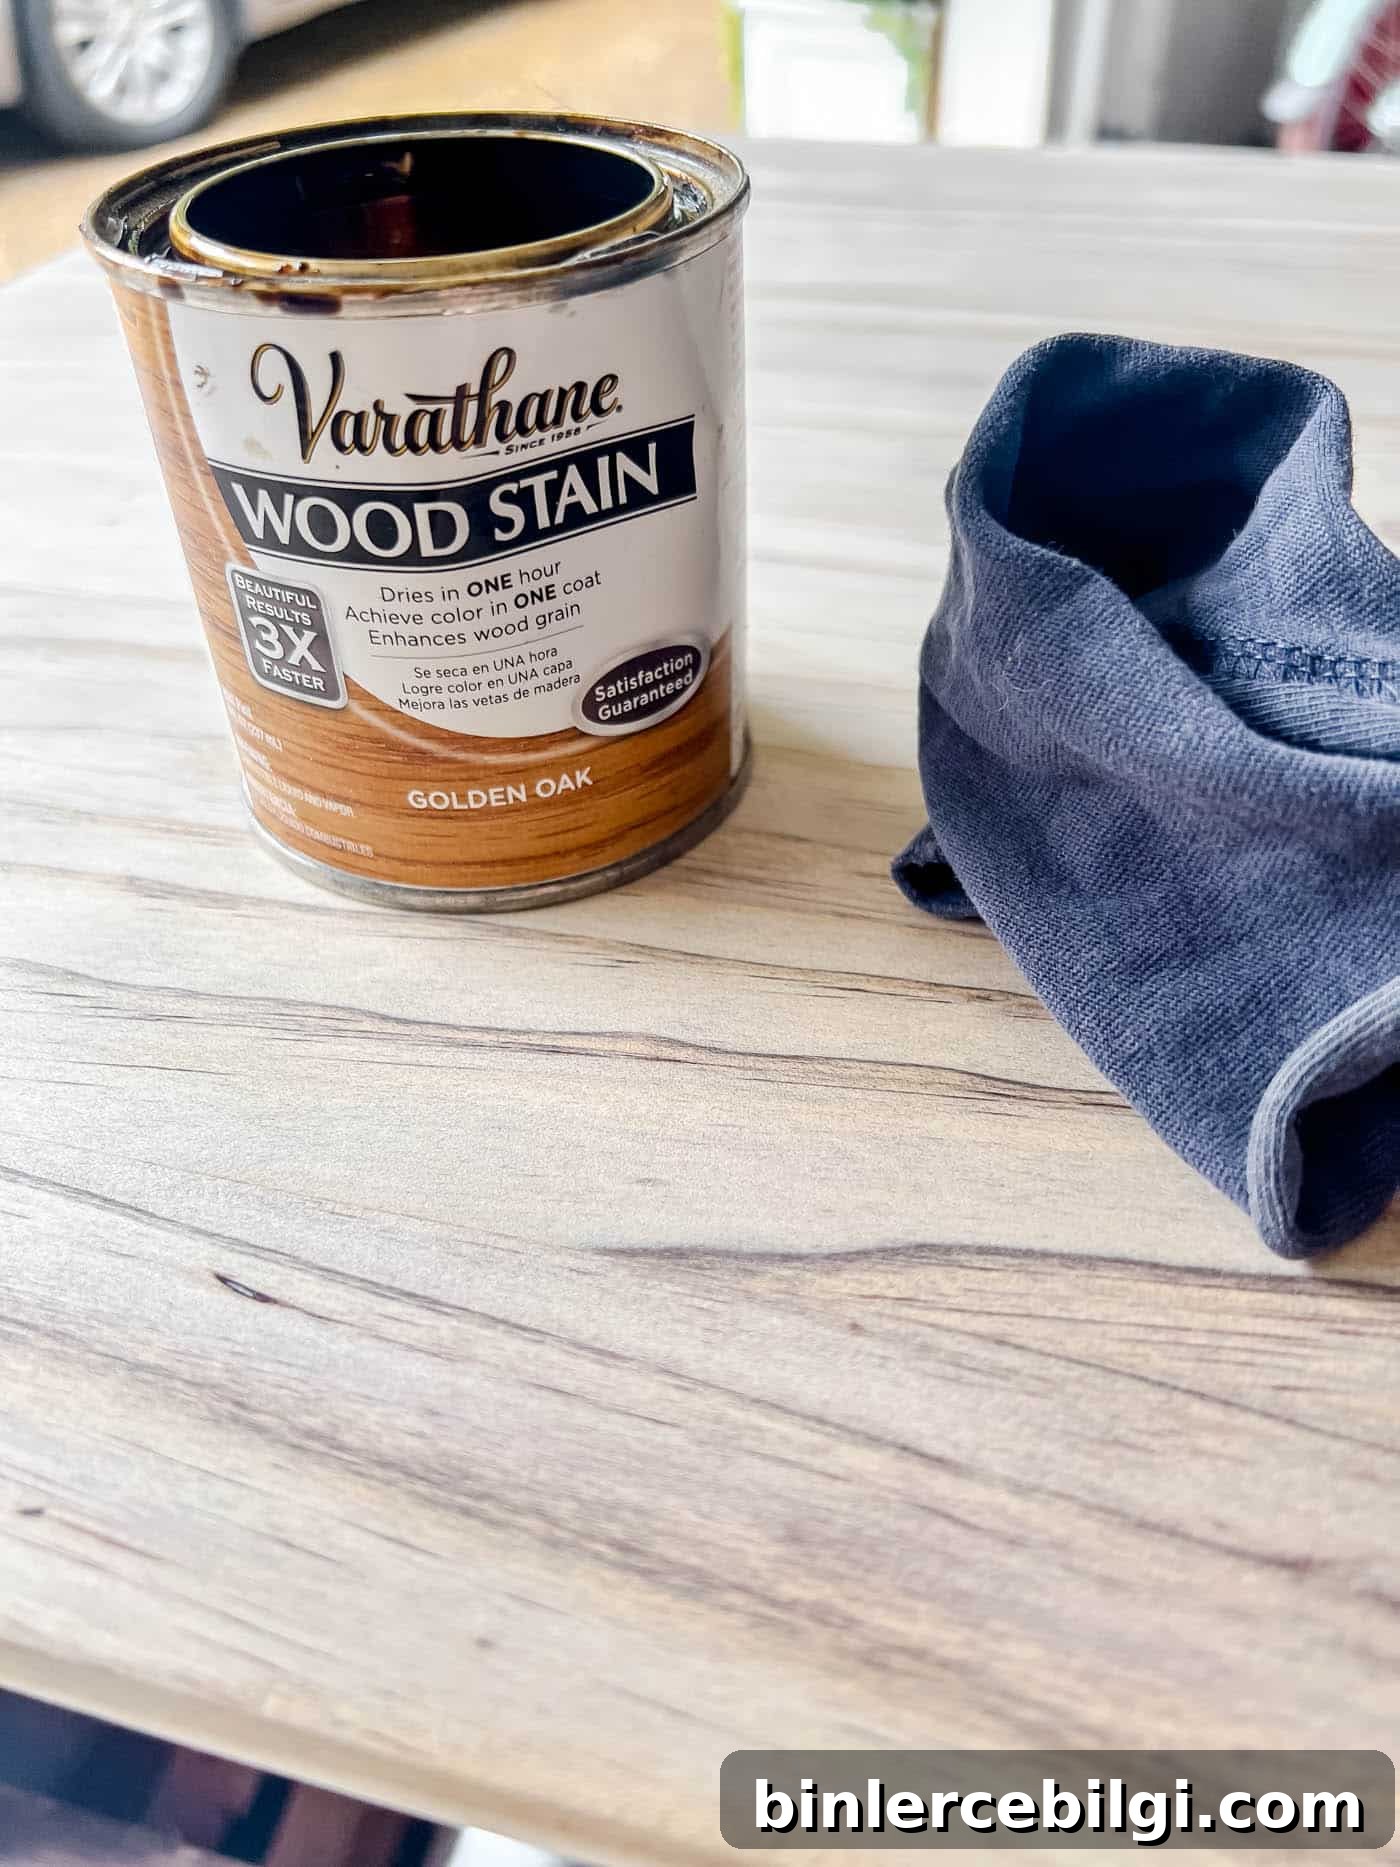
Allow each coat to dry fully and follow the product instructions for best results. Wipe the surface clean with a tack cloth before moving on to sealing.
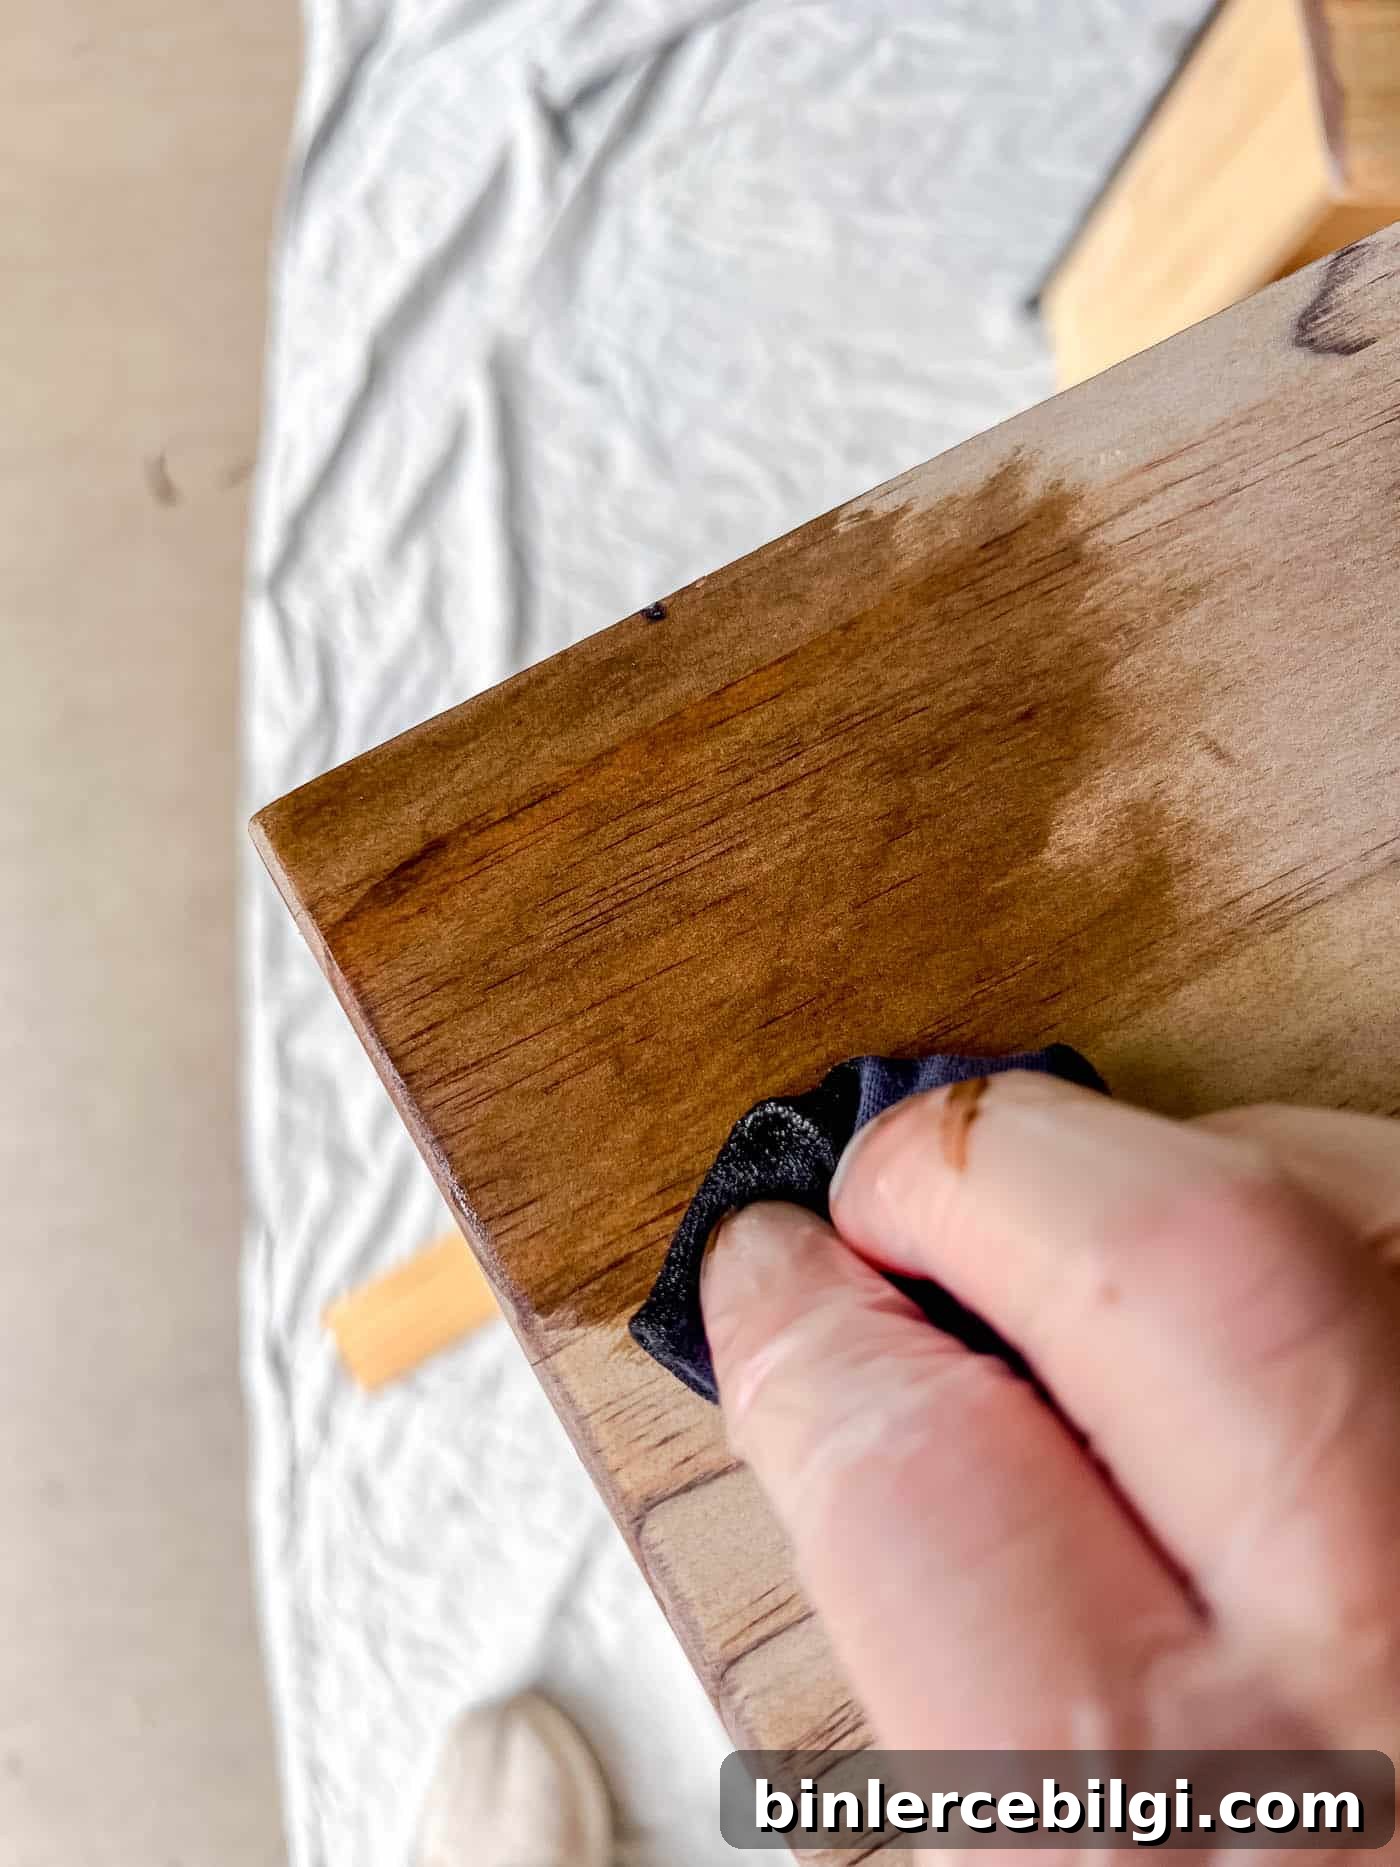
Tip: Because many stains are oil-based and require mineral spirits for cleanup, consider using disposable applicators and rags to make cleanup safer and easier.
6. Seal the Finish
Protect your work with a topcoat. Polyurethane provides durable protection for high-use furniture like dressers and tables, while finishing wax offers a softer, more natural feel. Apply thin, even layers and allow full curing time between coats.
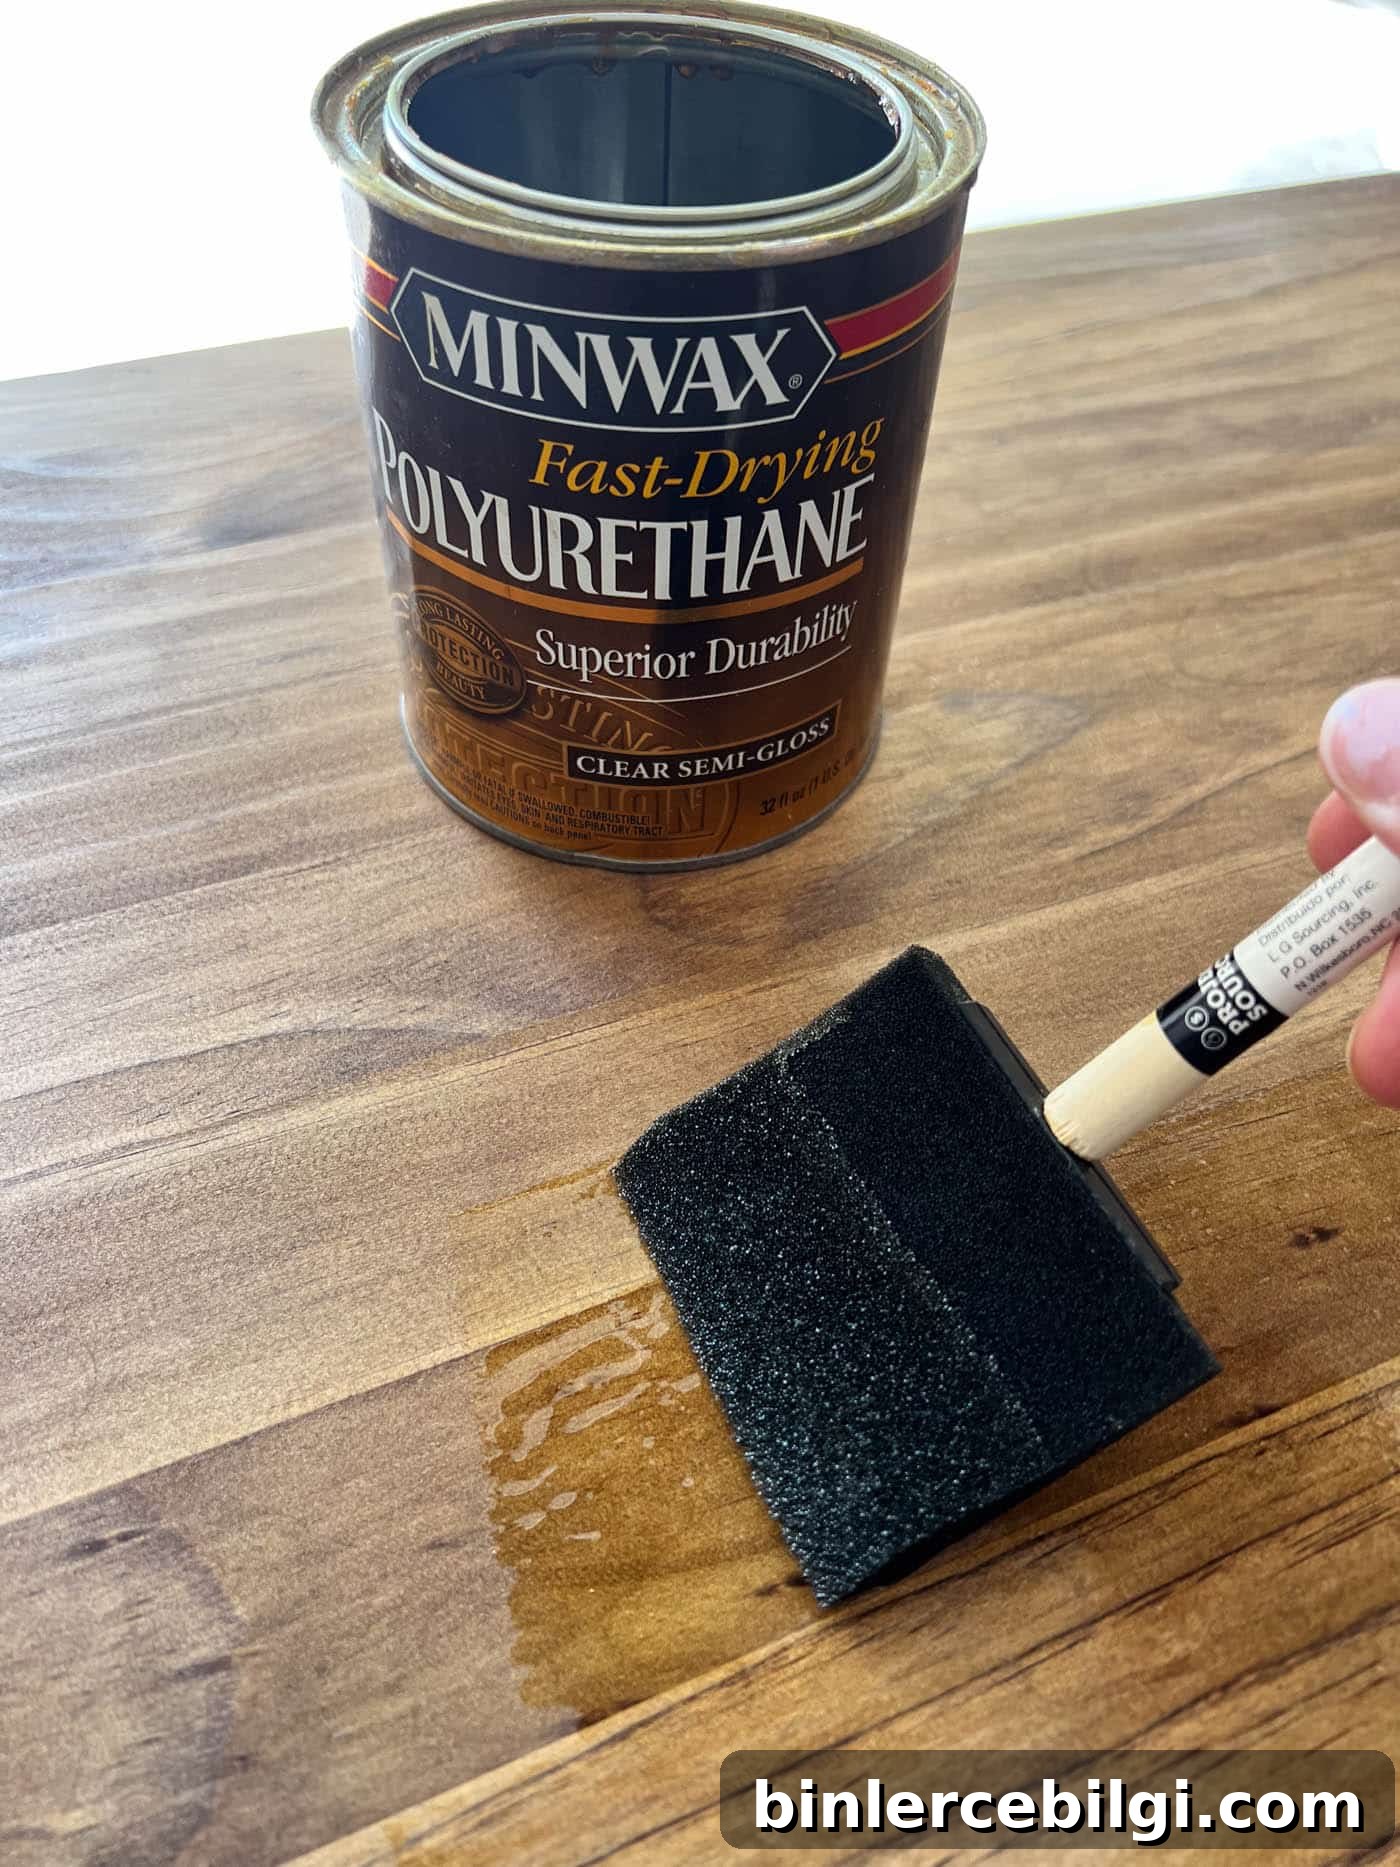
For this dresser I used a quick-drying polyurethane in a semi-gloss I already had on hand, though matte finishes are also popular for a softer look.
7. Reassemble & Style
Once everything is cured, reattach or replace hardware, slide the drawers back in, and style the piece for its new role. Swapping knobs or pulls is an easy way to change the look without spending much money.
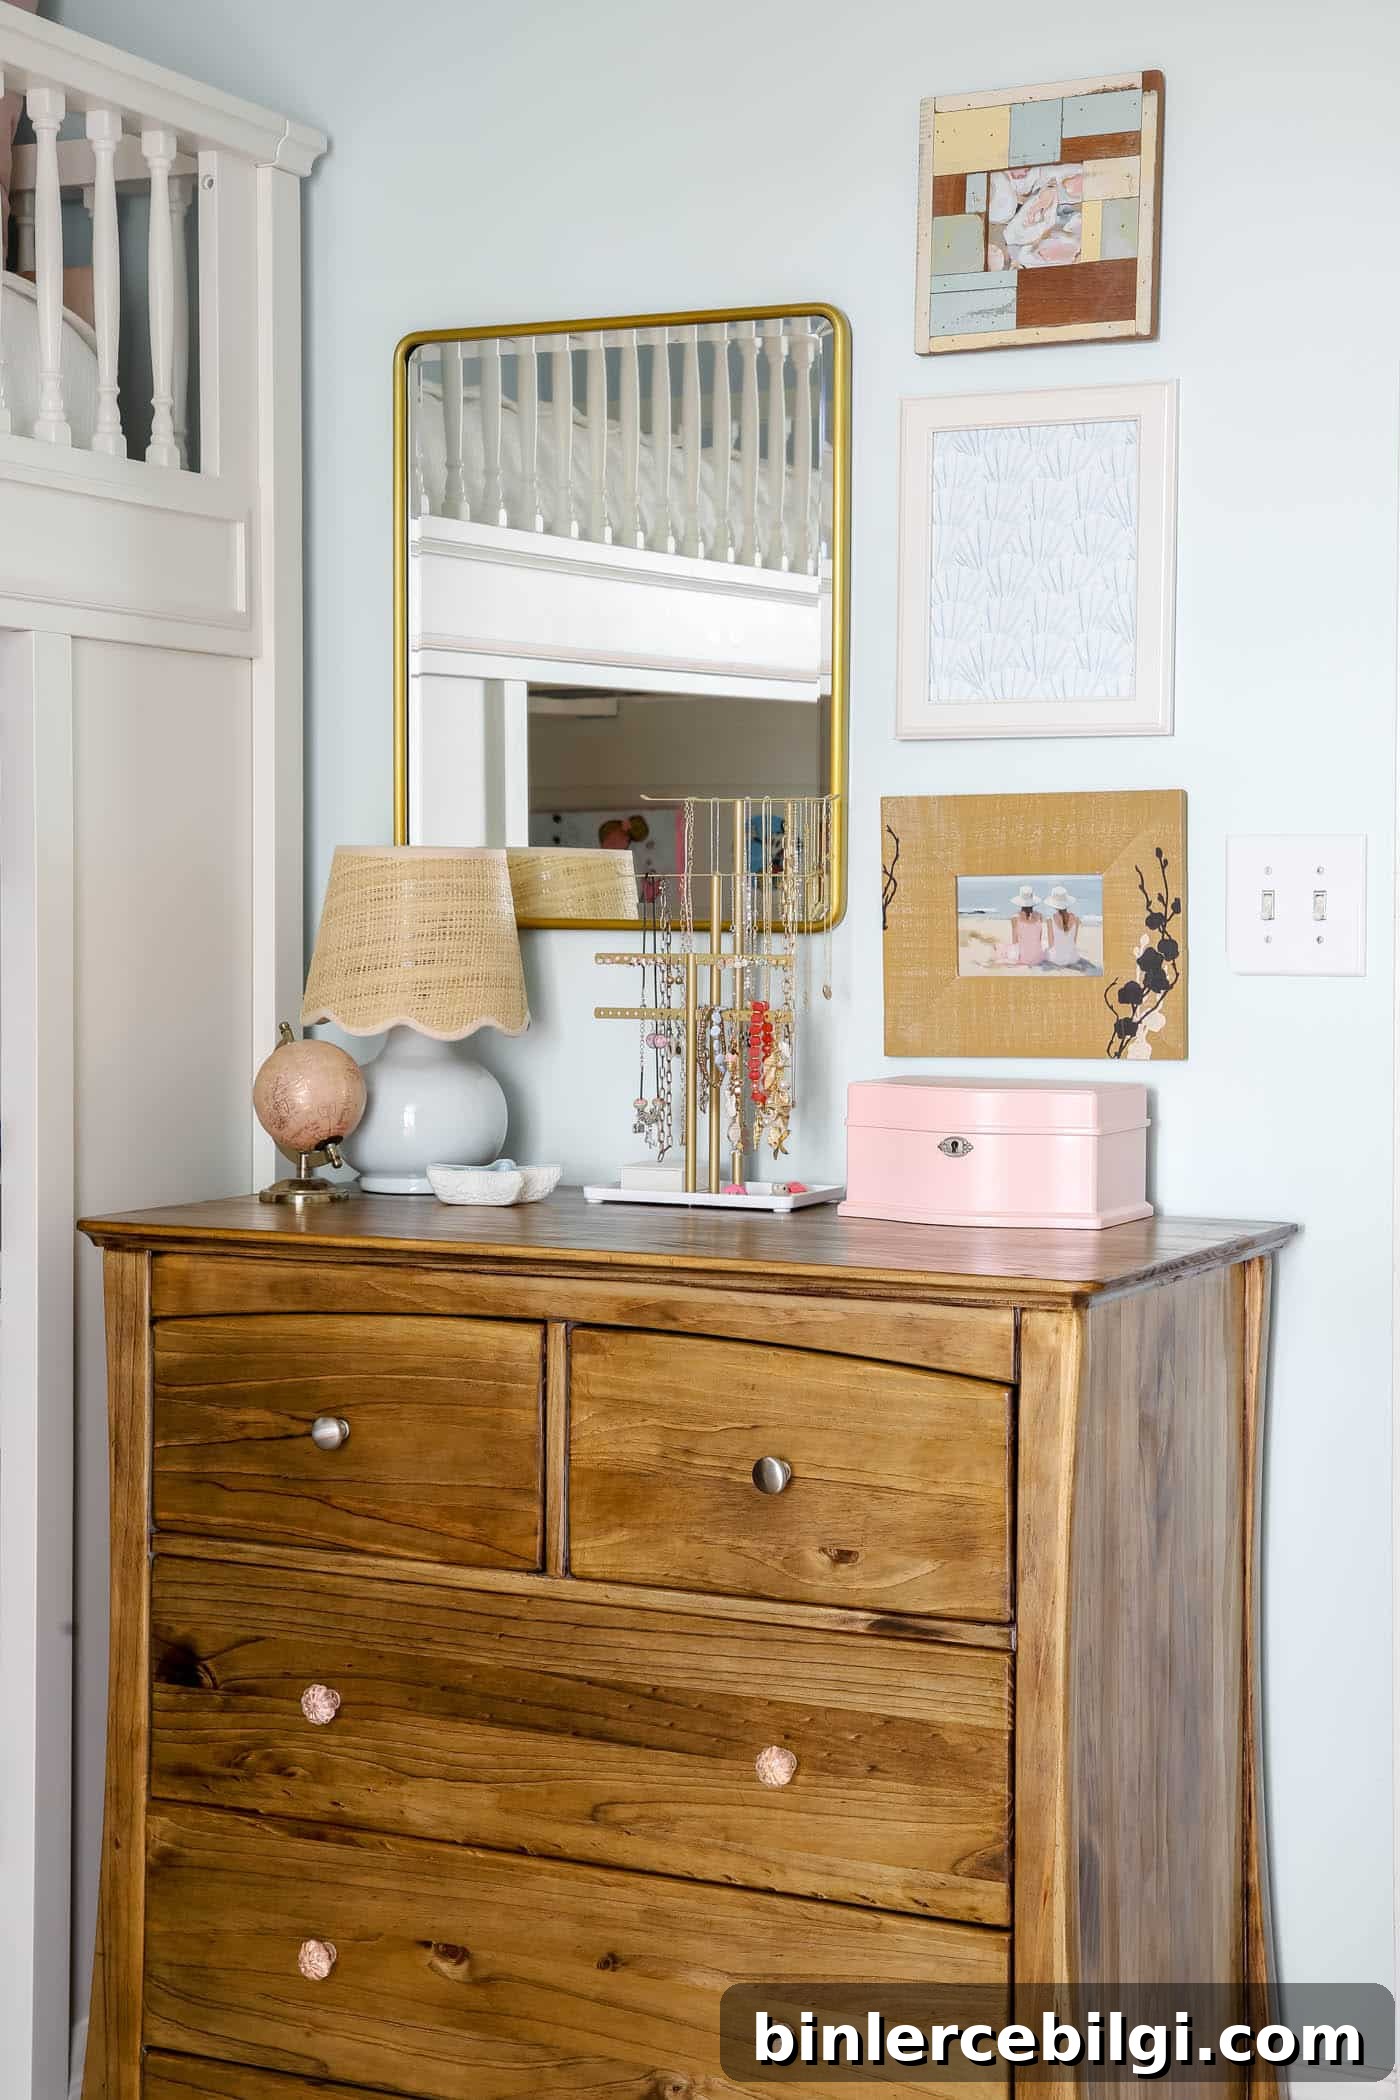
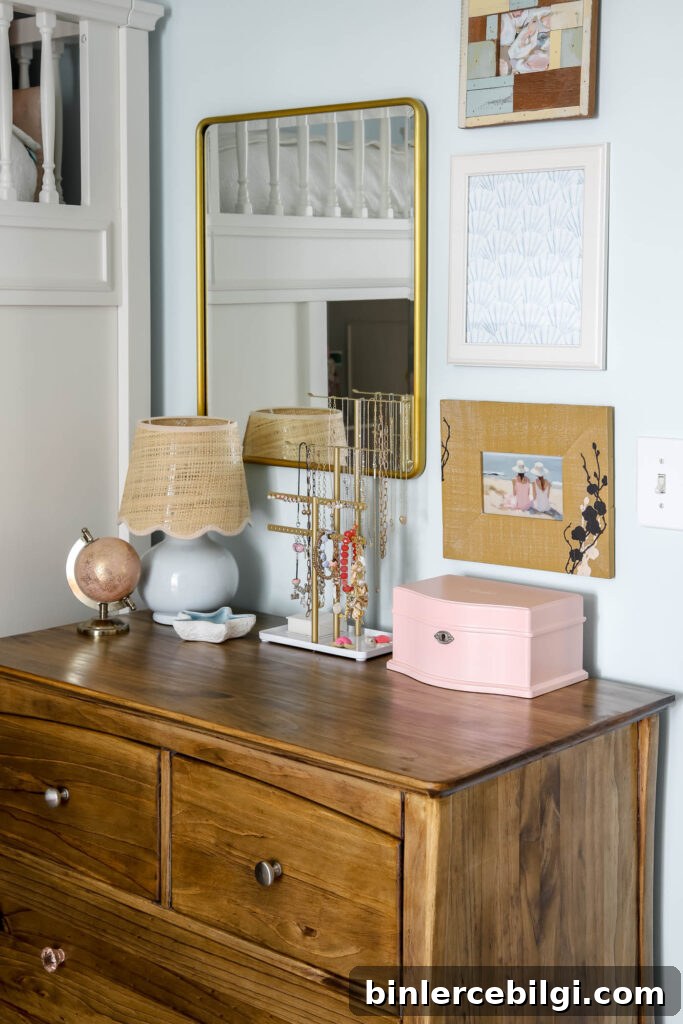
Slide the drawers back in, admire your work, and arrange decor and practical items like a jewelry stand so the piece is both pretty and useful.

Common Mistakes to Avoid
- Skipping sanding: Sanding ensures adhesion and a smooth finish—don’t skip it, and always sand with the grain.
- Applying thick coats: Thin, even coats dry faster and look better. Thick layers tend to drip, bubble, or crack.
- Rushing the process: Allow adequate drying and curing time for each product you use; patience pays off in durability and appearance.

Final Thoughts
Learning how to refinish wood furniture is a practical and rewarding skill. Whether you’re restoring a family heirloom or updating a thrifted find, the process is budget-friendly, environmentally conscious, and deeply satisfying.
Next time you encounter a scratched or faded piece, consider refinishing it rather than replacing it—you’ll be surprised how much life a little care can bring back to solid wood furniture.
Have you refinished a piece before? Share which item you transformed and any tips you learned along the way.
More posts you might enjoy:
- How to Use Annie Sloan Chalk Paint® — beginner tutorial
- First Steps to a Big Girl Room
- White & Blush Girls’ Bedroom Mood Board
- Traditional Dining Room Reveal
- Living Room Makeover Final Reveal