
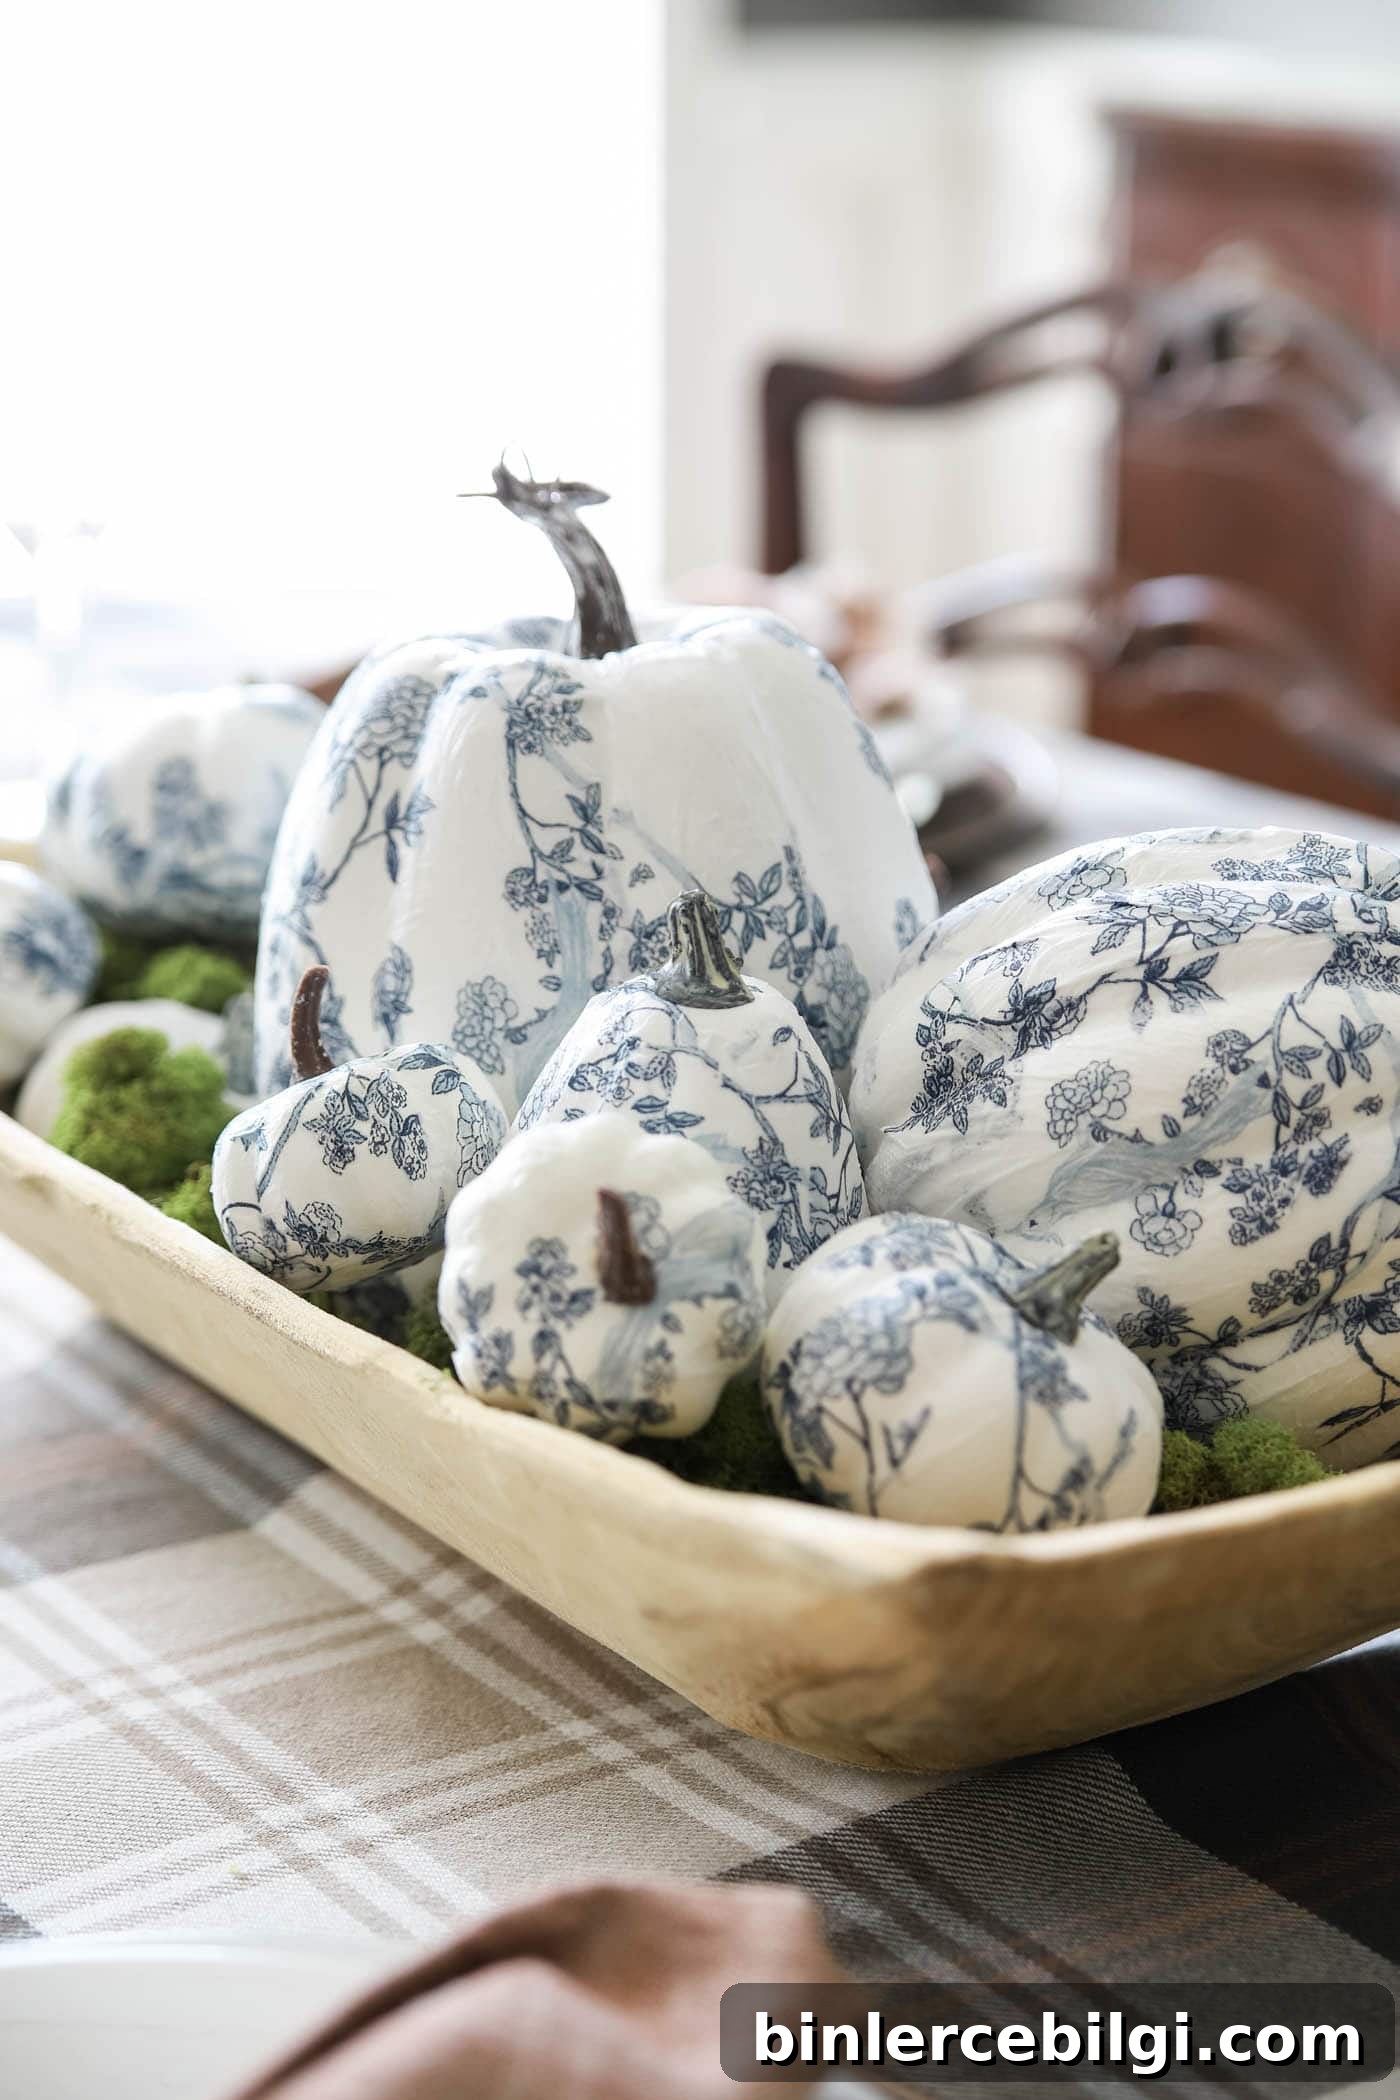
Learn how to create elegant blue-and-white chinoiserie pumpkins using just a few supplies and a couple of hours. This simple DIY is perfect for fall décor and makes a gorgeous centerpiece.
I’ve always loved the look of blue-and-white chinoiserie pumpkins. A while back I noticed a charming display: a wooden bowl filled with moss and a cluster of chinoiserie-style pumpkins. It felt cozy and sophisticated at the same time, and I decided to recreate that look for my dining table. Instead of buying pre-made pieces, I tested a quick and affordable DIY method using foam craft pumpkins and patterned napkins. The result is a bowl full of chic, handmade pumpkins that are lightweight, inexpensive, and customizable.
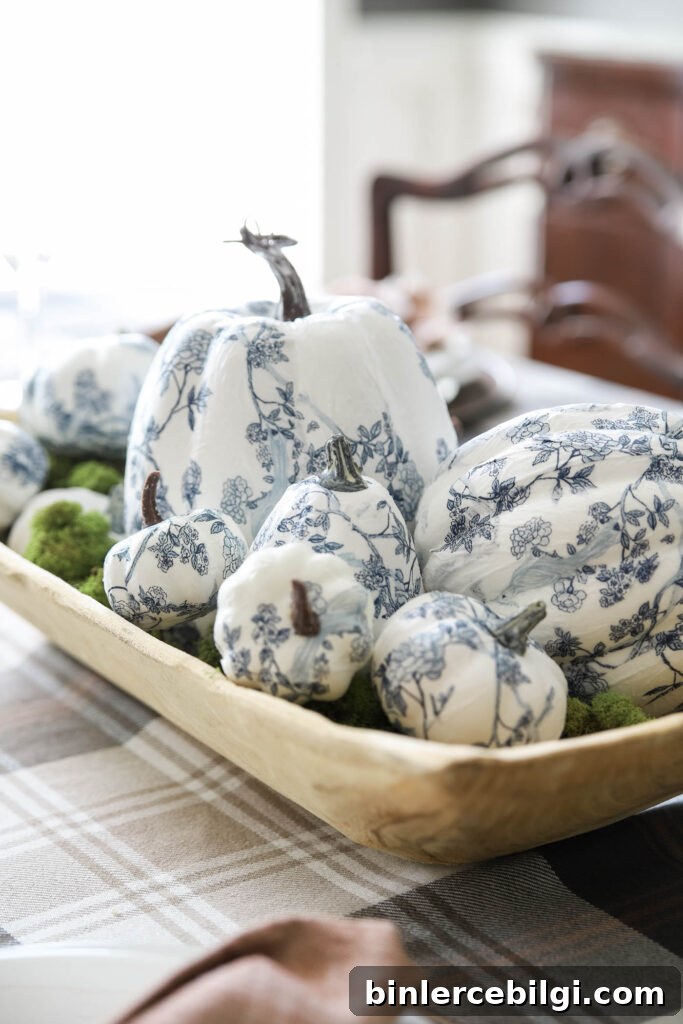
This craft is incredibly approachable: if you can cut paper and use a small paintbrush, you can make these. It’s an ideal afternoon project—simple enough to do while catching up on a favorite show, and satisfying because the finished pumpkins look professionally styled.
Watch the Video Tutorial:
If you prefer a visual walkthrough, a short video accompanies this project. The step-by-step instructions below will also guide you through the full process so you can follow along at your own pace.
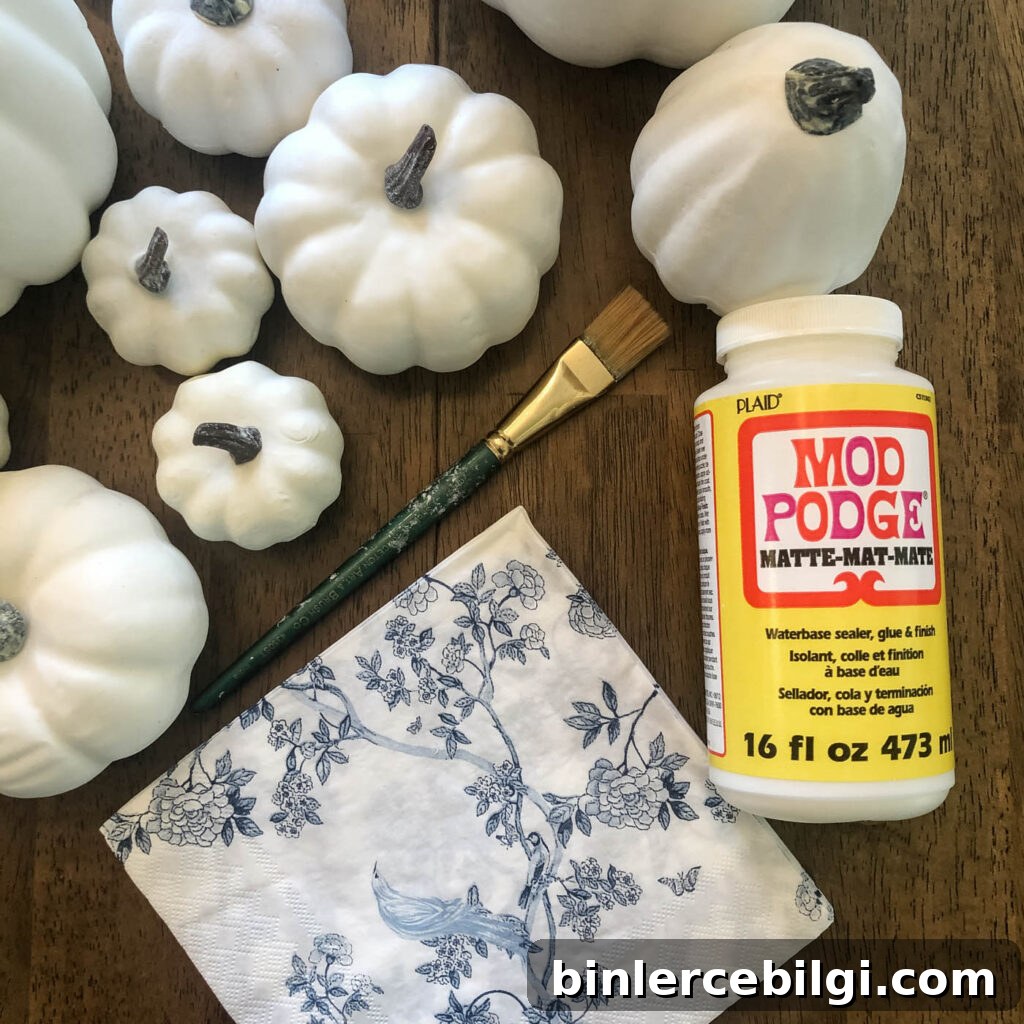
Supplies You’ll Need to Make the Chinoiserie Pumpkins
- White foam craft pumpkins (various sizes for a pleasing arrangement)
- Patterned paper napkins—blue and white chinoiserie-style patterns work beautifully, but any coordinating pattern will do
- Mod Podge or similar water-based decoupage glue
- Small craft paint brush (for applying Mod Podge smoothly)
- Sharp scissors
- Optional: a damp cloth for smoothing and a small craft knife for precise cuts
How to Make Chinoiserie Pumpkins
This technique is straightforward, but a few tips make the process smoother and help the finished pumpkins look neat and seamless. Follow these steps for consistent, attractive results.
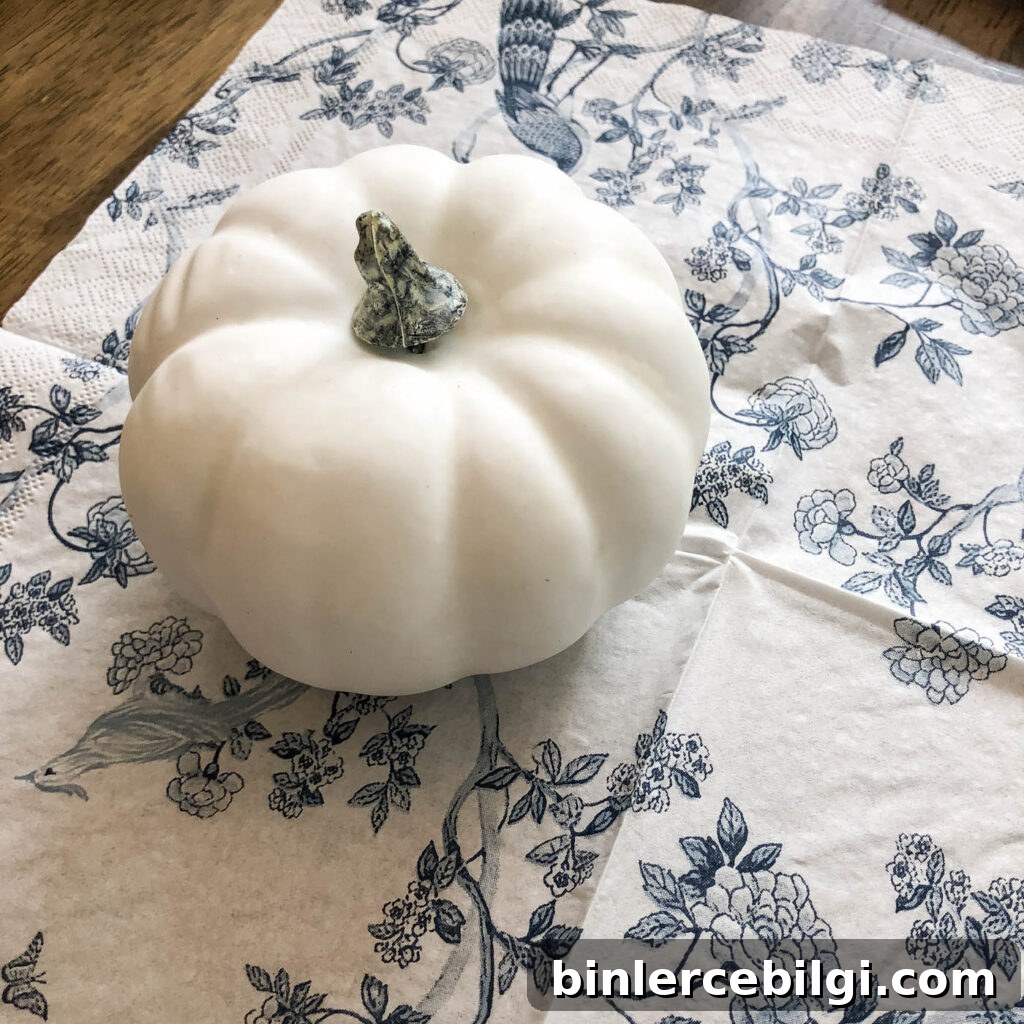
1. Place the pumpkin on the napkin and cut a wide circle around it
Lay the foam pumpkin on the napkin and trace a generous circle so the napkin will drape down nearly to the pumpkin’s base. Two-ply napkins work well; if yours are thicker, gently separate layers to leave a finer layer for smoother adhesion and fewer visible seams. A thinner layer conforms better to the pumpkin’s curves.
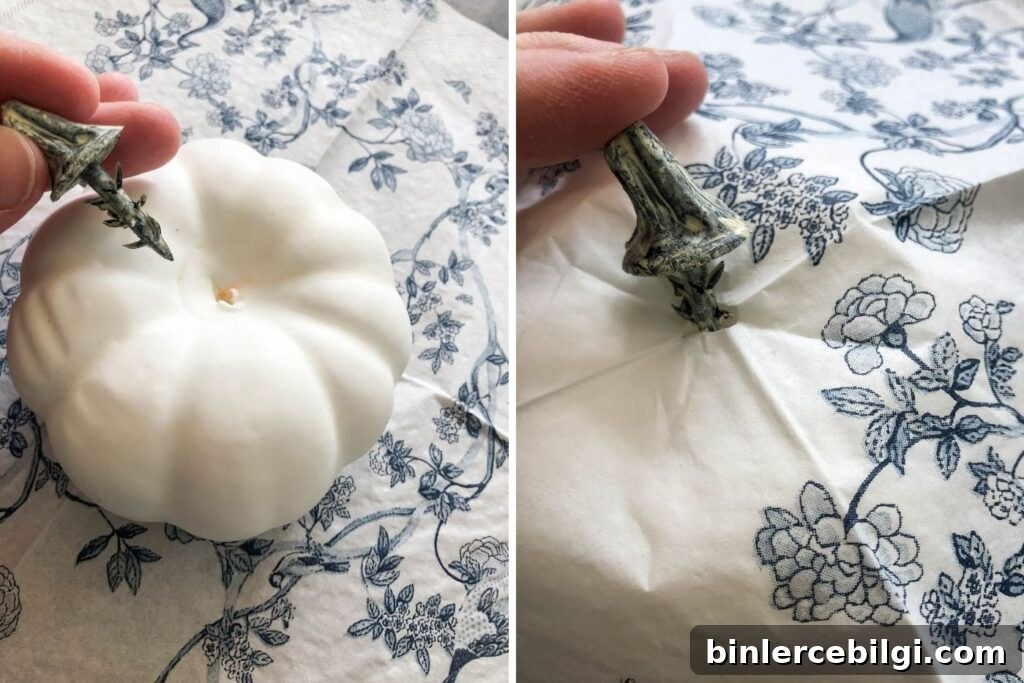
2. Remove the stem of the faux foam pumpkin
Gently pull out the stem. Make a small hole in the center of the napkin circle, then place the napkin over the pumpkin and reinsert the stem through the hole. This temporary anchoring keeps the napkin centered and secure while you work.
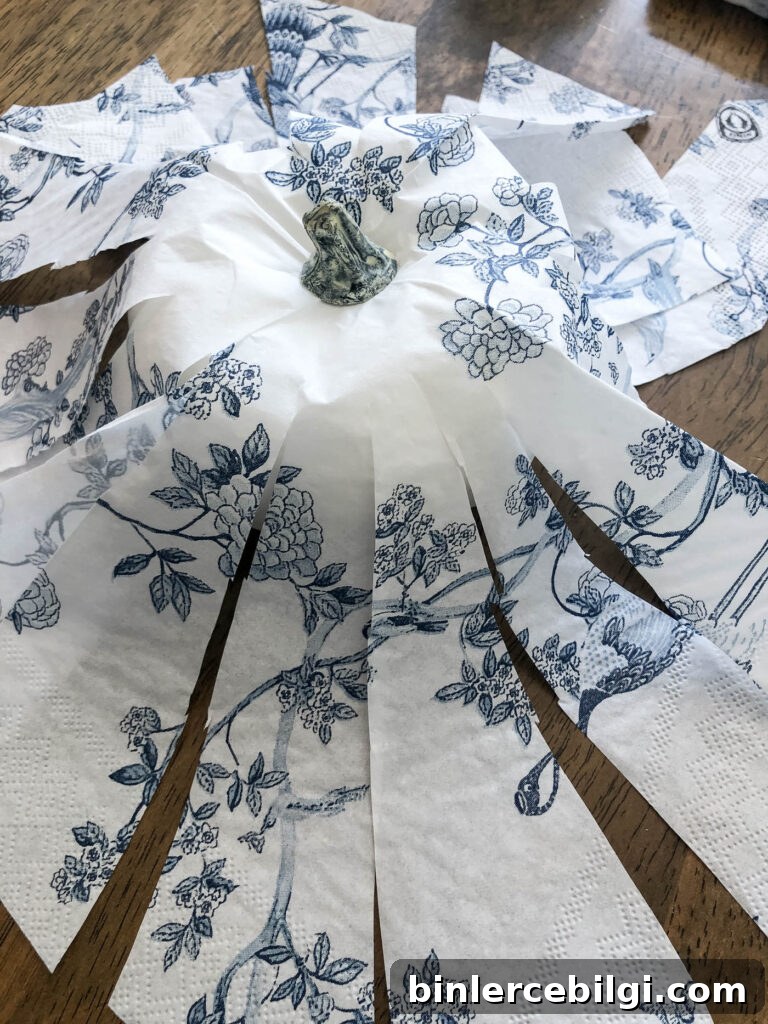
3. Cut long vertical sections of the napkin that align with the pumpkin’s grooves
Slice the napkin into several long segments radiating from the center. Align these with the natural ridges or grooves on the foam pumpkin. Working in segments makes the napkin easier to smooth and helps avoid bunching or wrinkling.
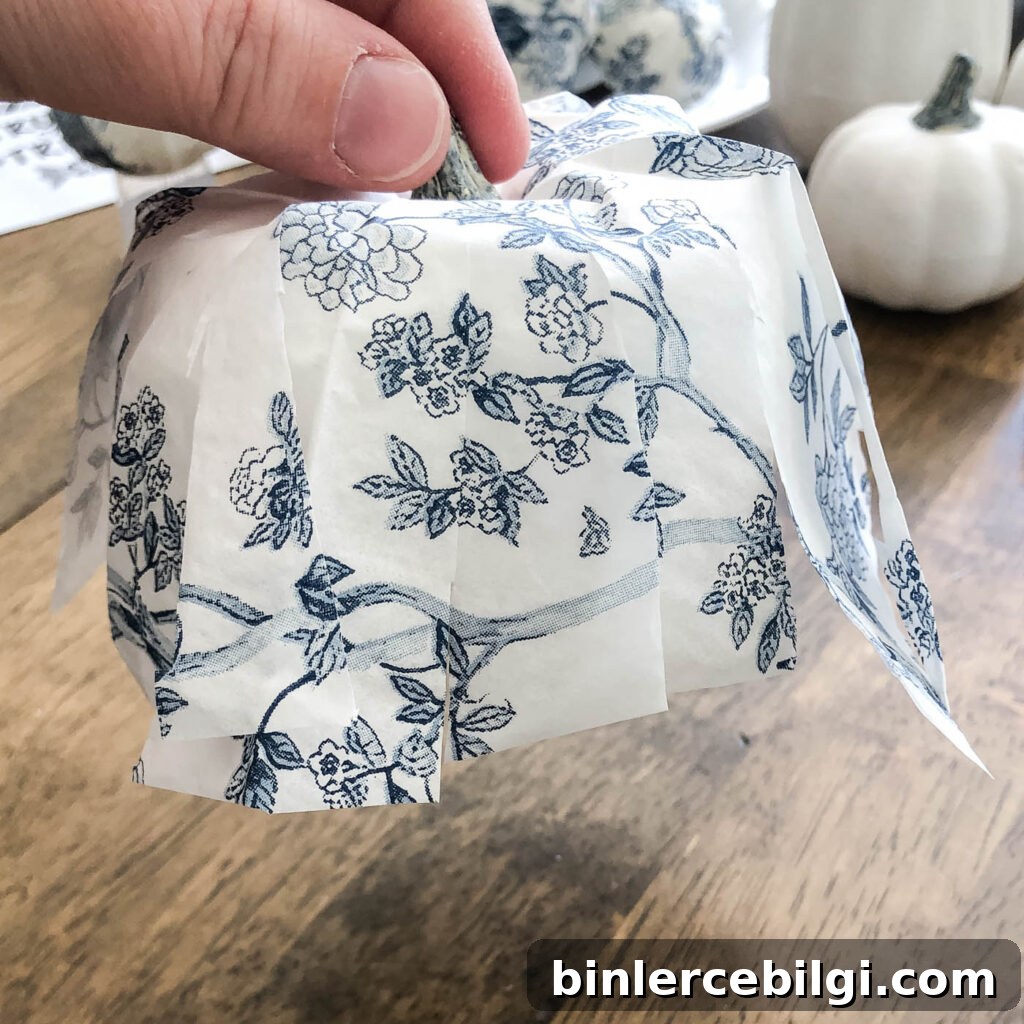
4. Trim the strip bottoms so they just reach under the pumpkin
Cut the lower ends of each strip so they can tuck neatly under the pumpkin without overlapping excessively. This keeps the base tidy and prevents excess paper from bunching beneath the pumpkin.
5. Apply Mod Podge to secure the napkin at the top
Hold the stem and turn the pumpkin upside down briefly to access the top. Brush a thin layer of Mod Podge on the foam surface and smooth the napkin down, then flip the pumpkin back and add another thin coat over the top to set the napkin firmly in place.
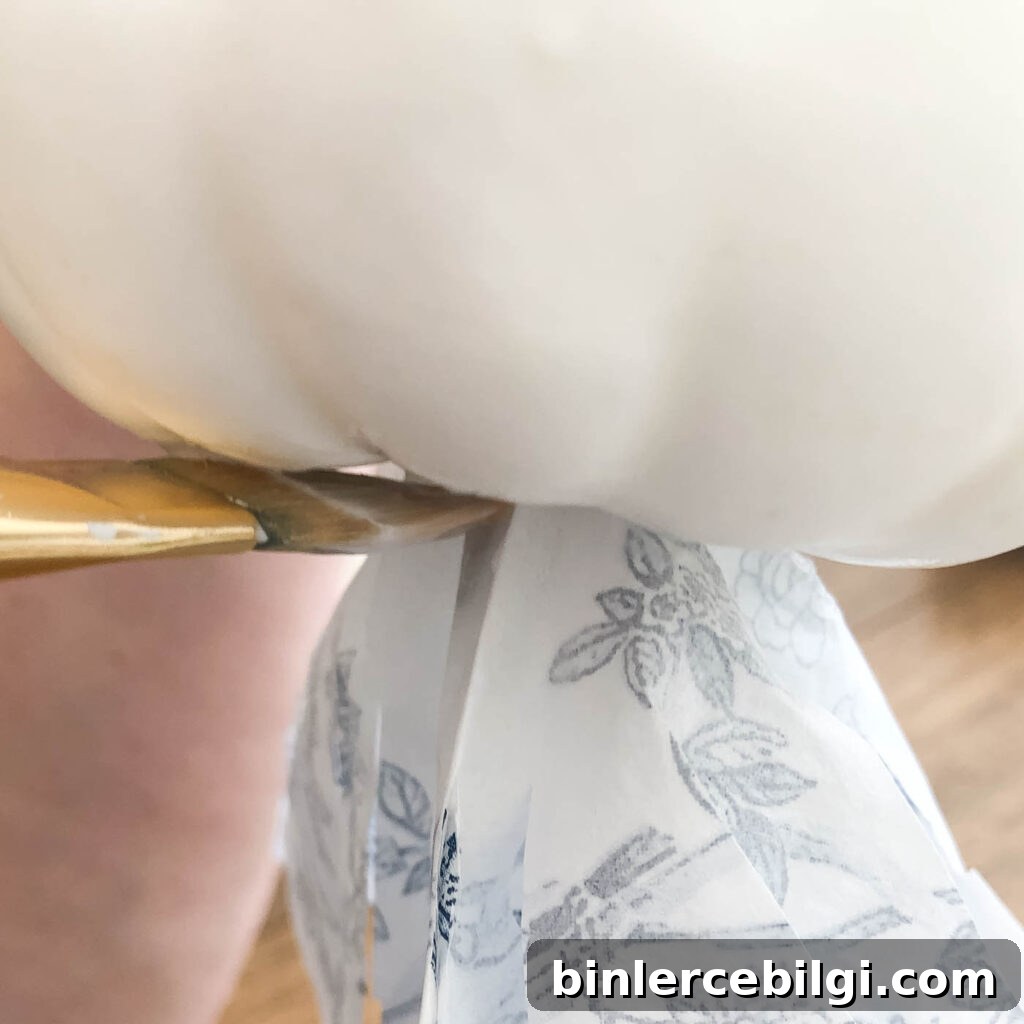
6. Work around the sides, gluing one section at a time
Paint a thin coat of Mod Podge onto a section of the foam, then press and smooth the napkin segment into place with the brush. Proceed section by section, trimming and narrowing pieces as needed so they overlap minimally and lie flat against the pumpkin’s curves.
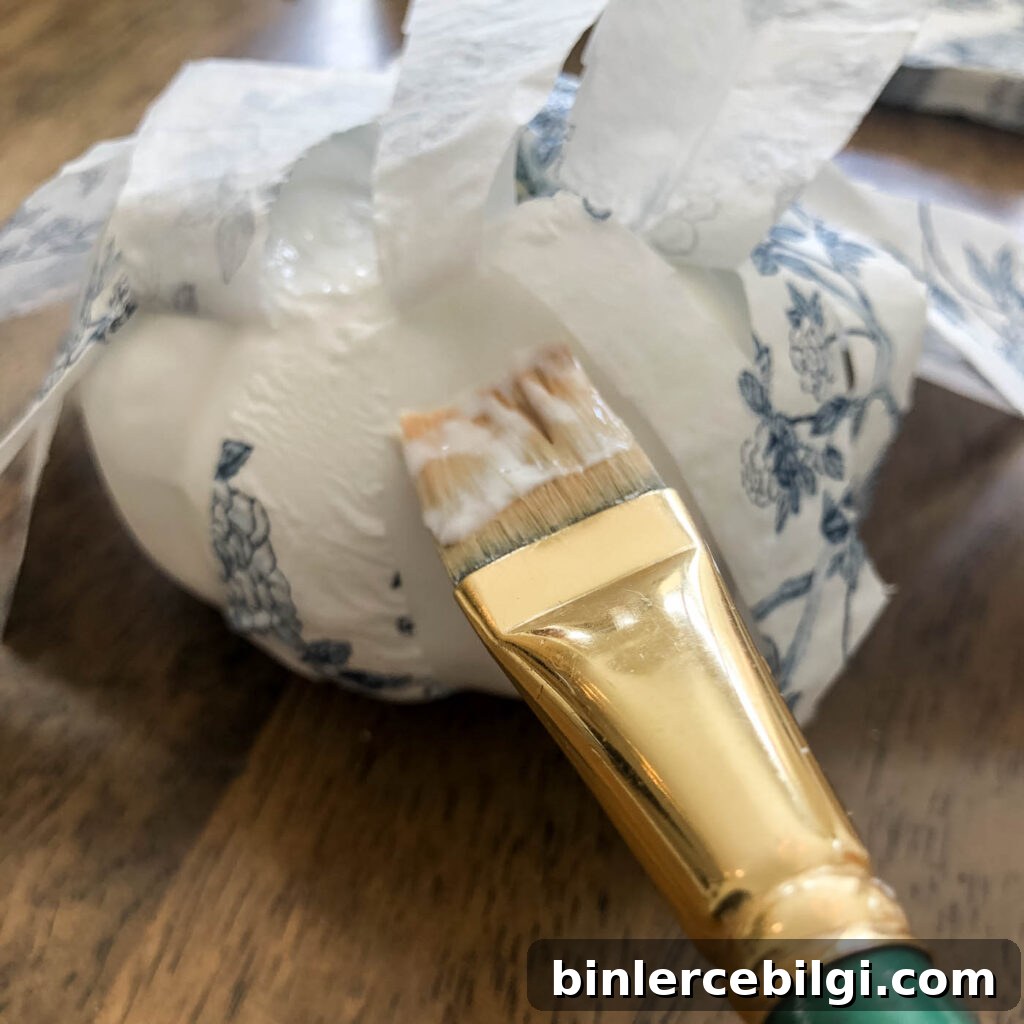
7. Allow the Mod Podge to dry until it’s no longer tacky
Once all pieces are secured, let the pumpkin sit undisturbed for about an hour, or longer if needed, until the surface feels dry to the touch. A full cure will create a slightly sealed, durable finish that helps protect the paper.
8. Optional: finish the bottom for a clean look
If you want the underside to look finished, cut a small circle from the napkin and glue it to the bottom. Press gently and let it dry flat. This step is optional if the bottom will sit against moss or a bowl and won’t be visible.
That’s all there is to it. In less than a couple of hours you can make a collection of blue-and-white chinoiserie pumpkins to style in a bowl, scatter along a mantel, or use in a tablescape. Because you control the napkin pattern and pumpkin sizes, it’s easy to create a set that matches your personal aesthetic.
More projects you might enjoy:
- Mason jar lid pumpkin craft ideas
- Reclaimed wooden pumpkins—budget-friendly and stylish
- Cozy fall decorating ideas for living rooms and kitchens
- DIY fall wreath inspirations