
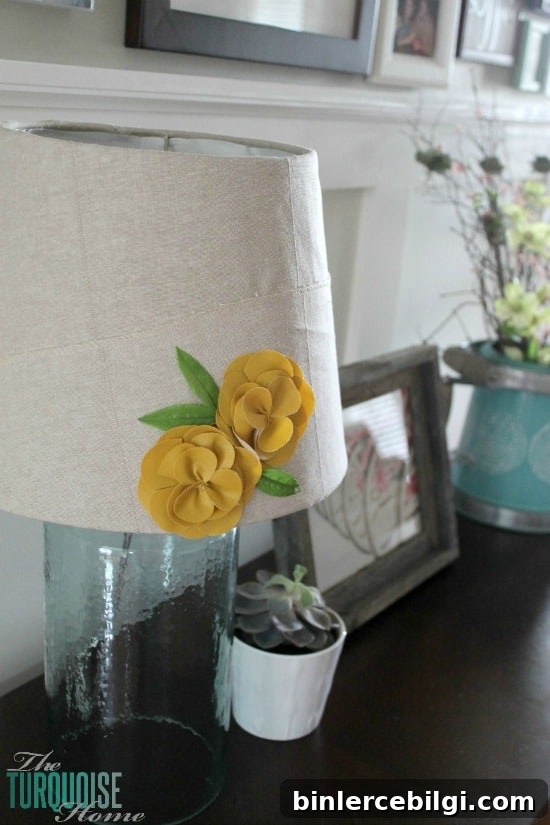
Learn how to recover a lampshade you don’t love on a budget. It’s simple, quick, and saves you from buying a new shade.
I’m excited to share this easy update. I’ve meant to do it for years, and finally found the time. It’s one of those small projects that makes a big visual difference without spending much money.
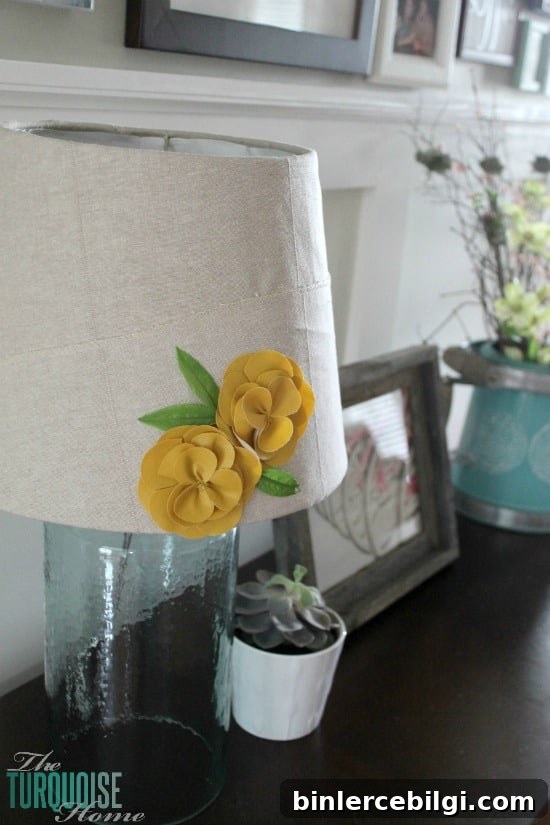
When we got married almost five years ago I registered for a purple-gray lampshade that I never really liked. It stayed in the living room for a while until I tucked it in a closet. Recently I decided to give that shade new life by covering it with fabric I already had on hand.
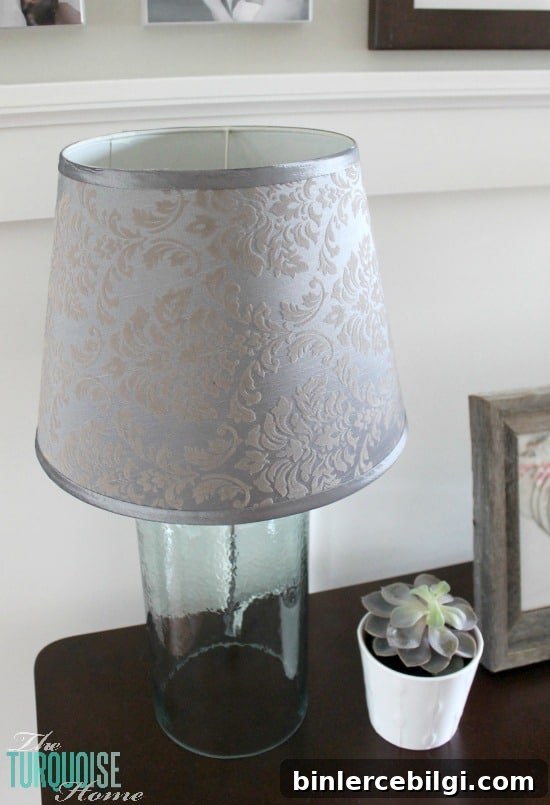
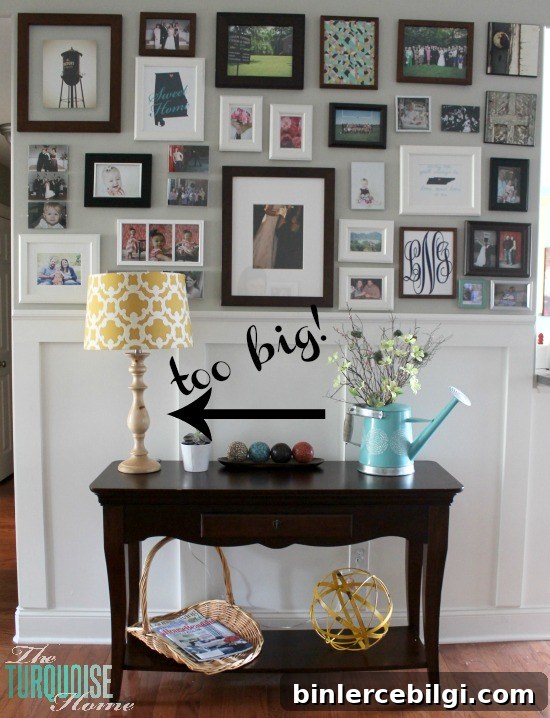
I had been imagining a different lamp base for the space under our gallery wall, and when I found a glass base that fit perfectly, I paired it with the recovered shade I’d been saving. No need to buy a new shade—recovering one is an economical way to refresh a lamp and your room.
Supplies You Will Need to Recover a Lampshade
- Existing lampshade to recover
- Piece of fabric larger than the lampshade (3–5 inches extra in height is ideal)
- Chalk or fabric marker
- Fabric scissors
- Hot glue sticks
- Hot glue gun
- Spray adhesive (optional but helpful)
How to Recover a Bell-Shaped Lampshade
1. Choose Your Fabric
Pick fabric that complements your room. For bell-shaped shades, choose a fabric without a complex repeat to make alignment easier; patterned fabrics work better on drum shades. I used leftover curtain fabric—reclaiming materials saves money and creates a cohesive look.
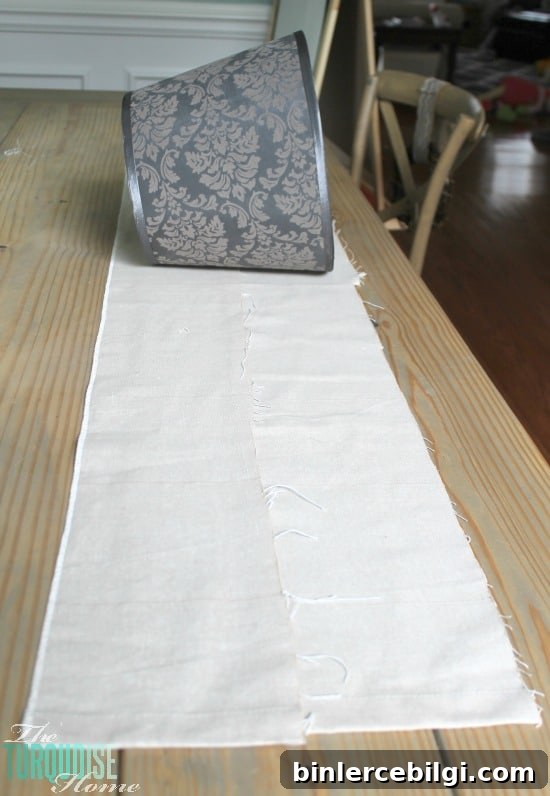
2. Trace the Shade onto the Fabric
Lay the shade on the fabric and roll it while tracing an outline roughly 1 inch from both the top and bottom edges with chalk. This margin gives you room to fold and secure the fabric neatly.
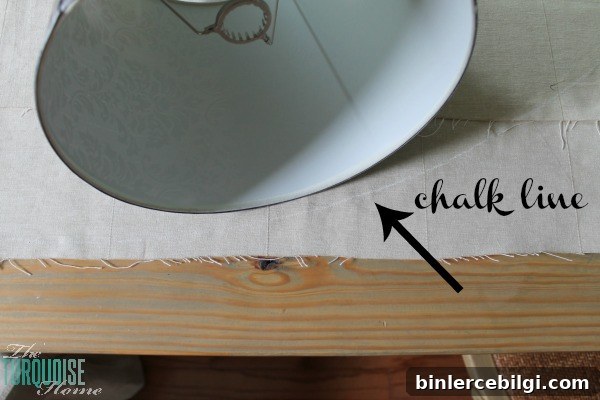
3. Cut the Fabric
Use good fabric scissors to cut along your chalk line. Remove excess fabric so your piece wraps around the shade smoothly without bulky overlaps.
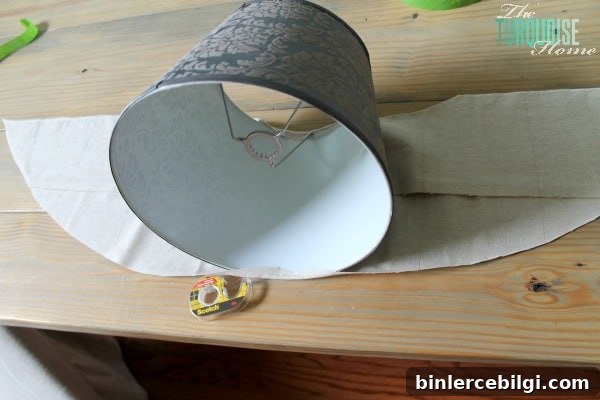
4. Attach the Fabric
Lightly spray the lampshade or the back of the fabric with spray adhesive to hold it in place as you work. Start in the center and smooth the fabric over the top and bottom edges, folding and securing with hot glue or strong fabric tape. Work outward toward the sides, keeping the fabric taut and smooth to avoid wrinkles.
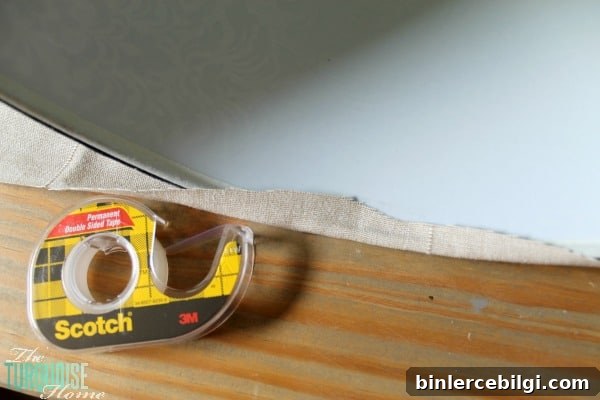
If you prefer a temporary solution, double-sided fabric tape is quick and leaves no residue. For a permanent finish, use hot glue or fabric glue for a secure bond.
5. Finish the Seam
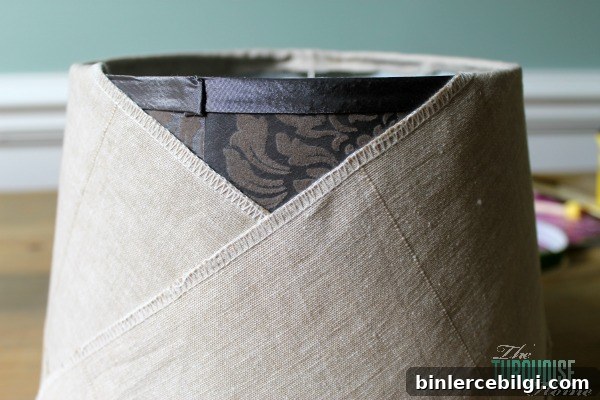
When the fabric meets at the back, fold under any raw edges and glue them down neatly. If the seam looks uneven, cover it with ribbon, braid, or trim for a polished finish. In my case, a small triangle of fabric covered the remaining gap, and I positioned that seam toward the wall.
6. Embellish (Optional)
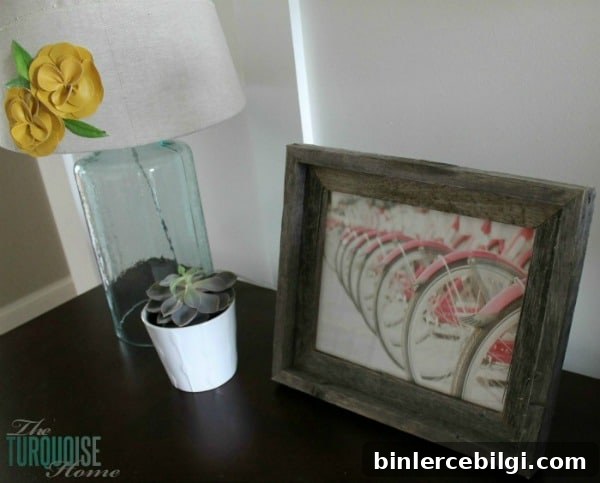
Add ribbon, trim, flowers, or other embellishments to personalize the shade. I used two leather flowers and some faux leaves from my craft stash. Small craft stitches or a dab of hot glue secure decorations in place. If you used temporary tape, embellishments can be switched out easily later.
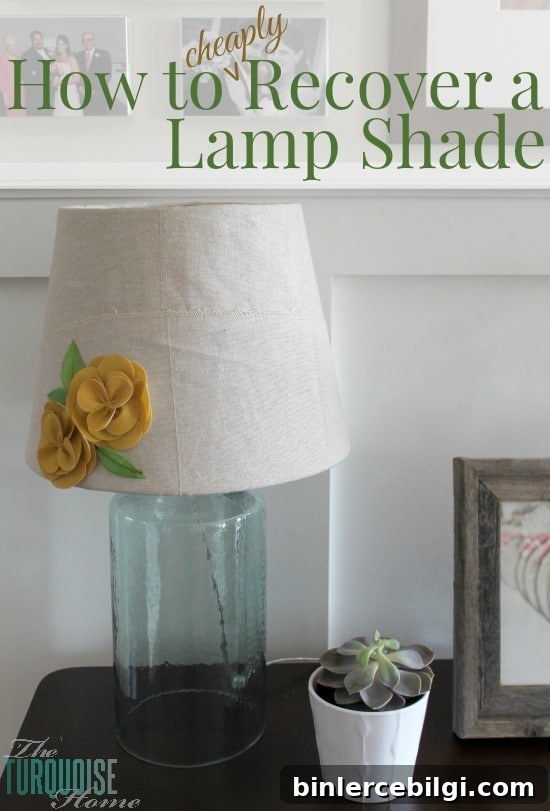
One of the great things about recovering a shade is reversibility. If you tire of the look, the fabric can be removed and replaced or the original shade sold. This project is an inexpensive way to update a room and practice creative reuse of materials you already own.
I’d love to hear your best trash-to-treasure stories and the most creative ways you’ve used leftover fabric. Share your ideas and inspire someone else to try a simple DIY lampshade recovery.
More DIY home decor ideas you might enjoy:
- 25+ Amazing Table Lamps for Your Home
- How to Make a Custom Lamp Shade
- DIY Chinoiserie Egg Wreath