
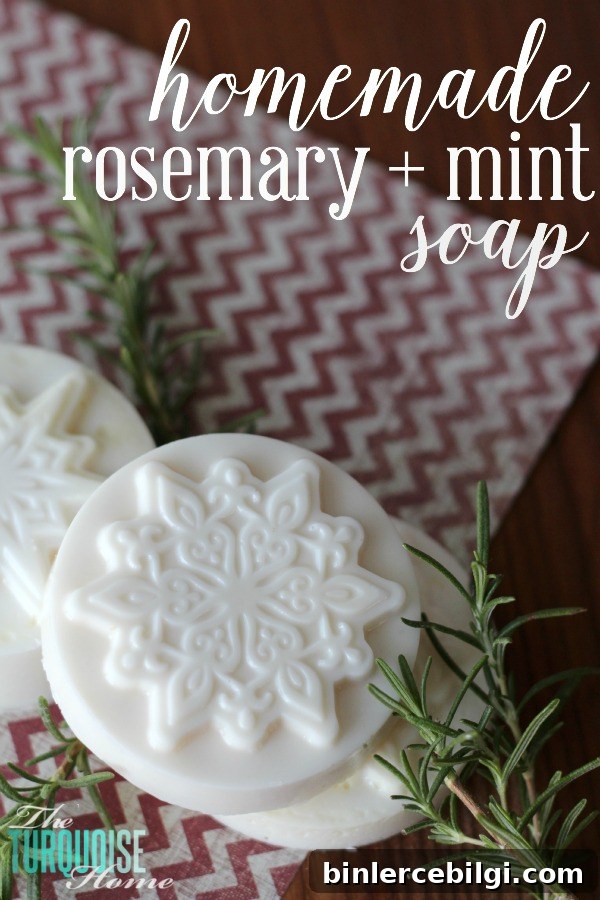
Over the past year and a half I’ve been swapping many store-bought items for simple, homemade, more natural alternatives—and I’ve loved the results. I now use my own foaming hand soap, lip balm, sugar scrub, and bath salts. Recently I started making bar soap, and I’m excited to experiment with shower gels next.
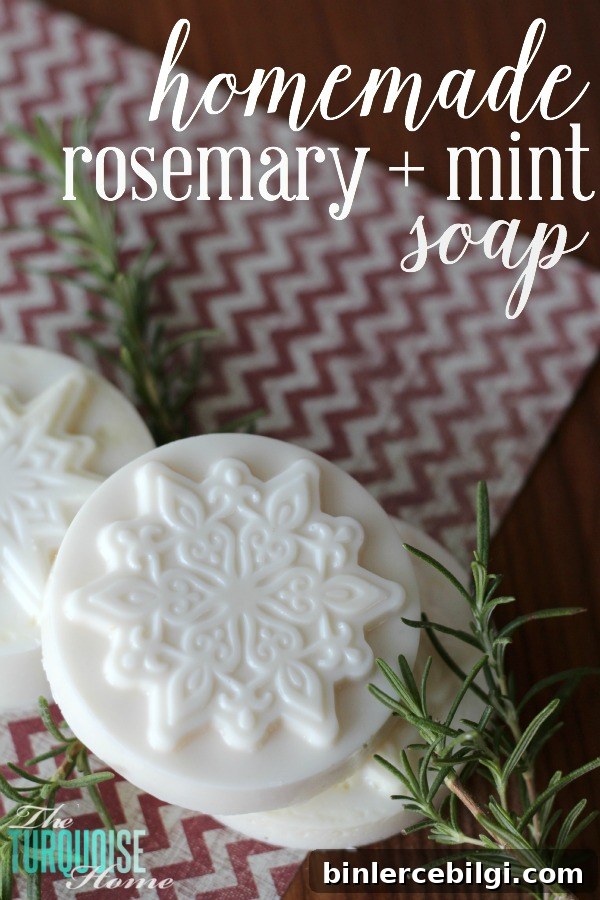
My first batch of homemade soap turned out wonderfully. The process is incredibly simple—only three main ingredients—and you’ll have beautiful, natural bars in under an hour. Below I’ve laid out what you need, step-by-step instructions, and a few tips I learned the first time around to help you avoid sticky spots or uneven texture.
This post contains affiliate links for convenience. See my full disclosure policy.
Ingredients you’ll need
- 1 pound of soap base (melt-and-pour glycerin or goat milk soap base)
- 3 tablespoons raw honey (optional, adds moisture and a mild scent)
- 10 drops rosemary essential oil
- 10 drops peppermint essential oil
- Microwave-safe bowl or double boiler (I use a 4-cup Pyrex measuring cup)
- Soap molds (silicone molds work best for easy release)
How to make the soap
This melt-and-pour method is beginner-friendly and forgiving. Follow these steps for smooth, fragrant bars of soap.
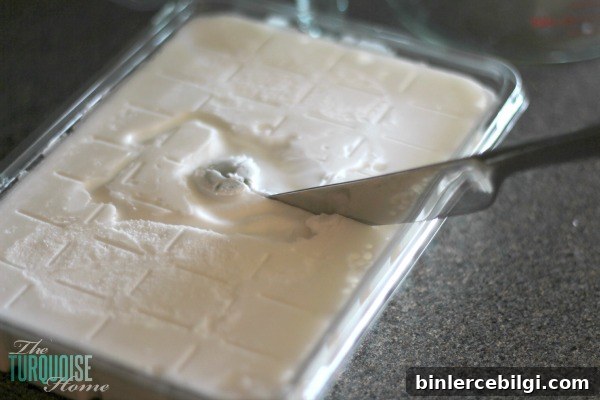
- Prepare the base. Cut the soap base into small, even cubes using a butter knife or chef’s knife. Smaller pieces melt faster and more evenly.
- Melt carefully. Heat the cubes in the microwave in 20–30 second bursts, stirring between each interval. Alternatively, use a double boiler over low heat. The goal is a smooth, liquid base without overheating or boiling.
- Add honey. Remove the melted base from heat and stir in the honey immediately. Stir thoroughly to dissolve the honey; if any clumps remain, return to the microwave for an additional 10 seconds. Tip: undissolved honey can sink and create sticky pockets in the finished soap, so take the extra moment to fully incorporate it.
- Add essential oils. Once the honey is fully mixed in and the base is uniform, add the rosemary and peppermint essential oils. Stir well to distribute the scent evenly. You can substitute other high-quality essential oils to create your preferred fragrance.
- Pour into molds and cool. Pour the scented soap into your molds, tapping gently to remove air bubbles. Let the soap sit until fully hardened. Speed this up by placing the molds in the refrigerator—most bars will set in about 30 minutes, though some may take up to two hours. When solid, run a thin knife around the edge and gently pop the bars out.
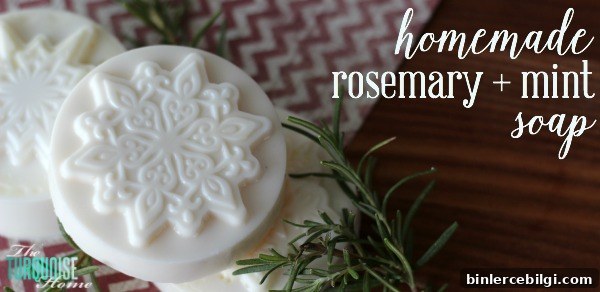
And that’s it—simple, lovely soap perfect for everyday use or gifting. These rosemary and mint bars offer a refreshing, herbal scent with a cooling note from the peppermint. They make thoughtful handmade gifts for neighbors, teachers, and friends.
Tips for variations and storage: try swapping in lavender, orange, or eucalyptus essential oils to create different scent profiles. For added texture, stir in dried herbs or gentle exfoliants like ground oats or coffee grounds, but use sparingly. Store finished bars in a cool, dry place wrapped in wax paper or placed in an airtight container to preserve fragrance. If giving as gifts, add a simple label with ingredients and a short usage note.
I’ve become hooked on making my own household products—handmade items are personal, customizable, and often gentler on skin than commercial alternatives. This season I’m planning to gift more homemade creations, and soap is an easy, attractive choice.
Browse supplies and silicone molds to get started—quality tools and oils make the process easier and the final bars more luxurious.
More posts you’ll love:
- Homemade All-Natural Lip Balm
- DIY Bath Bombs + Printable Gift Tag
- 10+ Handmade Christmas Gift Ideas