
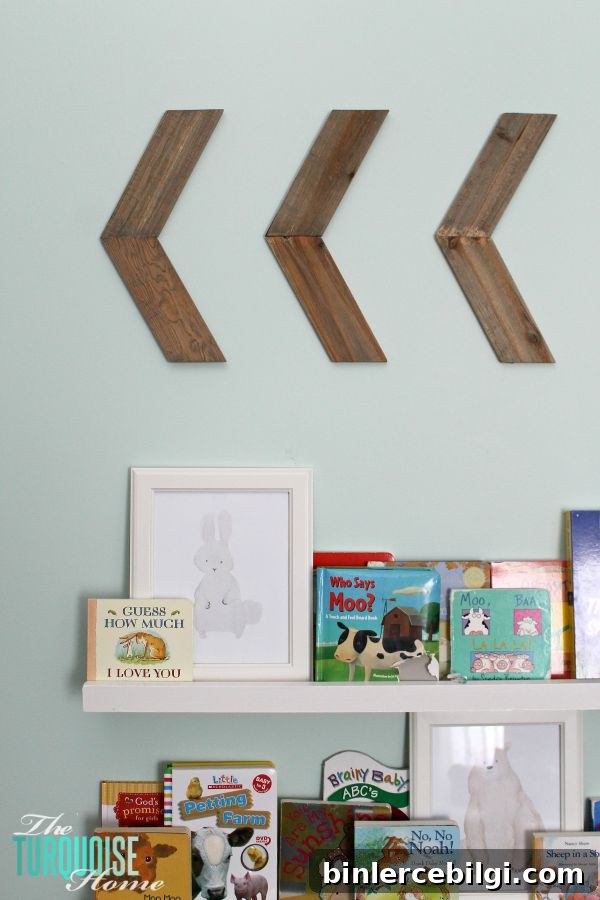
Making these DIY chevron arrows is simple, stylish, and a perfect way to fill a large empty wall.
If you like quick, low-effort projects that still look polished, this is one you’ll love. These chevron arrows are fast to make, require no power tools, and give a lot of visual impact for very little cost and time.
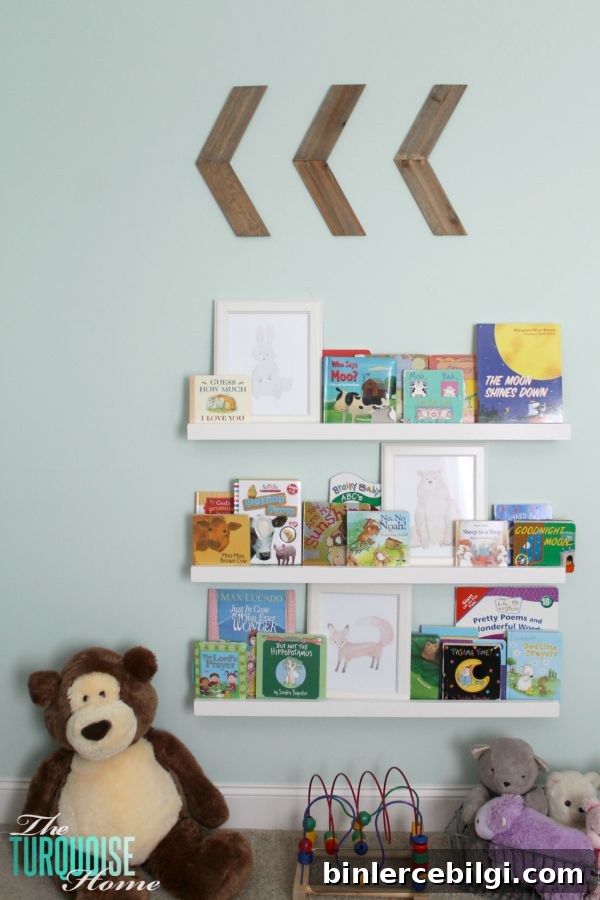
I wanted something charming to go above the baby’s nursery book shelves but didn’t want another framed print. With shelves already holding several frames, I needed a textured, three-dimensional accent that would add personality without cluttering the space.
I picked up a few premade wooden arrows from a craft store; they were inexpensive and ready to finish. Buying premade shapes saves cutting time and keeps the project approachable for anyone, even if you don’t own woodworking tools. After a 25% off coupon, the cost was minimal, making this an ideal budget-friendly accent for a nursery or any room in need of a focal point.
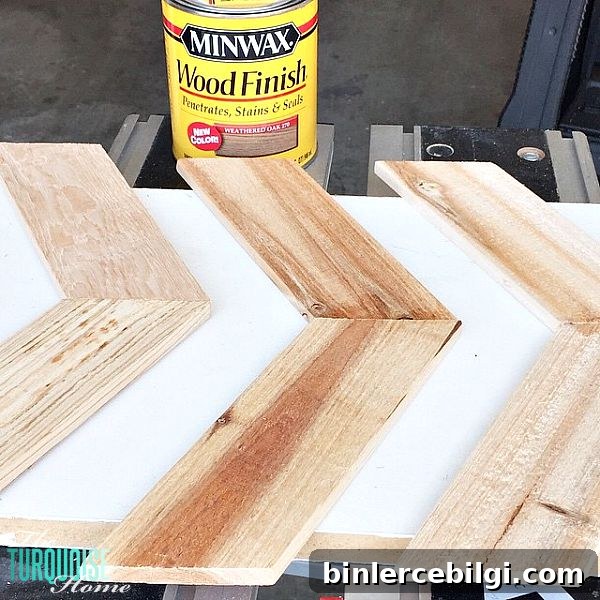
For the finish, I used a gray-toned wax stain to bring out subtle cool tones without hiding the wood grain. I applied the stain with a foam brush, let it sit about five minutes, then wiped off the excess. The result was a soft, weathered gray that reads modern but still warm—perfect for a nursery where I wanted a gentle, calming palette.
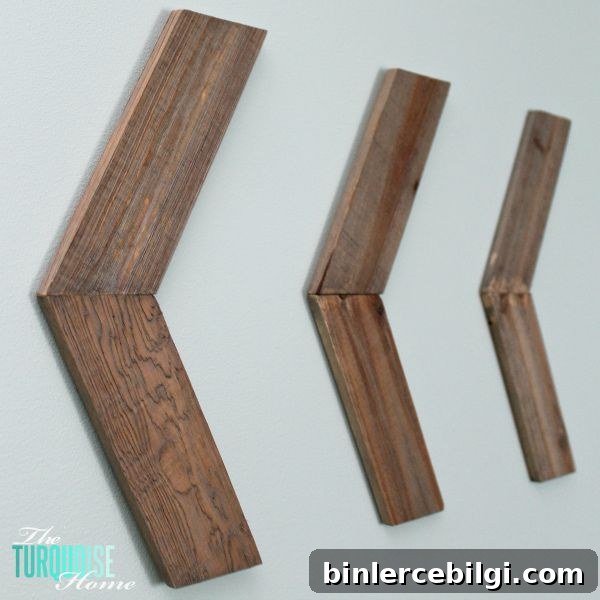
This technique is forgiving—if you want a darker look, leave the stain on a bit longer before wiping; for a lighter wash, wipe sooner or dilute the stain. Because the arrows are small, you can experiment on one piece first and quickly adjust the finish on the rest.
Once dry, I mounted the arrows with removable picture hanging strips so they aren’t permanently attached to the wall. This makes it easy to reposition them later or replace them entirely as the room evolves. Using non-permanent hangers is a great choice for renters or anyone who likes to refresh décor seasonally.
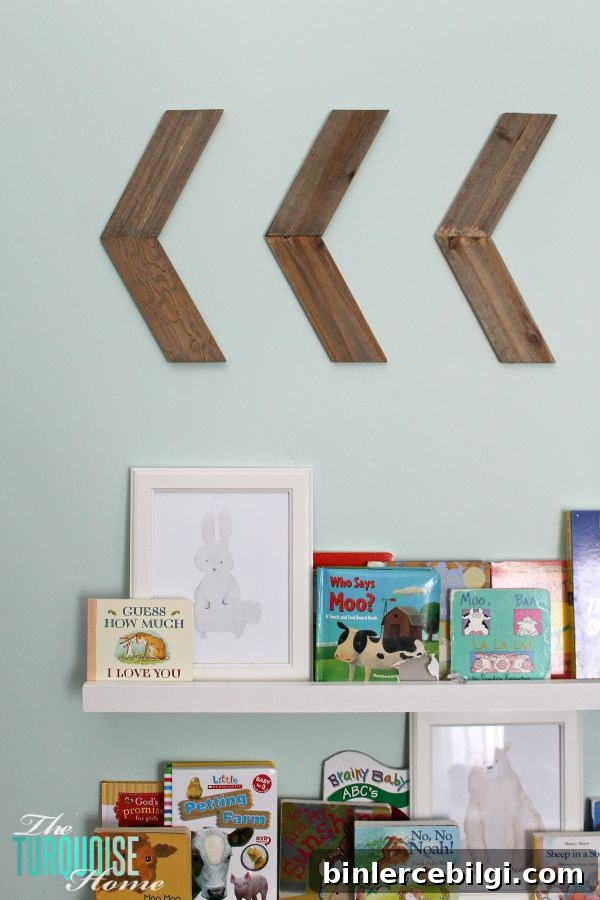
This project is ideal when you want to add texture and movement to a wall without committing to large, expensive pieces. The chevron shape reads graphic from a distance and offers subtle detail up close. You can arrange multiple arrows horizontally, in a staggered pattern, or point them toward a focal point like a bookshelf or crib.
Supplies are minimal: premade wooden arrows, a gray or weathered wood stain (wax or liquid), a foam brush or cloth for application, and removable hanging strips. Time investment is small—staining and mounting can easily be done in an afternoon—and the final result feels custom and polished.
If you enjoy quick DIYs that make a big visual difference, these chevron arrows are a great choice. They’re budget-friendly, renter-friendly, and simple enough that anyone can do them. Want to change the look later? Paint them a bright color, add metallic tips, or distress them for a farmhouse vibe—the options are endless.
What do you think—ready to try a set on your wall?
More Posts You Will Love:
- DIY Decorative Arrows
- Large DIY Wall Decor Ideas
- A Guide to Wall Trim and Wall Molding Ideas