
Thinking about starting DIY projects at home? These five essential tools for beginners are a great place to begin.
I often hear from readers, especially women, “I can’t build that because I don’t have the tools or don’t know how to use them.” I started out in the same place—familiar with only a hammer and a drill because of my parents, but intimidated by power tools. That’s exactly why I began sharing projects and tips: to encourage and empower you to try new things. If I could learn, so can you.
When I started, refinishing furniture and making pieces was often about saving money. Over time I discovered I also DIY because I can’t always find exactly what I want, and custom projects often look better and cost less than store-bought alternatives.
A few basics like a hammer and drill were familiar to me, but bringing home my first saw felt like a huge leap. I learned by reading manuals, watching a lot of tutorials, and practicing carefully. Safety always comes first—read the instructions, wear the right protective gear, and keep your fingers well away from blades and moving parts.
This post mentions tools I find indispensable. I include honest recommendations and tips to help you get started safely and confidently.
I love sharing practical tips and tool advice. Over time I’ve written guides on removing wall anchors, choosing the best light bulbs, and changing a light fixture. My goal is to help you create a home you love while staying on a budget.
My Favorite Beginner DIY Tools
1. An Orbital or Sheet Sander
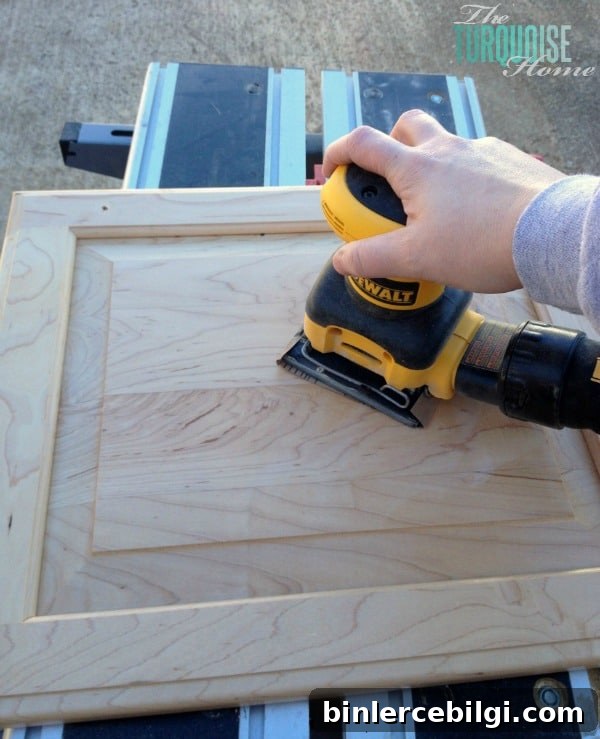
Nearly every wood project requires sanding at some point. An electric sander speeds the work and gives more even results than sanding by hand. I use both an orbital sander and a sheet sander. The orbital is a workhorse for quick material removal, but it can leave circular marks on wood surfaces—so be cautious if you plan to stain. A sheet sander is gentler and easier to control along the grain, making it a better choice for stained finishes and delicate work. Invest in a few grades of sandpaper and a dust mask, and keep a vacuum or shop vac close by to manage dust.
2. Miter Saw
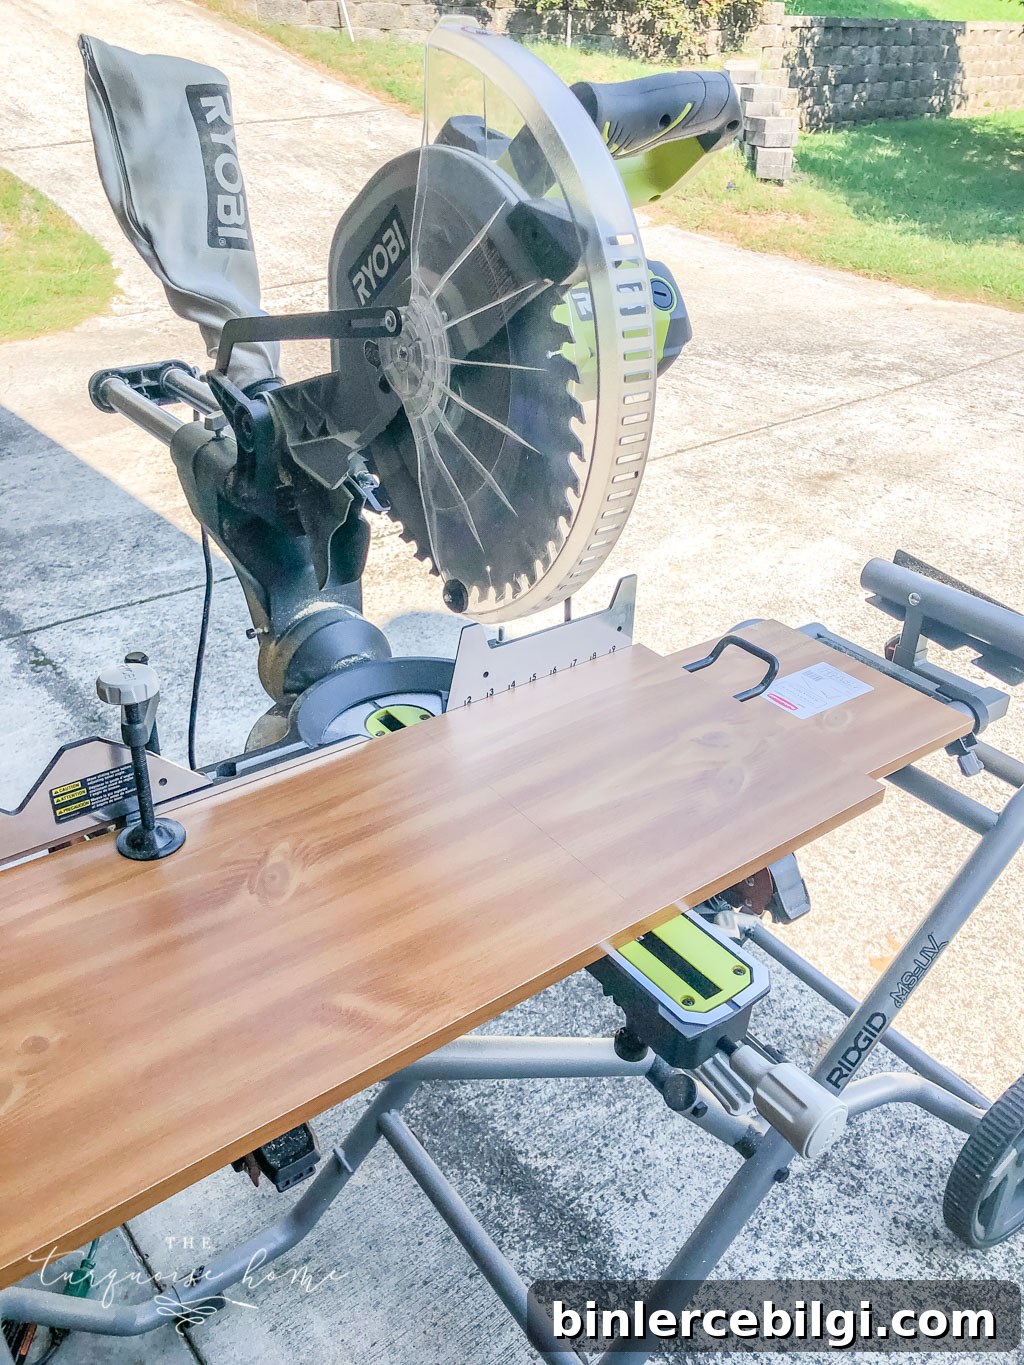
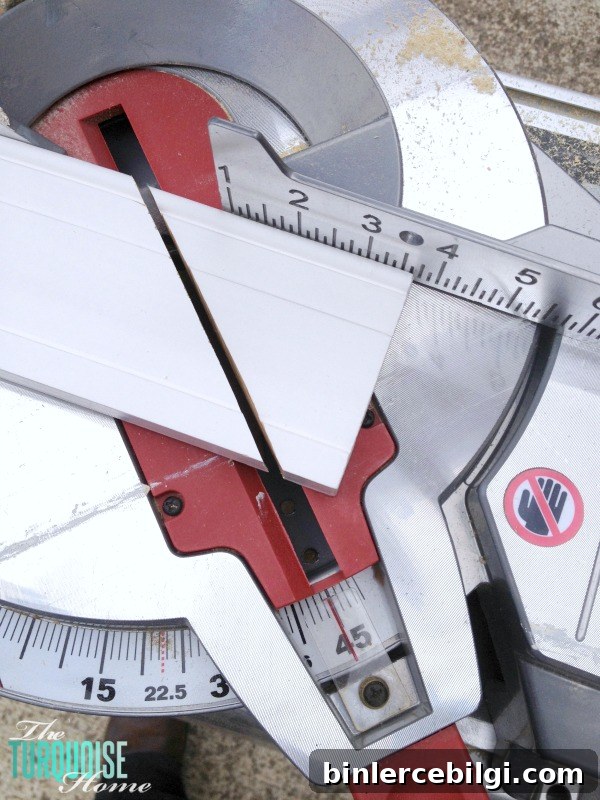
My first major tool purchase was a miter saw, and it quickly became one of the most-used tools in my collection. A miter saw makes precise crosscuts and angled cuts for trim, molding, frames, and many furniture projects. It’s more approachable than it looks—read the manual, set the saw securely, and always keep hands well away from the blade. If possible, use the saw outdoors to avoid spreading sawdust in the garage. If you must work inside, a wet/dry shop vacuum helps keep the area tidy. For frequent use, a mobile stand makes setting up and storing the saw much easier.
3. Circular Saw
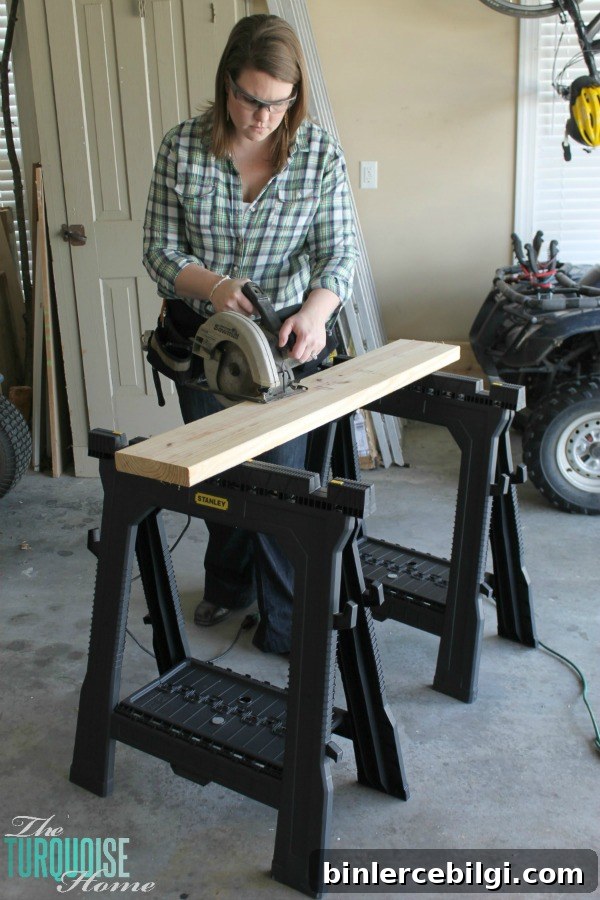
A circular saw is essential for cutting larger boards and sheet goods that won’t fit a miter saw. It’s a hand-held tool, so at first it can feel less stable, but with practice it becomes a reliable, portable option. I like using a cordless circular saw for quick cuts—no cords to manage—and pairing it with a straight-edge guide guarantees clean, straight lines. A circular saw is especially useful for building shelving, cutting plywood for closet shelves, and many framing tasks. Always clamp your workpiece and support long boards to prevent binding or kickback.
4. Kreg Jig
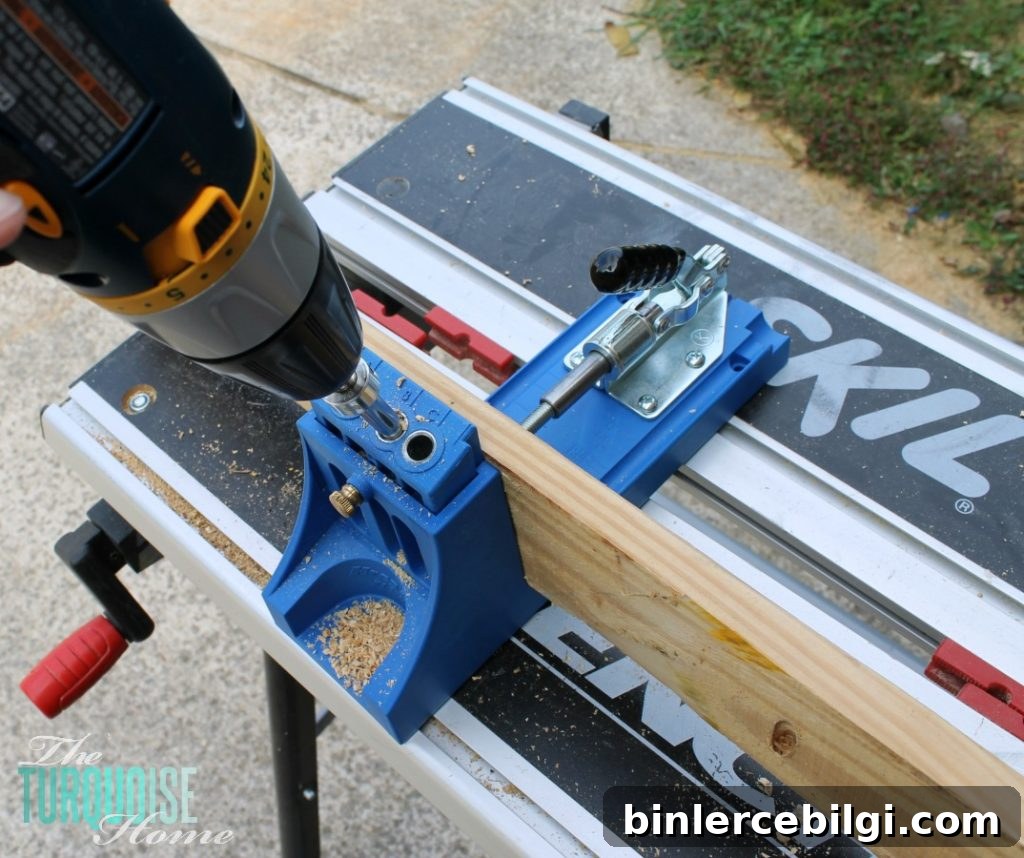
A pocket-hole jig is an incredibly useful joinery tool for building strong, clean connections without complicated woodworking joints. When I built my farmhouse dining table and many cabinets and shelves, the jig made assembly fast and sturdy. Pocket holes are great for face frames, simple furniture builds, and anywhere you want reliable joints without visible hardware. Learn the basic pocket-hole technique, keep the jig set to the correct thickness, and use clamps to hold pieces firmly while drilling and fastening.
5. Cordless Brad Nailer
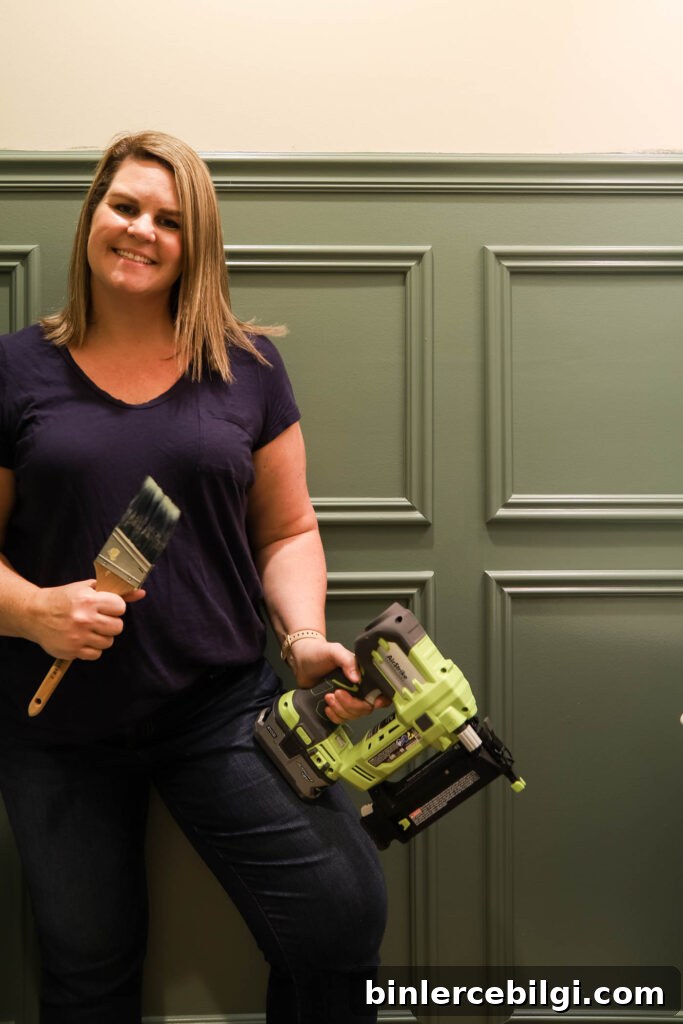
A cordless brad nailer makes trim work, small framing, and finishing tasks much faster and cleaner than hammering. It’s perfect for installing wall trim, picture frame molding, beadboard, and other decorative details. A brad nailer holds work pieces in place without splitting delicate trim and allows for quick adjustments. If you do a lot of trim or finish carpentry, a brad nailer will save you time and produce more professional results.
Bonus Tool: A Wet/Dry Shop Vacuum
A shop vacuum is a must-have for keeping your workspace clean and safe. It quickly removes sawdust, debris, and nails, and many models accept attachments to collect dust directly from sanders and power saws. A clean work area improves accuracy and reduces hazards—get one early and use it often.
These tools form a solid foundation for most beginner woodworking and home-improvement projects. Start slowly, practice safety, and don’t be afraid to make mistakes—each project builds confidence and skill. Over time you’ll know which tools you reach for most and can expand your collection as needed.
What’s your favorite tool to use when you’re working on a project?
More Posts You Will Love:
- Paint a Room Like a Pro in 5 Easy Steps
- My Favorite Paint Tools, Tips and Tricks
- The BEST Power Tool Set Gift Guide