
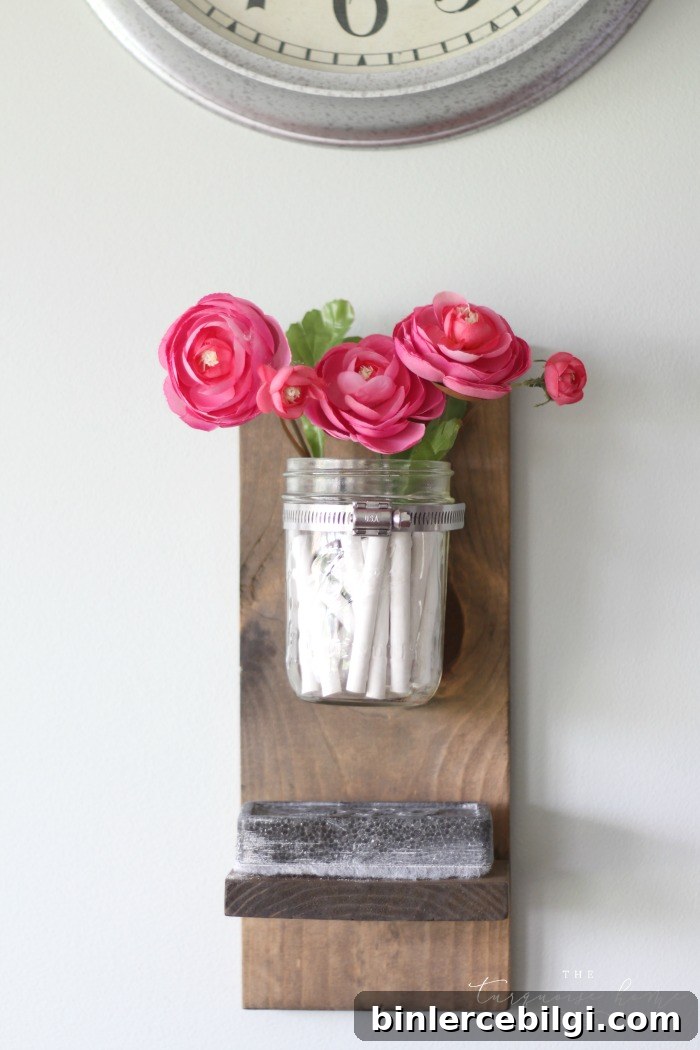
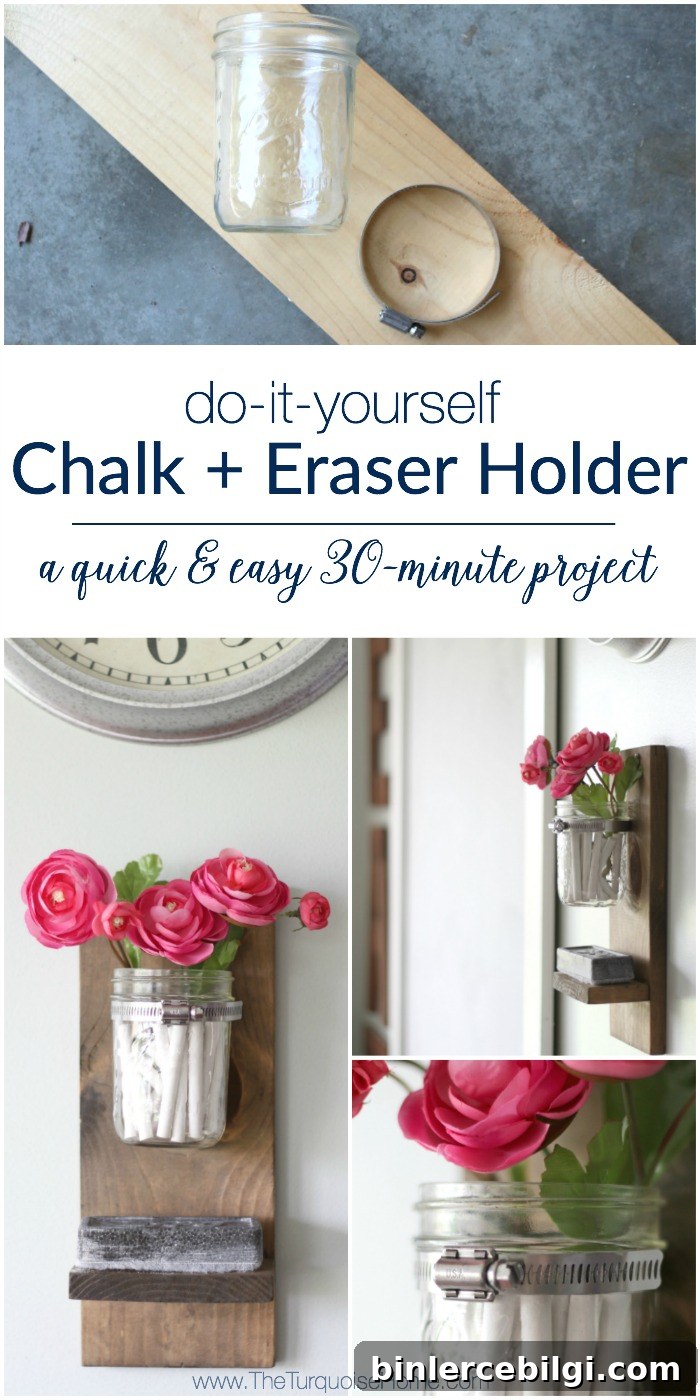
I love quick DIY projects that are both attractive and useful, so I put together this simple chalk and eraser holder in about 30 minutes using three items—two of which I already had. The total out-of-pocket cost was just $1.50. It’s small, practical, and really cute.
A bit of background: I installed a large chalkboard in my kitchen a few years ago, and for the longest time I had to walk through the kitchen into the laundry room just to get chalk and the eraser. I’ve seen many storage solutions—hanging baskets, inverted drawer pulls, mason jars held with hose clamps—and I wanted something simple but different that would keep supplies within reach.
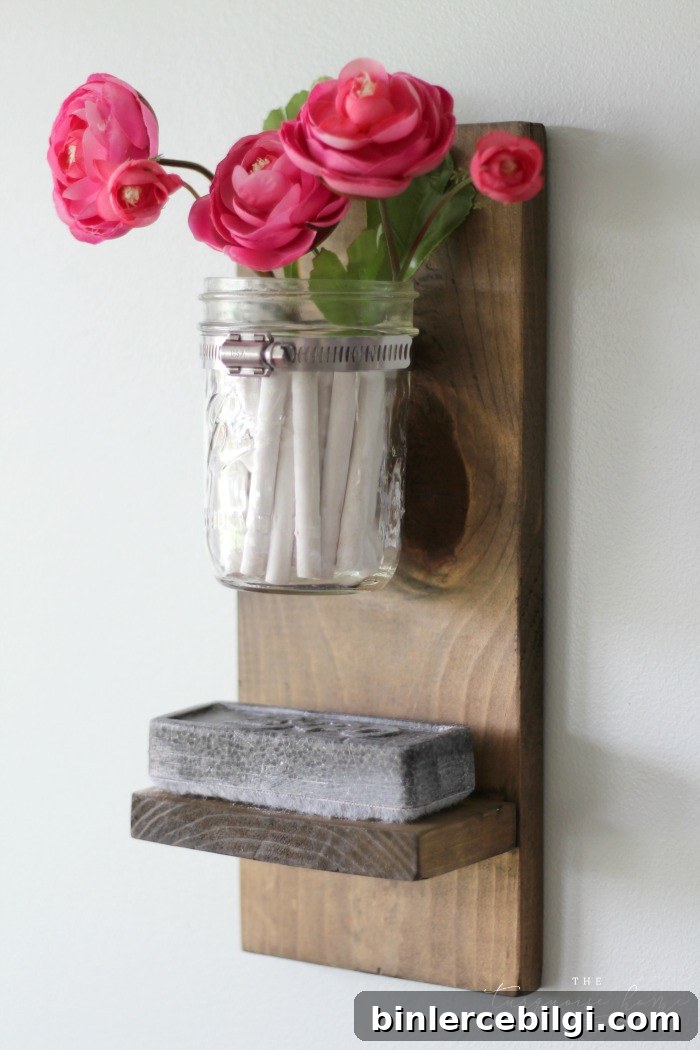
After some thought I grabbed a scrap piece of wood, attached a hose clamp, slid in a wide-mouth mason jar, and added a small shelf for the eraser. The finished holder is attractive, functional, and keeps everything handy. Best of all, because the chalk is now easy to reach, my daughter has been using the board to practice her ABCs almost every day.
The chalkboard sits next to our kitchen table and was intended as a teaching tool as much as a decoration—sometimes I use it for a weekly verse or a fun saying, but mostly I want it to be a place where my children can learn and play. Having the chalk accessible has made the board a much more regular part of our routine.
Tools you will need for a DIY Chalk and Eraser Holder
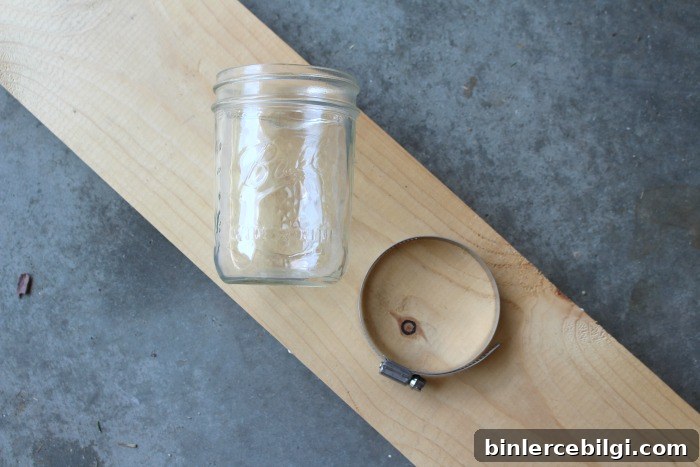
- Wide-mouth mason jar
- Hose clamp large enough to fit around the mason jar (available at hardware stores)
- 1×6 board at least 17 inches long (a scrap piece works great)
- Saw (miter saw, circular saw, or a hand saw with a miter box)
- Sander or sandpaper
- Stain (I used a combination of a weathered gray-style stain and a dark walnut-style stain)
- Pocket hole jig (or basic screws and wood glue) for attaching the small shelf
Steps to Build a DIY Chalk and Eraser Holder
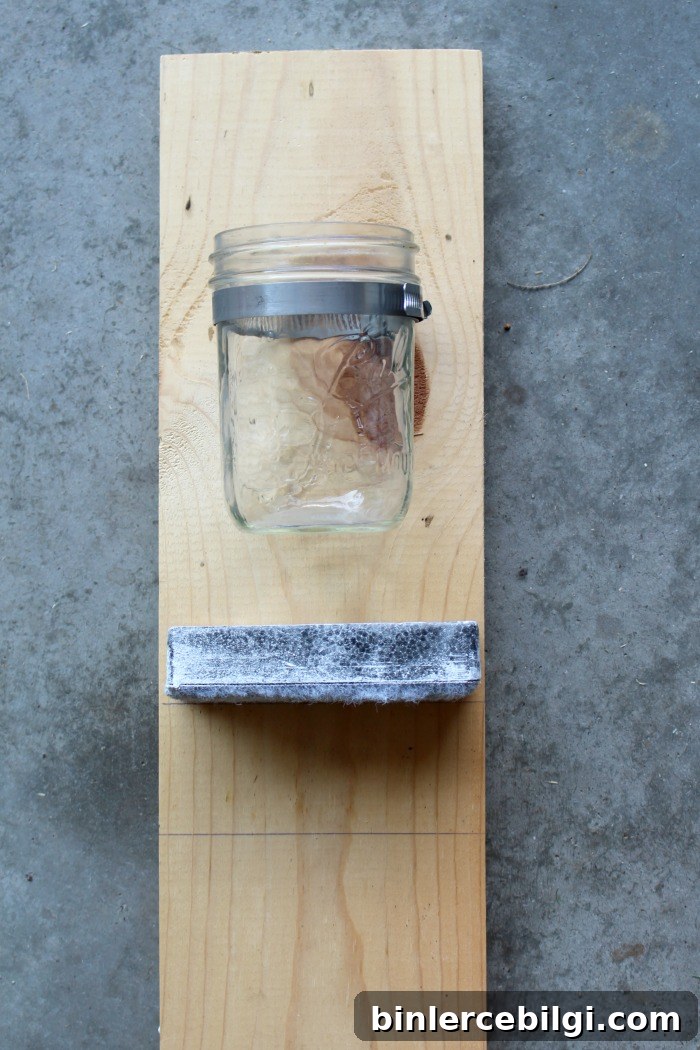
Step #1: Measure the board
Place the mason jar and eraser on your 1×6 board to determine positioning. For my holder I cut the back piece to 13.5 inches and the small shelf to 2.75 inches. Adjust measurements to fit your jar and eraser size.
Step #2: Cut the wood
Cut the board at the measured spots. A miter saw makes clean cuts quickly, but a circular saw or a hand saw with a miter box will work just fine for this simple project.
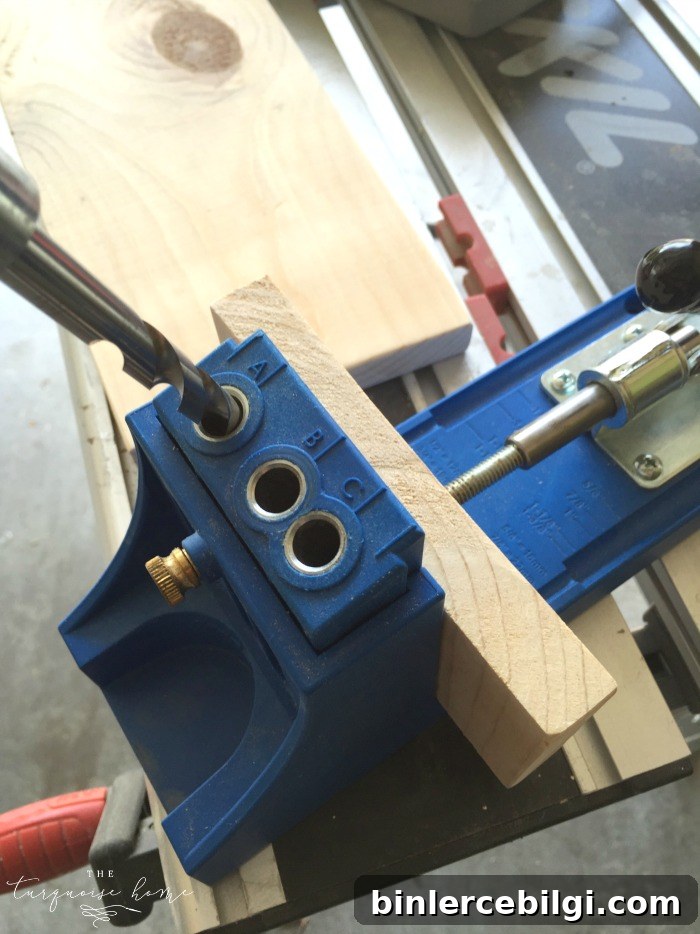
Step #3: Attach the small shelf
Use a pocket hole jig or simply screw the shelf to the back board from underneath. The pocket hole method creates a neat, sturdy connection with the screws hidden from view. Make sure the shelf is square and solid enough to support the eraser.
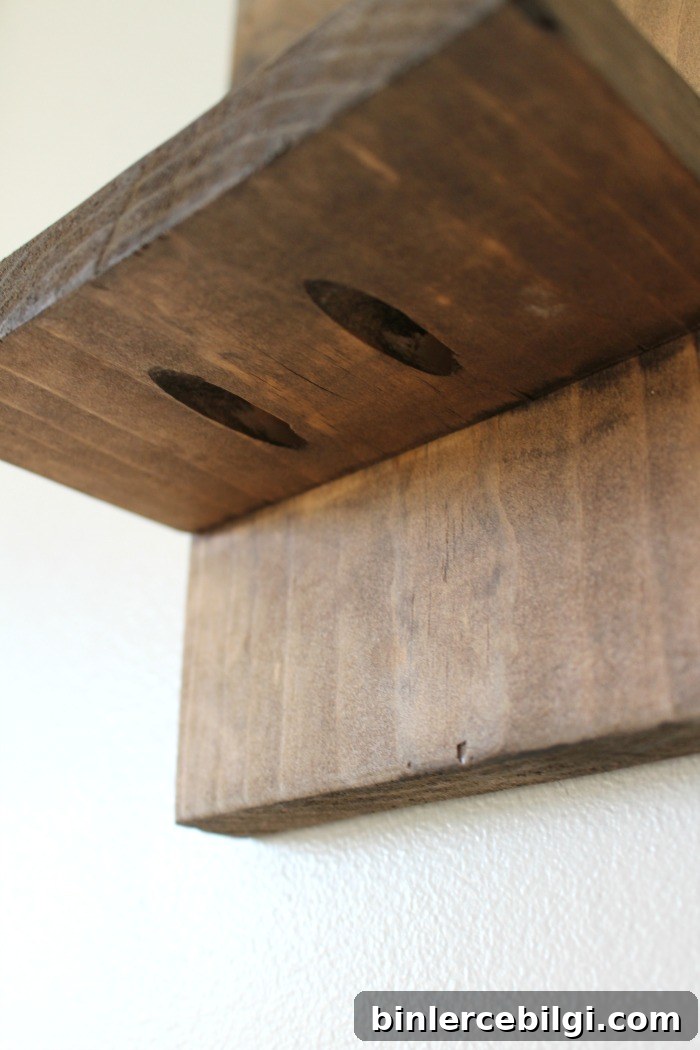
Here’s the underside of the shelf after assembly; the screws go through the shelf into the back board, creating a strong connection that’s barely visible.
Step #4: Stain the boards
I like starting with a lighter weathered-style stain and then applying a darker walnut-style stain briefly, wiping most of it off to keep the color subtle. Allow stains to dry according to the product instructions; a clear top coat is optional for extra protection.
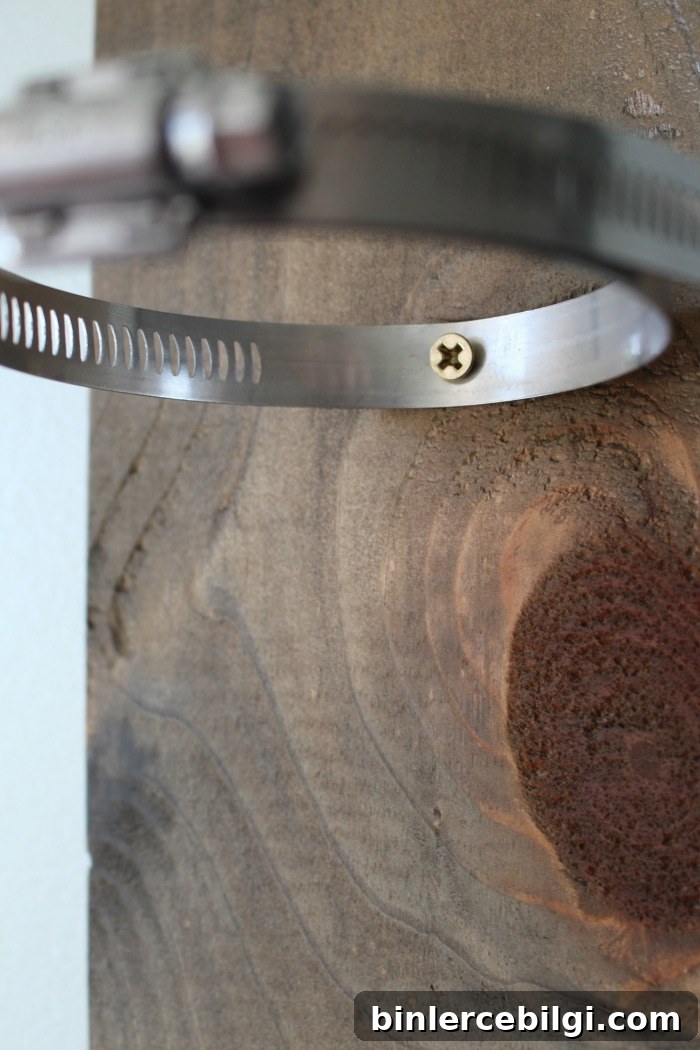
Step #5: Attach the hose clamp
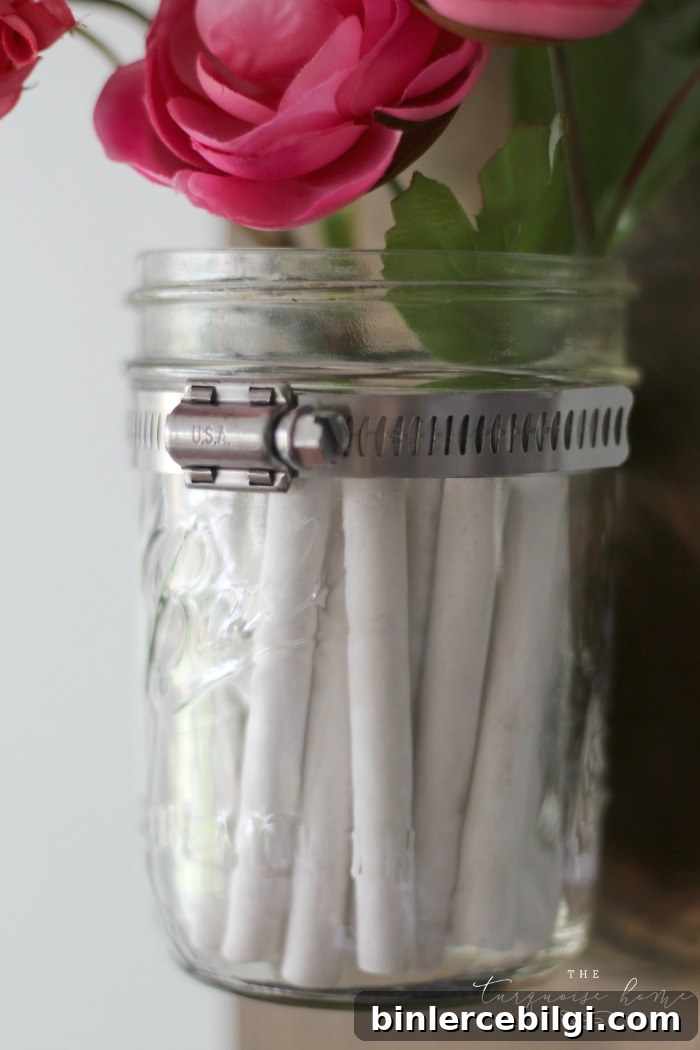
Position the hose clamp so the mason jar will sit comfortably without slipping through. Tighten the clamp around the jar until the jar slides out of the top but stays secure in the clamp. Drill a pilot hole through the clamp and screw it to the board at the marked position.
Step #6: Mount on the wall
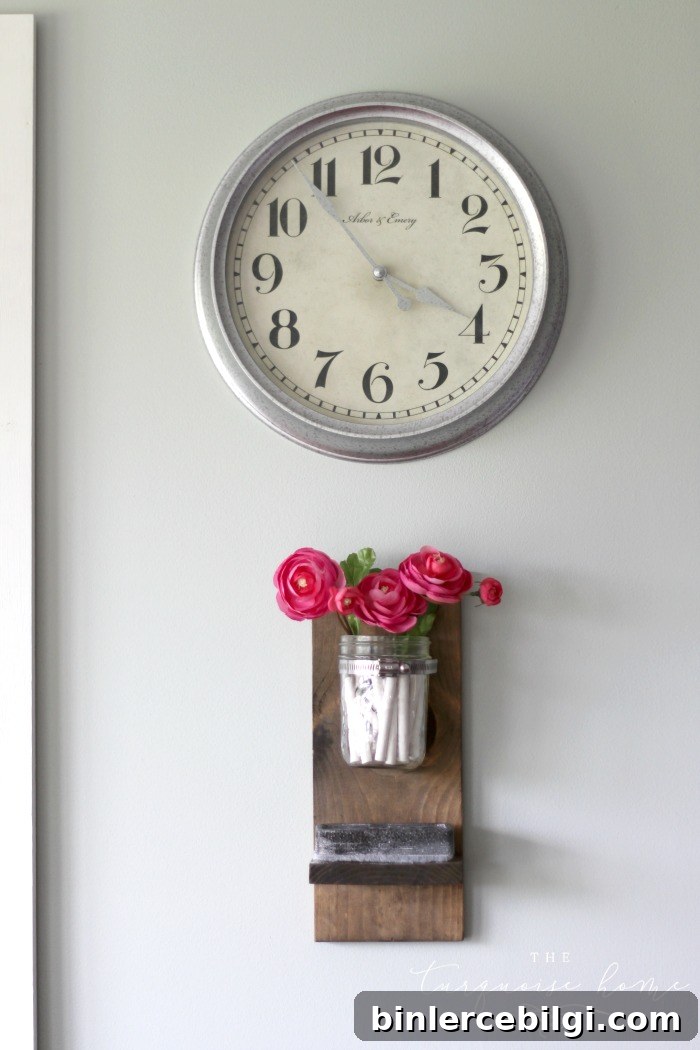
Attach a couple of small picture hangers or sawtooth hangers to the back and hang the holder where it’s convenient—mine sits right under the kitchen clock, just below the chalkboard.
Step #7: Add the jar, chalk, and eraser
Place the mason jar in the clamp, fill it with chalk, and set the eraser on the little shelf. I added a few faux flowers to the jar for a touch of color, but that’s optional. The finished piece keeps supplies tidy and adds a charming touch to the space.
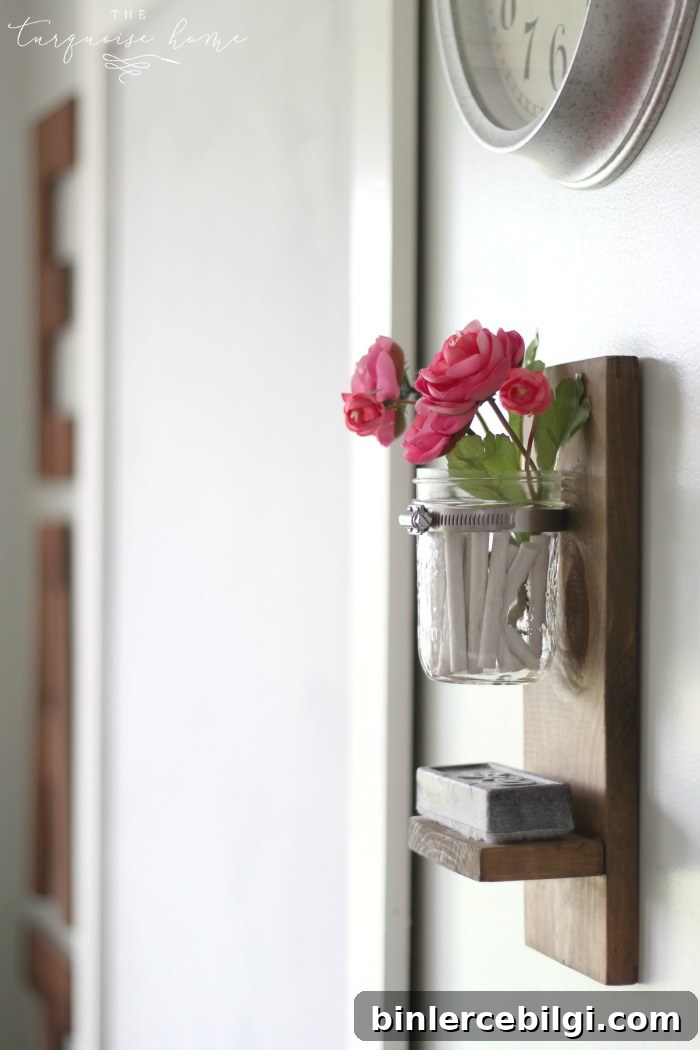
This little project helped fill a tricky spot on the wall and added practical storage where it was needed. It’s a small change, but one that makes using the chalkboard easier and encourages my child to practice and create more often.
Home decorating is often a chain reaction—one small update leads to another—but this spot is finally feeling finished for now. A simple DIY like this can bring function and charm to an everyday space.
More posts you will love:
- How to Make a Giant Magnetic Chalkboard
- Chalkboard Wood-Slice Ornaments
- 15 Fabulous Chalkboard Ideas