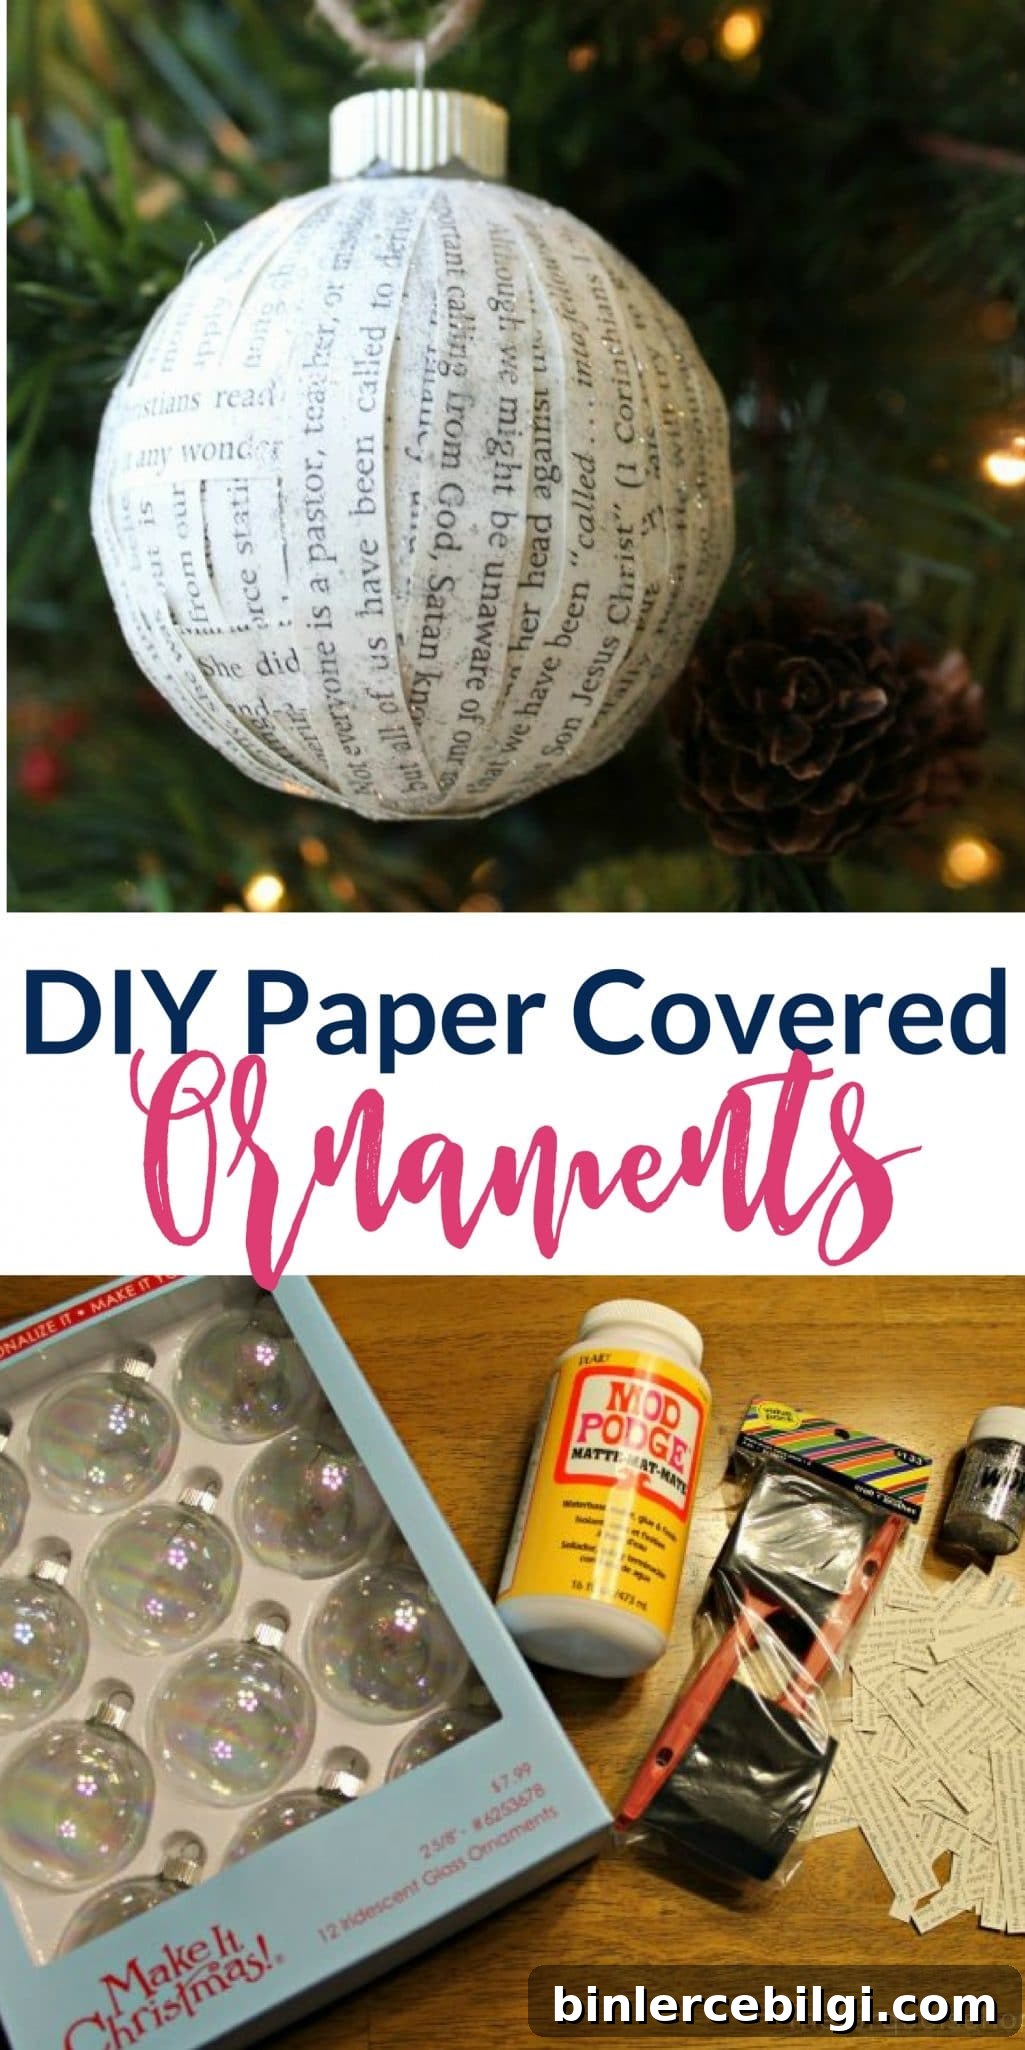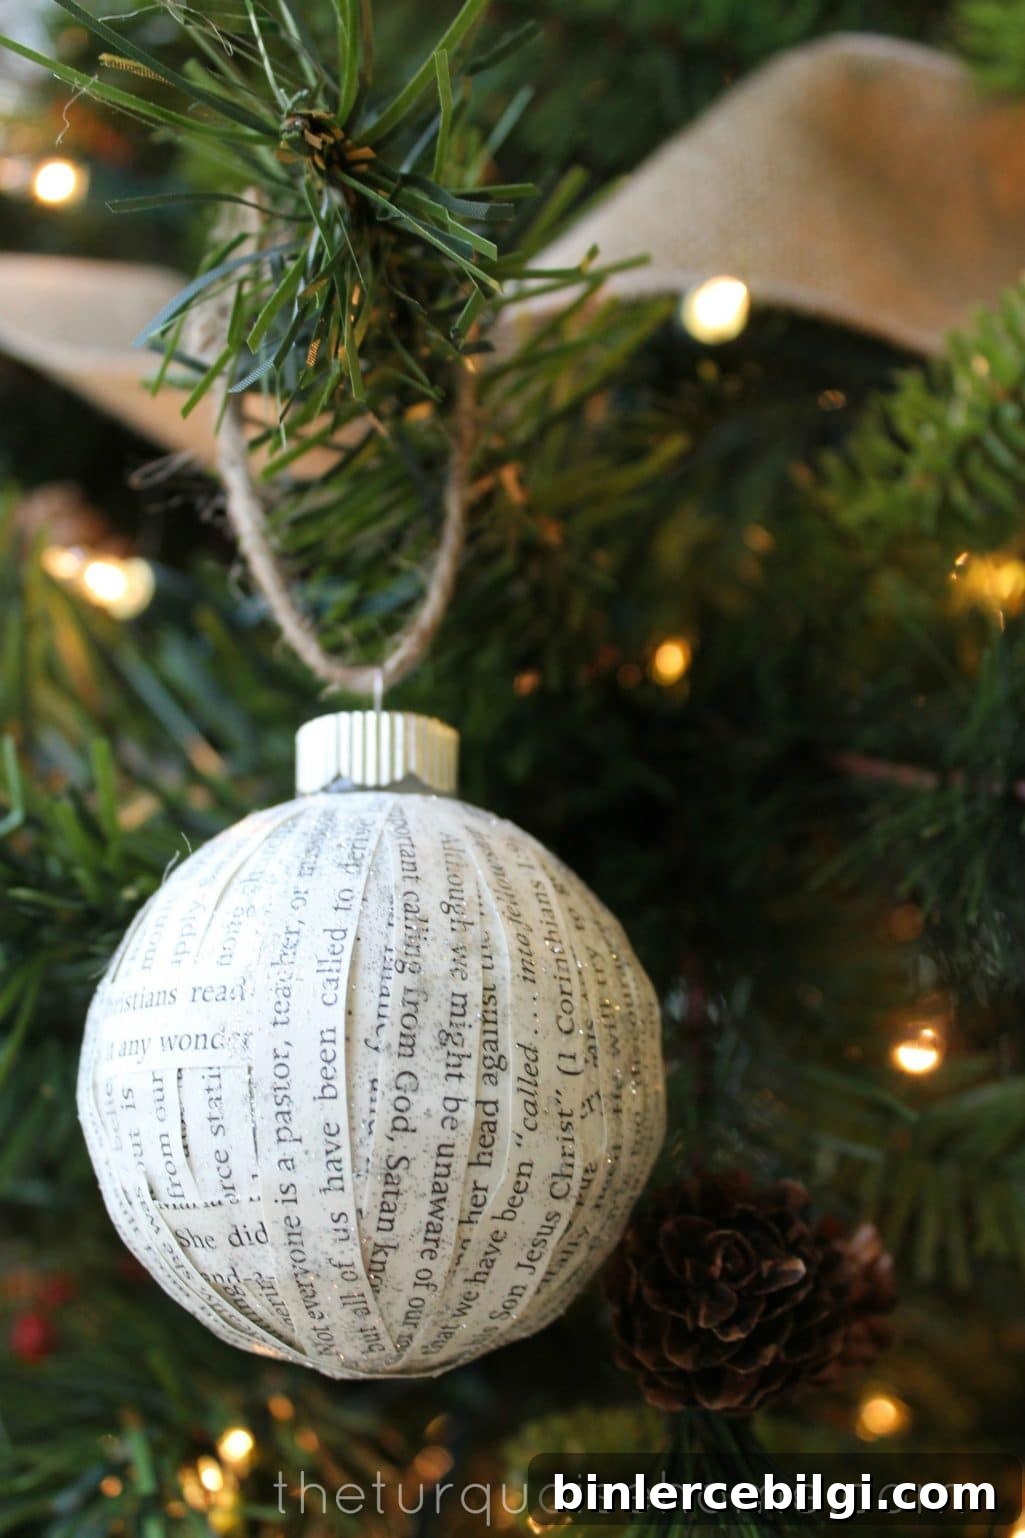
Make charming, budget-friendly DIY paper-covered ornaments with simple supplies—these are easy to personalize and can become sentimental keepsakes for your tree.
After finishing my holiday shopping and finally feeling back to normal, I had time to create some homemade decorations. This project is straightforward, inexpensive, and perfect for using leftover paper from old books, hymnals, or any meaningful pages you want to preserve in ornament form.
I couldn’t find a simple name that captured it, so let’s just call it a DIY paper-covered ornament—easy to follow and perfect for gifting or decorating.
Want to Save This?
Bookmark or pin this page so you can come back to the tutorial when you’re ready to craft.
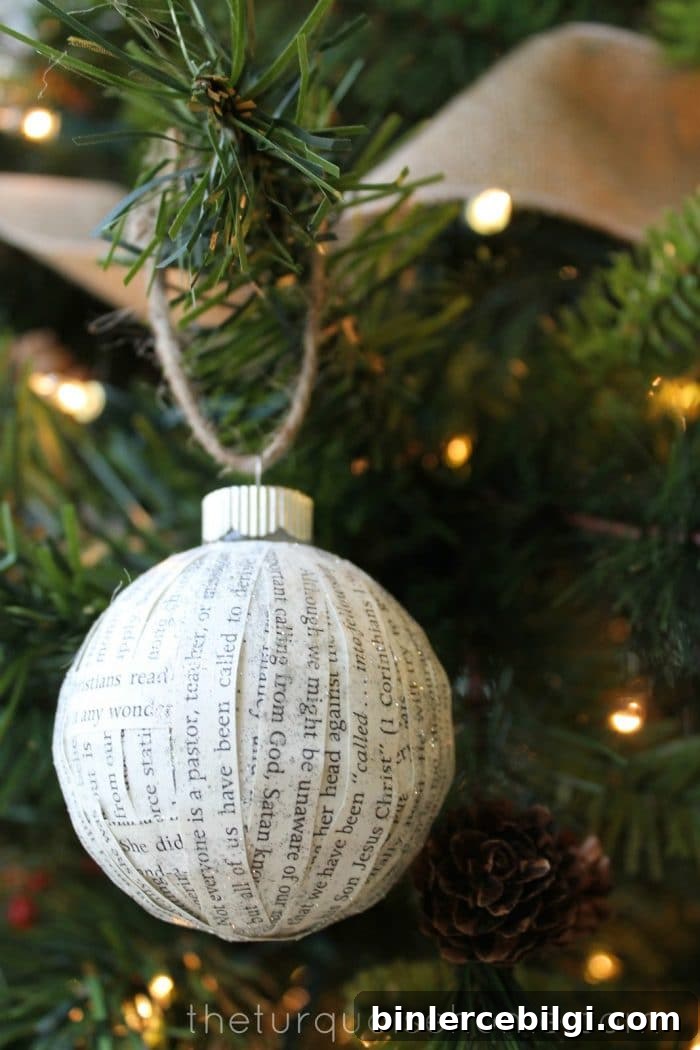
Supplies Needed for Making Paper-Covered Ornaments
- Plain craft ornaments or inexpensive glass/plastic ornament balls (found at most craft stores)
- Mod Podge or a similar decoupage medium
- Small foam or sponge brush for applying Mod Podge
- Fine glitter (optional) for a light sparkle
- Pages from an old book, sheet music, hymnals, or any decorative paper
- Twine, ribbon, or ornament hooks for hanging
- Scissors and a clean workspace that can get a little messy
Steps for DIY Paper-Covered Ornaments
1. Gather the Supplies
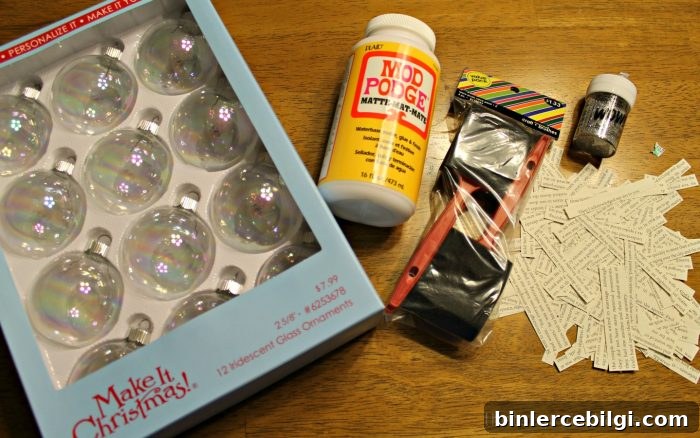
Choose the ornament blanks and the paper you want to use. Using pages from a meaningful book or hymnal gives the ornament sentimental value, while decorative scrapbook paper or old maps create a unique visual effect. Set out your Mod Podge, brush, scissors, glitter (if using), and twine.
2. Cut Paper Strips
Cut the paper into strips or shapes. Narrow vertical strips work well for a classic look, but you can also cut small squares, circles, or irregular shapes for a mosaic effect. Keep the pieces relatively thin so they conform smoothly to the round surface of the ornament.
3. Adhere the Strips to Ornaments
Apply a thin layer of Mod Podge to a small area of the ornament, lay the paper strip down, then brush another light coat of Mod Podge over the top to seal it. Work in small sections so the adhesive doesn’t dry before you arrange the paper. Overlap strips slightly to hide gaps and continue until the ornament is covered. I mostly placed strips vertically and added a few horizontal pieces for interest.
This step is simple but requires patience—take your time smoothing the paper so there are no large air bubbles. You don’t need elaborate tools; your fingers or the flat side of the brush can gently press pieces into place.
4. Add Glitter, Twine, and Final Embellishments
Before the final coat of Mod Podge dries, lightly dust the ornament with glitter if you want subtle sparkle. Rather than pouring glitter from the bottle, pinch a small amount and sprinkle it evenly—this avoids clumps and creates a delicate shimmer. Tie a loop of twine or ribbon to the ornament’s top to hang it, and add any small bows or charms as desired.
Allow the ornament to dry completely—usually at least 15–30 minutes for touch-dry, but longer for a fully cured finish depending on humidity and the number of Mod Podge layers. Make sure they are fully dry before placing them on the tree to avoid smudging.
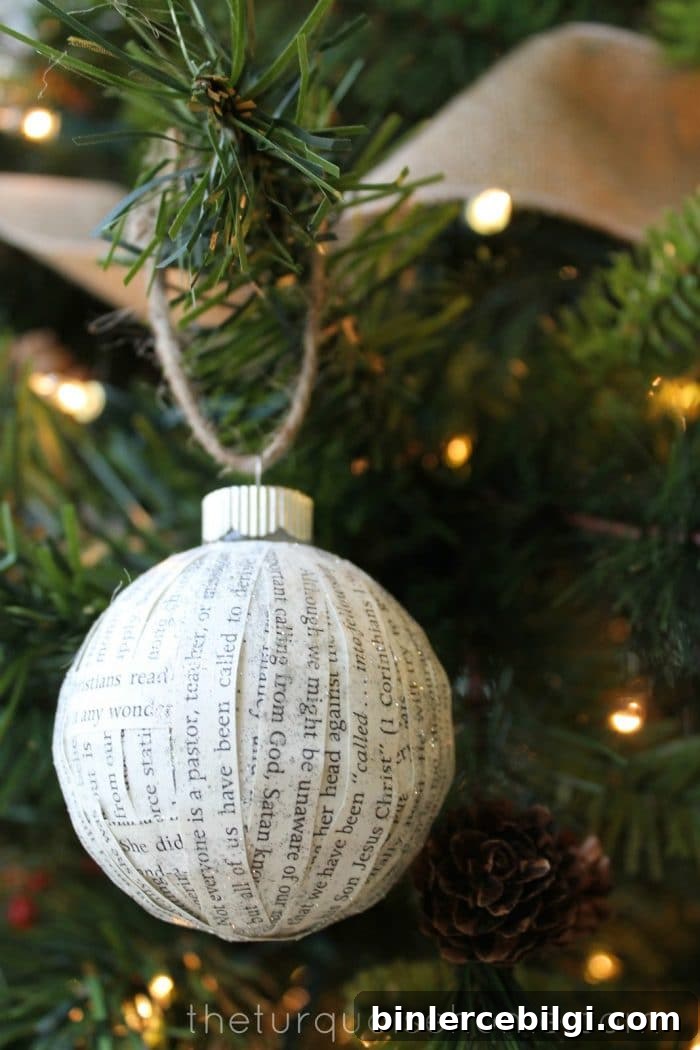
These finished ornaments are simple, attractive, and budget-friendly. Each one takes roughly 20–40 minutes from start to finish depending on how detailed you make them, so plan your crafting time accordingly if you want to make several.
Tips, Variations, and Care
- Use thin paper for an easier application on round ornaments—very thick paper may wrinkle.
- Mix text pages with colored paper or sheet music for a layered, textured look.
- Seal the finished ornament with an extra coat of Mod Podge to protect the paper from yellowing and wear.
- Add small stickers, sequins, or tiny bows after the adhesive dries to personalize each piece.
- Store ornaments in a cool, dry place and wrap them in tissue paper to prevent scratches or flaking.
Have you tried making ornaments this year? These paper-covered ornaments are an easy way to craft personalized holiday décor—perfect for memory-filled gifts or a weekend crafting session. I’d love to hear about your variations or see photos if you try this idea!