

This IKEA nightstand hack is an easy, affordable way to turn a basic dresser into a custom bedside table that fits your home.
I finished my new bedside tables and I love them. I wanted matching, attractive nightstands for our bedroom but didn’t want to spend a lot, so I completed an IKEA Rast hack. IKEA’s simple, modern pine pieces are an excellent starting point for a custom furniture project—sturdy, inexpensive, and easy to transform.
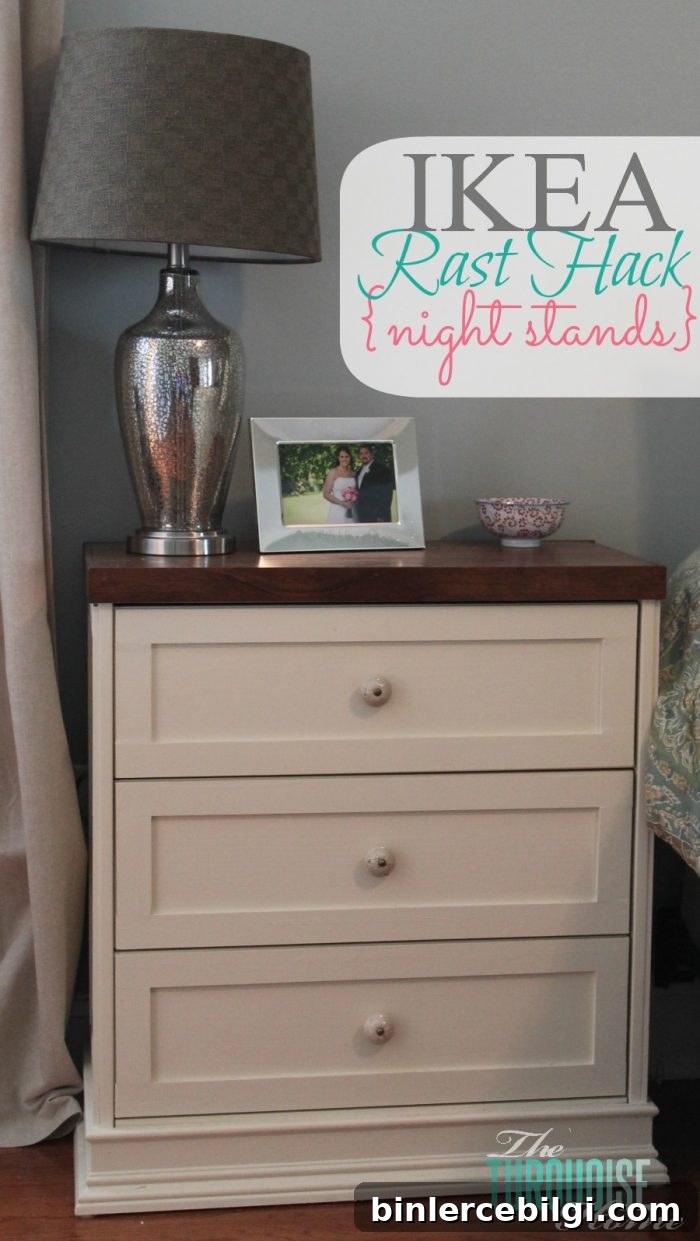
This was my first woodworking project and it sparked a love for building furniture and home decor. It was hard work and took me about four days from start to finish, but I expect I’ll get faster with practice.
In our old master bedroom we only had room for one nightstand, but the new bedroom is large enough for two, and now the space feels balanced and symmetrical. I’m thrilled to have drawers to hide clutter and a cohesive look on both sides of the bed.
The Rast hack is very popular because the base Rast dresser is solid wood and inexpensive. The dresser’s simple lines make it easy to adapt to nearly any style by adding trim, changing the finish, and customizing the top.
Tools and Materials Needed for an IKEA Rast Hack Nightstand
- Miter saw (for accurate trim cuts)
- Nail gun (or brad nailer) to attach trim and top components
- Putty knife
- Wood putty for filling nail holes and seams
- Sandpaper (various grits)
- 1 × 4 board for building up the dresser top
- 1 × 6 board the width of the dresser for the top tray
- About 40 feet of lattice trim per dresser (if making two, get roughly 75 feet)
- Drawer pulls or knobs
- Stain (for the top)
- Paint (I used a warm antique white)
- Paint conditioner (optional, to reduce brush marks)
- Clear topcoat such as polycrylic (optional, for durability)
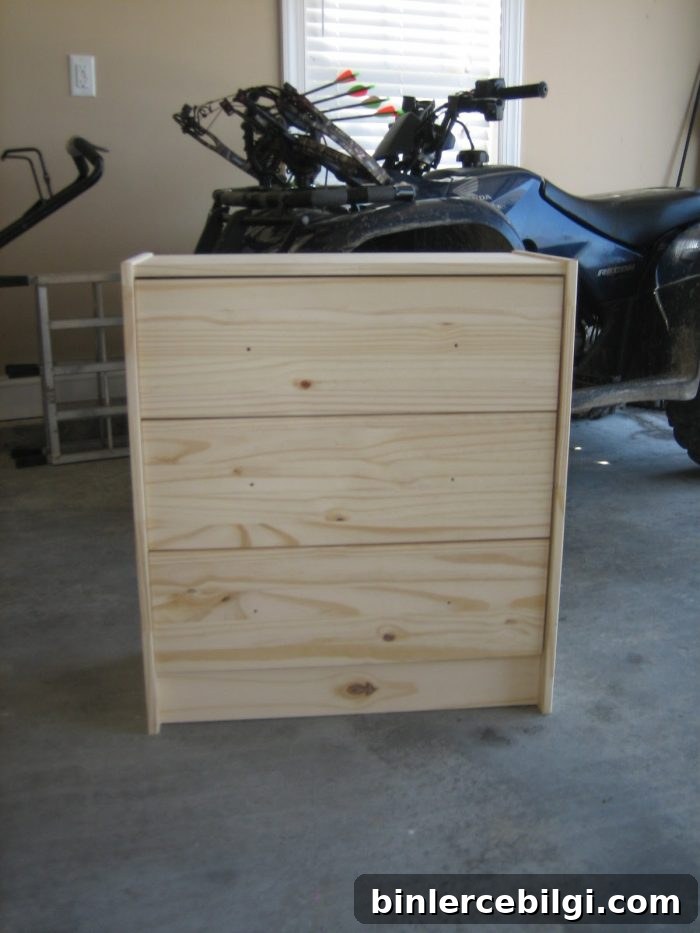
The Rast dresser is plain out of the box but is made from solid wood, which makes it ideal for dressing up with trim and a custom top. I started by building up the base so there would be something solid behind the decorative molding. I used a 1×4 and a piece of lattice behind it to create a small riser at the bottom that the trim could attach to securely.
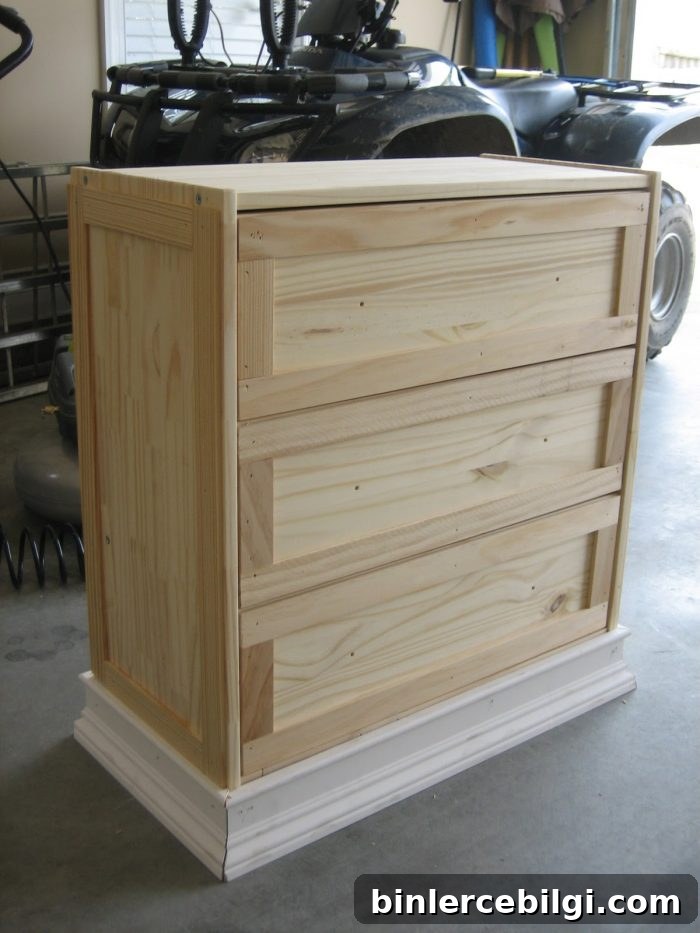
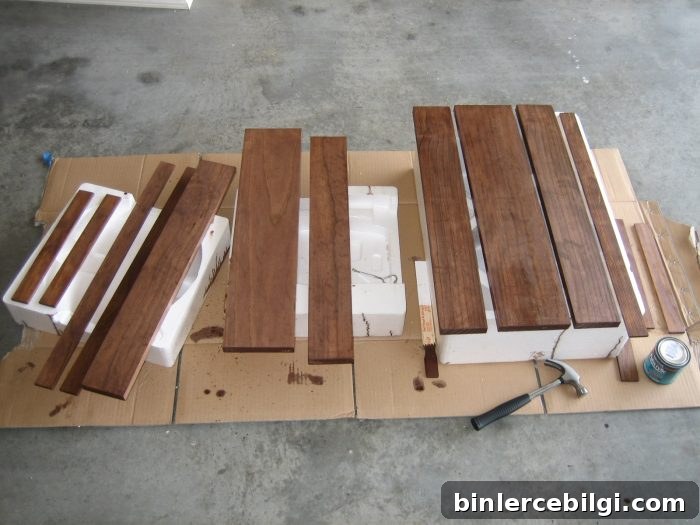
After adding the riser, I cut base molding and lattice to trim out the drawers and sides. A miter saw makes this step much easier and ensures tight corner joints. I fitted the top “tray” pieces—two 1×6 boards and one 1×4 side by side—then nailed them to the dresser top and trimmed the edge with stained lattice for a finished look.
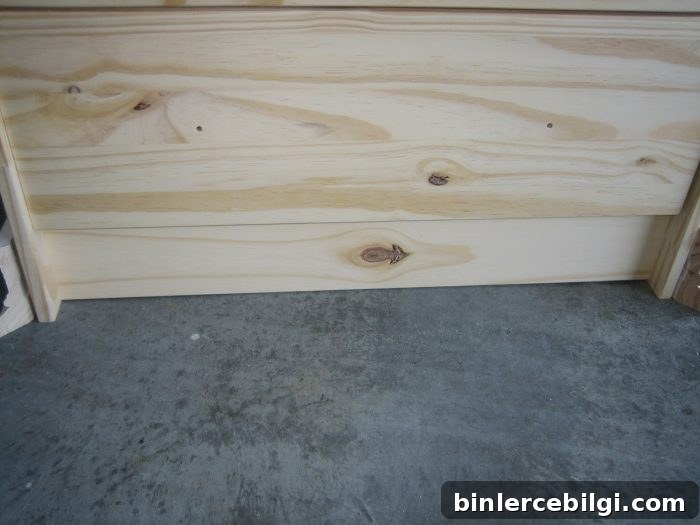
As the trim went on, the piece started to take shape. I filled all nail holes and seams with wood putty, sanded smooth, and then applied two coats of paint. To reduce visible brush strokes I used a paint conditioner. For the top, I pre-stained the tray pieces so the wood grain would show through, then applied the stained lattice around the tray edge for a fine detail.
Here are before and after shots that show how much of a difference the trim, top, and finish make. The simple Rast becomes a custom-looking nightstand with depth, detail, and a stain-and-paint contrast.
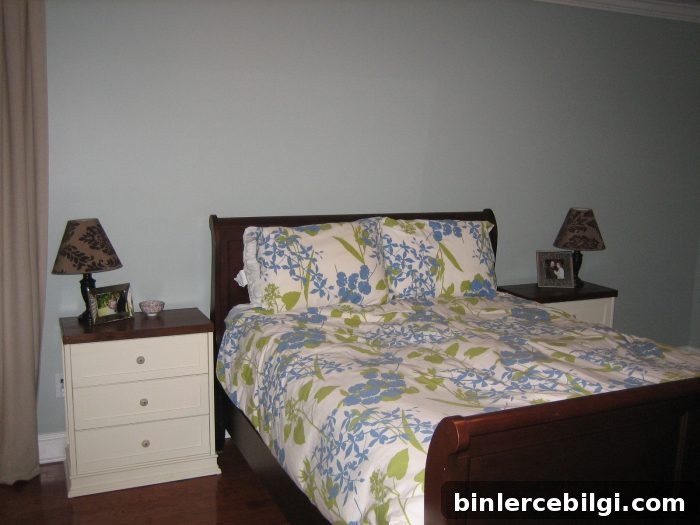
I absolutely love how they turned out.
Project tips: measure twice and cut once, pre-stain any trim pieces that will be exposed on the top, and use a lightweight filler and a sanding block to smooth transitions before painting. If you’re new to woodworking, go slowly on the trim installation and use clamps where necessary to hold pieces in place while nailing or gluing.
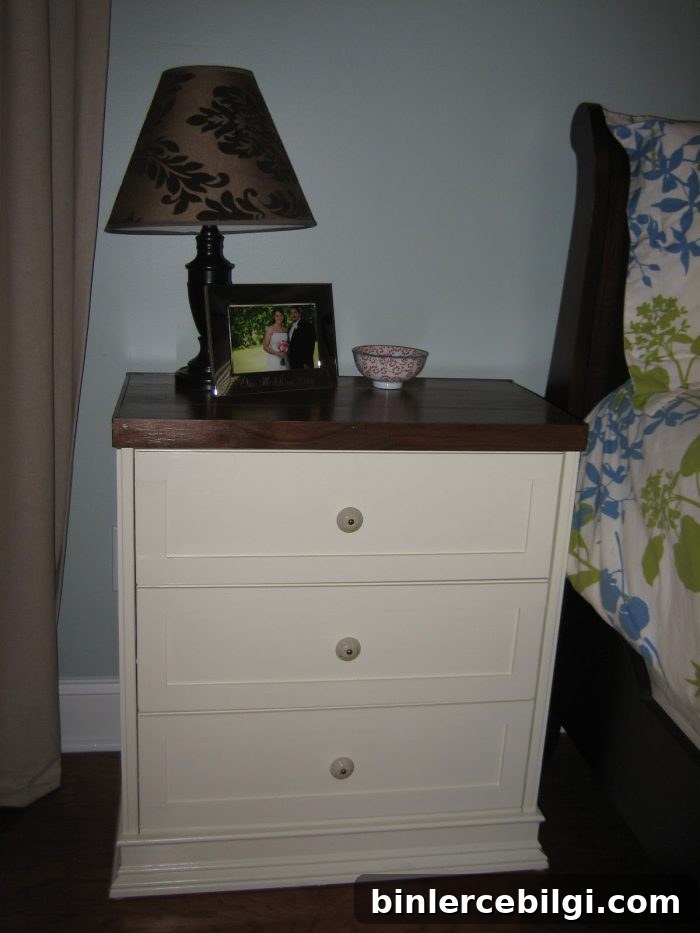
I still plan to add new lamps, update the duvet cover, and hang art above the bed, but the nightstands are a great foundation for the room’s decor. What do you think of my first furniture project?

Related project ideas you might enjoy:
- A’s Room: Hot Pink Nightstand Makeover
- Seven Must-Have Nightstand Decor Ideas
- Bedroom and Office Inspiration with a Nautical Theme
- How to Make a Headboard: 13 DIY Headboard Ideas
- How to Start a Room Makeover