
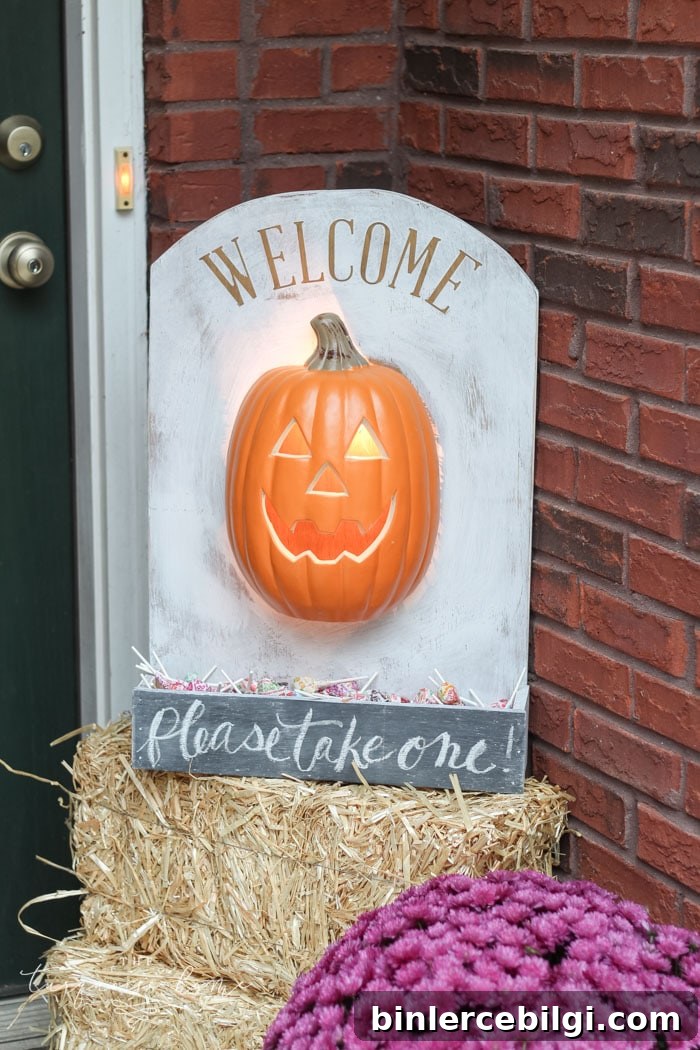
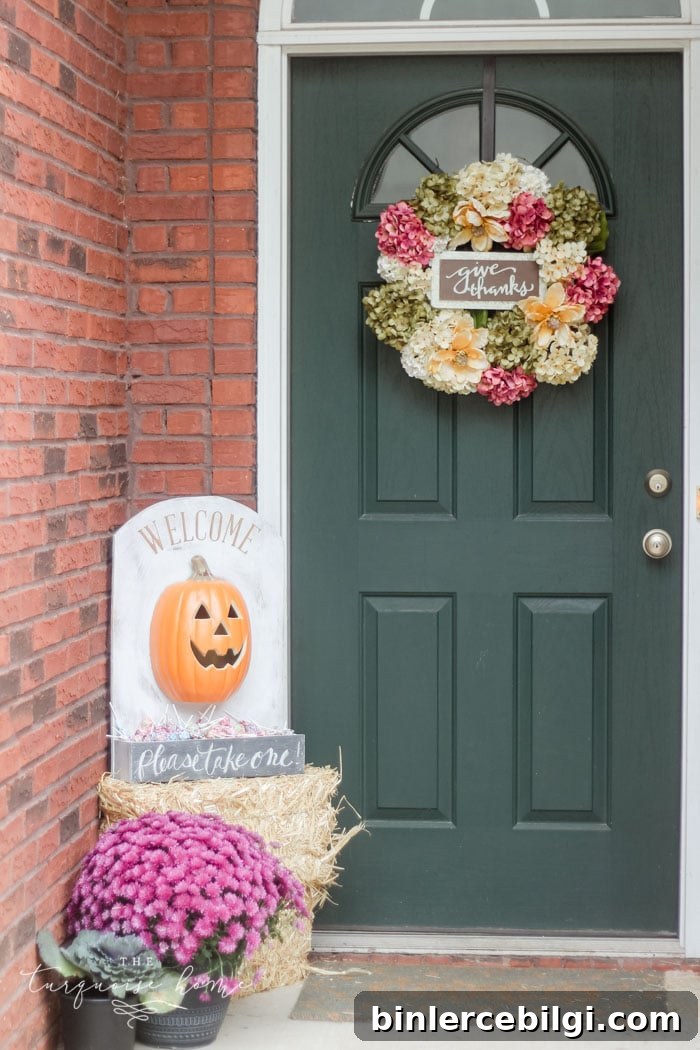
A DIY Lighted Pumpkin Candy Holder is a perfect way to share treats on Halloween while you’re out of the house. It looks festive on the porch and lets trick-or-treaters help themselves—ideal if you want to accompany your kids around the neighborhood without missing out on the fun of giving candy.
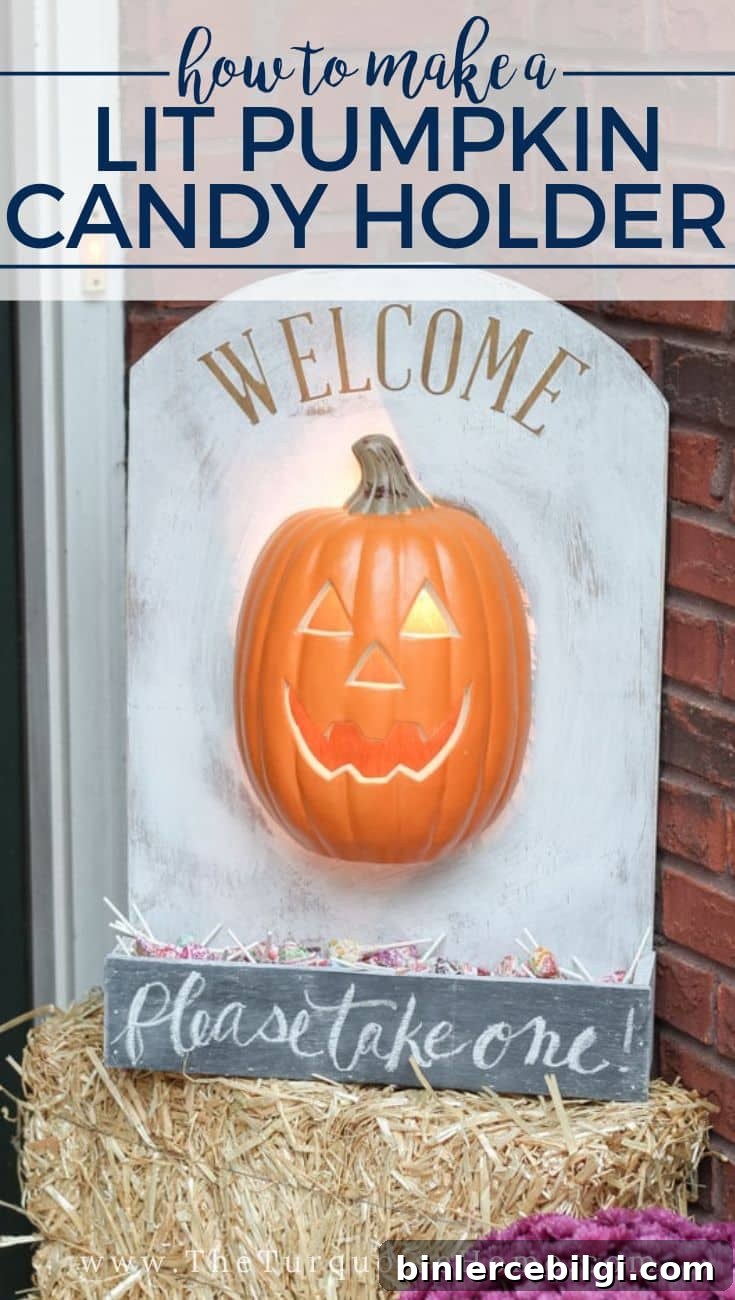
This project started as part of a Home Depot DIH (Do-It-Herself) workshop where attendees could create Halloween decorations in-store. The original workshop design leaned toward spookier elements, but I adapted it to suit my friendlier fall aesthetic.
I swapped the suggested skeleton prop for a lighted jack-o’-lantern and a welcoming sign to fit my pumpkin-themed decor. The result is warm and whimsical—perfect for families who prefer a more inviting Halloween display.
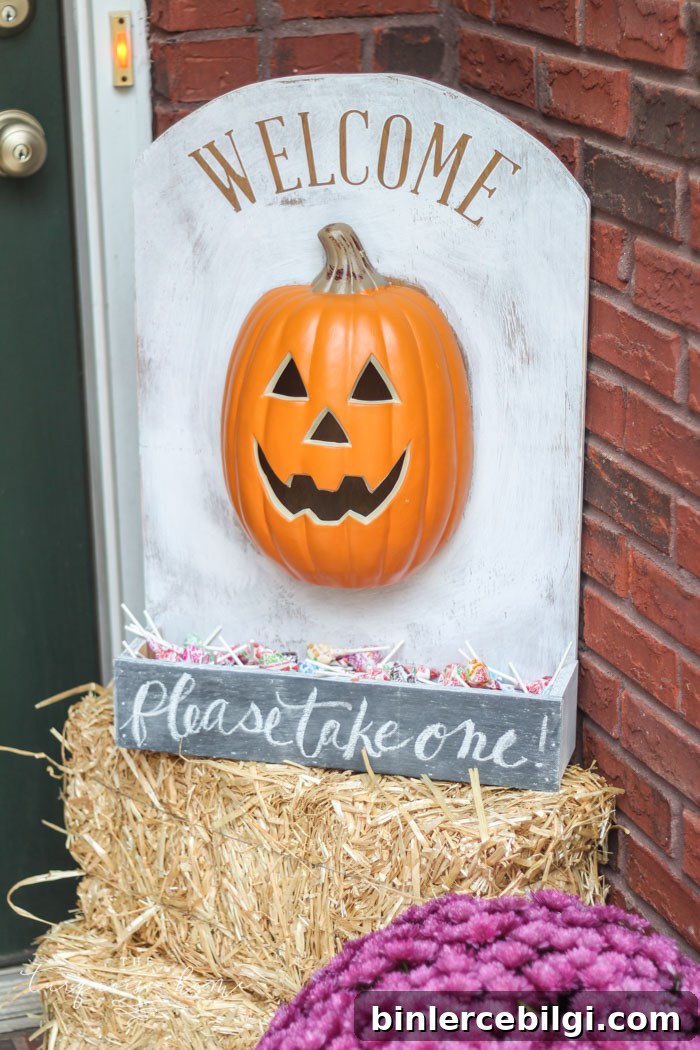
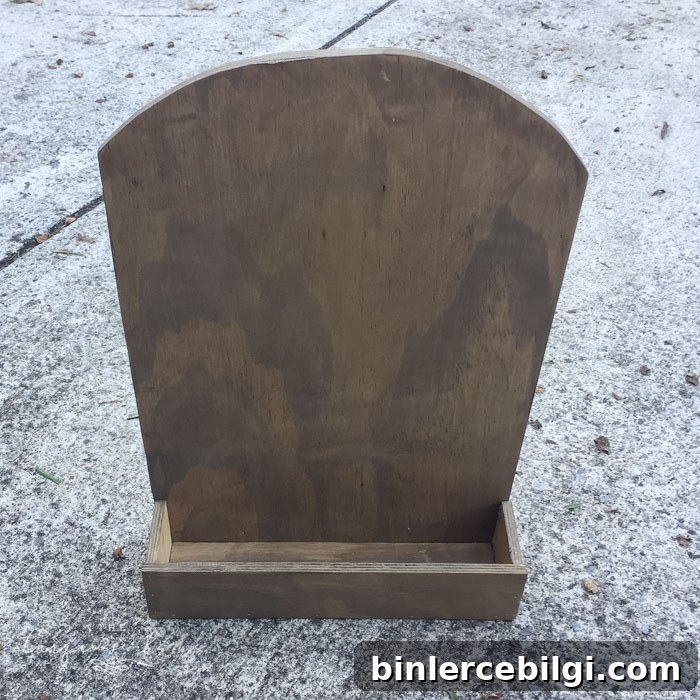
The basic box and gravestone-shaped backboard form a versatile backdrop that works with both sweet and spooky decorations. Customize it to your taste—paint, stain, vinyl lettering or seasonal accents will make it your own.
We’ve used a version of this pumpkin candy holder almost every Halloween for nearly a decade. It’s become a seasonal favorite with the kids and a small family heirloom in the making. If they fight over who gets it someday, I’ll probably make another—it’s that easy and rewarding to build.
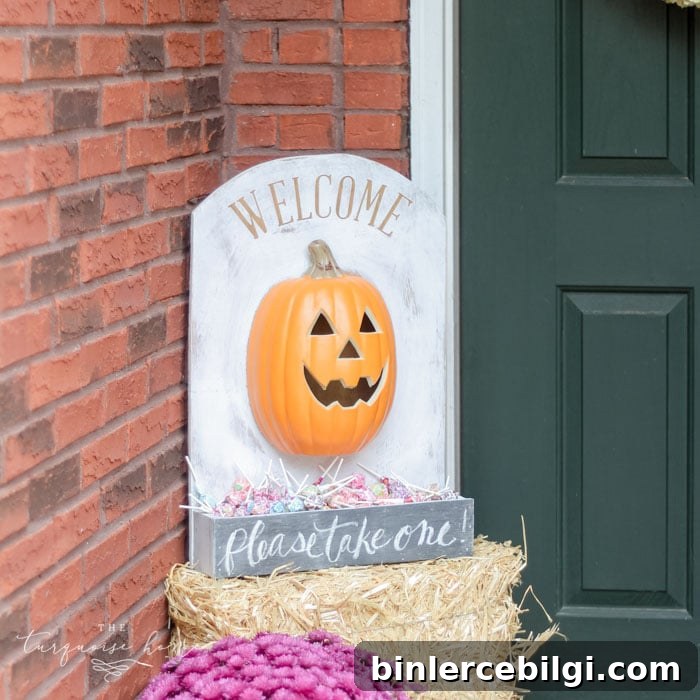
What You’ll Need to Make a DIY Lighted Pumpkin Candy Holder
- 1 piece of 1/2″ plywood (2′ x 2′ is ideal; if stores only carry 2′ x 4′, you can cut it in half or save the extra for another project)
- Lighted jack-o’-lantern (plastic, battery or plug-in style)
- Jigsaw (for cutting curves and plastic)
- Circular saw (for straight cuts)
- 1 1/2″ brad nails
- Brad nailer (or hammer and small finish nails)
- Measuring tape
- Carpenter’s square
- Clamps
- Pencil
- Safety goggles
- Sanding block
- Paint or stain of your choice
- Vinyl lettering or paint for a “Welcome” sign
- Mod Podge (optional, for crisp painted letters)
- Strong adhesive (Gorilla Glue or a high-quality super glue)
How to Make a DIY Lighted Pumpkin Candy Holder
1. Measure and mark all pieces on your plywood
Plan and label every cut before you begin. Laying out the pieces on the wood first reduces waste and helps you visualize the final assembly. If you prefer, print or sketch the cut diagram and tape it to the plywood as a guide.
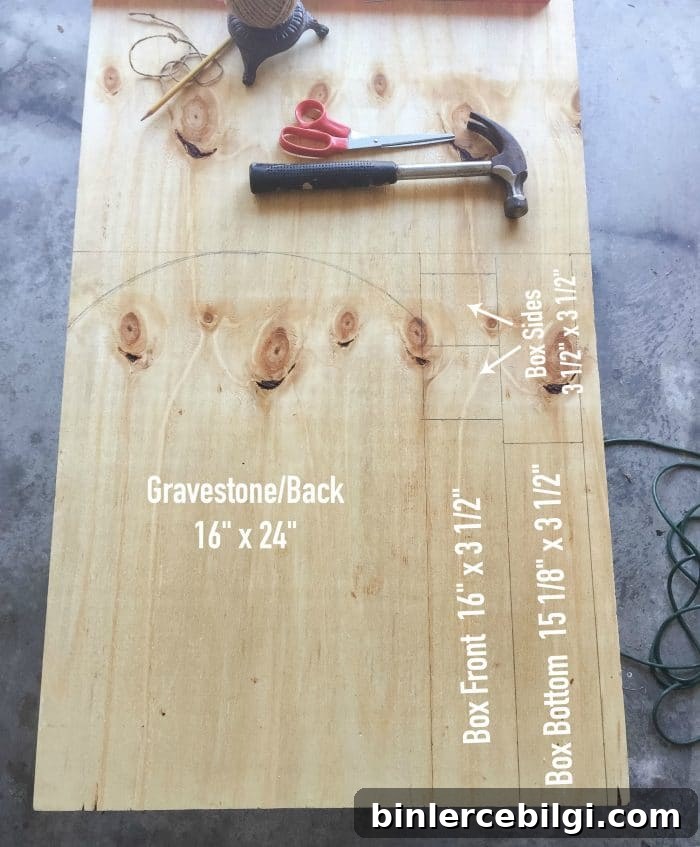
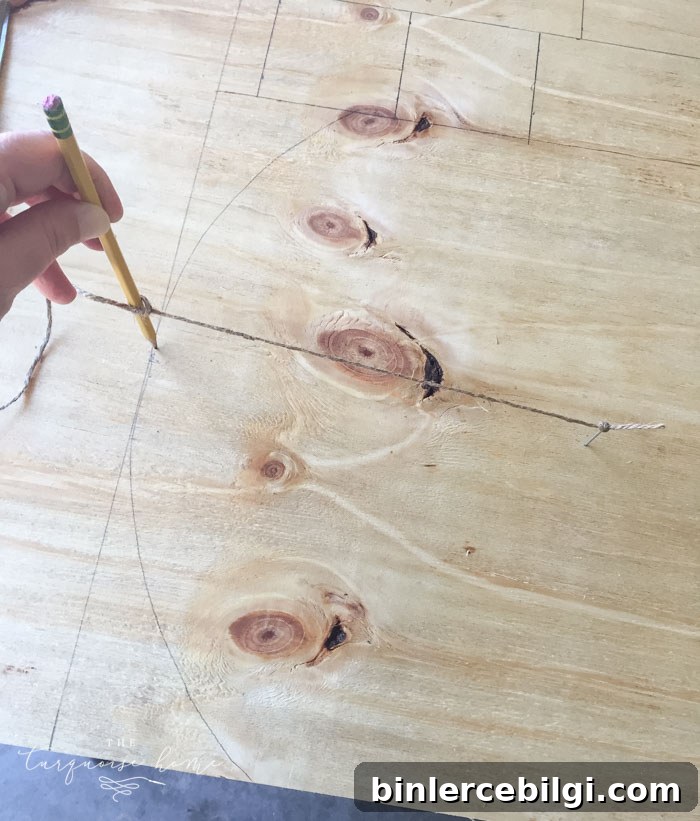
1b. Draw the gravestone arc on the back piece
Measure down about 10 inches from the top center of the back panel, hammer a small nail at that point, tie a 10-inch string to the nail and the other end to a pencil, and rotate the pencil to draw a smooth arc. This creates the rounded top that gives the box a gravestone-like silhouette.
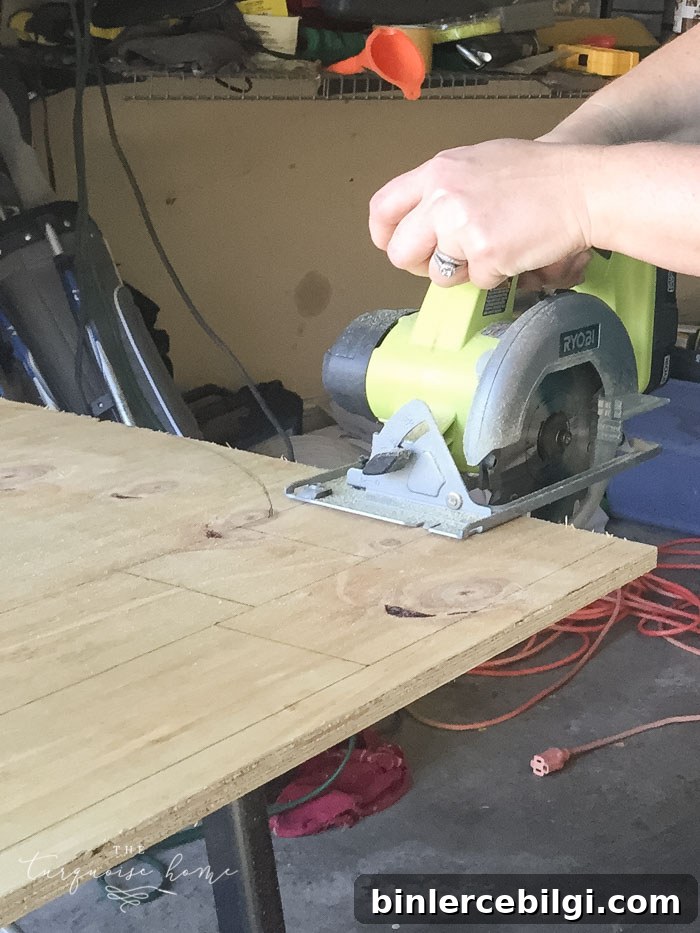
2. Cut straight lines with a circular saw
Cut the straight pieces first. A lightweight circular saw works well for these cuts. Always wear safety goggles and clamp pieces securely before cutting.
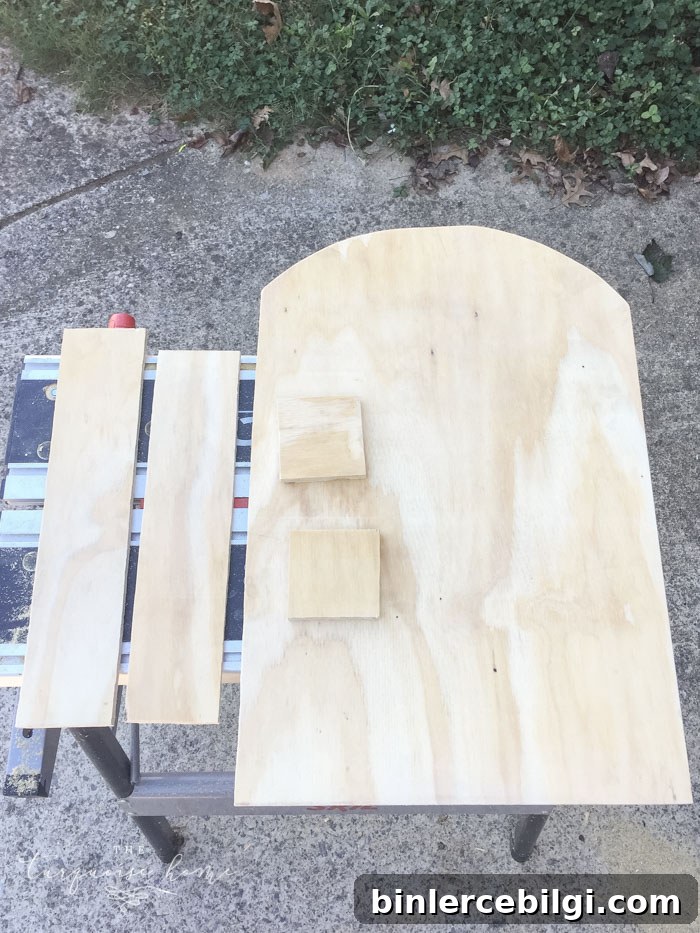
3. Cut the arc on the back piece with a jigsaw
Use a jigsaw to follow the arc you drew. If you haven’t used a jigsaw before, take your time—steady hands and clamps will make the cut smooth. After cutting, sand any rough edges with a sanding block for a clean finish.
4. Paint or stain the pieces
Staining before assembly can save time and reduce mess, especially for the backboard. If you plan detailed painting or lettering on the front, wait until after assembly and apply base coats where needed.
5. Assemble the box
Position the sides against the front panel so they sit flush, and attach them with a brad nailer and 1 1/2″ brad nails. Then attach the sides to the back panel, checking that all seams are square and flush before nailing.
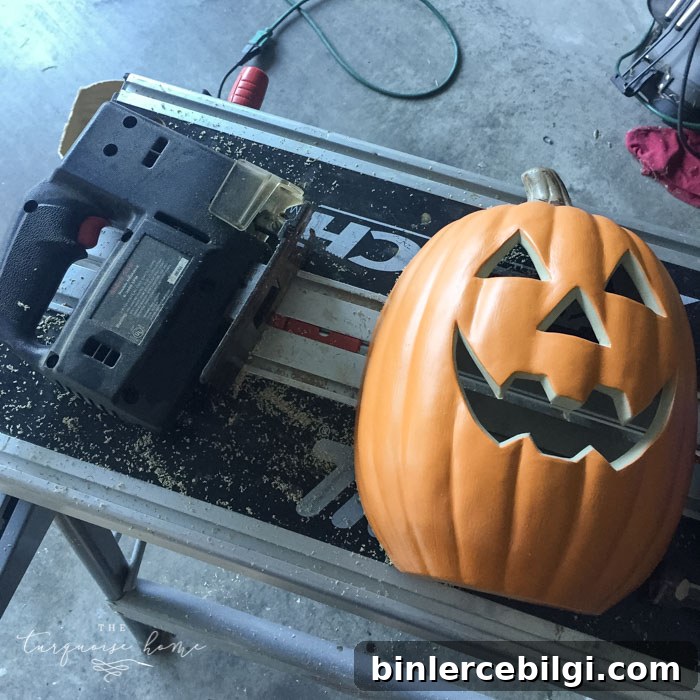
6. Cut the jack-o’-lantern in half to sit flush
Most plastic pumpkins are tricky to cut. A jigsaw can do the job but use caution and protective gear. If you aren’t comfortable cutting plastic, ask for help or consider buying a flat-backed lighted pumpkin designed for mounting.
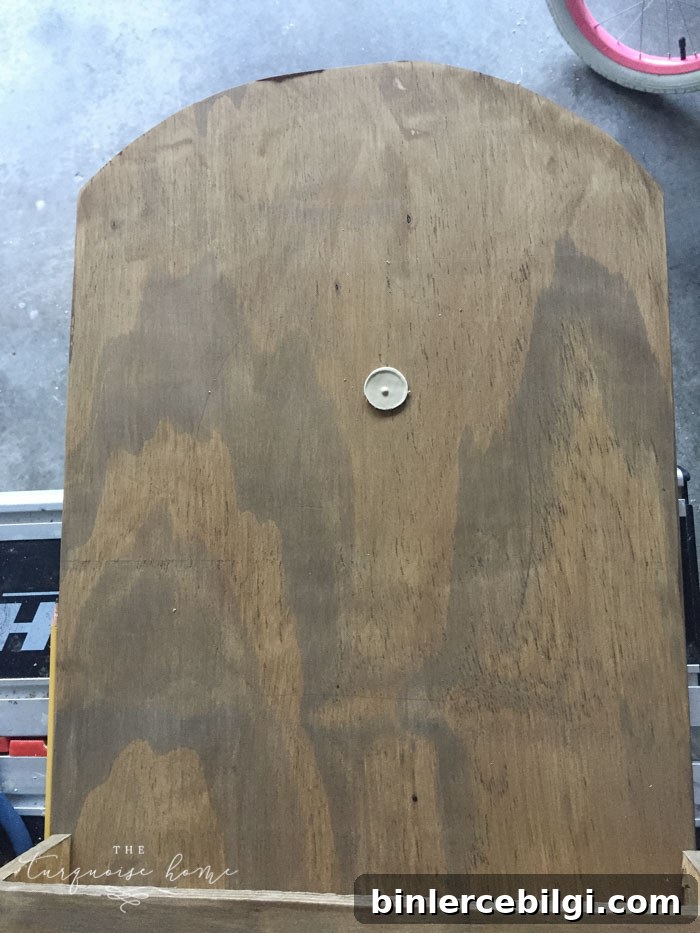
7. Cut the hole for the pumpkin’s light
Trace the pumpkin placement on the backboard, then use the cut-out from the pumpkin as a template for the light opening. Drill a series of holes around the outline and finish with a jigsaw for a neat opening that fits the light housing.
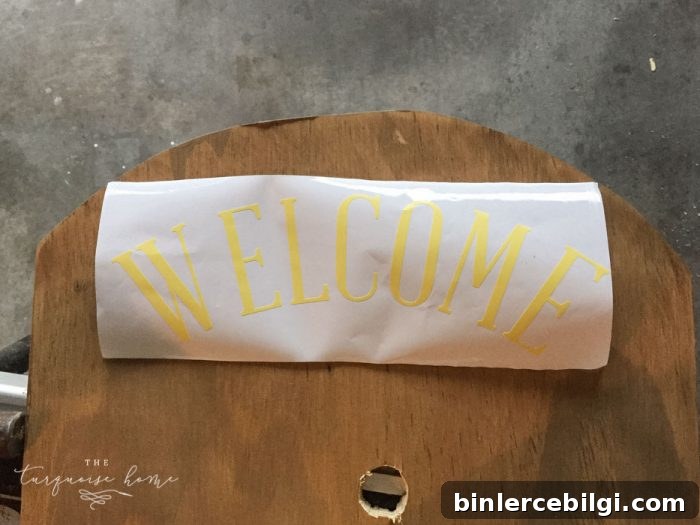
8. Add the “Welcome” sign
Cut vinyl letters or paint your chosen wording above the pumpkin placement. Applying a thin layer of Mod Podge over vinyl letters helps create a crisp painted edge when you paint over them, ensuring a professional finish.
9. Paint the box
I used a white chalk-style paint and dry brushed most areas, leaving the pumpkin area and the front board for separate finishing. Paint the front board with chalkboard paint if you want to write a changing message with chalk.
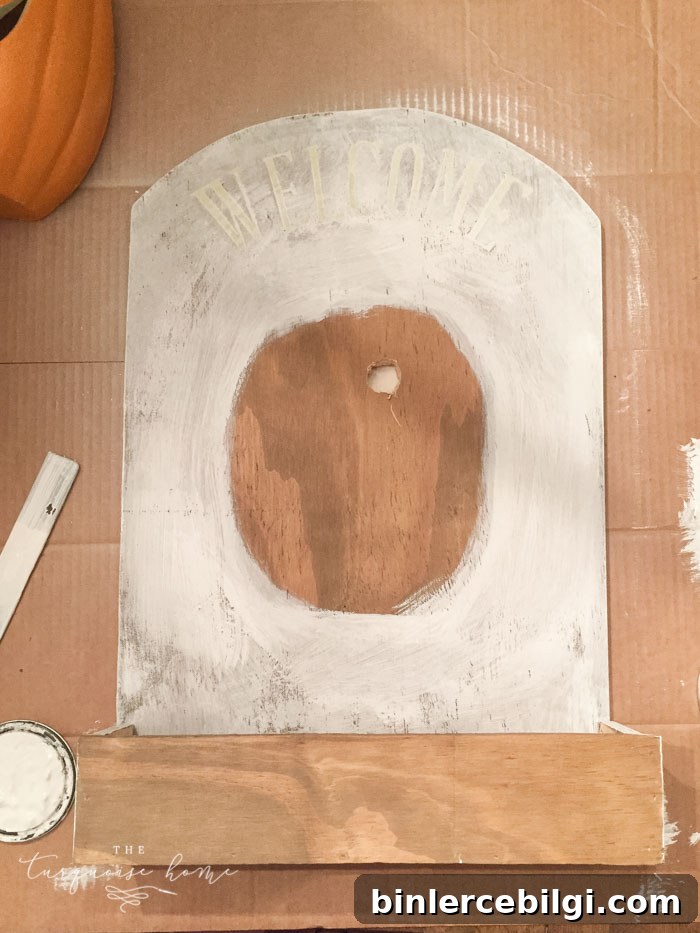
10. Remove the vinyl letters
Peel away the vinyl to reveal crisp lettering. If you painted over Mod Podge, the edges should be sharply defined for a clean, professional look.
11. Attach the pumpkin
Use a strong adhesive like Gorilla Glue where the pumpkin contacts the board. If the cut isn’t perfectly straight and a few spots don’t touch, glue the contact points securely—this usually holds the pumpkin firmly in place.
12. Install the light behind the board
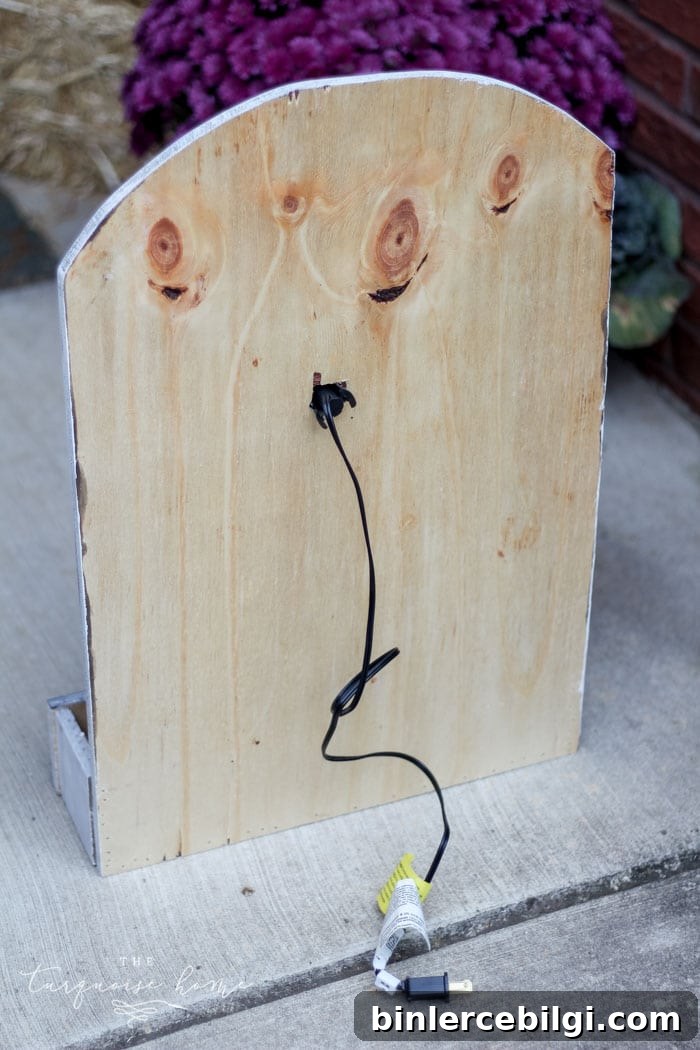
Secure the light housing into the opening. Test the light to ensure it illuminates the pumpkin evenly. If light leaks around the edges, you can seal gaps later with clear caulk or hot glue if desired.
13. Add candy, write a chalk message, and you’re ready!
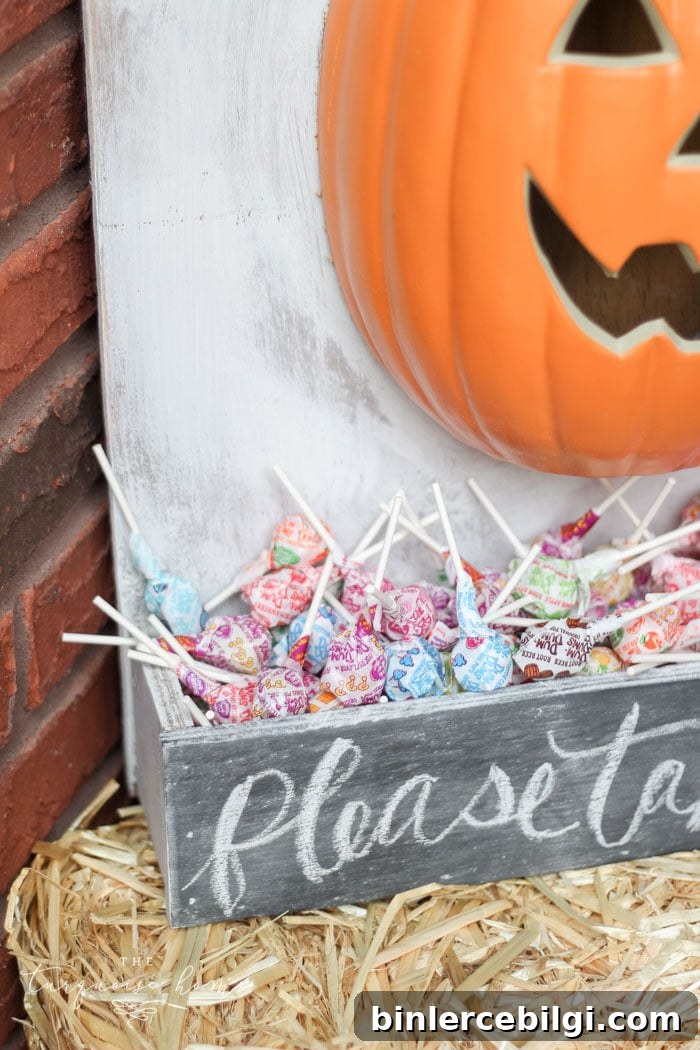
Fill the box with individually wrapped treats and leave a friendly chalkboard note for trick-or-treaters—“Please take one!” or “Happy Halloween!”—and your front step will be both safe and festive. I love how this project came together: it’s charming by day and delightfully spooky when the pumpkin lights up at night.
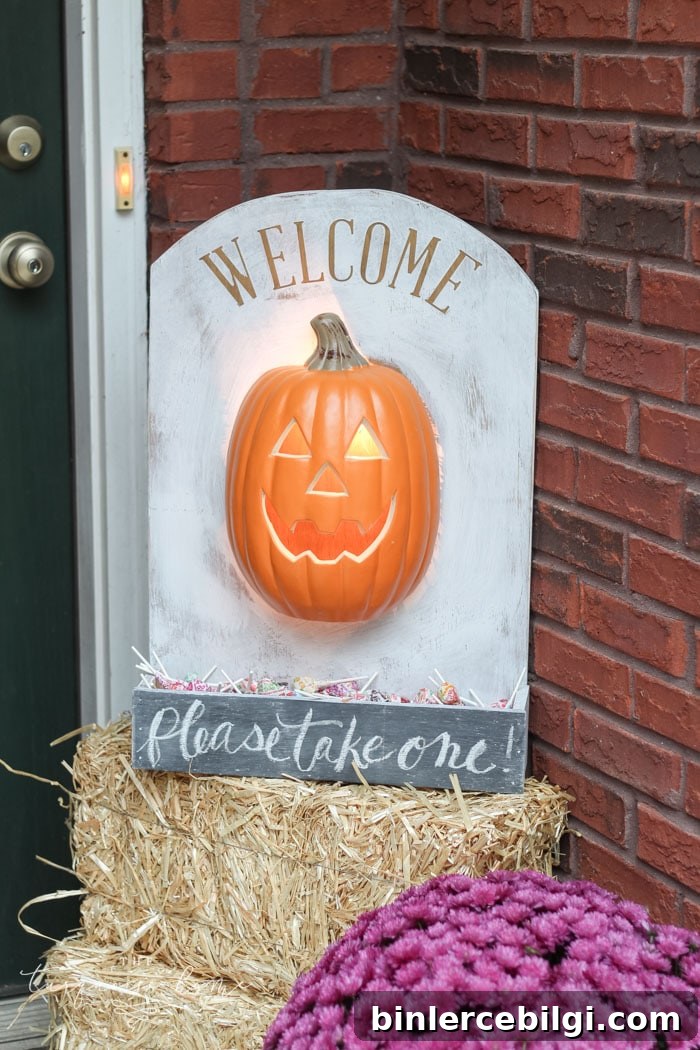
Tip: Keep the backboard behind the pumpkin stained or darker if you don’t want visible brush strokes showing when the light is off. A darker background gives a nicer contrast when the pumpkin is unlit.
More projects you’ll enjoy:
- Mason jar lid pumpkin craft
- Creative DIY Halloween decorations
- Greenery and pumpkins with fall printables
- Cozy fall decorating ideas
- Dough bowl centerpiece for autumn