
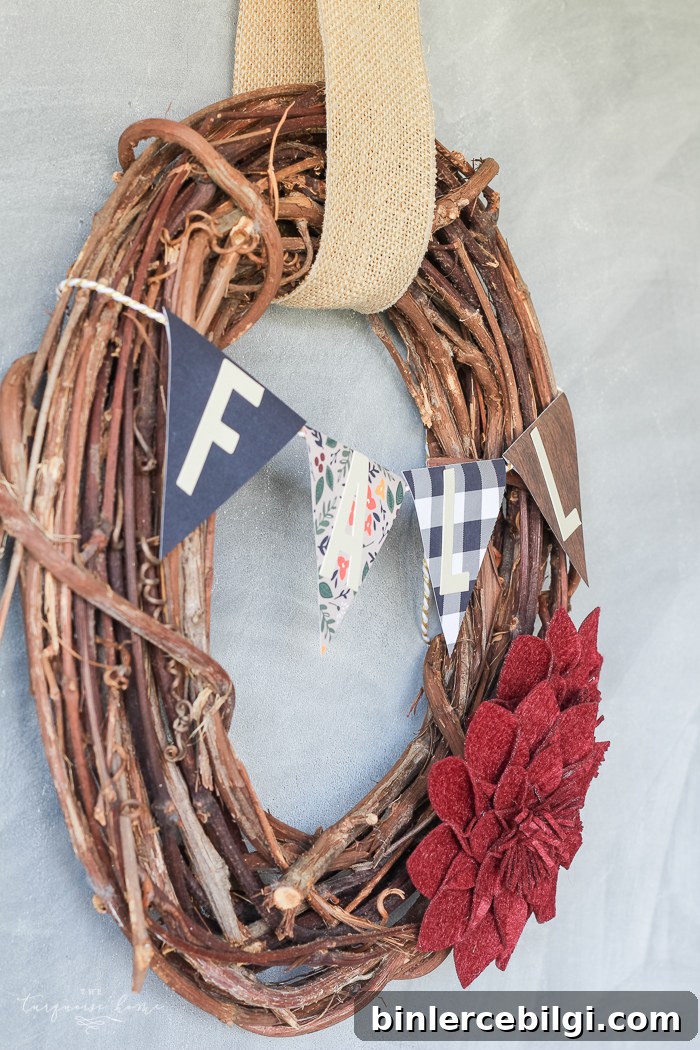
Every so often I crave a quick, satisfying craft project—something small I can finish in under an hour, including cleanup. I’m not a crafting addict, but I enjoy a straightforward DIY that adds seasonal charm without a big time commitment. Recently I found a few perfect fall pieces at Target’s Dollar Spot that inspired a tiny wreath project I want to share.
On a routine Target run I spotted adhesive letters, patterned scrapbook paper, and small felt flowers—all the kinds of inexpensive, fun items that make easy decorating possible. They seemed tailor-made for a small grapevine wreath I’d had tucked away. If you enjoy simple seasonal projects, this is one you can complete quickly with minimal tools and a lot of personality.
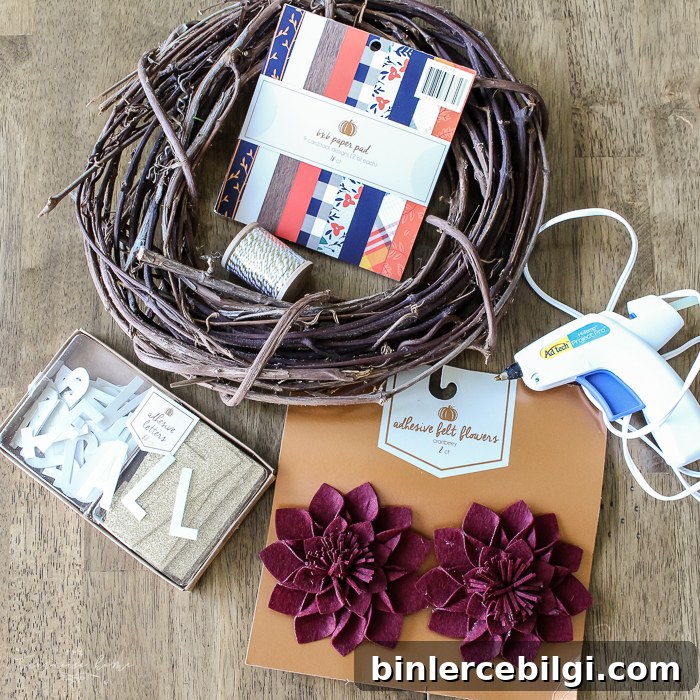
I pulled the small grapevine wreath out of my craft stash and gathered a handful of supplies: the scrapbook paper, adhesive letters, two felt flowers, some string, and a glue gun—although I ended up only needing the glue in spots. The goal was a compact fall wreath with a little bunting banner across the front. It’s a project that uses leftover bits and is very forgiving, so it’s great for beginners.
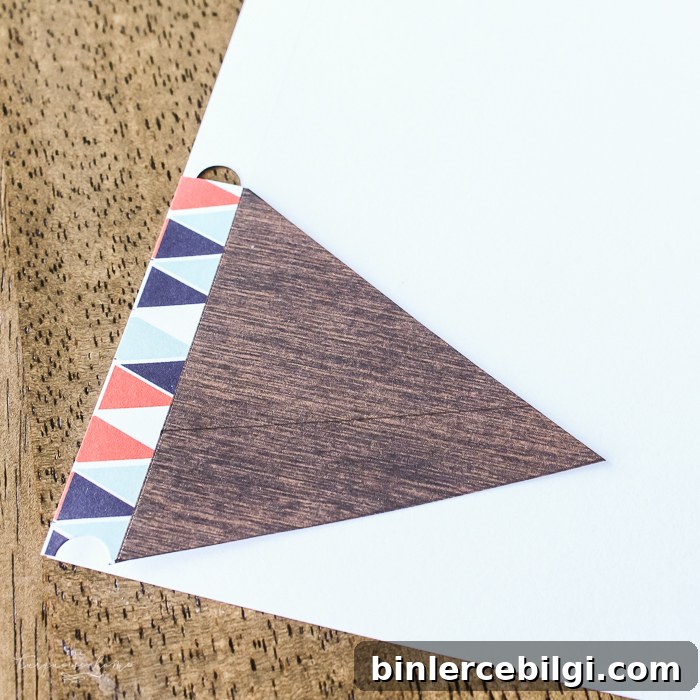
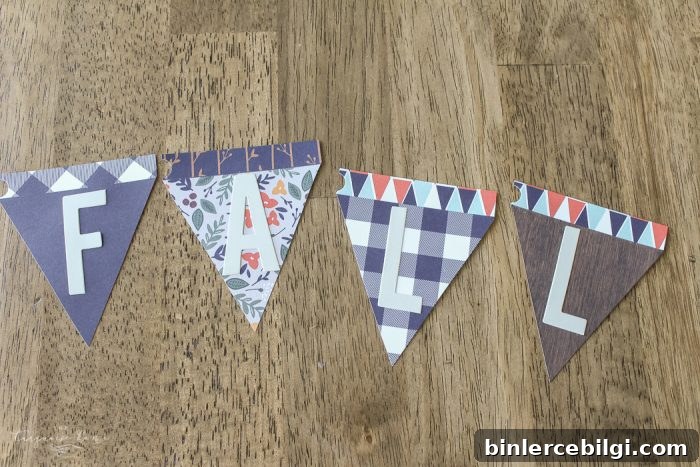
The bunting is the centerpiece and also the easiest part: simply cut small triangles from the scrapbook paper and attach letters to spell a short word like FALL, HOME, or BOO. The first try at my triangles was too small, so I traced a larger version once I had the correct size and used that as a template to cut the rest quickly. Using a template saves time and keeps the shapes consistent.
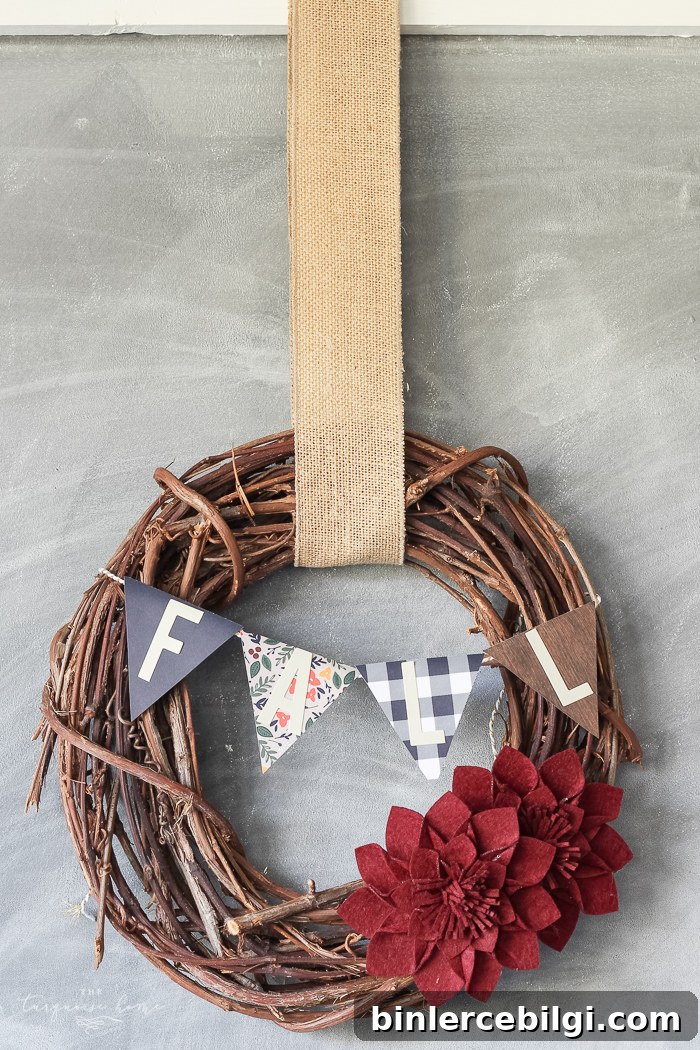
A few practical tips when making the bunting: choose triangles large enough for your letters, use a pencil to lightly mark spacing, and consider folding the top edge over a thin ribbon or twine if you want a cleaner look. If you prefer not to sew, you can glue the paper to the ribbon or simply attach the triangles with hot glue directly to the wreath.
The adhesive letters from the Dollar Spot are convenient, but in my experience the stickiness can be weak on textured paper. I recommend adding a small dab of hot glue or craft glue behind each letter for added security, especially if the wreath will hang in a high-traffic area or be handled often. If you use a cutting machine like a Silhouette or other craft cutter, you can also customize your own letters from cardstock for a more permanent finish.
For embellishment, I glued two felt flowers to one side of the wreath to create a small focal cluster. The felt adds texture and warmth that complements the rustic grapevine. To hang the wreath I used a length of burlap ribbon I already had; the natural fibers tie into the fall theme and make a simple, sturdy loop for display. You can place the wreath on a door, over a chalkboard, or anywhere it brings a cozy touch to your space.
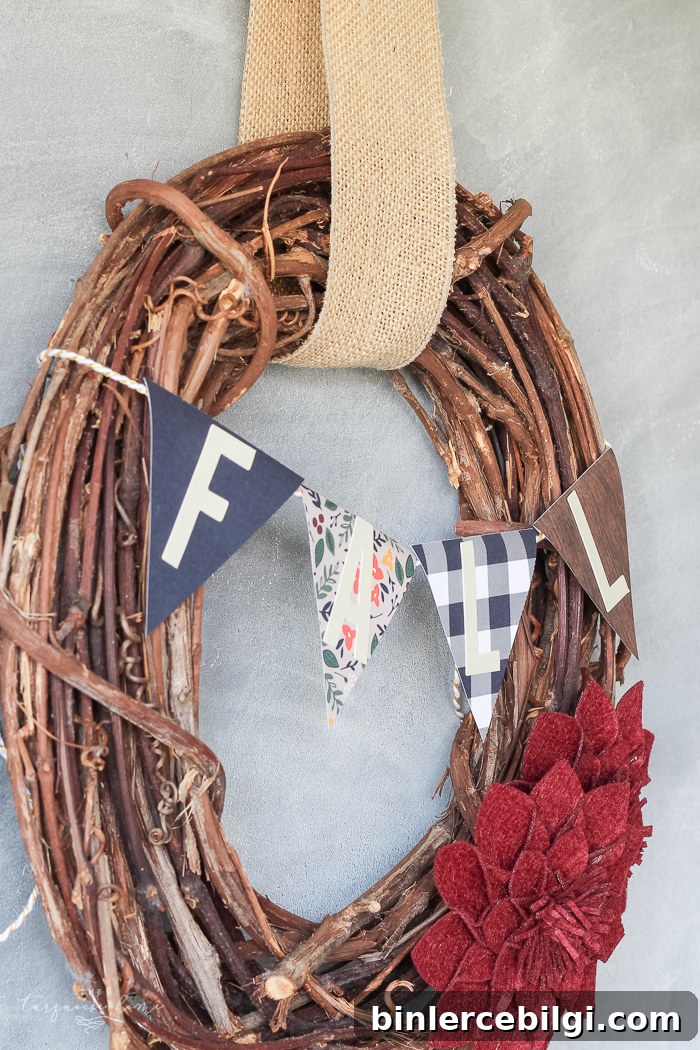
This project is a great example of how a few inexpensive embellishments can transform a basic grapevine wreath into seasonal decor. It’s fast, customizable, and ideal for using leftover craft paper and small accents from discount finds. If you want different styling, try swapping the paper patterns, changing the word on the bunting, or adding small faux leaves or berries for more texture.
If you decide to make one, I’d love to hear how yours turned out—what word you chose, which colors worked best, and where you decided to hang it. Quick DIYs like this are perfect for refreshing a space without a big investment of time or money, and they make charming handmade accents for the season.