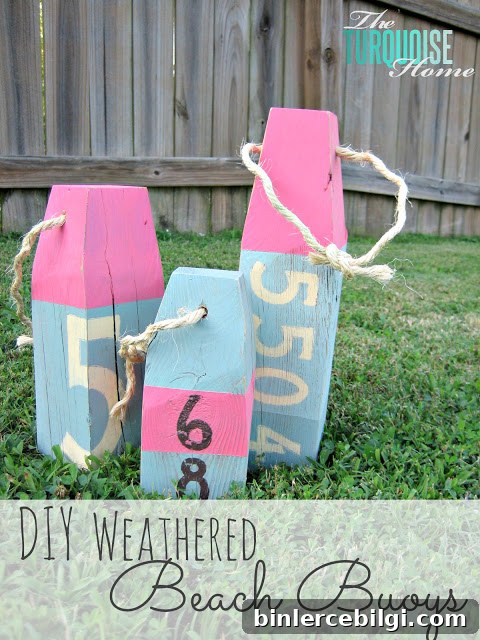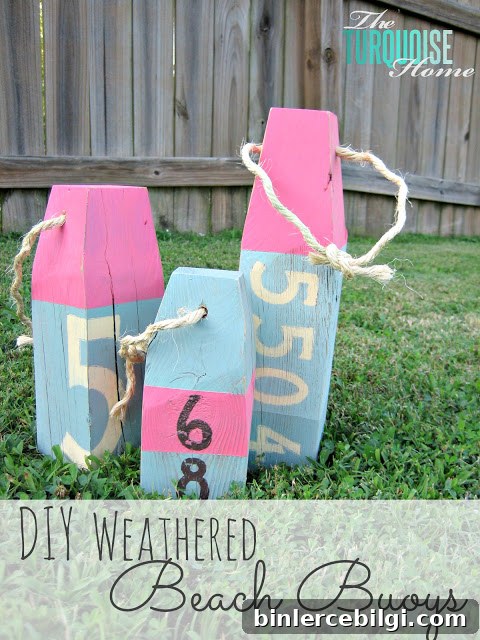
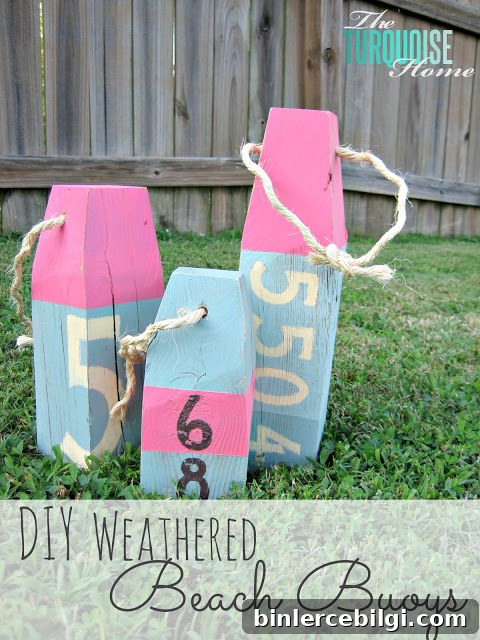
I recently spotted some decorative beach buoys in a Pottery Barn catalog and immediately thought they would be perfect for a lake house or beach house. The price made me wonder if I could recreate the look at home for a fraction of the cost. As it turned out, I did — using reclaimed wood, a few basic tools, paint, and some rope.
Living in a neighborhood where folks often leave useful items out before trash pickup has its advantages. One evening I noticed a stack of discarded 4x4s by a neighbor’s curb. I knocked on their door, asked first, and they were happy for me to take the wood. With my husband’s help we hauled the lumber home, and I set about turning it into weathered beach buoys for under $15.
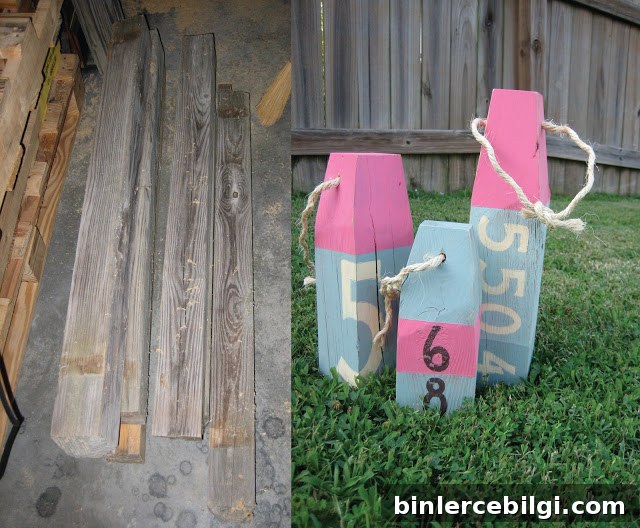
Here’s the straightforward process I followed to make rustic, weathered buoys that look store-bought but cost much less. This project works well with reclaimed 4×4 posts, leftover paint, and simple hardware, and it’s flexible: vary the sizes, colors, and numbers to suit your decor.
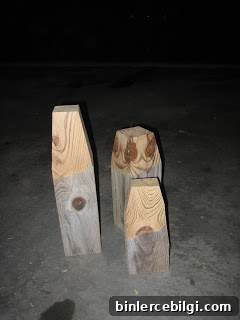
Step 1 — Cut the wood to size. I cut the 4×4 posts into a range of lengths to create buoys of different heights. For the top of each buoy I cut the sides at an angle to give a tapered, buoy-like shape. I used a miter saw and eyeballed the angles — a circular saw would have worked too if you have one. Precise measurements aren’t necessary; slight variations add to the handmade charm.
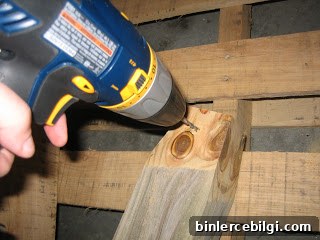
Step 2 — Drill the hole. I drilled a hole through the top of each piece to thread the rope later. Choose a drill bit that creates a hole large enough for the rope you plan to use. Position the hole centrally and a short distance from the top so the rope sits nicely when the buoy is hung or displayed.
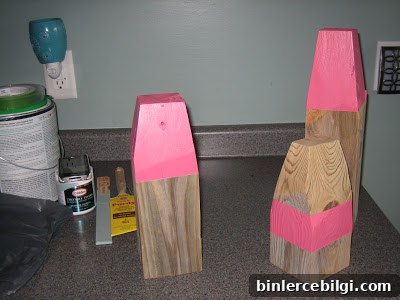
Step 3 — Paint the buoys. I used leftover craft and household paint to create a soft, beachy palette. After priming or sanding the raw wood, apply two coats of color as needed. For a weathered effect, choose muted tones and avoid perfect coverage. Let the paint dry thoroughly between coats.
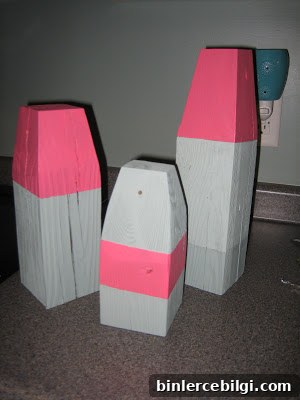
Step 4 — Add numbers and distress the finish. I printed numbers on my computer, traced them onto the painted buoys, and hand-painted the numerals with a small brush. Once the numbers had dried, I lightly sanded the edges and surfaces to reveal some wood and underlying paint layers. The sanding creates an authentic, aged appearance that makes these pieces look like they’ve seen years of sun and salt air.
Step 5 — Thread rope and finish. I used sisal rope threaded through the drilled holes and knotted on the underside to secure it. Sisal gives a natural, nautical feel; you can source it at any home improvement store. Trim the rope to the desired length for hanging or looping, and add a dab of glue on interior knots for extra hold.
The final result is a set of charming, weathered beach buoys that suit coastal and lake house decor alike. My total cost was about $11 — I purchased a small container of pink paint and a length of rope. The rest of the paint and supplies were leftovers from other projects. For comparison, similar decorative buoys I saw in a catalog cost around $60 each, so this DIY approach is a very budget-friendly alternative.
Paint colors I used: Pink — Hint of Cherry by Valspar; Light turquoise — Wythe Blue by Benjamin Moore; Darker turquoise — Stratton Blue by Benjamin Moore; Yellow — Butter from Restoration Hardware; Brown — a craft paint from my supplies.
Would you try making weathered beach buoys for your home? They’re an easy, customizable project that brings a relaxed coastal vibe to any room or porch.