
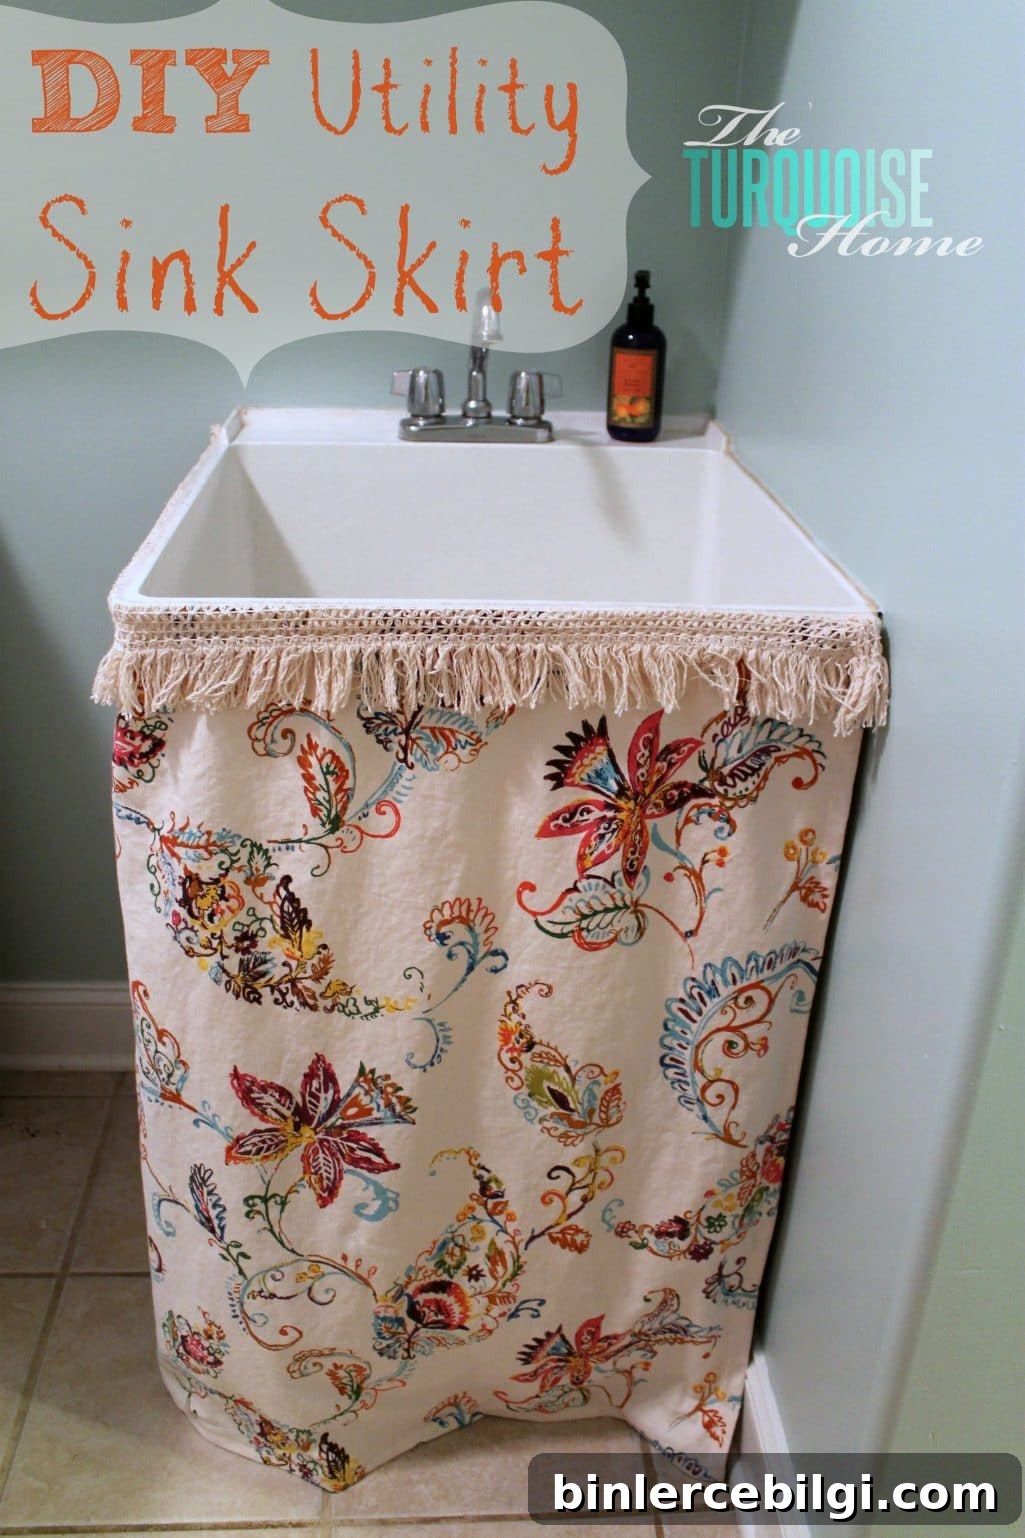
Learn how to create a simple DIY utility sink skirt to hide clutter beneath your sink and add convenient hidden storage.
I’ve been slowly redoing my laundry room for several months, and one of the projects I finally completed this weekend was a skirt for my utility sink. I’d never had a sink in a laundry room before this house, and it’s been so useful for rinsing stains and cleaning paintbrushes. Adding a skirt not only hides the messy underside but also brings a finished, decorative touch to the space.
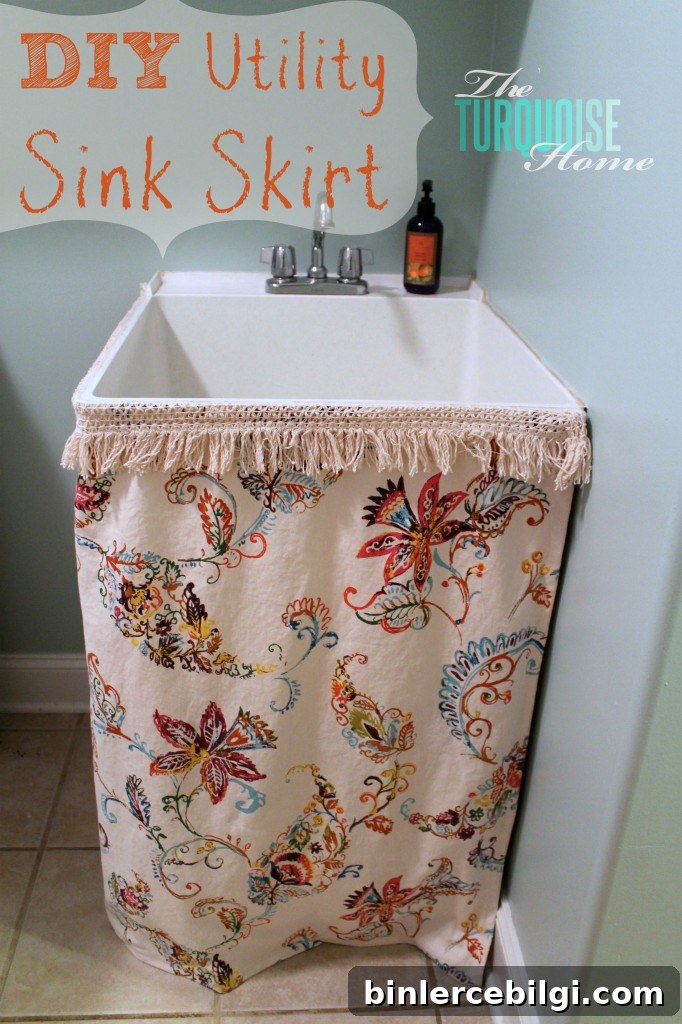
I wanted the skirt to complement my coastal-style makeover. I found inspiration in a mudroom sink skirt tutorial and decided to source fabric that matched the room’s vibe. While shopping during an anniversary trip, I spotted the perfect patterned tablecloth with the right colors and texture—enough to cover the sink and leave fabric for a future pillow project.
If you see a fabric you love in a form you don’t intend to use, don’t hesitate to repurpose it. A tablecloth or curtain can become ideal skirt material, and you may end up with leftovers for other projects.
Tools Needed to Make a Utility Sink Skirt
- Fabric (tablecloth, drop cloth, or upholstery fabric)
- Fabric scissors
- Adhesive Velcro (hook-and-loop fastener)
- Sewing machine (or needle and thread for hand-sewing)
- Pins and an iron
How to Make a DIY Utility Sink Skirt
1. Measure the Sink and Plan Fabric
Start by measuring the width of the cabinet opening under the sink and the desired skirt length. I used half of a large tablecloth, which worked perfectly and minimized waste. Decide whether you want to keep any existing finishing—such as fringe or trim—because that will influence how you cut the fabric.
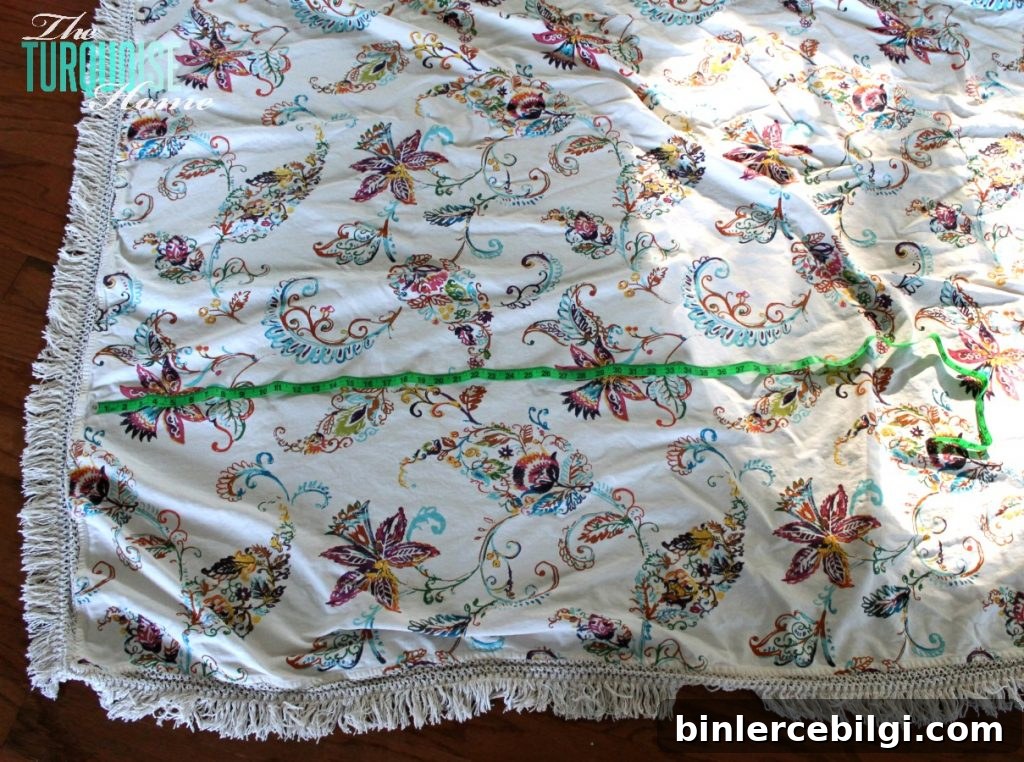
I kept the fringe along the top edge for a decorative touch and trimmed the bottom and sides to the correct size.
2. Cut the Skirt Fabric
Cut the fabric to width and length, leaving extra for hems. I removed the tablecloth’s bottom and sides, saving the discarded pieces for another craft. Iron the fabric to remove wrinkles before sewing—smooth fabric makes a cleaner hem and stitch.
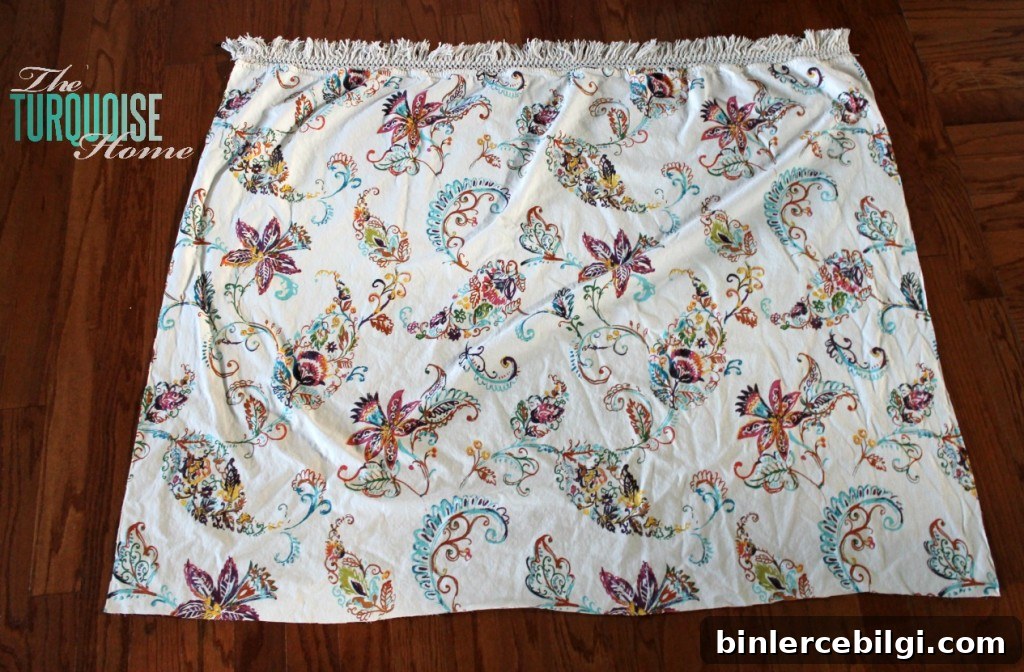
Pressing the fabric first made the sewing process much easier and produced neater seams.
3. Hem the Sides
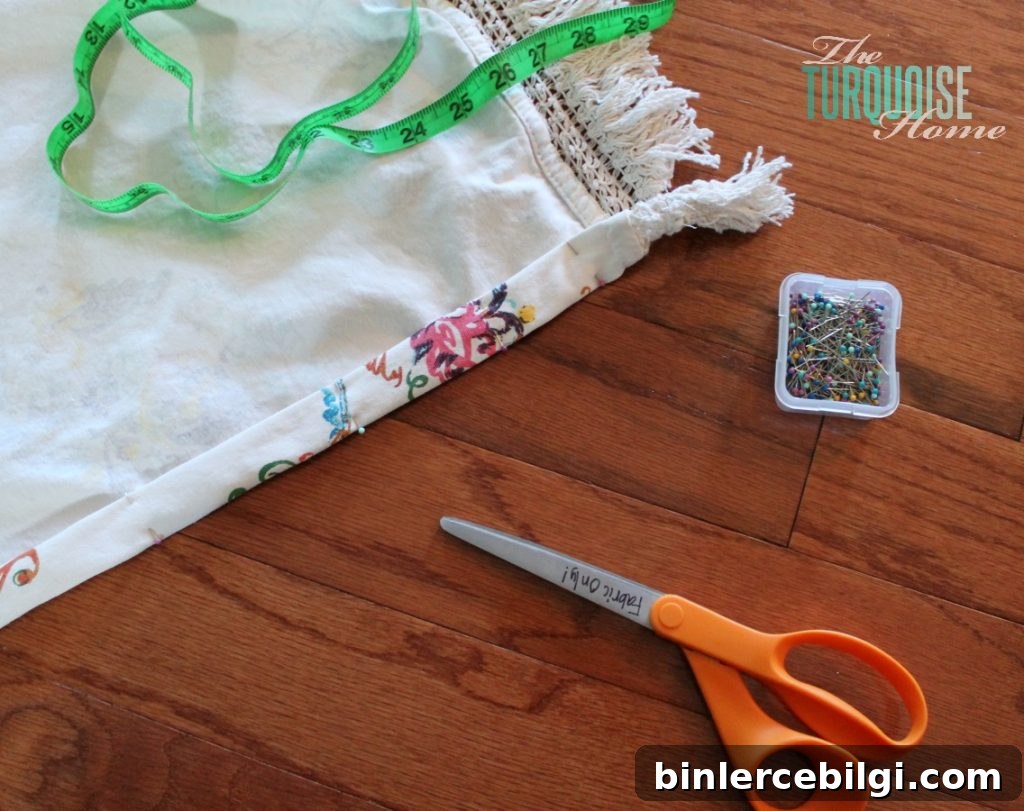
Fold and press the side edges under, then sew straight hems on both sides. I pinned one hem in place and tested fit against the sink before marking and sewing the other side to ensure a precise fit. Straight, simple hems keep the look tidy and professional.
4. Attach Velcro to the Sink
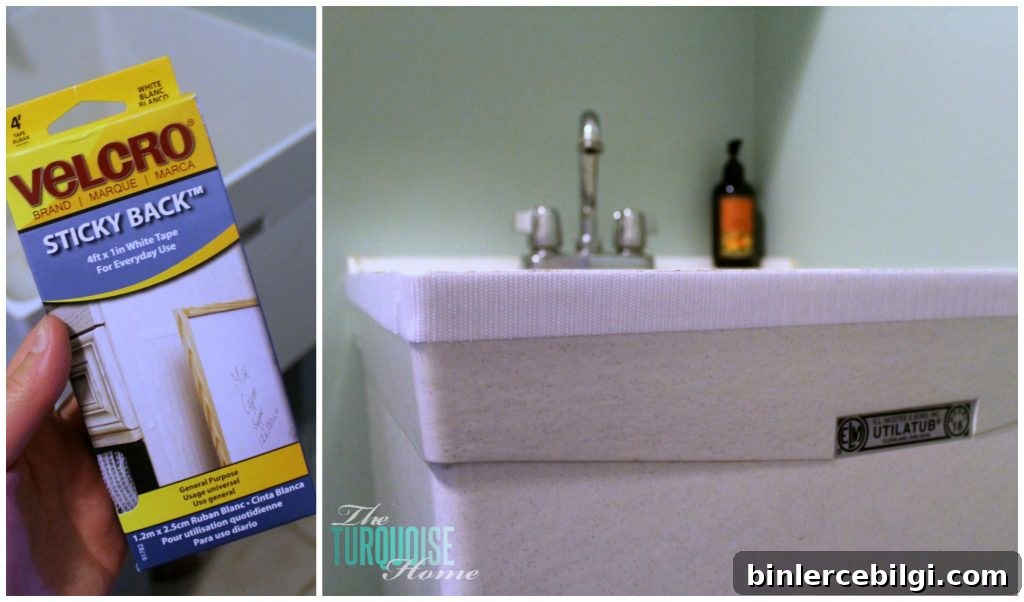
For an easy removable skirt, use adhesive Velcro. Apply the rough (hook) side to the sink or cabinet edge where the skirt will hang. Press firmly and let the adhesive set according to the product instructions. The adhesive I used adhered well to the sink’s surface and held securely.
5. Attach Velcro to the Skirt
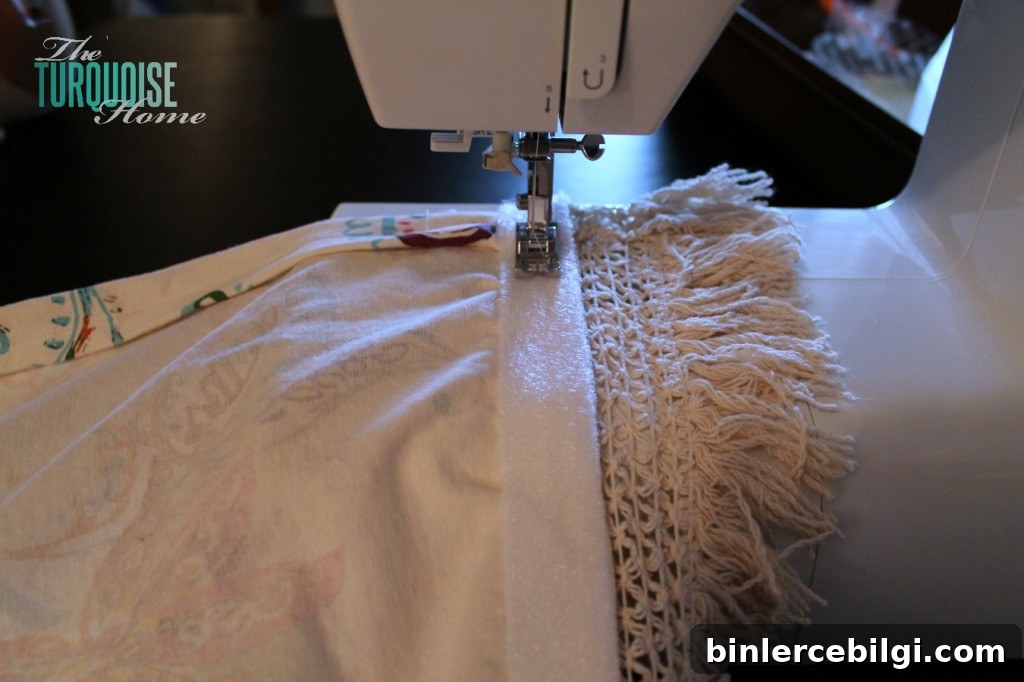
Stick the softer (loop) side of the Velcro to the top edge of the fabric. In my case, sewing through the adhesive backing proved difficult—the needle got sticky and the thread broke—so I partially stitched the Velcro and relied on the adhesive for the rest. If you prefer a stronger sew-on attachment, use sewable Velcro or stitch before attaching the adhesive backing.
6. Hem the Bottom and Final Fit
Velcro the skirt in place and pin the bottom edge to determine the perfect hem length. Sew the bottom hem while the skirt is attached so the length is precise. After hemming, remove pins, press the seams, and reattach the skirt to the Velcro.
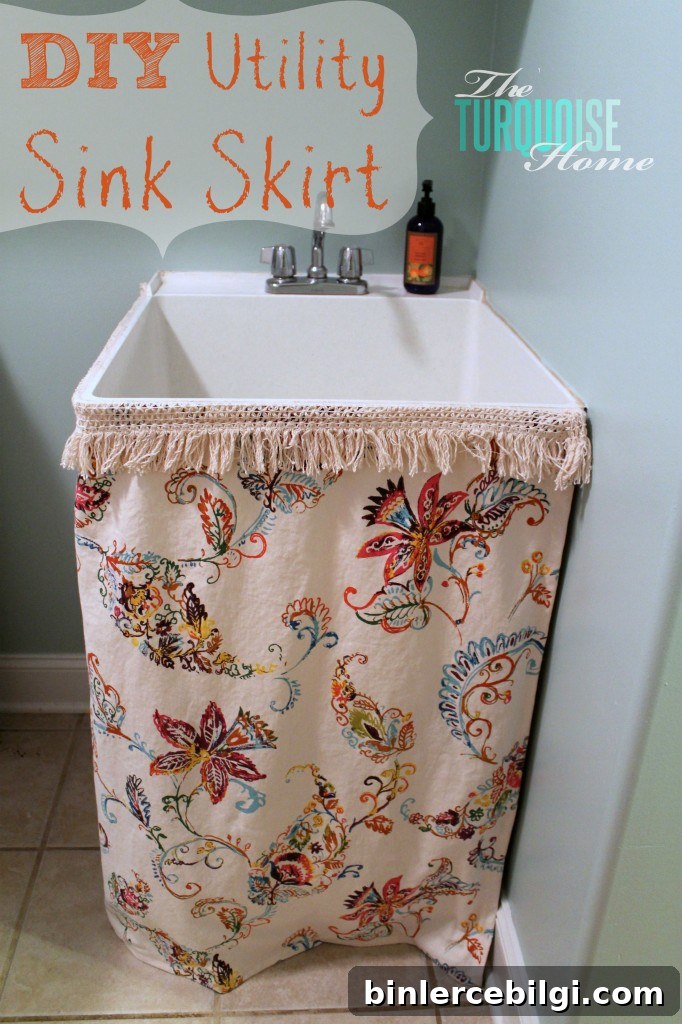
The finished skirt conceals paint cans and supplies beneath the sink and gives the laundry area a much more polished, cohesive look. Choosing a fabric that complements your room’s palette instantly elevates the space and reinforces your design theme.
I’m excited to finish the rest of the laundry room and share the final reveal. It’s impressive how a few hours of work and one yard of fabric can transform a utilitarian area into a styled, functional space.
If this DIY utility sink skirt tutorial inspired you, consider saving or trying it for your own laundry or mudroom—it’s an easy, affordable way to add storage concealment and style.
More Posts You Will Love:
- DIY Drop Cloth Curtains
- DIY Chinoiserie Pumpkins (with video tutorial)
- How to Install Peel & Stick Floor Tile
- How to Add Curtain Trim Tape for a Custom Look