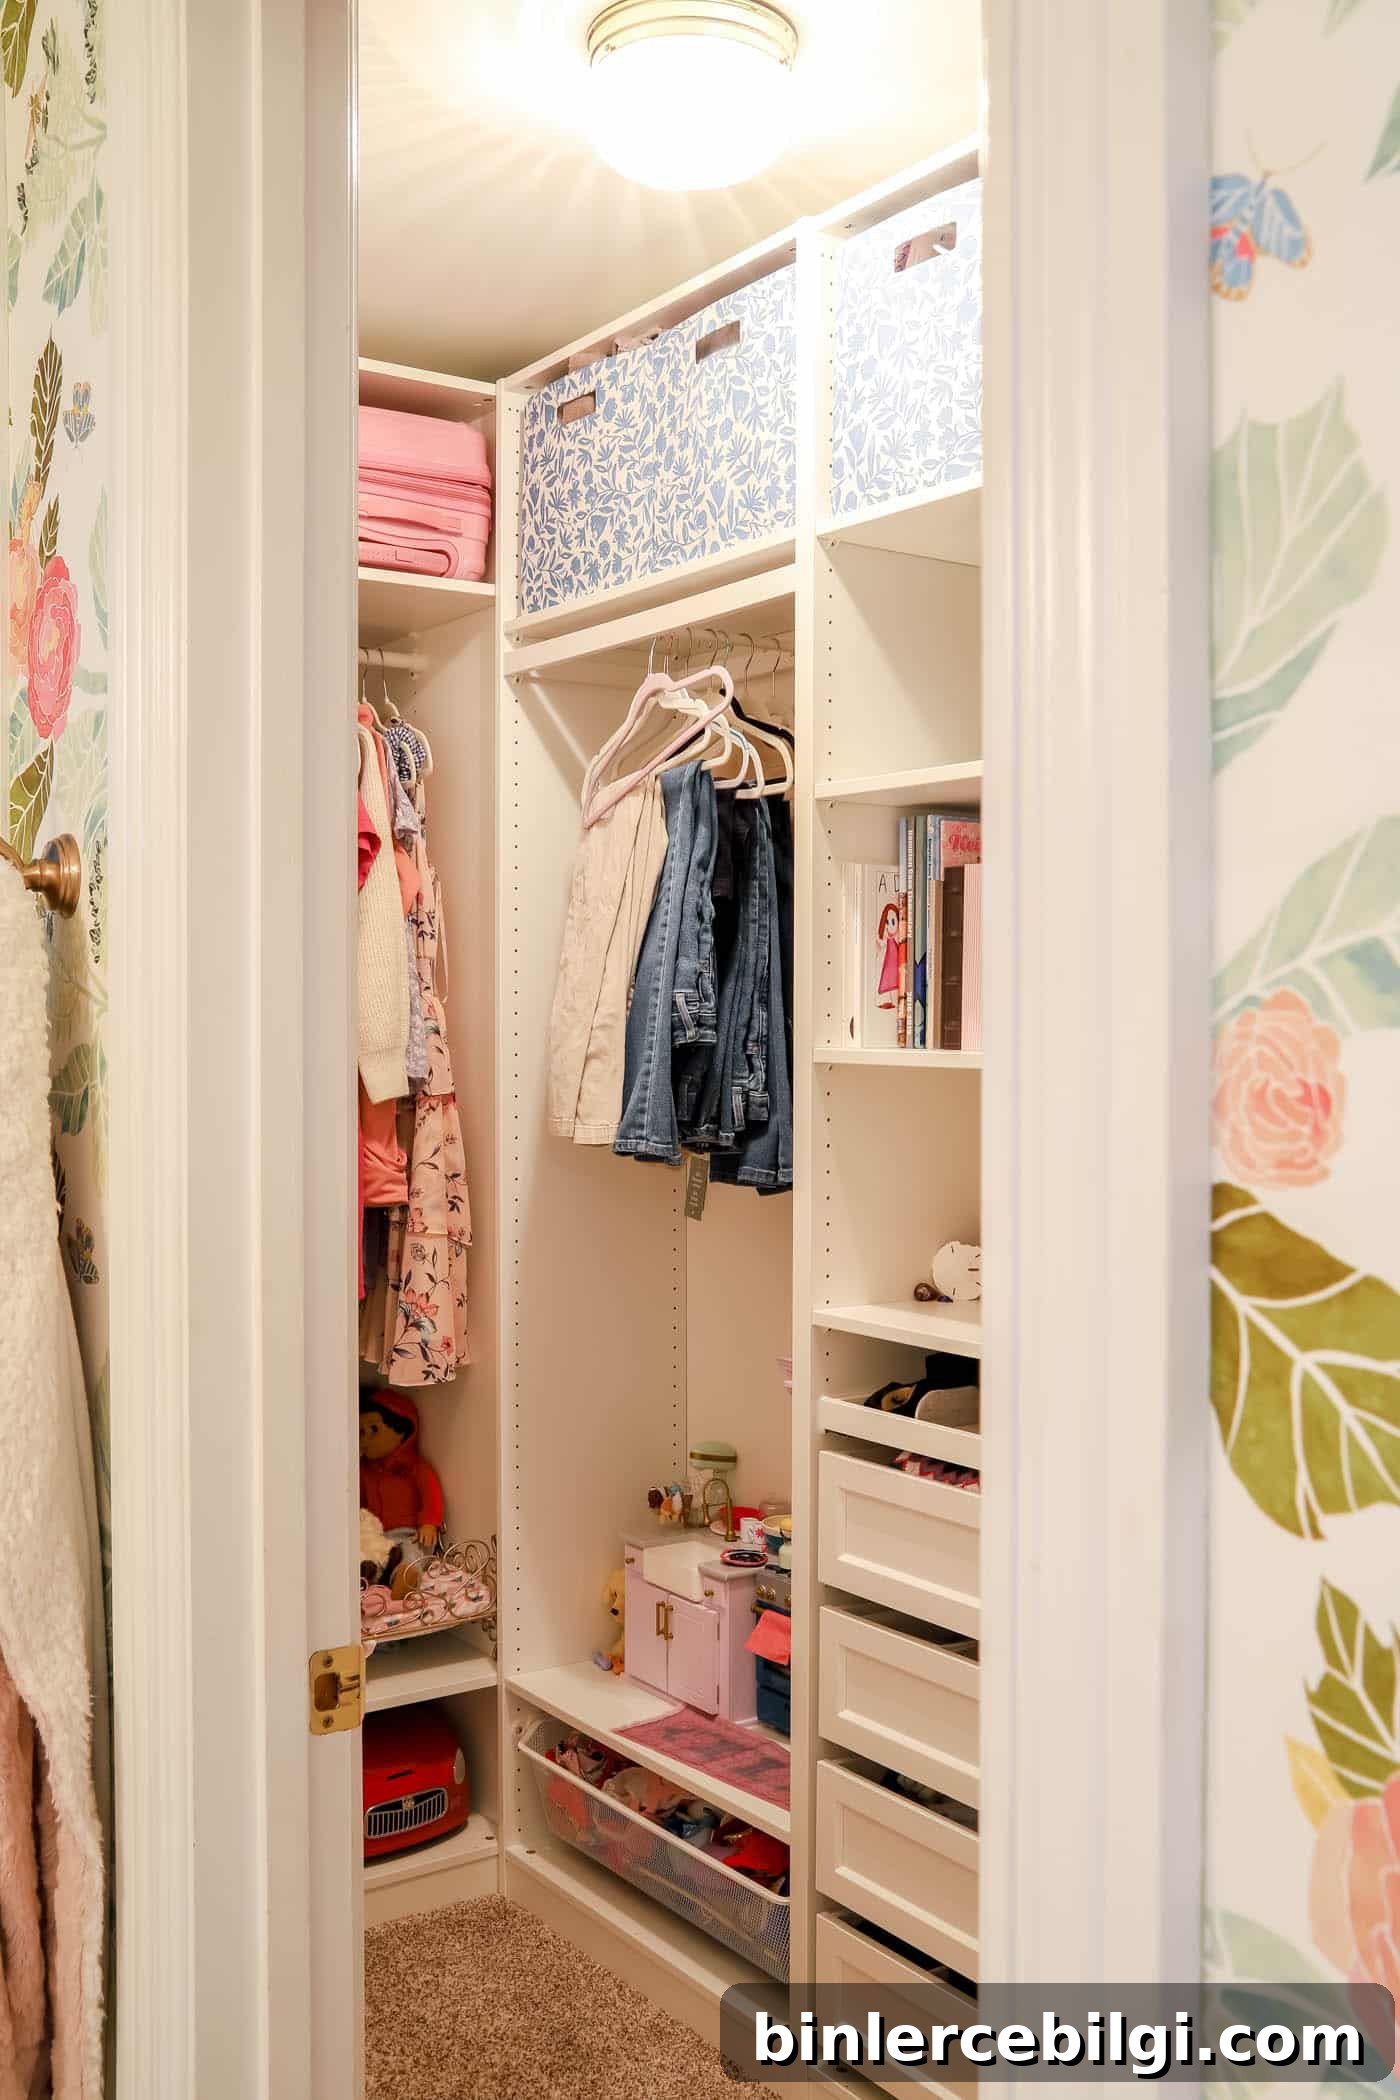
See how we converted a cramped closet with wire shelves into a highly functional storage space using the IKEA PAX system. Below I share our honest experience with planning, delivery and DIY installation.
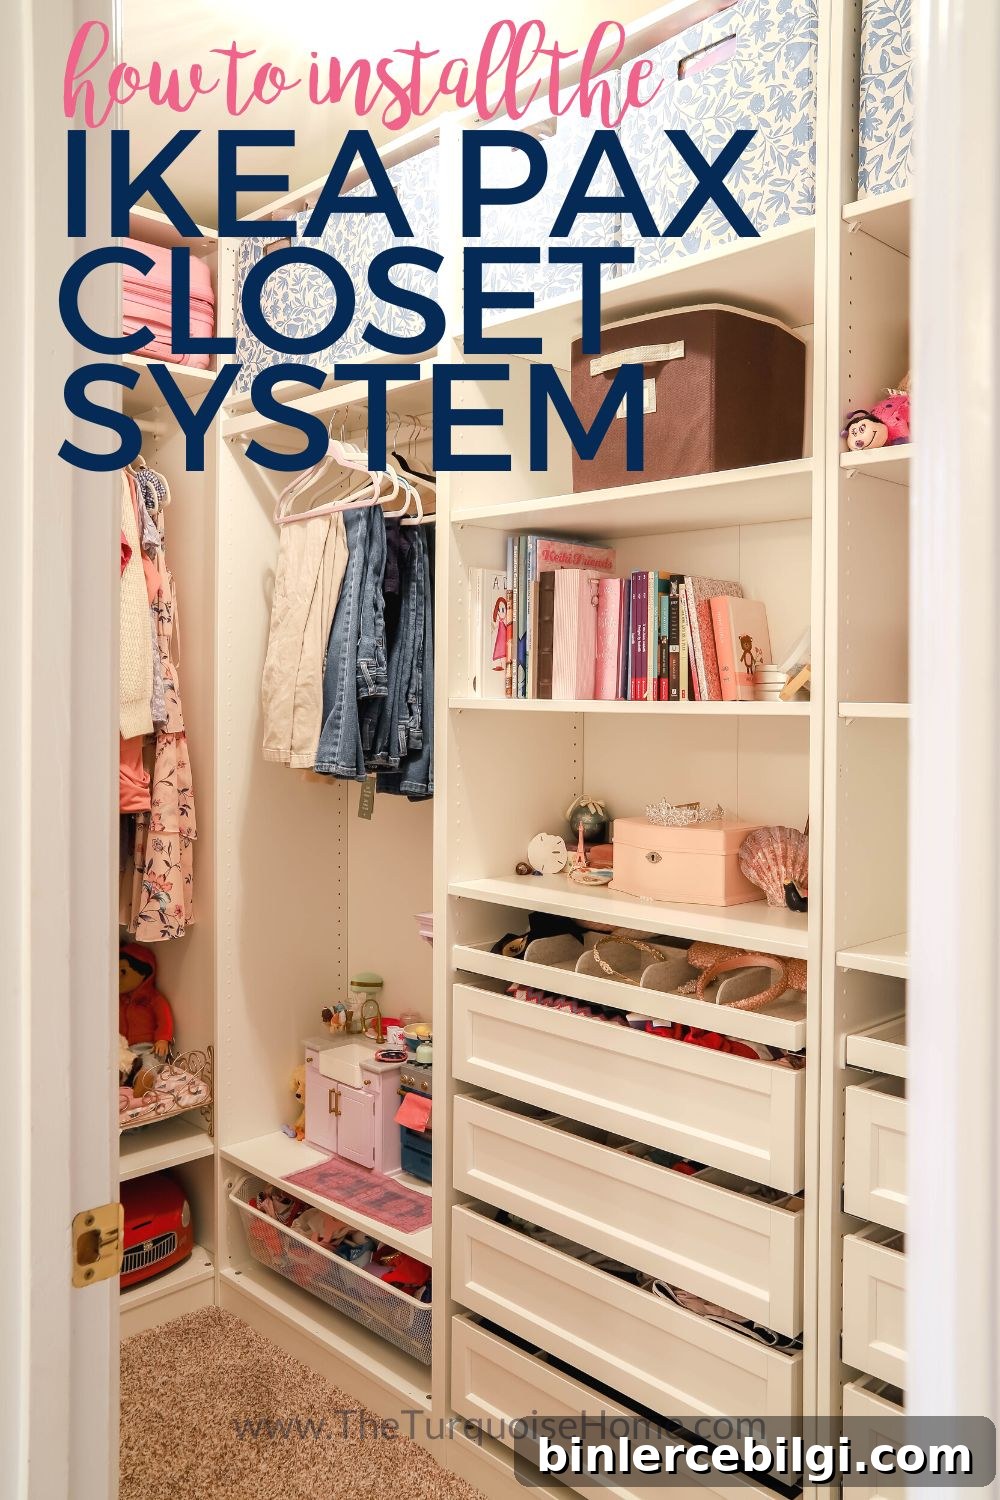
This project includes affiliate-recommended products for convenience.
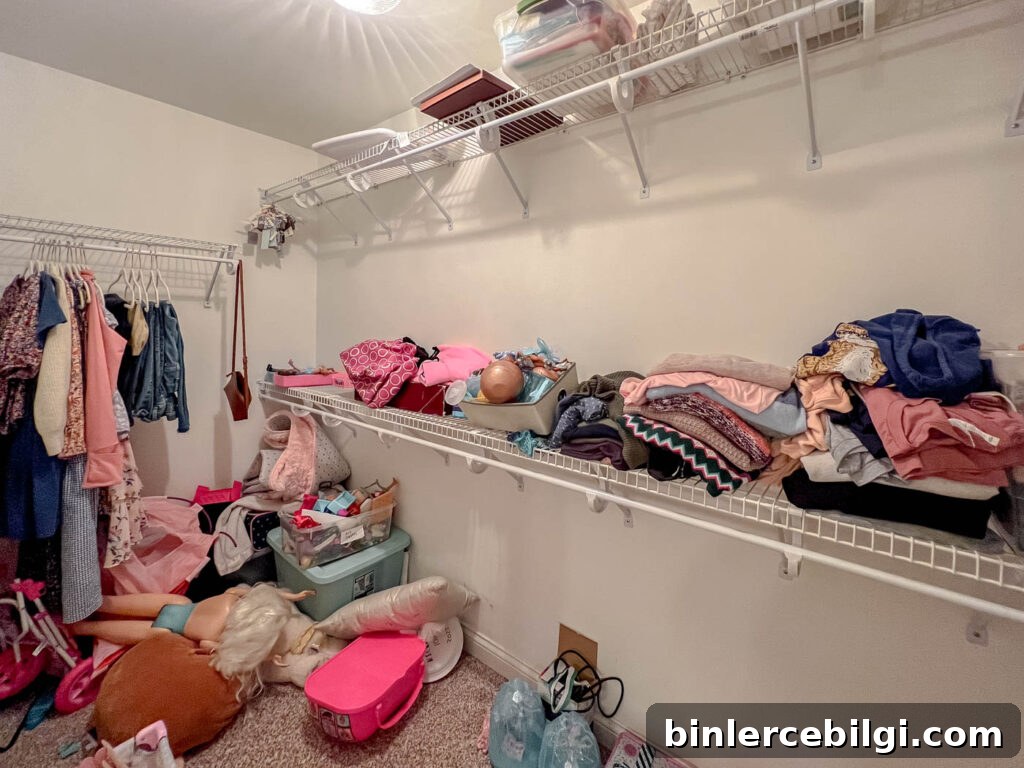
Our daughter’s closet was one of the largest in the house—about 10 feet deep and nearly 5 feet wide—but it was inefficient. It contained only a couple of wire shelves and a few hanging rods, which left most of the space underutilized and cluttered. We decided to replace the wire shelving and redesign the layout to create far more useful storage.
While wire shelving can be useful in some areas, it rarely works well in bedroom closets. It tends to create wasted vertical space and makes drawers and contained storage difficult to incorporate. Since our home had wire shelving in many closets, we planned to update them over time, starting with this one.
Here’s how the closet looked before—with clothes and toys in place—so you can see how much potential the space had. The long runs of hanging space were mostly unnecessary; what we needed was drawers, shelves and smarter storage solutions.
One practical reason to start with my daughter’s closet was that I wanted to reclaim her dresser for her sister. Her walk-in closet was large enough to accommodate all her clothing—if I could design the right system—so freeing up the dresser for reuse made the project doubly valuable.
Choosing the Right Closet System
My priorities were clear: build a system that used every inch of space efficiently and stay within budget. I wanted something affordable but well made, not an overly custom solution that would dramatically increase costs.
Because the closet didn’t have awkward corners, windows or multiple doors, I didn’t need a full custom job. The IKEA PAX closet system fit our needs perfectly: a modular system with a range of widths, depths and interior accessories that makes planning straightforward without the high price of custom builds.
I had previously used other closet systems in different spaces and appreciated the value proposition of PAX. If your closet doesn’t require extensive customization and you want a cost-effective solution, PAX is an excellent option.
Before you Start
Measure carefully before you design or order anything. Measure the wall space multiple times and record ceiling height, nearby fixtures, outlets, switches and light placements. These details will determine frame depth and placement and help you avoid mistakes.
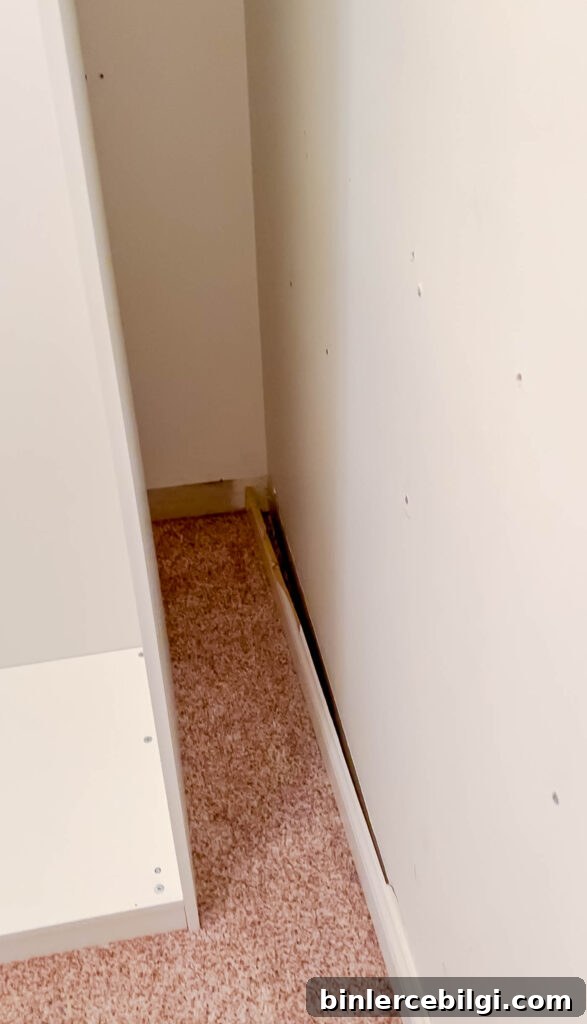
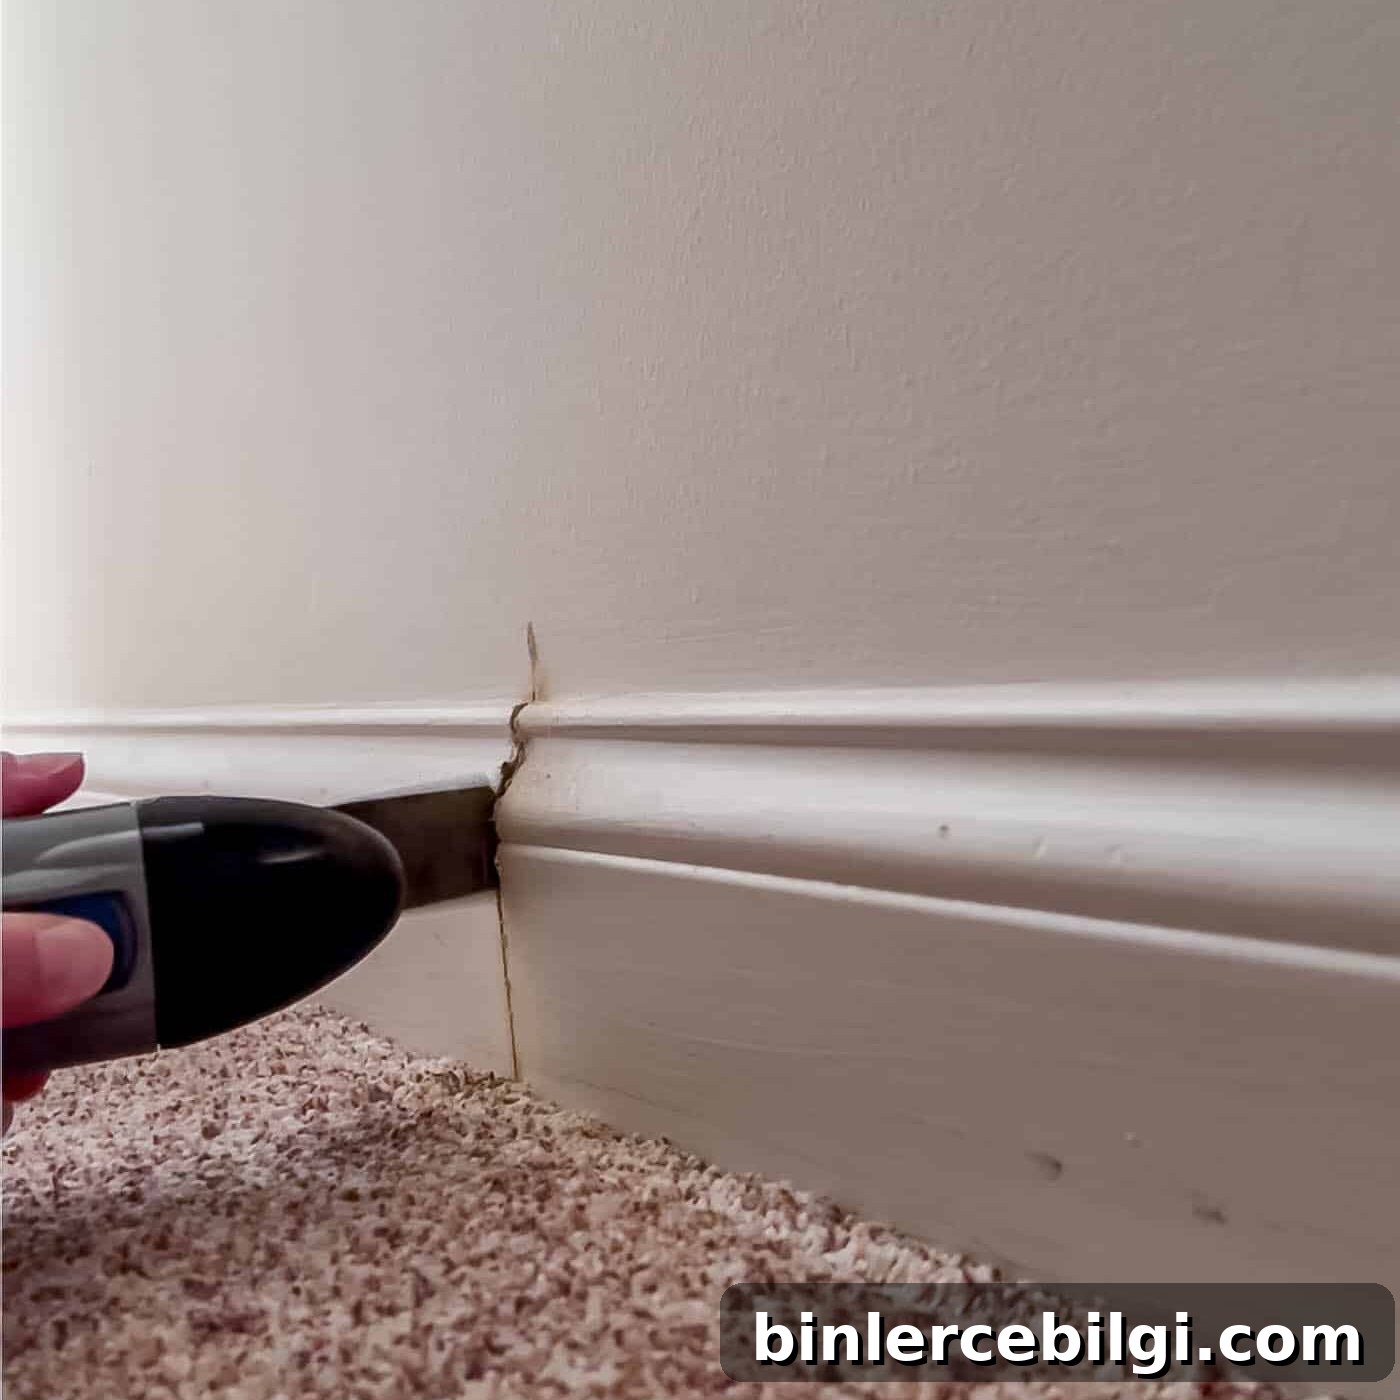
For example, I almost ordered the deeper frame depth initially, which would have conflicted with a light fixture. Re-measuring saved me from a costly error. Also, remove or trim baseboards where the frames will sit, but only after you mock up the frames to ensure you cut in the exact spot.
The PAX Closet Planning Tool
IKEA’s PAX planning tool is invaluable for visualizing a layout before you buy. I designed several iterations in the planner until I arrived at the final configuration that balanced hanging, shelving and drawer space.
PAX frames come in multiple widths, two depths and two heights. Given our 8-foot ceilings, we chose the taller 93 1/8-inch frames. On the back wall we used the deeper 22 7/8-inch frames for full hanging space, while the long wall used the shallower 13-inch frames to preserve room for movement and to avoid crowding the closet entrance.
The planner suggested configurations based on the room dimensions and helped me work through the best use of corners and vertical space. The final layout left a bit of open floor near the end of the long wall to accommodate a slim hamper and a valet hanger.
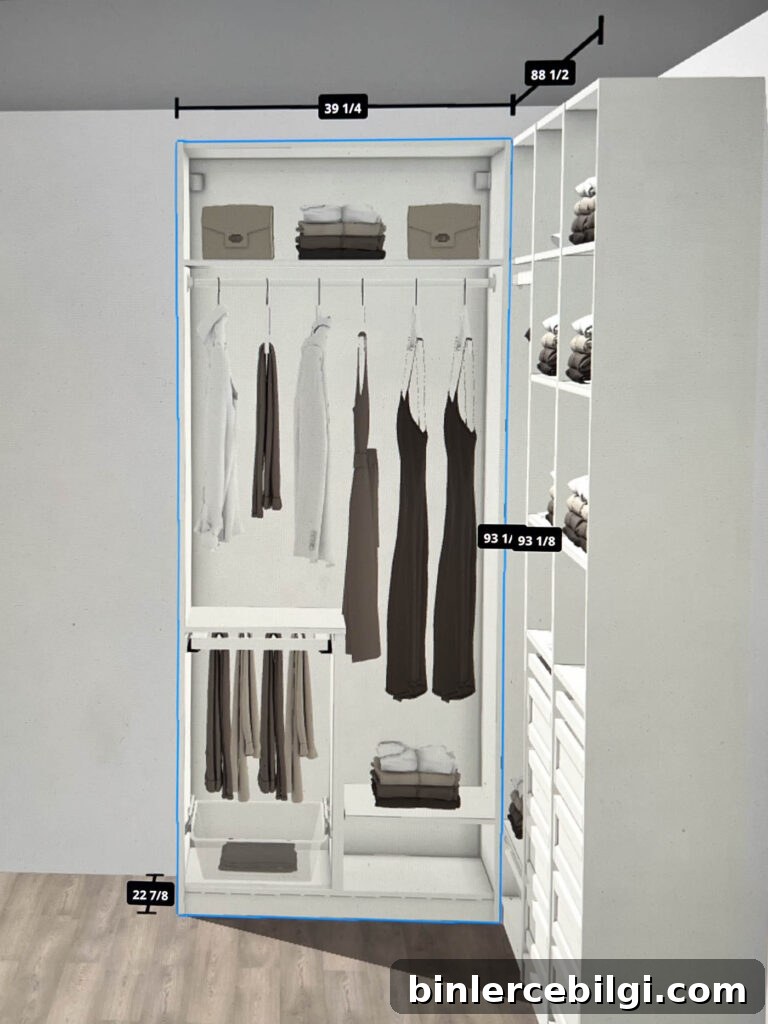
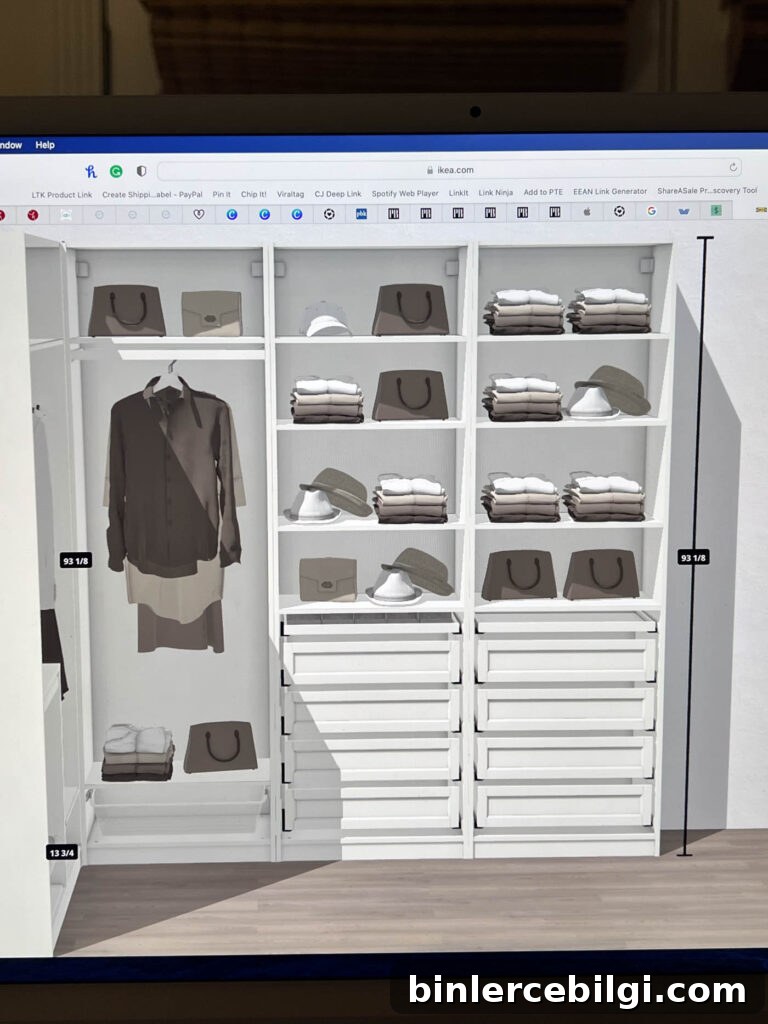
We used one 39 1/4-inch frame on the short wall and three 29 1/2-inch frames on the long wall. This arrangement maximized usable storage while preserving that small open area for a hamper and extra access.
Building the Closet Frames
IKEA instructions rely heavily on illustrations, so read through everything before you begin. Start slowly with the first frame so you understand the assembly sequence—rushing can lead to mistakes, like installing a back panel the wrong way.
A helper speeds the process considerably. Basic tools I used include a hammer, drill and level. Depending on ceiling height and available floor space, you may assemble frames horizontally on the floor or upright. We built the first two frames flat, but the remaining two had to be assembled standing up inside the closet.
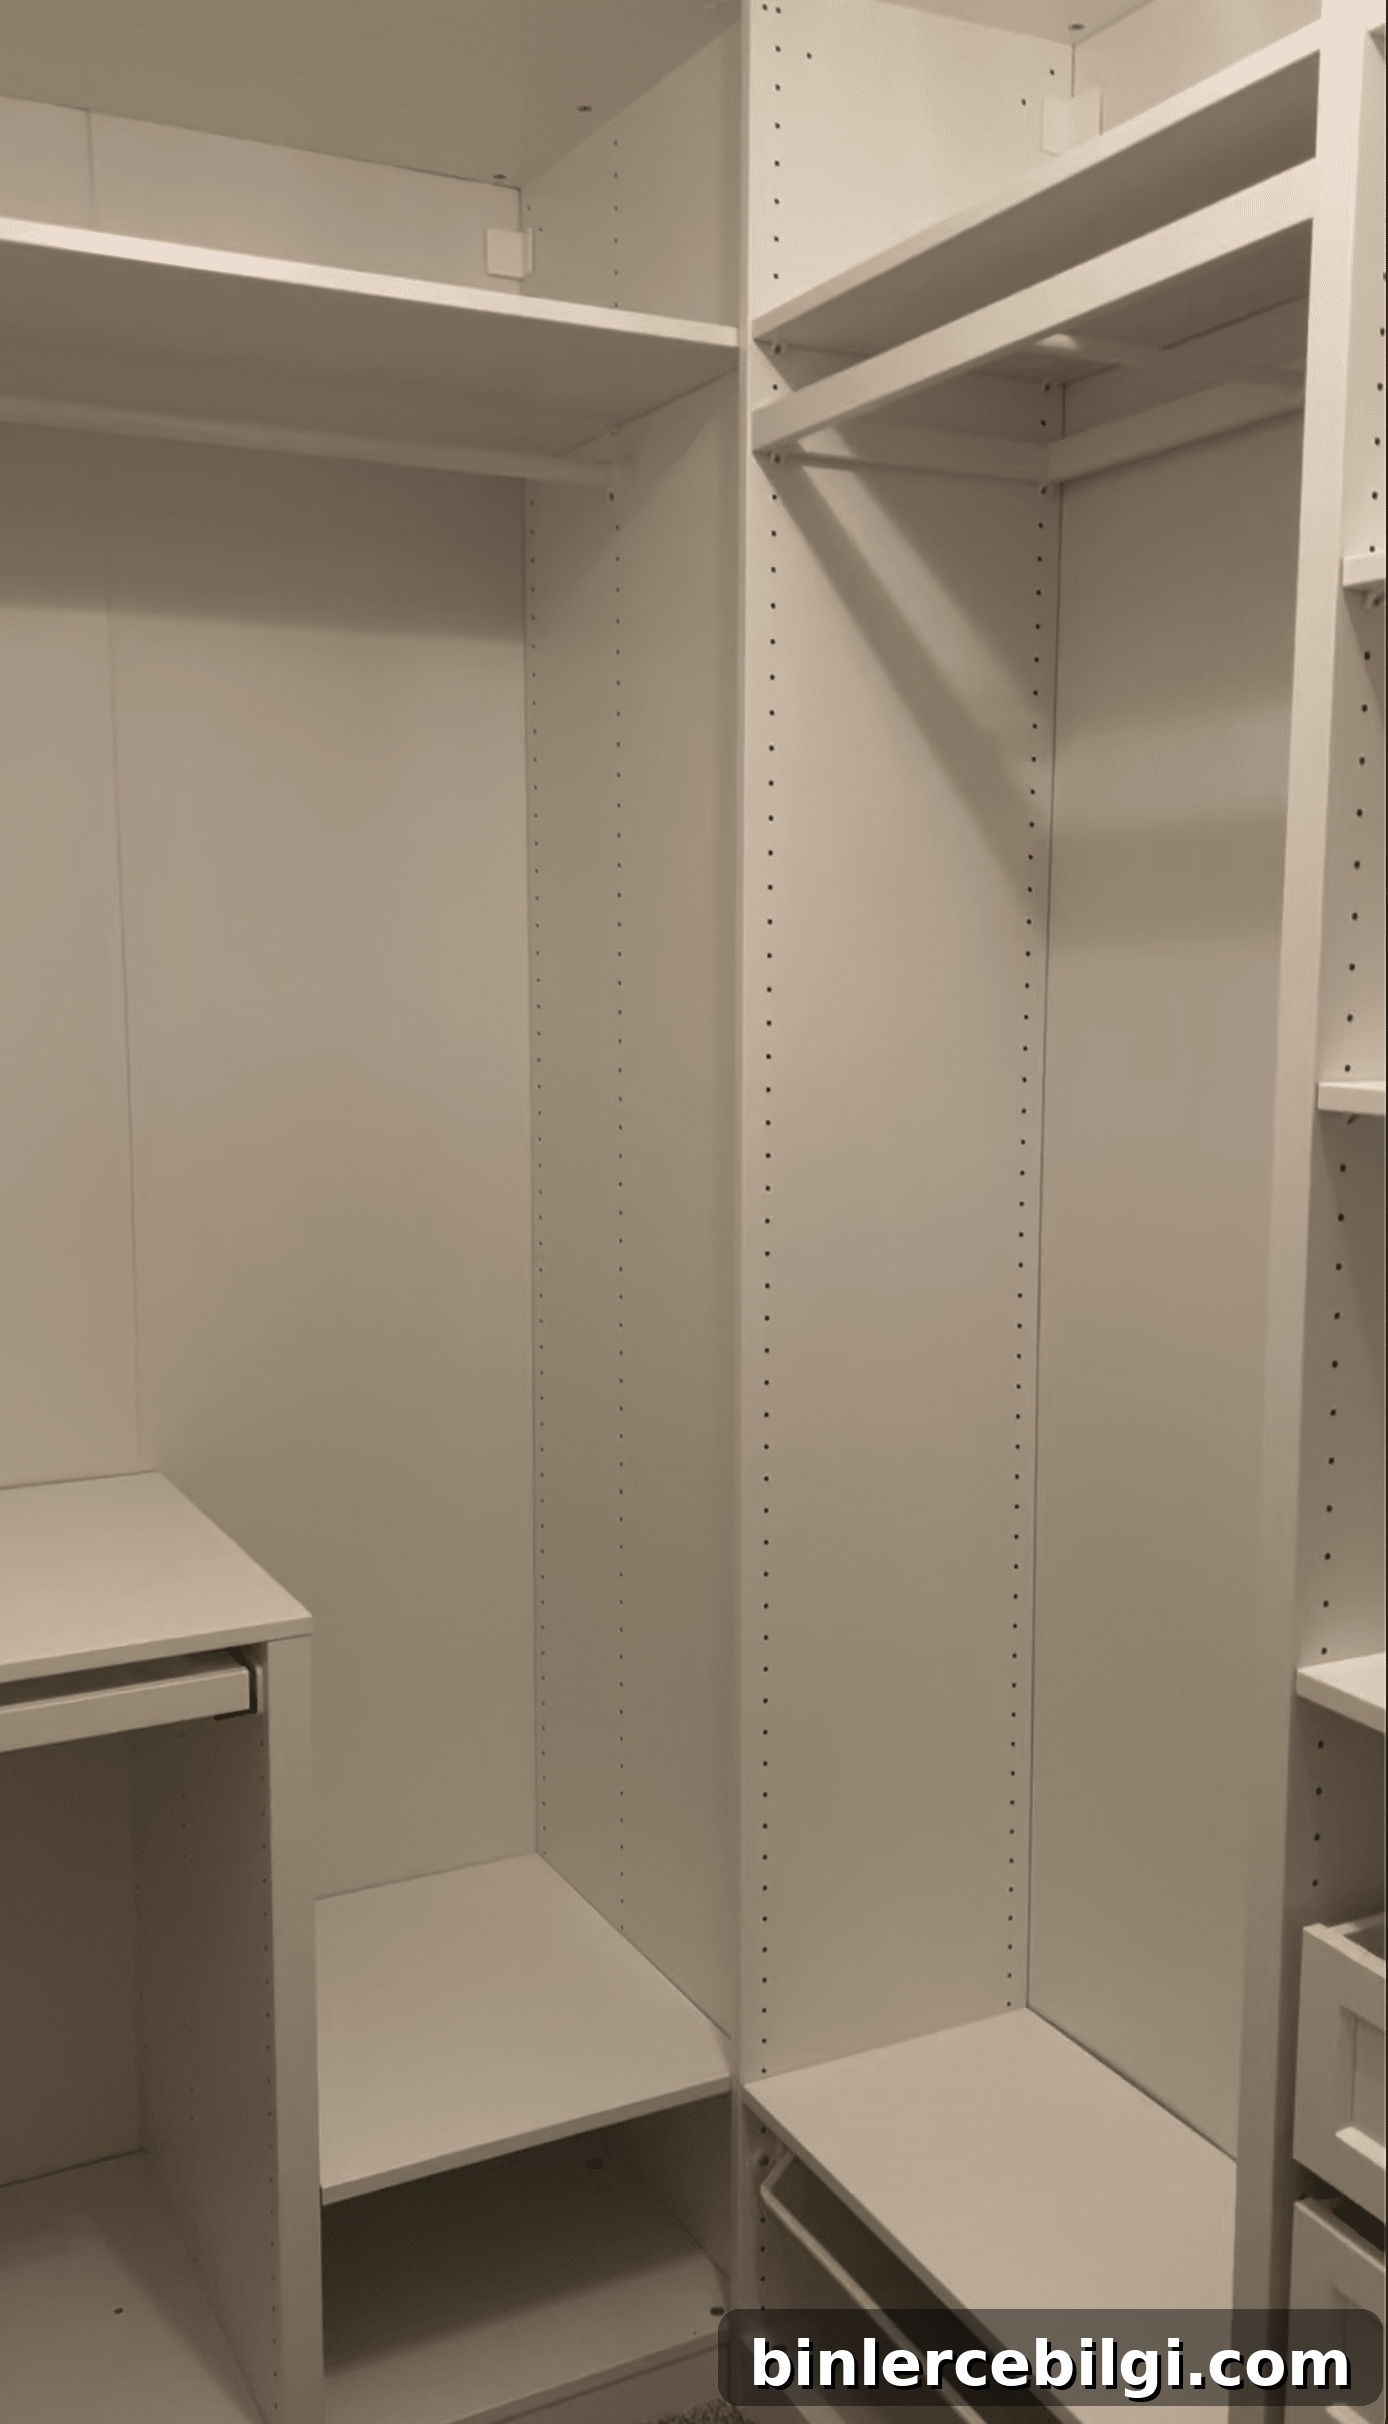
Always secure the frames to the wall with the provided fasteners, and attach adjacent frames together using the supplied screws—pick mounting holes that you won’t need for interior accessories. I installed interior components first, then joined the frames for a snug, secure fit.
PAX Interior Accessories
Choosing the right drawers, shelves and accessories is one of the most fun parts of the project. We kept a mostly classic white palette with standard KOMPLEMENT shelves and drawers, and added a few specialty pieces for function and longevity.
Note: Many of the photos show American Girl dolls and accessories—this closet is for a pre-teen, so it needed to be flexible enough to transition from toy storage to purely clothing storage over time.
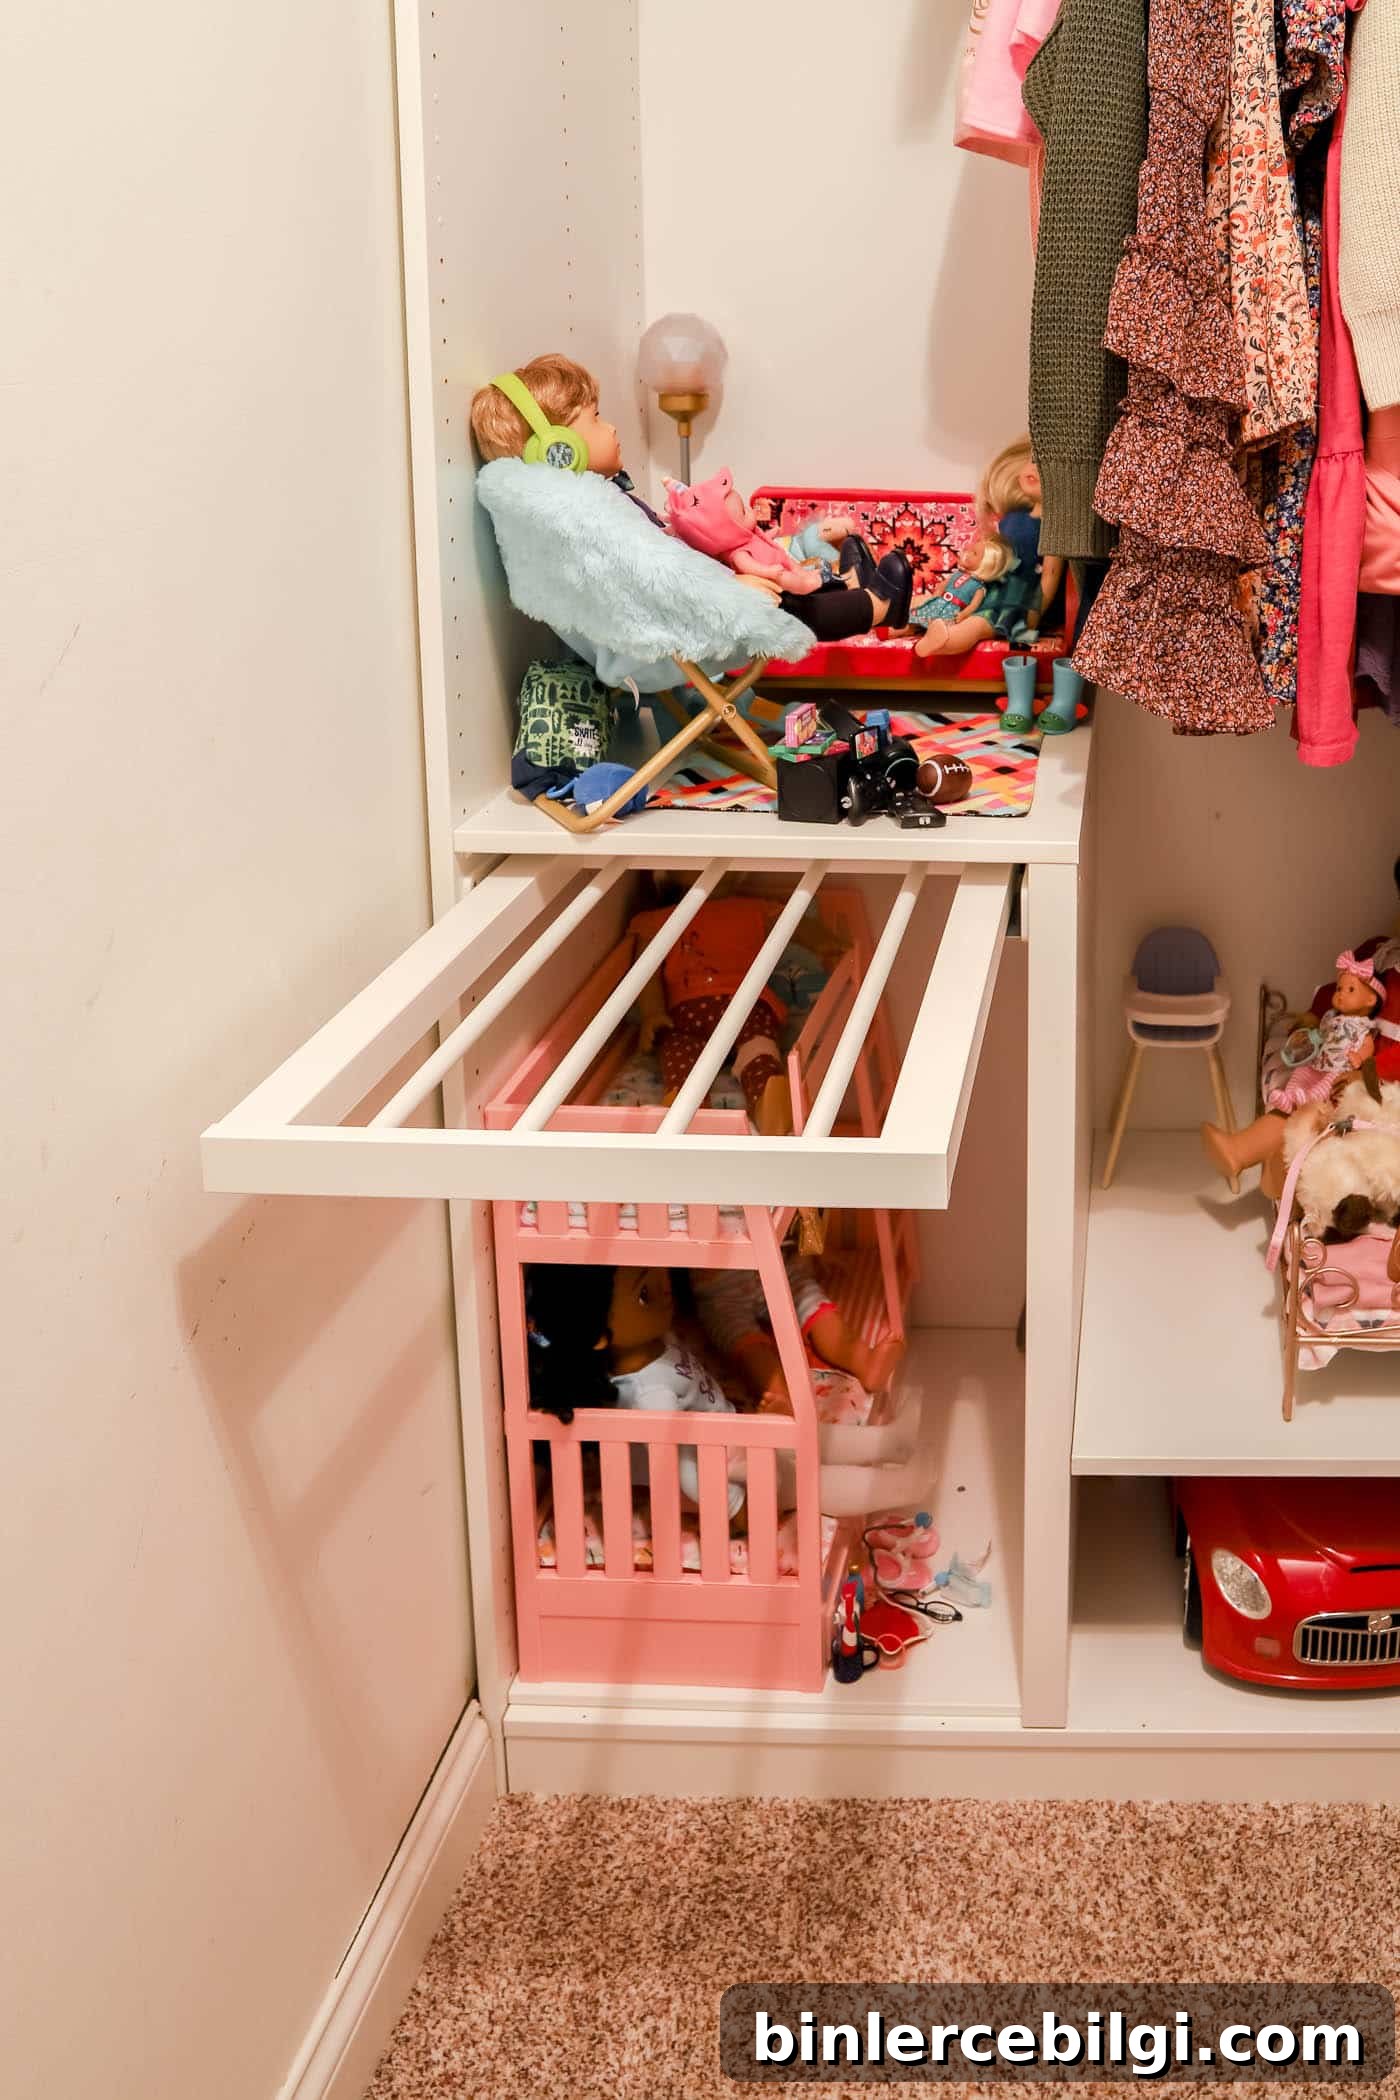
KOMPLEMENT Pull-Out Pants Hanger
We added a pull-out pants hanger that stores multiple trousers compactly. In a 22-inch-deep frame it can hold two pants per rail with some overlap; in a 13-inch-deep frame it holds one per rail. Though it’s not heavily used yet, it will be useful as she grows.
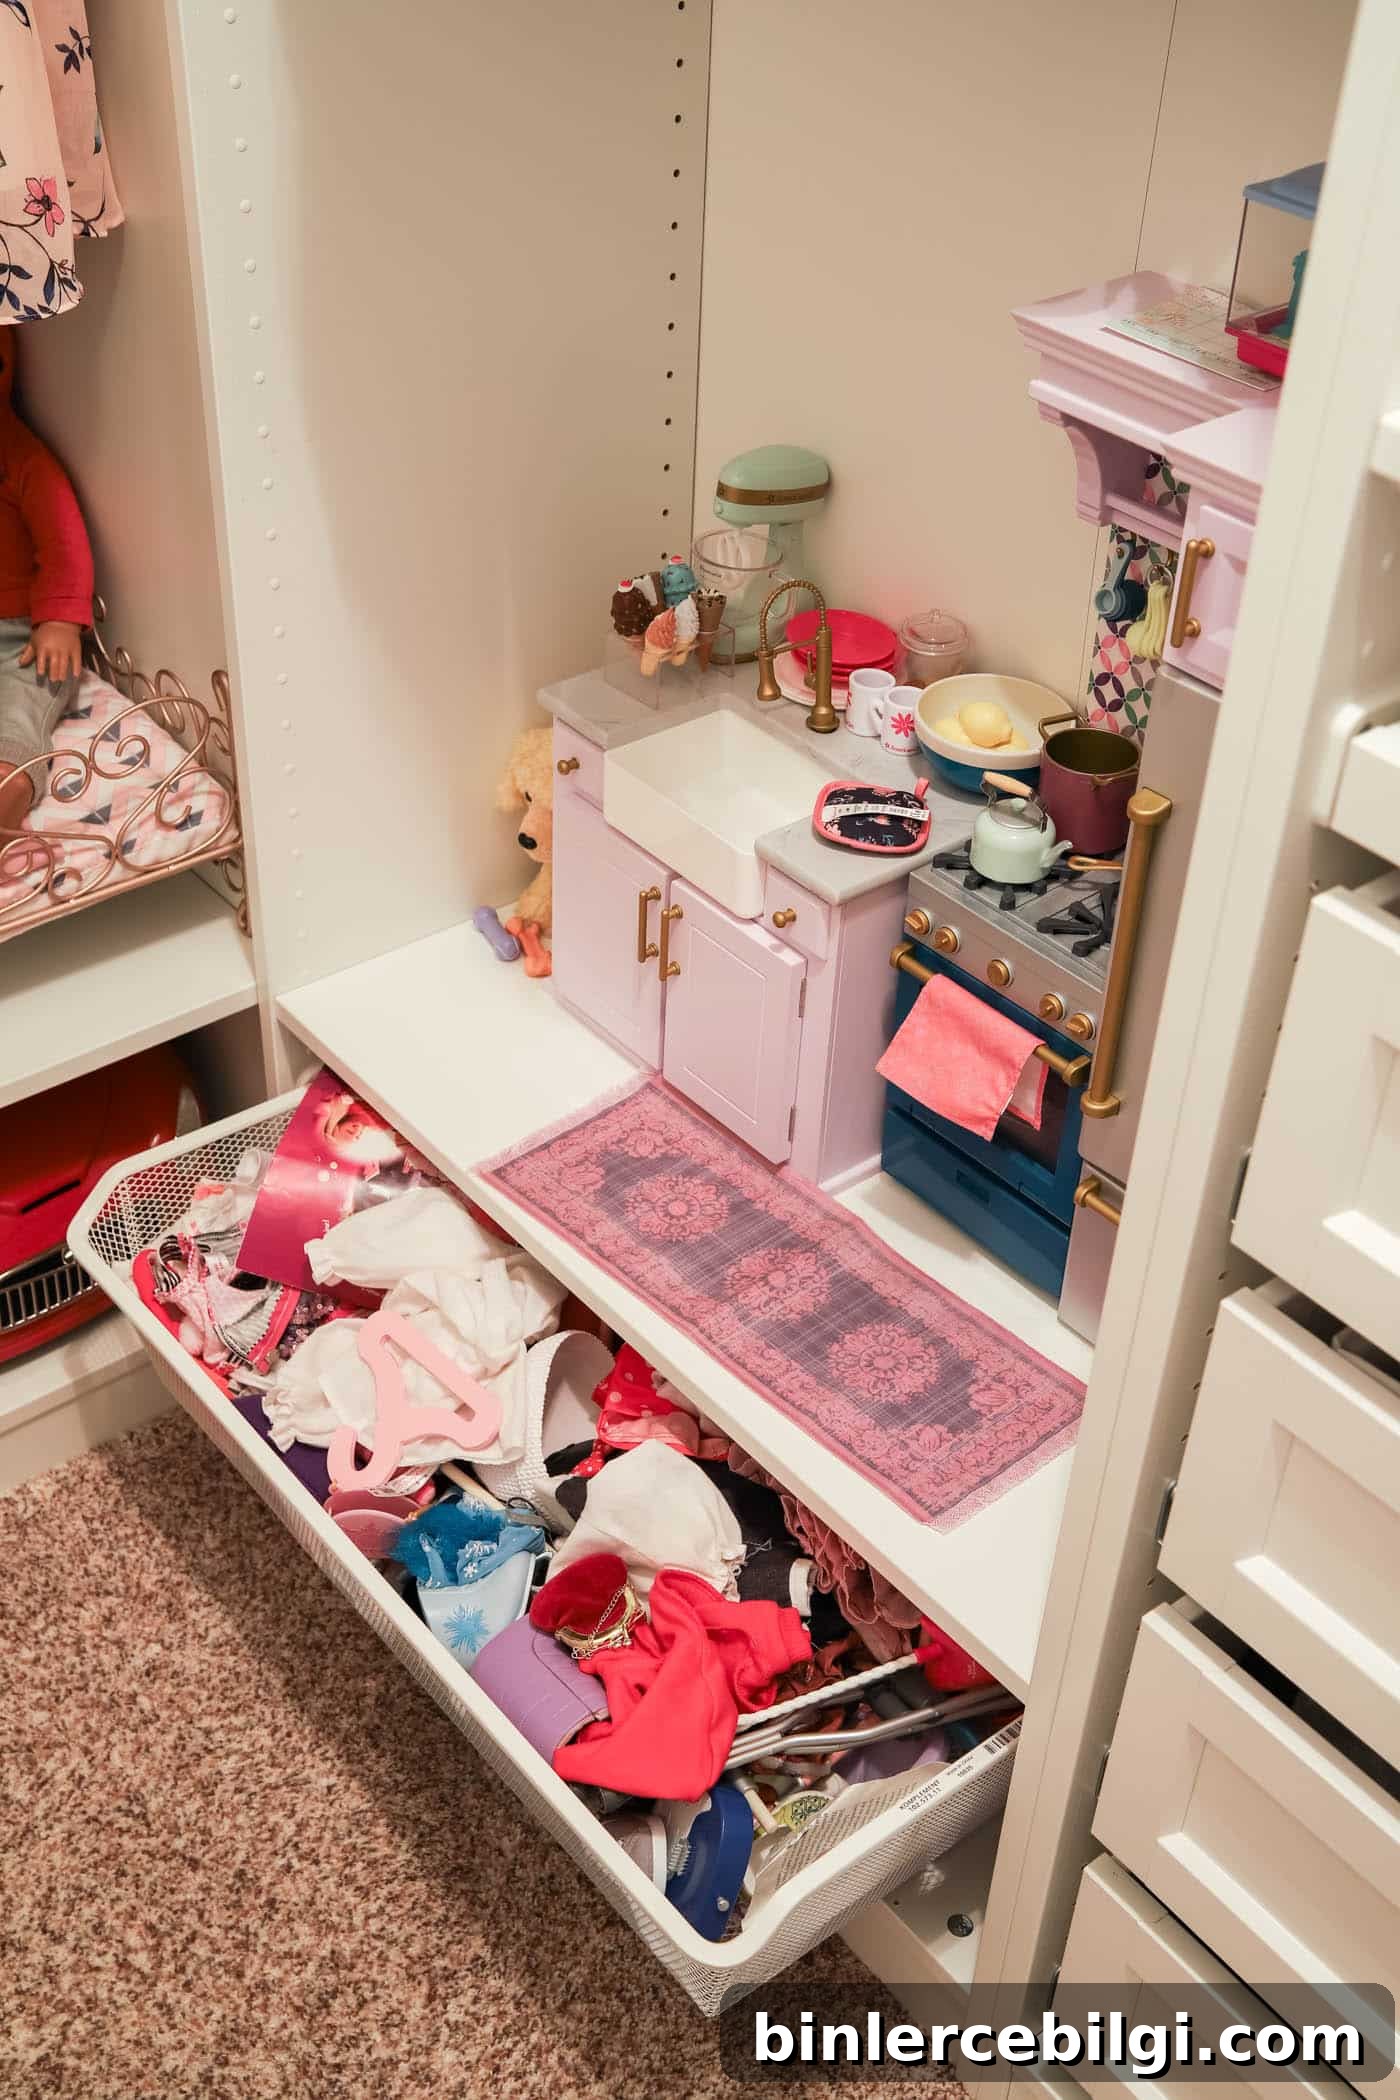
KOMPLEMENT Mesh Pull-Out Basket
Mesh pull-out baskets provide breathable storage ideal for shoes, toys or clothing. In our closet they double as toy storage for American Girl accessories and allow airflow to keep items fresh.
Basic Clothes Rail vs. KOMPLEMENT Clothes Rod
Hanging options vary by frame depth. In deeper frames you can use a standard clothes rail for traditional side-by-side hanging. In shallower 13-inch frames, you’ll use a KOMPLEMENT clothes rod that hangs garments facing outward to save depth.
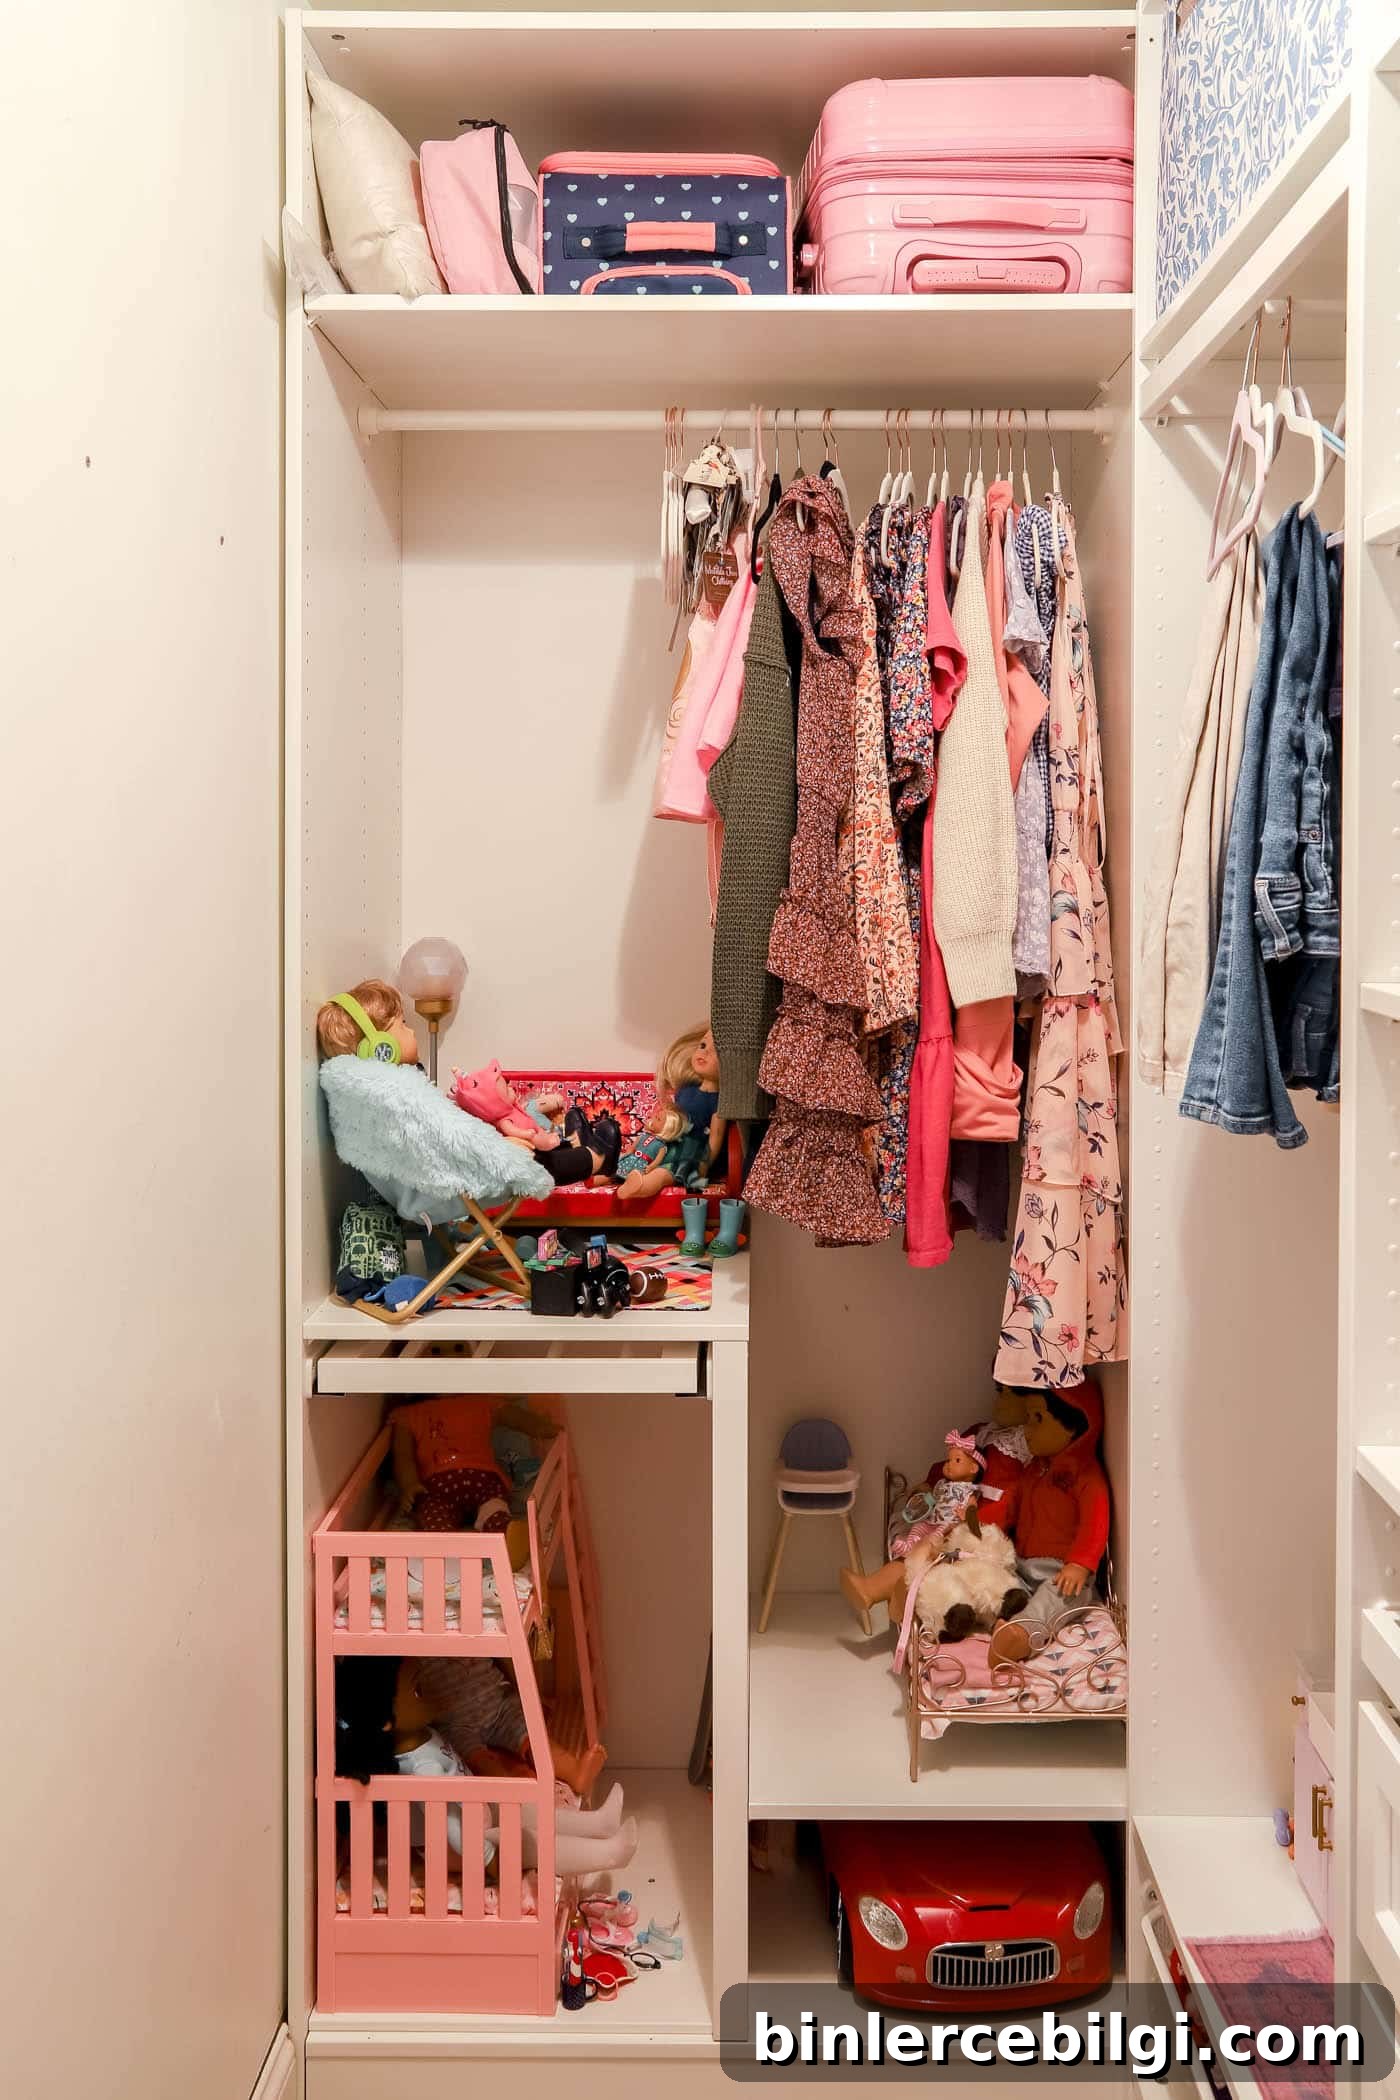
Because I didn’t want all clothing to face outward, I used the 22-inch-deep frames on the back wall for traditional hanging and kept the shallower frames for shorter items and accessories.
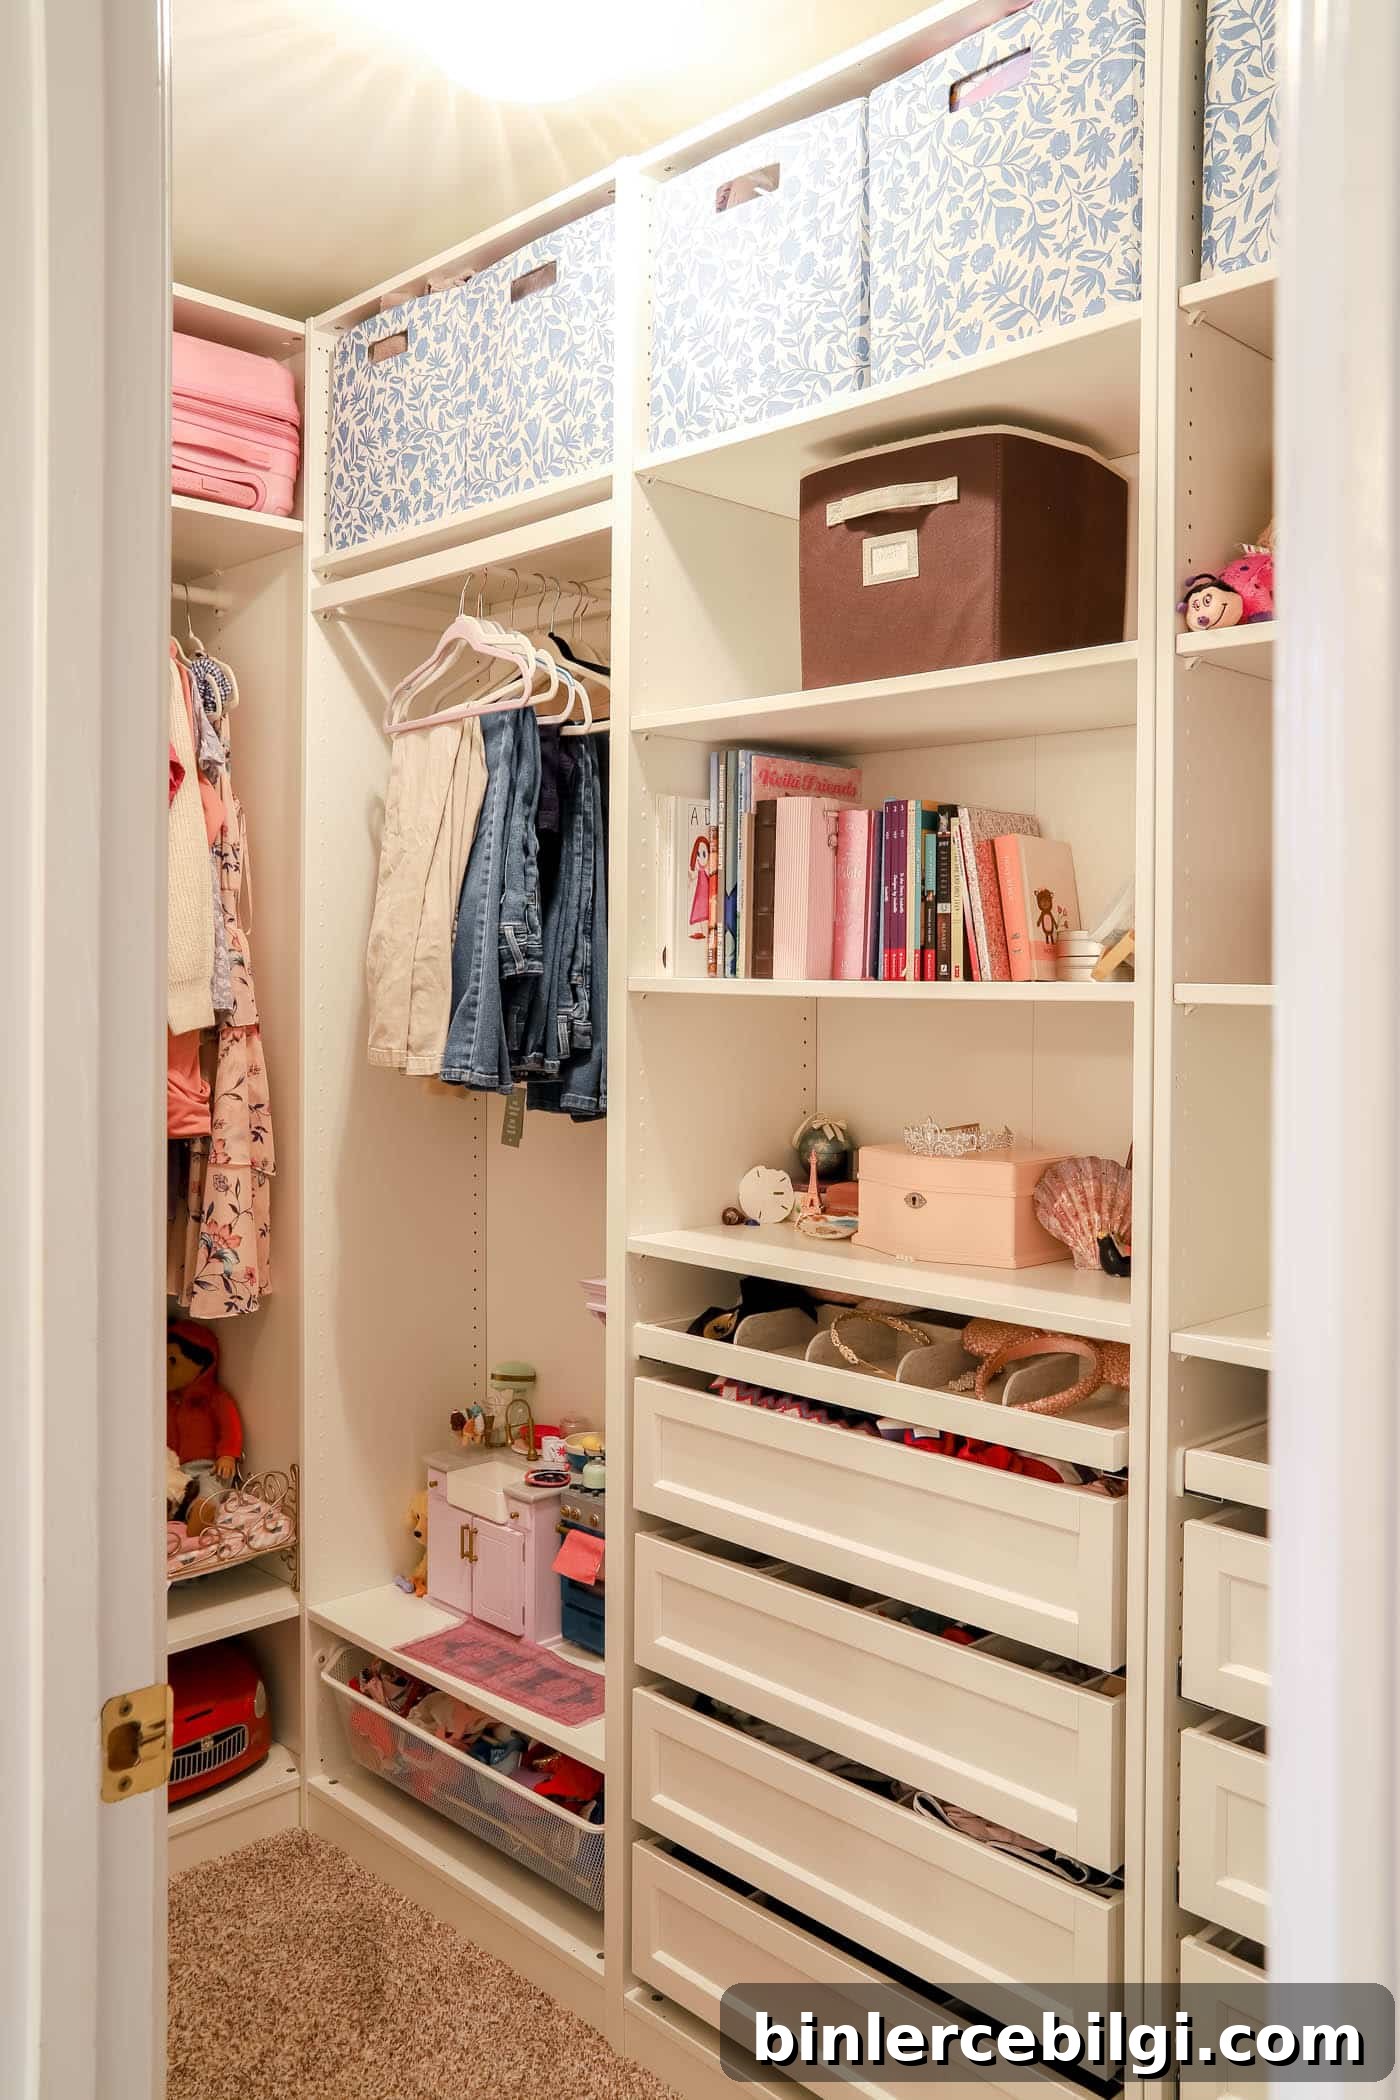
IKEA KOMPLEMENT Shelves
Standard KOMPLEMENT shelves are versatile and essential. Always add at least one shelf above drawers to maximize usable space and keep dust out. We set shelf heights to accommodate storage bins at the top of the closet.
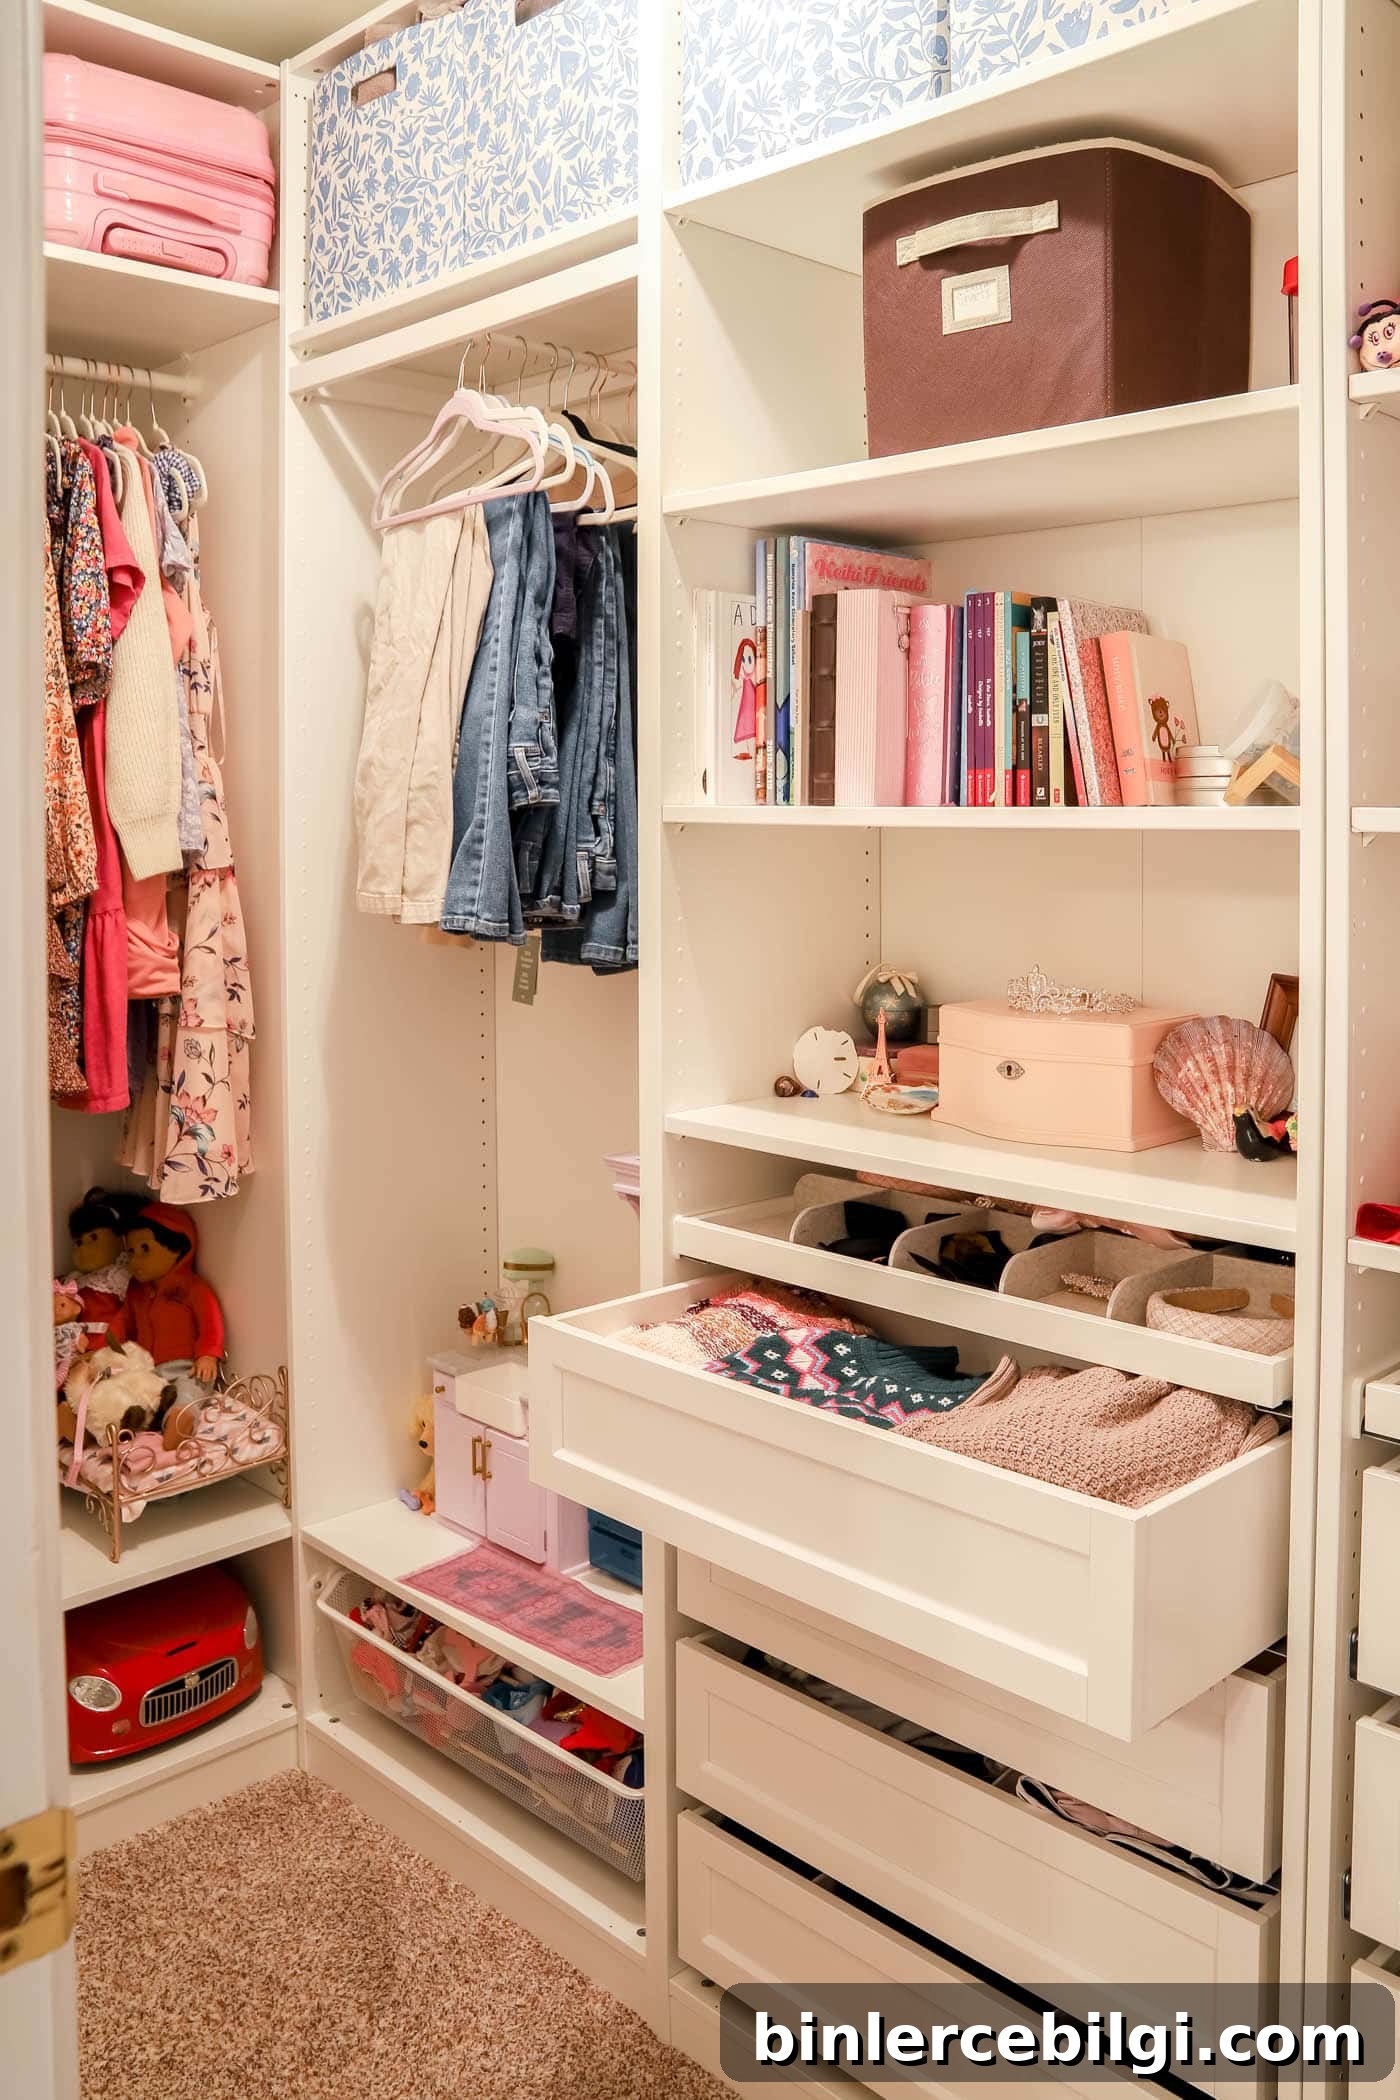
A small jewelry drop zone near the closet entrance keeps accessories organized and off counters, which is a simple upgrade that reduces daily clutter.
KOMPLEMENT Drawers with Framed Fronts
We selected drawers with framed fronts for a timeless look. These drawers are straightforward to assemble, offer soft-close operation and provide a surprising amount of storage—enough that my daughter’s dresser was no longer necessary.
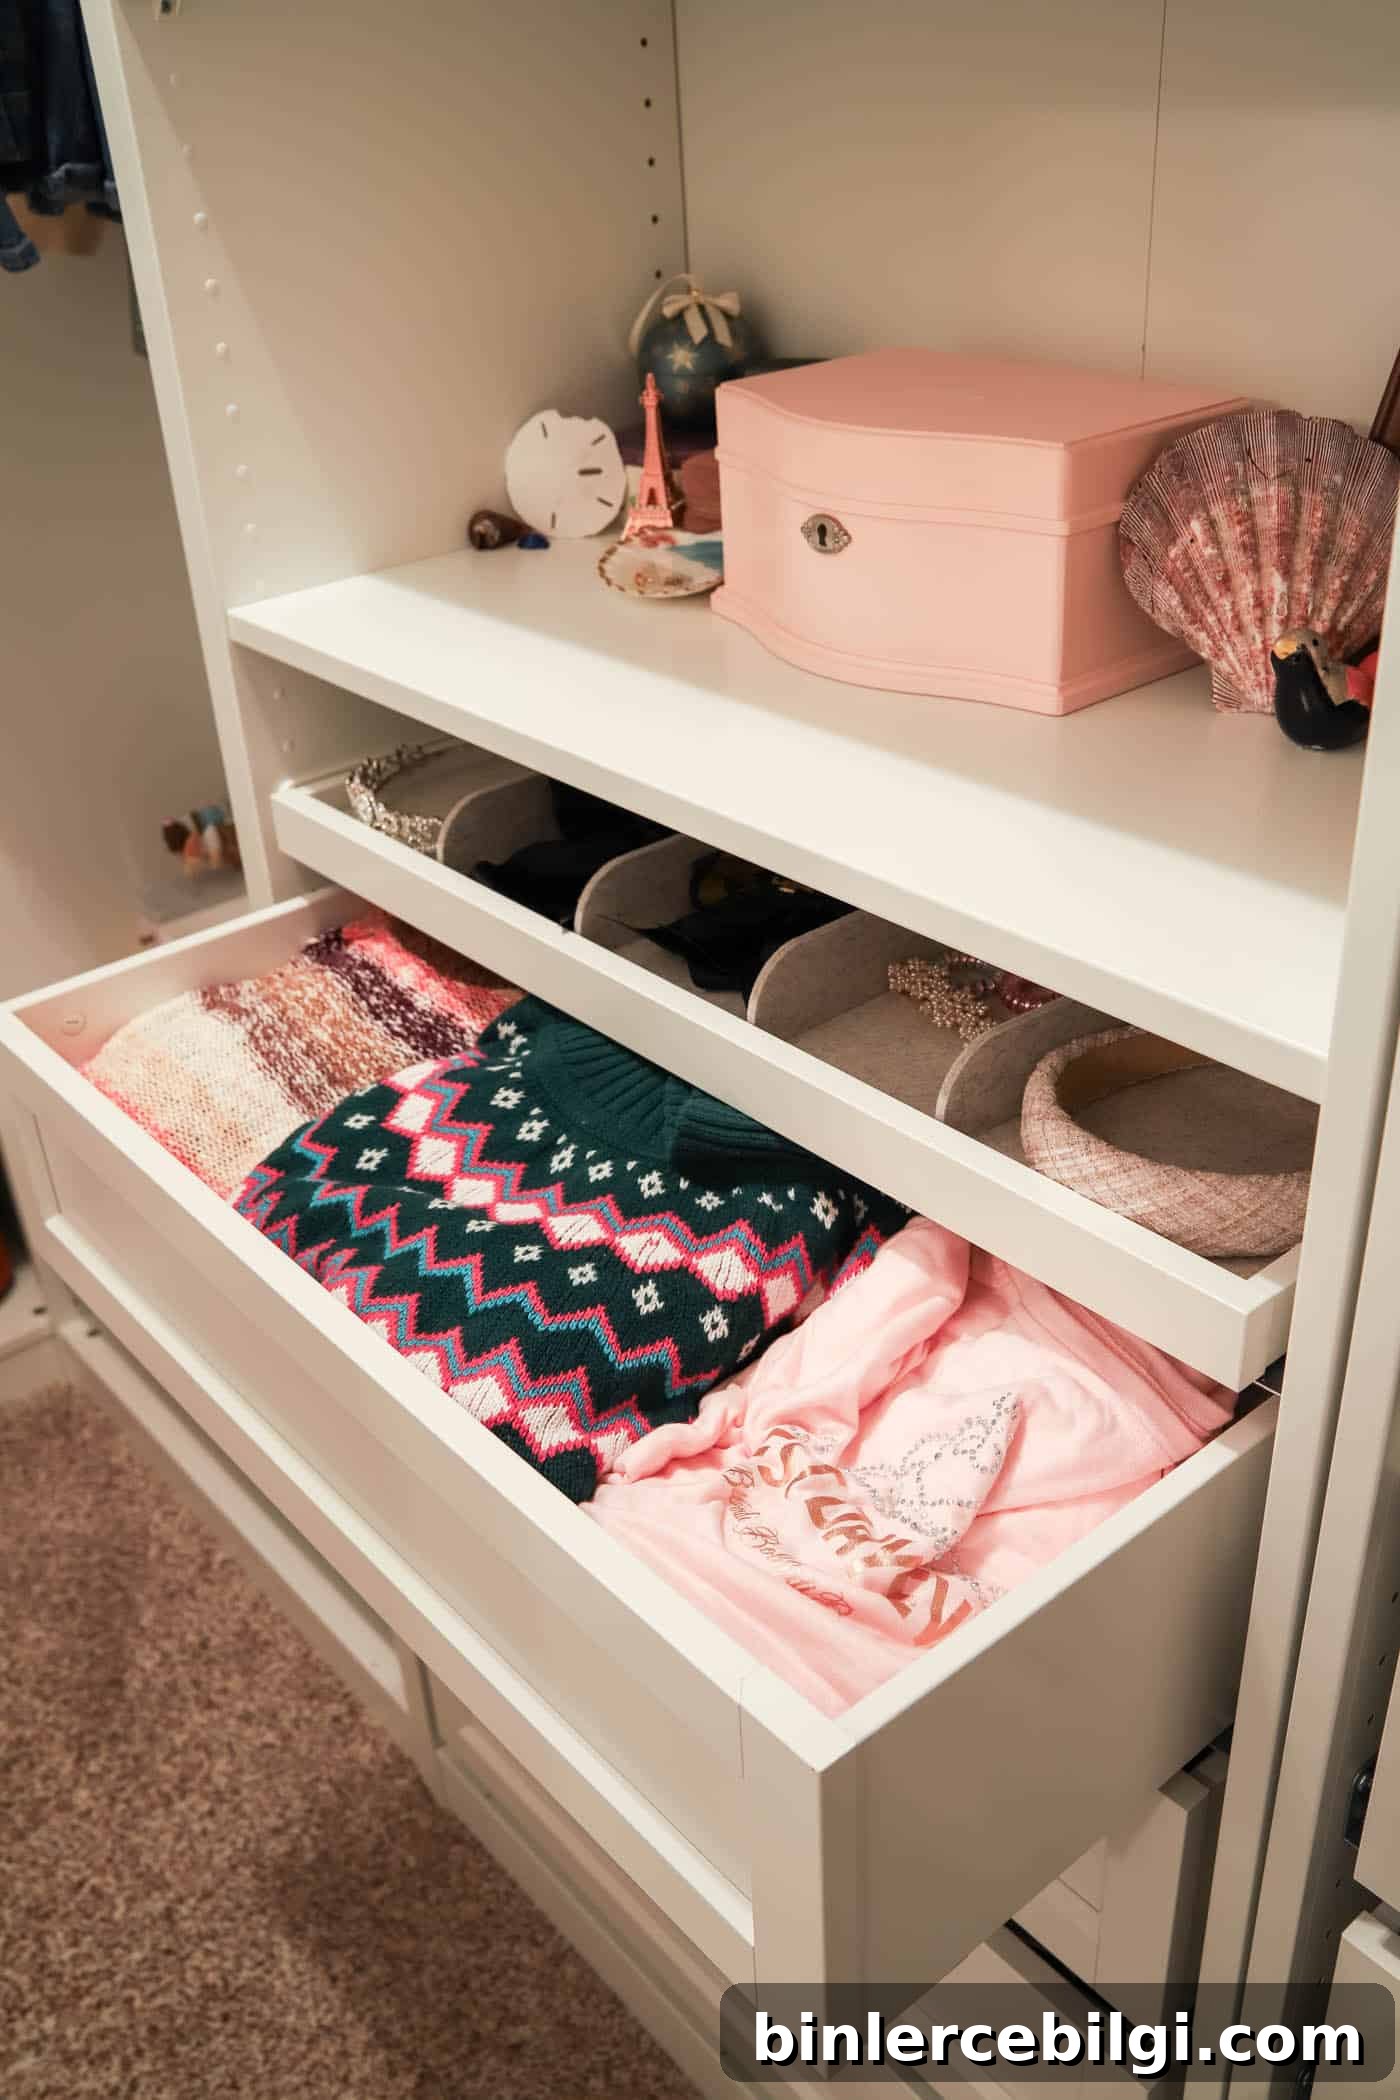
Drawer organizers are available to keep socks and undergarments tidy; consider them if you want detailed compartmentalization.
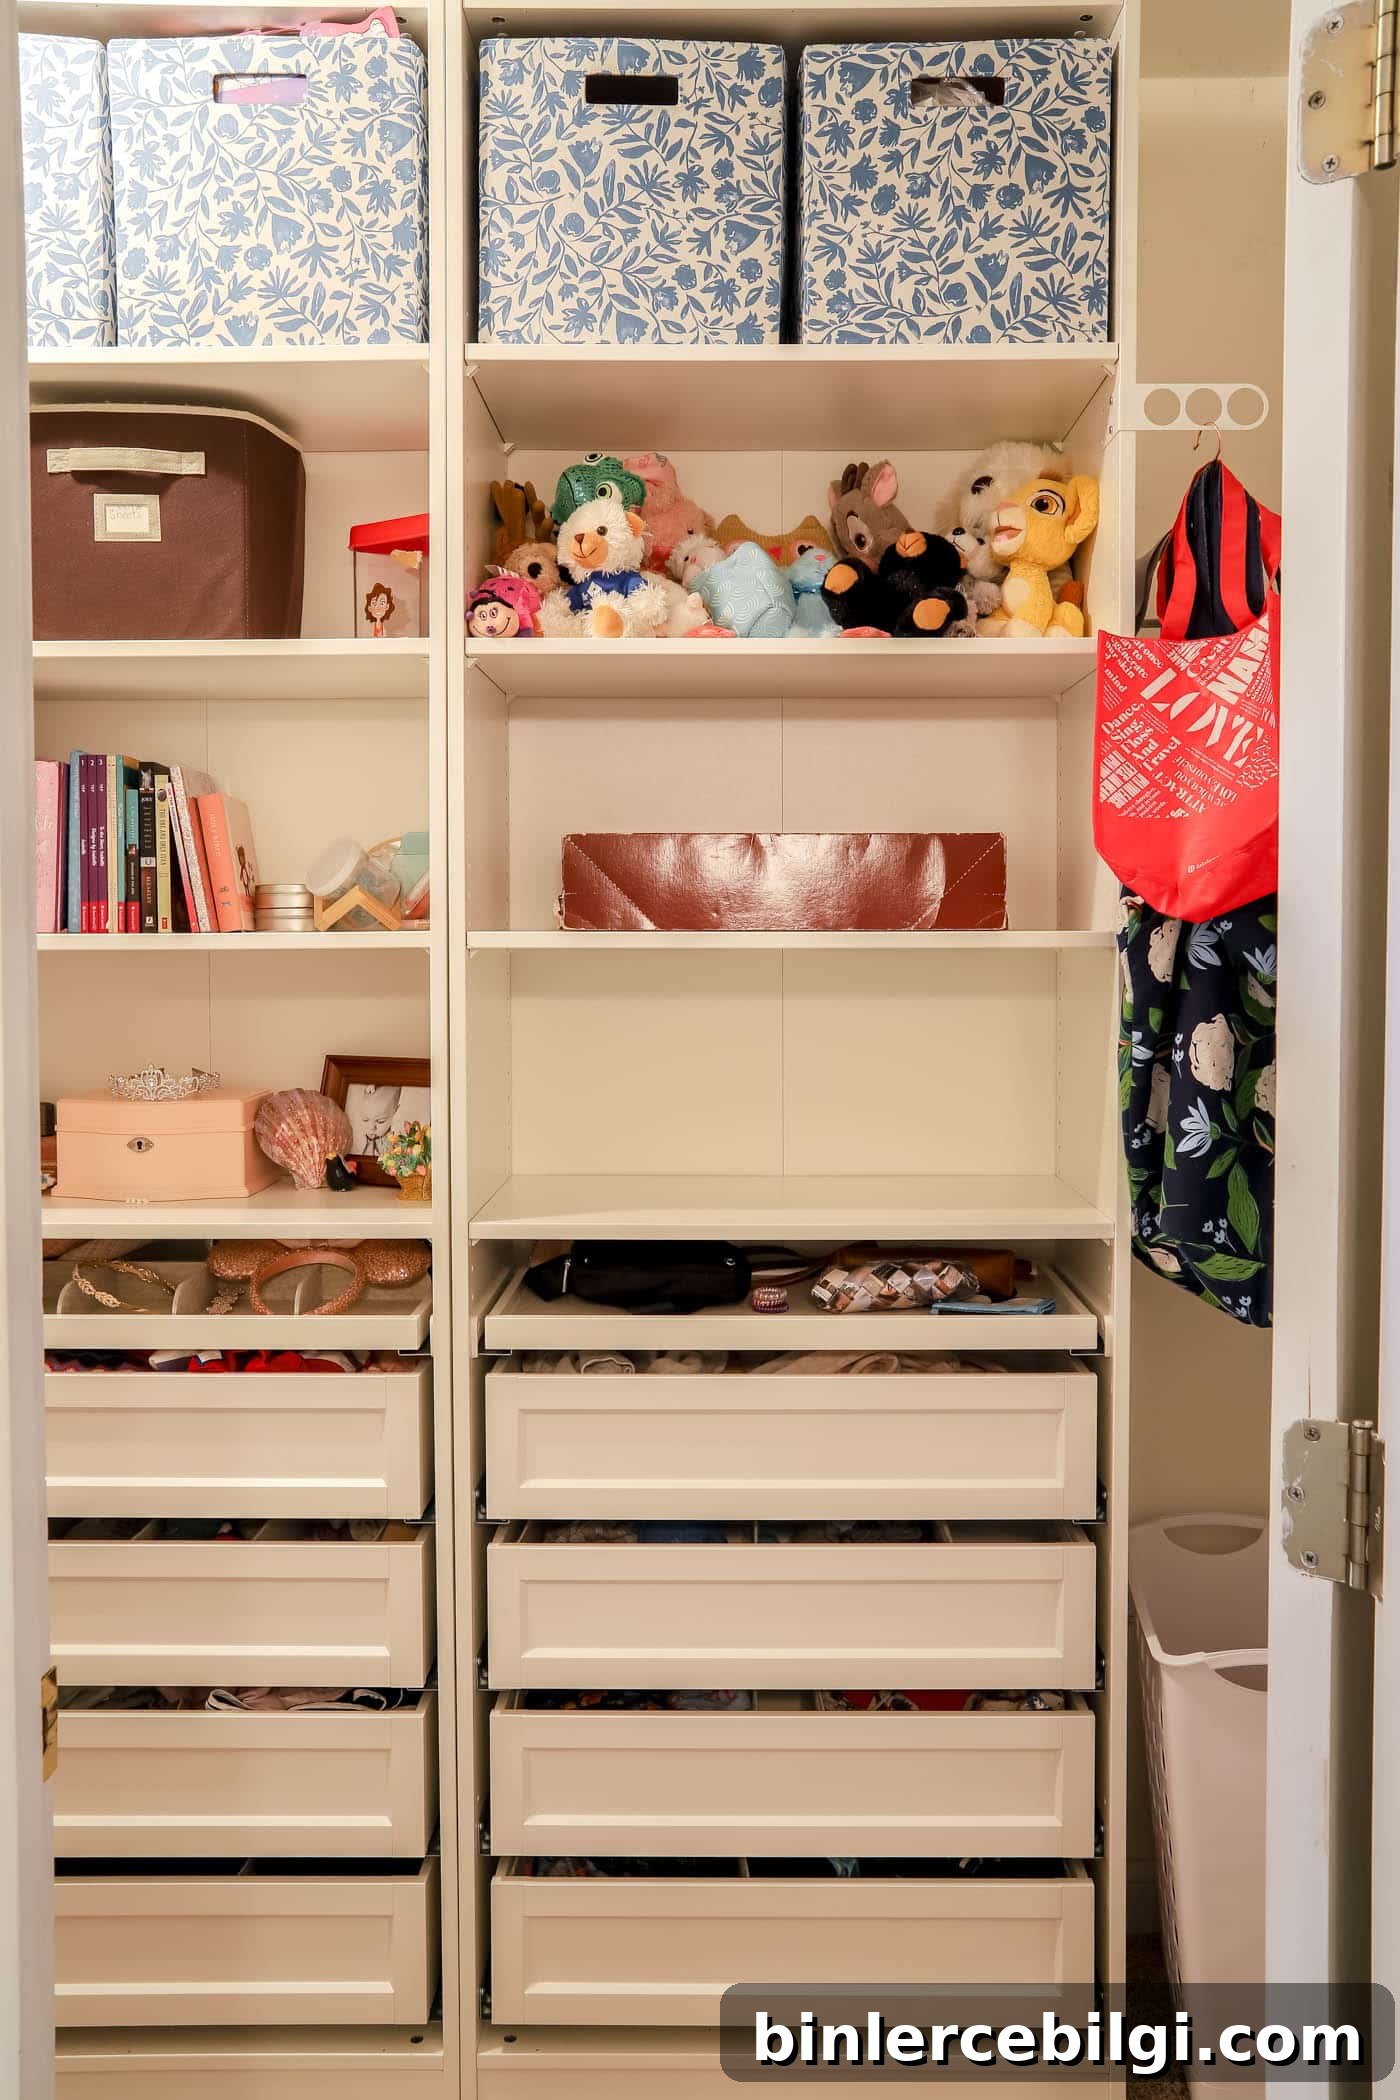
KOMPLEMENT Pull-Out Trays with Inserts
Pull-out trays with optional felt liners and dividers are ideal for small accessories like hair bows, jewelry and sunglasses. We used felt liners and a few dividers to keep items accessible and tidy.
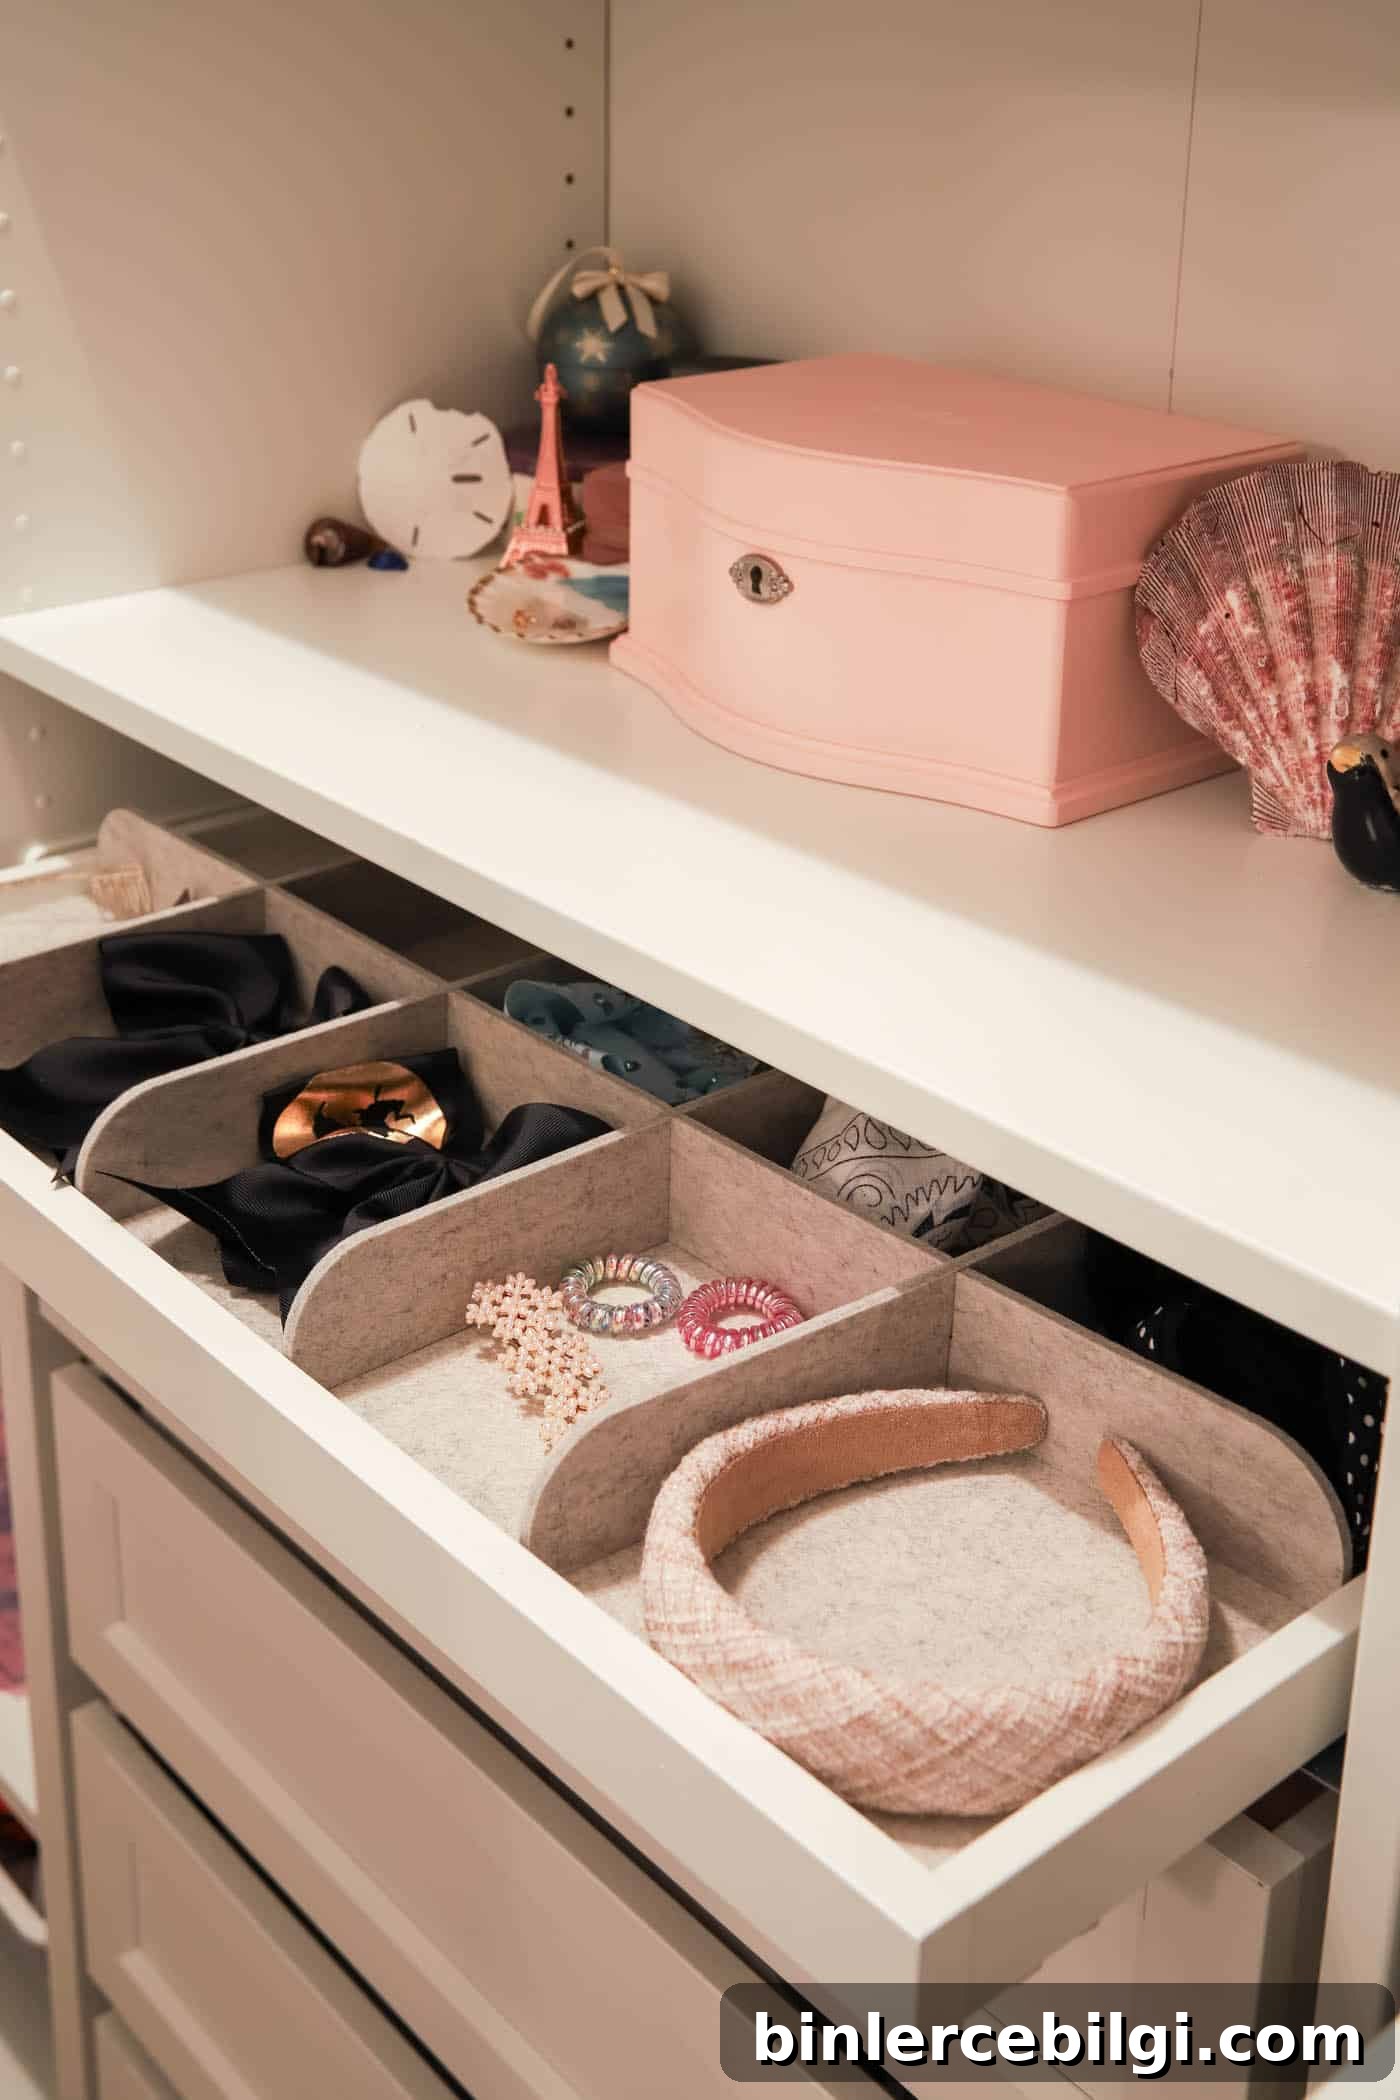
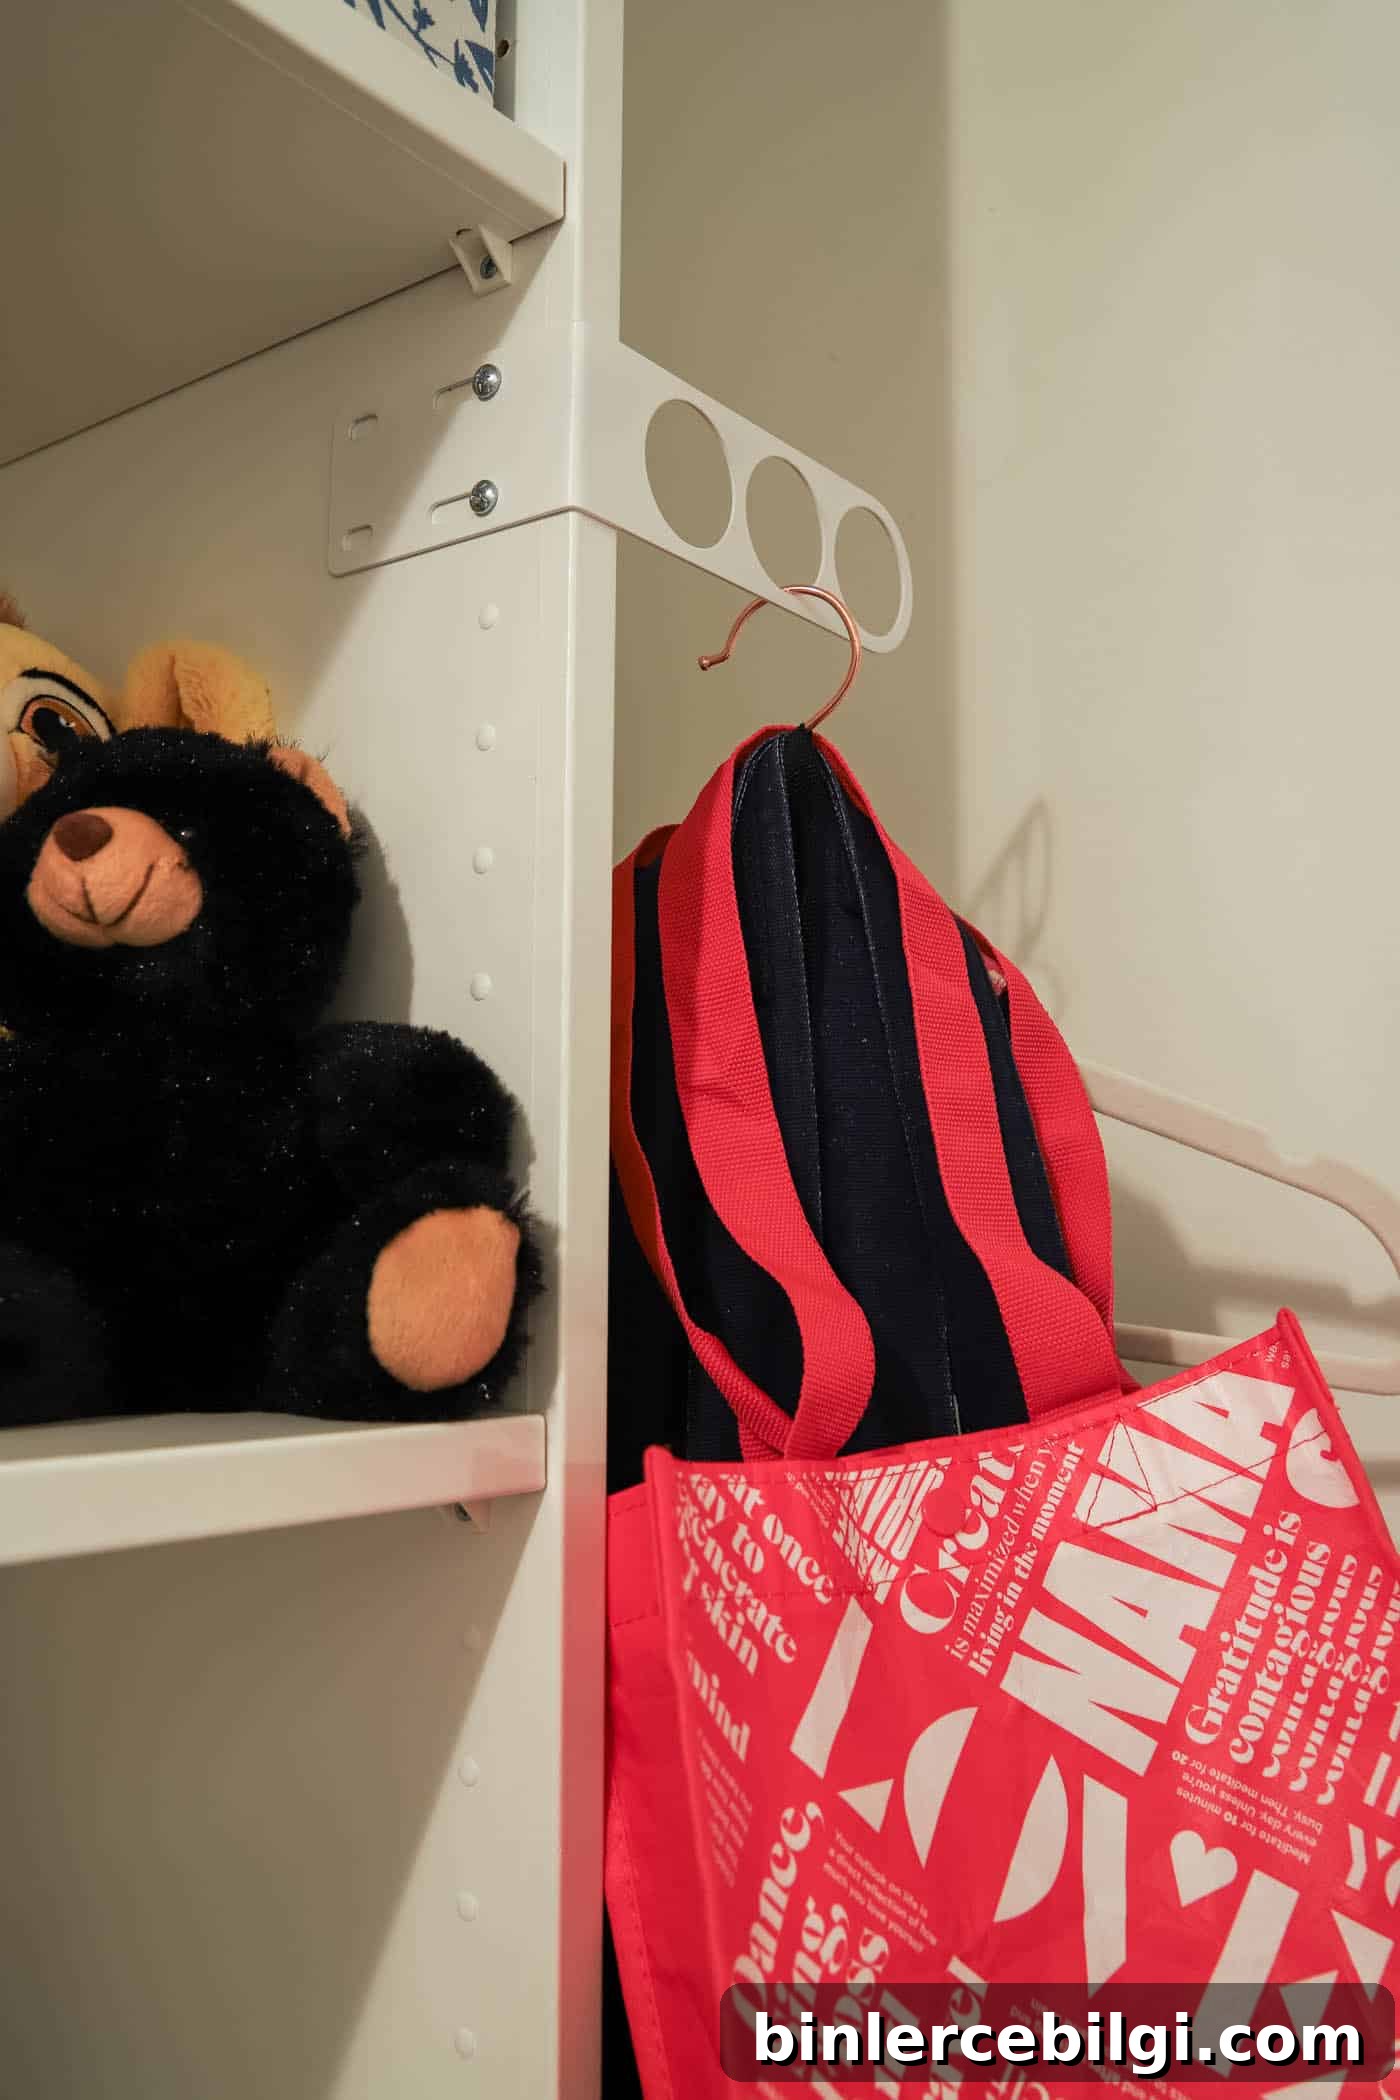
KOMPLEMENT Valet Hanger
Leaving about a foot of space at the end of the closet allowed for a slim valet hanger. It’s perfect for hanging tomorrow’s outfit or holding a garment while you plan an outfit—an efficient use of otherwise wasted space.
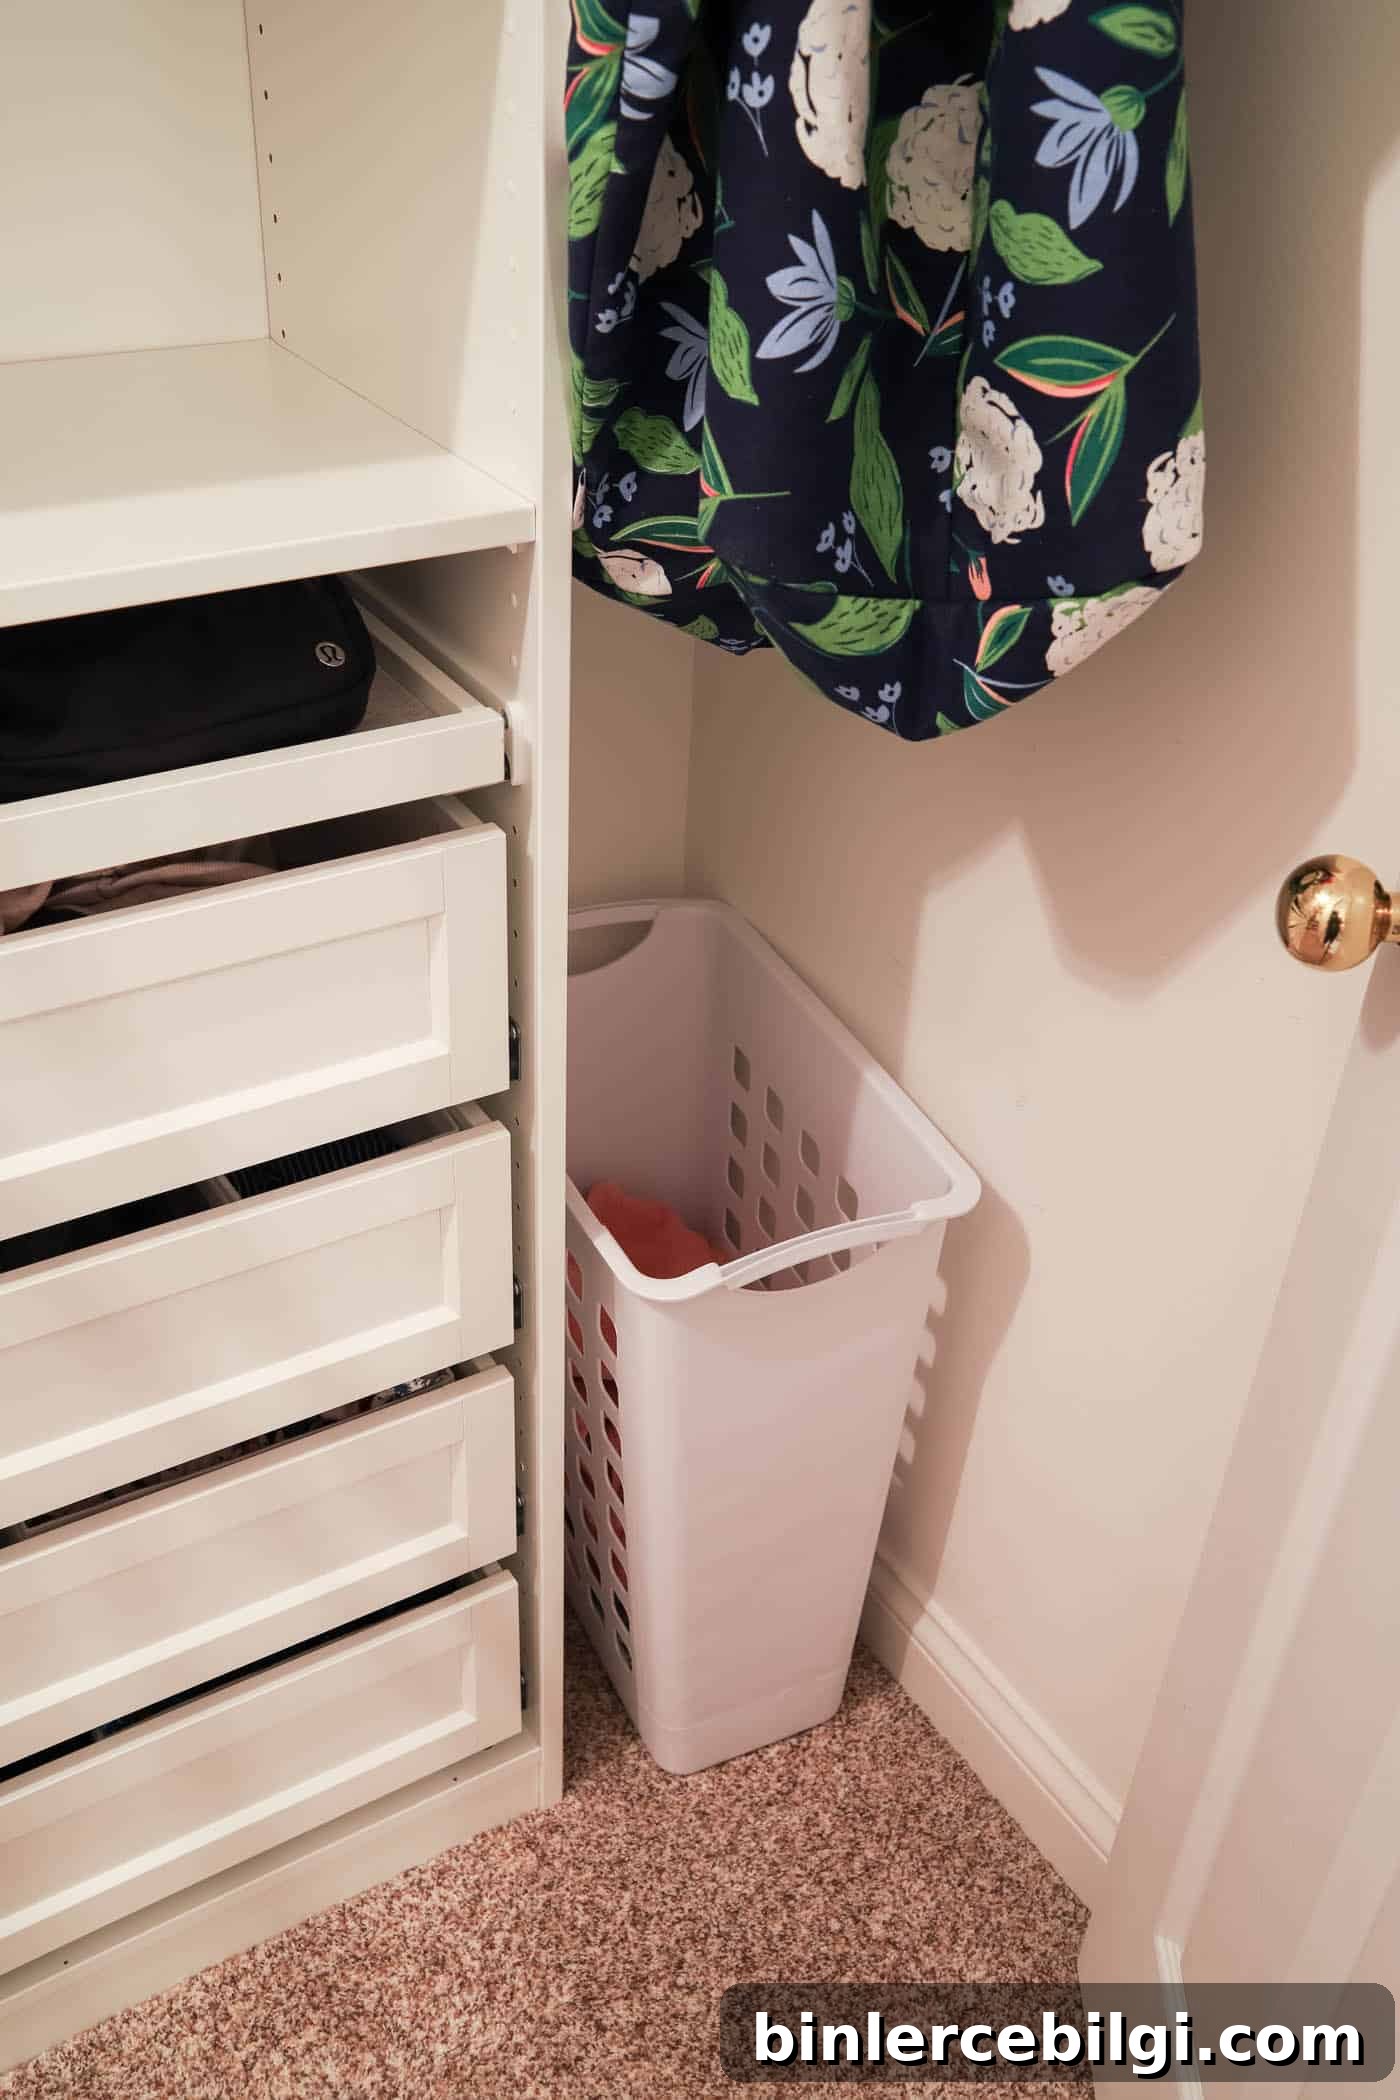
Slim Clothes Hamper
A slim, sturdy hamper fits the remaining floor gap perfectly. The small size is easy for kids to carry, takes up minimal floor space and holds enough laundry for our twice-weekly wash routine—ideal for children’s closets and tight spaces.
More Interior Accessories I Didn’t Use
Depending on your needs, PAX offers many additional accessories, such as pull-out shoe shelves, multi-use hangers for bags, glass shelves and pull-out mirrors. We didn’t need shoe storage upstairs, but these are great options for other projects.
- Pull-out shoe shelf
- Pull-out multi-use hanger for bags
- Glass shelf
- Shoe shelf
- Pull-out mirror
IKEA PAX Closet Delivery
Because our nearest IKEA is three hours away, I had the entire order delivered. Using the PAX planner made it easy to add every required component to my cart. Although I was cautious about shipping (past orders had arrived damaged), this delivery was clean and the crew carried the boxes upstairs to the installation area—saving a lot of effort.
For a modest shipping fee, delivery saved a six-hour round trip plus heavy lifting. For many DIY installations, delivery is worth the convenience and time saved.
Final Thoughts
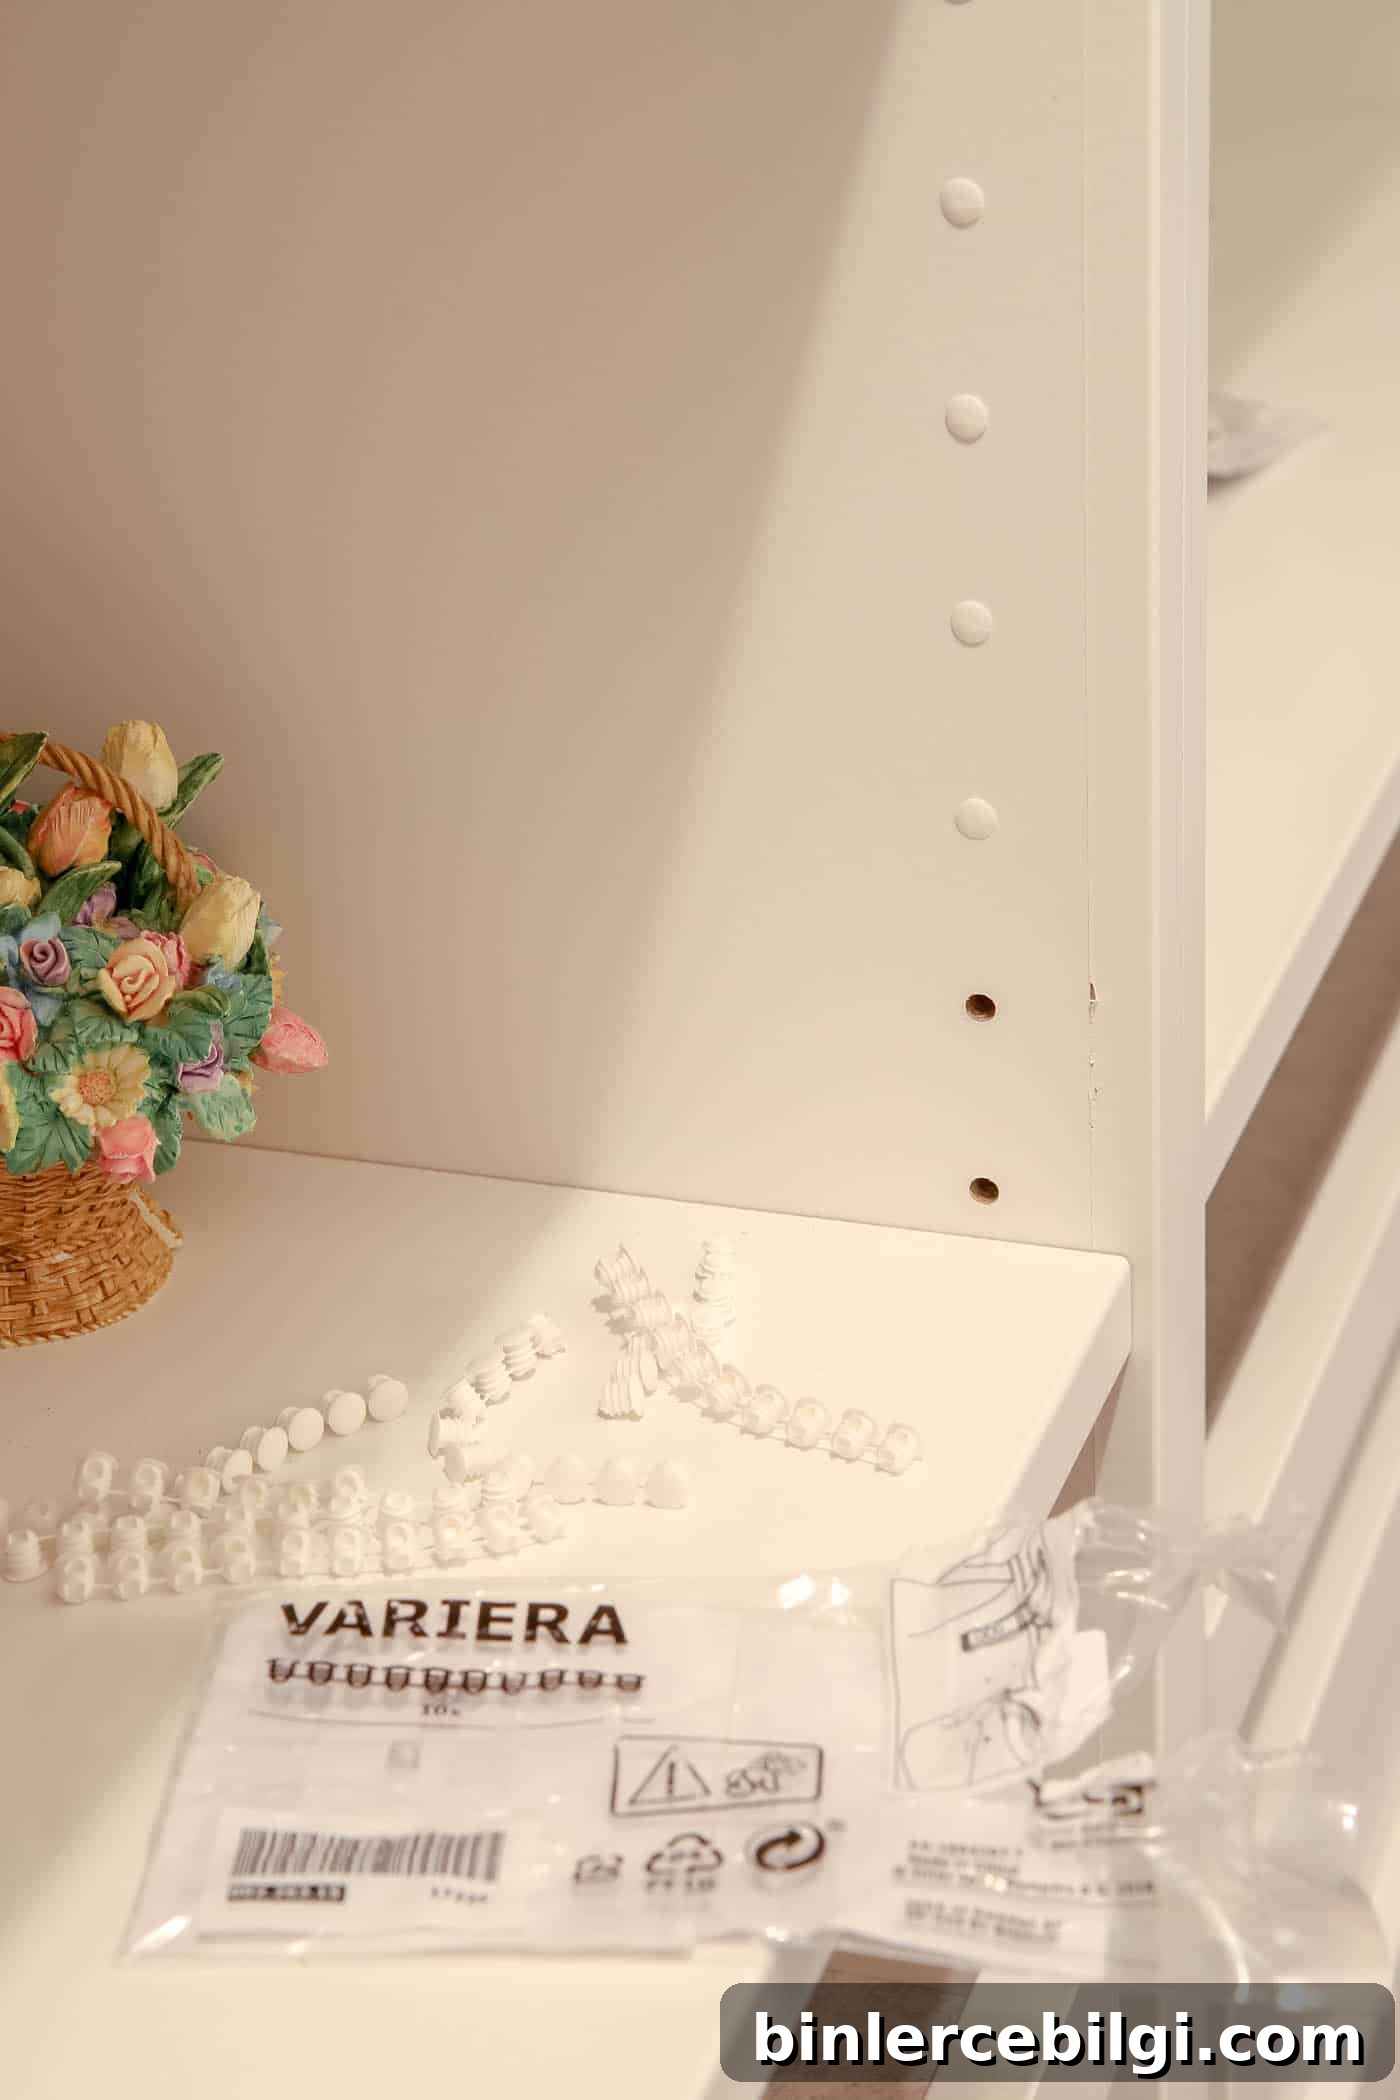
After assembly and organizing the clothes, I finished the look by covering the unused peg holes with VARIERA covers. Small finishing touches like hole covers, caulked seams or optional trim can create a more built-in appearance if you prefer a polished look.
This complete closet build, including frames, accessories and delivery, cost roughly $1,500. The result is a dramatically more functional space that eliminated the need for a separate dresser and provides room to grow as our daughter’s storage needs change. I would install this system again without hesitation.
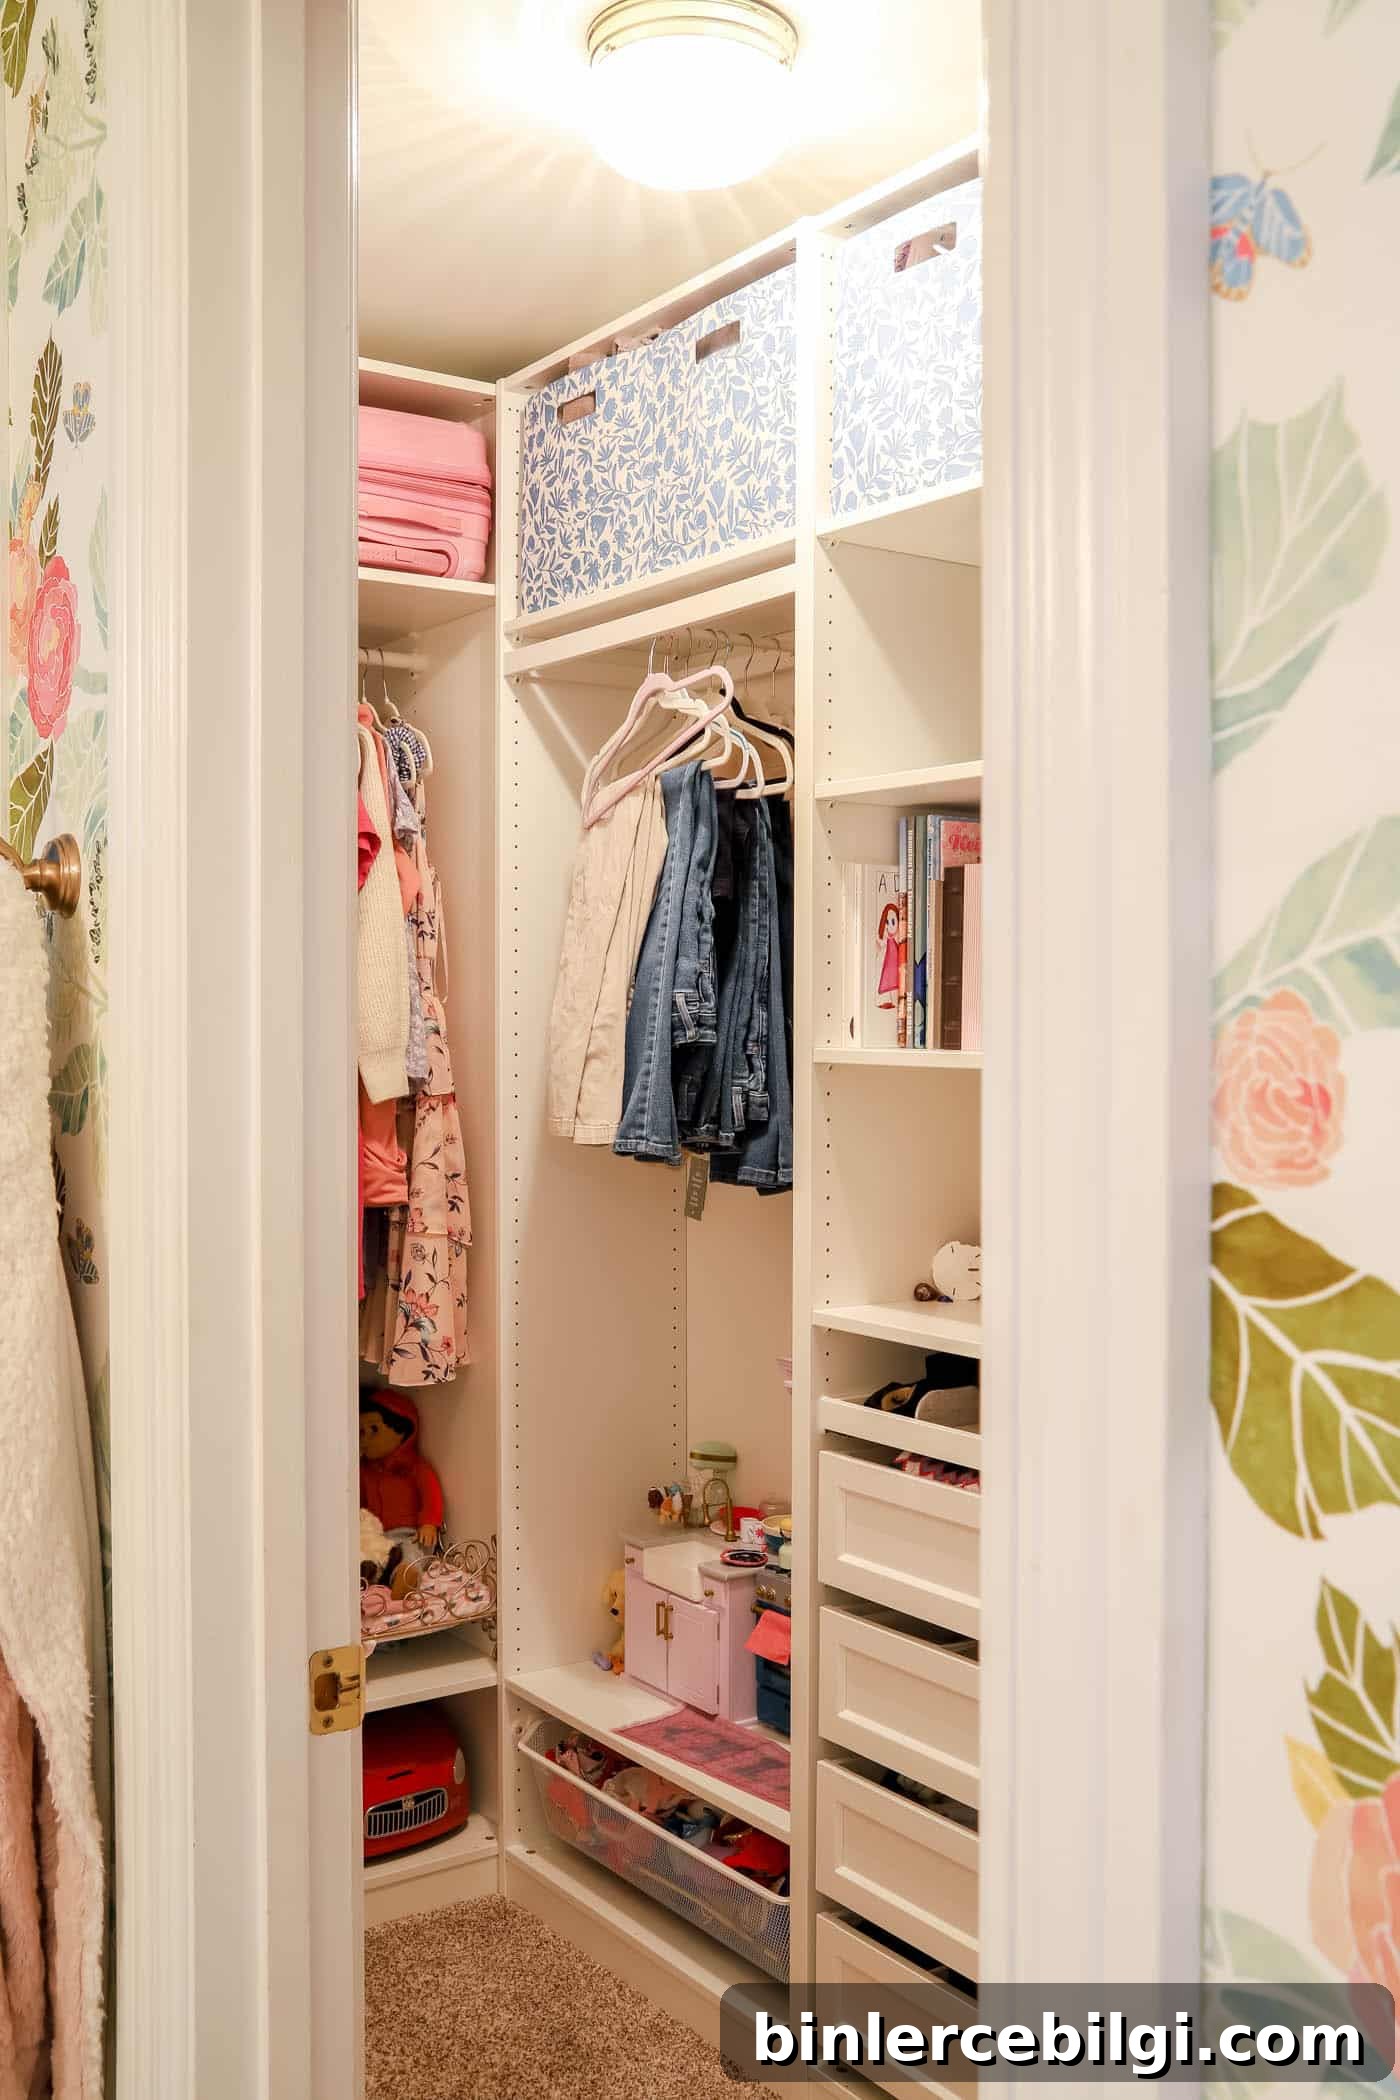
If you’re considering a closet upgrade, the PAX system is a flexible, affordable DIY option that can transform wasted closet space into efficient, attractive storage.
Related posts you may enjoy:
- How to Declutter Your Home in 5 Simple Steps
- How to Organize a Pantry
- The Best Garage Storage Ideas
- The 10 Easiest Family Command Centers to Get Organized
- DIY Closet Shelves {beginner tutorial}