
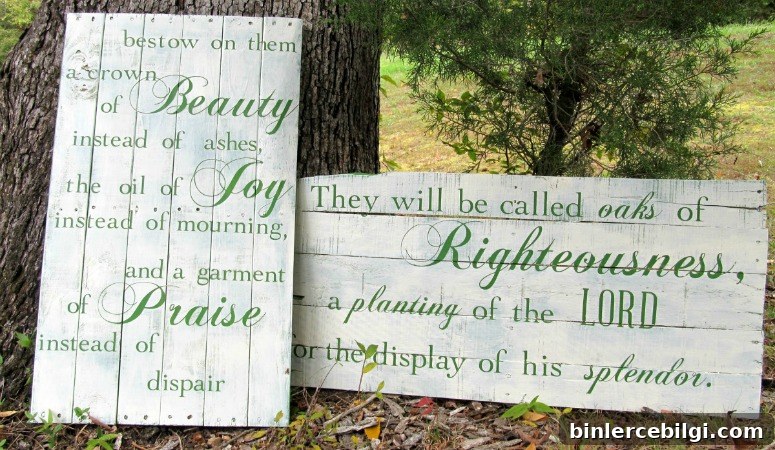
These DIY pallet signs make thoughtful, long-lasting gifts — and they’re lovely to keep in your own home as handcrafted décor.
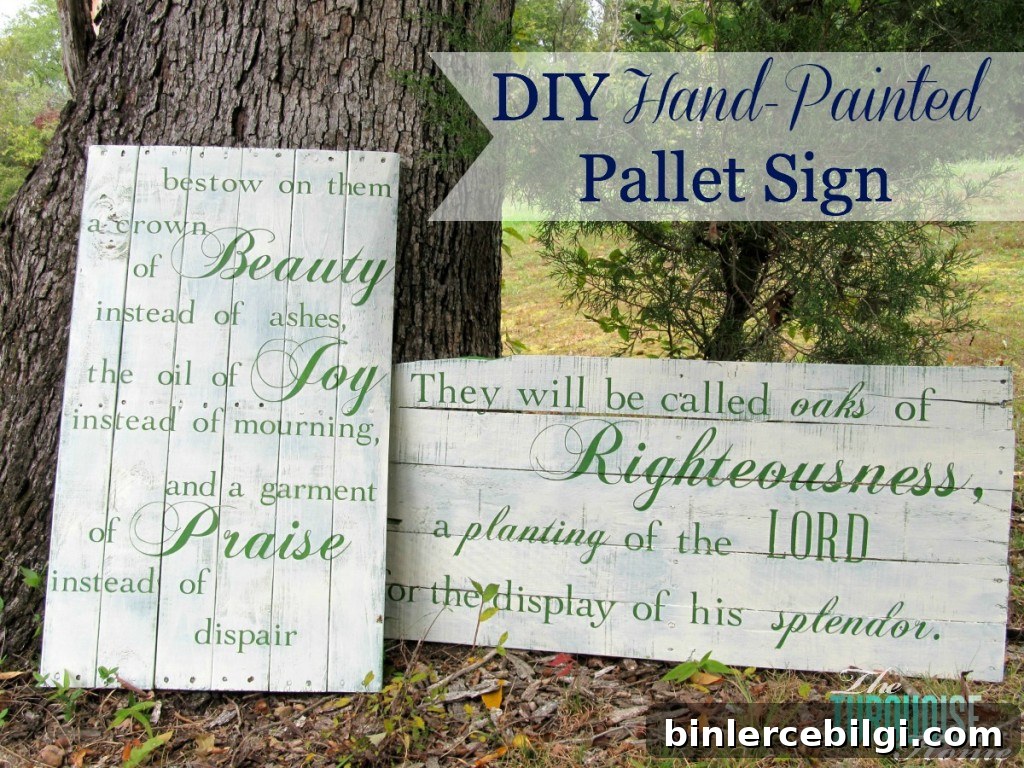
I promised to share the signs I made for my friends’ wedding last weekend, and here they are. My friend Lara asked if I would create a few signs with meaningful Scriptures to display at the wedding and then hang in their home afterward. I loved the idea — being able to reuse an event item as lasting home décor — and a handmade gift felt perfect for the occasion.
Materials needed to make DIY pallet signs
- Wood planks salvaged from a pallet or purchased at a hardware store
- Kreg Jig (or other pocket-hole jig) for joining boards
- Contact paper or shelf liner for adhesive stencils
- Silhouette Cameo, cutting machine, or hand-cut stencils
- Painter’s tape or transfer paper
- Mod Podge or clear sealer
- Foam brush
- Paint in at least two colors (one for the text, one for the background)
- Orbital sander or sanding block
- Basic tools: saw, drill, screws, hammer as needed
How to make a DIY pallet sign
1. Remove the pallet boards
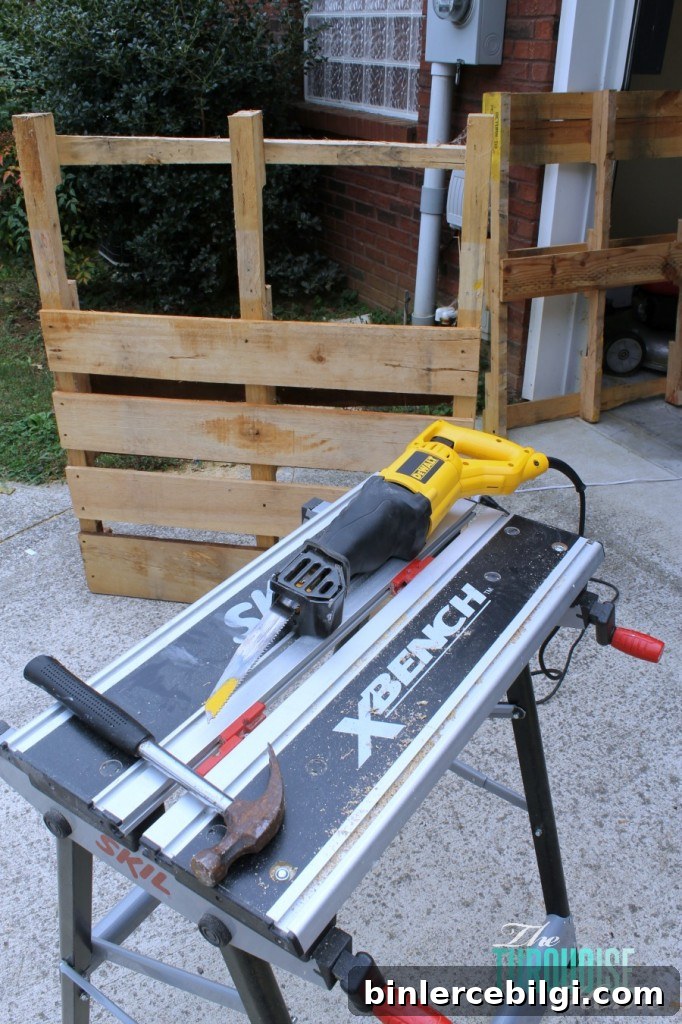
Start by dismantling the pallet and removing the boards. A reciprocating saw with a demolition blade makes this quick and easy; a fresh blade cuts through the joints and nails smoothly. If you prefer, you can loosen boards with a hammer first and then cut through the remaining connections with the saw.
2. Arrange the boards
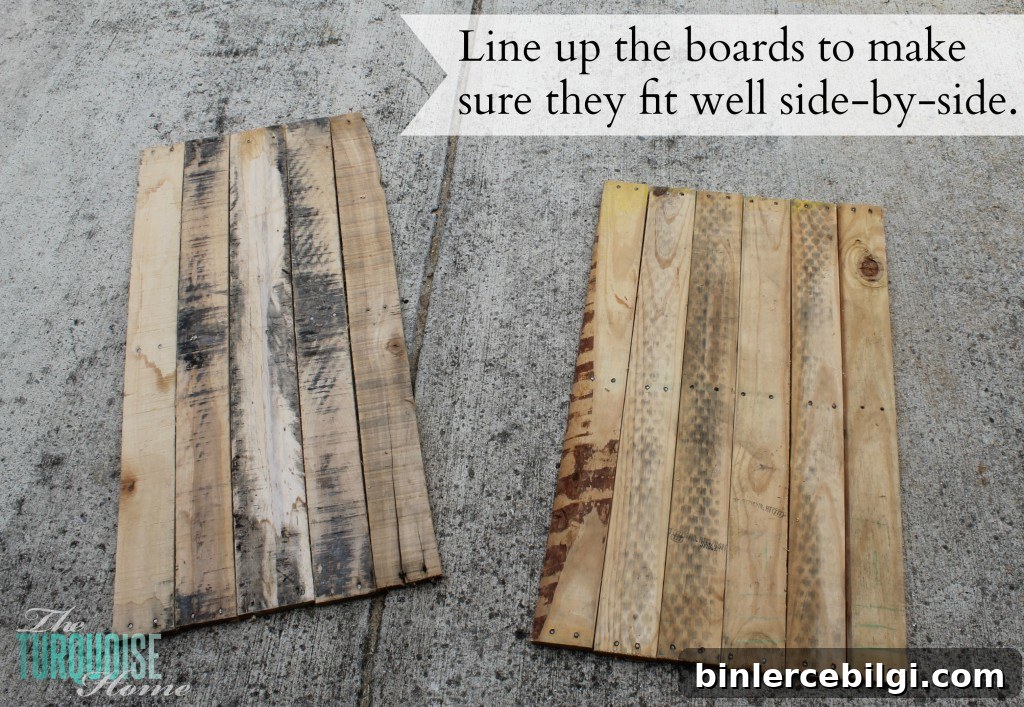
Lay the boards side by side to test their fit and appearance. Move them around until you’re pleased with the grain, color, and spacing. Small differences in width or texture can influence the final look, so take a moment to arrange them thoughtfully.
3. Attach the boards together
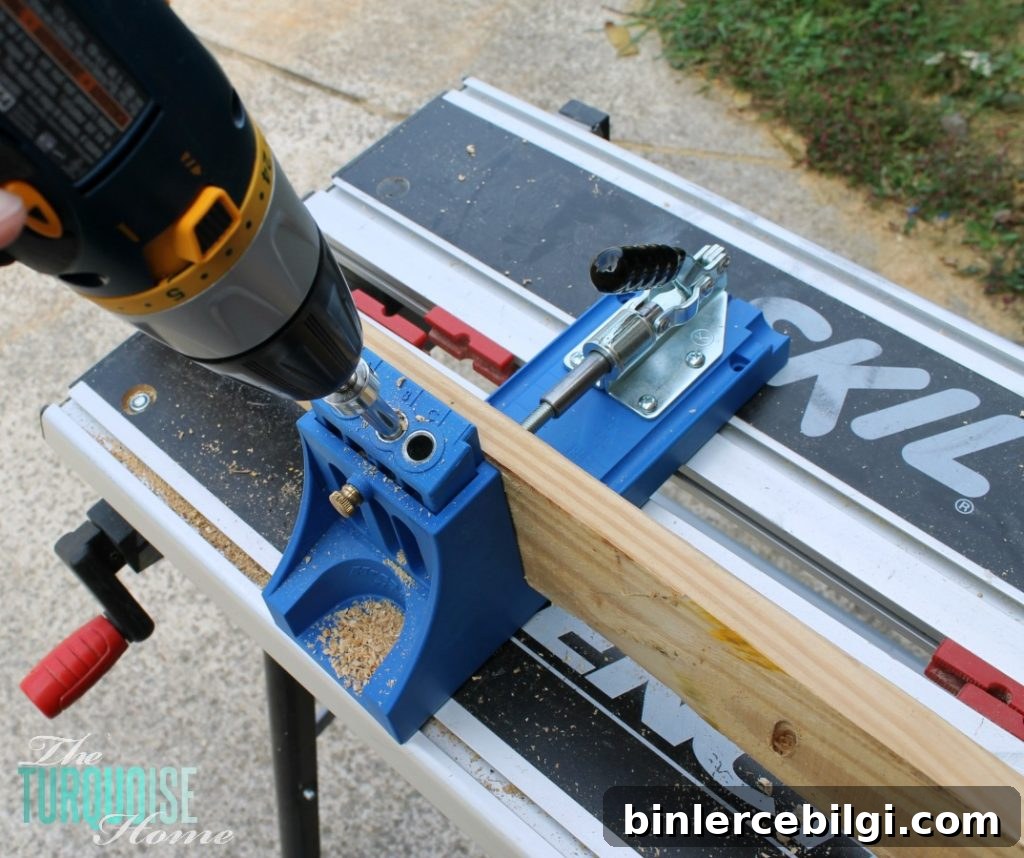
I used a pocket-hole jig to join the planks neatly. A Kreg Jig or similar tool makes it simple to attach boards edge-to-edge and creates strong, invisible joints. If you don’t have a pocket-hole jig, you can screw support battens across the back to hold the boards together — that method works well and is easy to do with scrap wood.
4. Add reinforcement
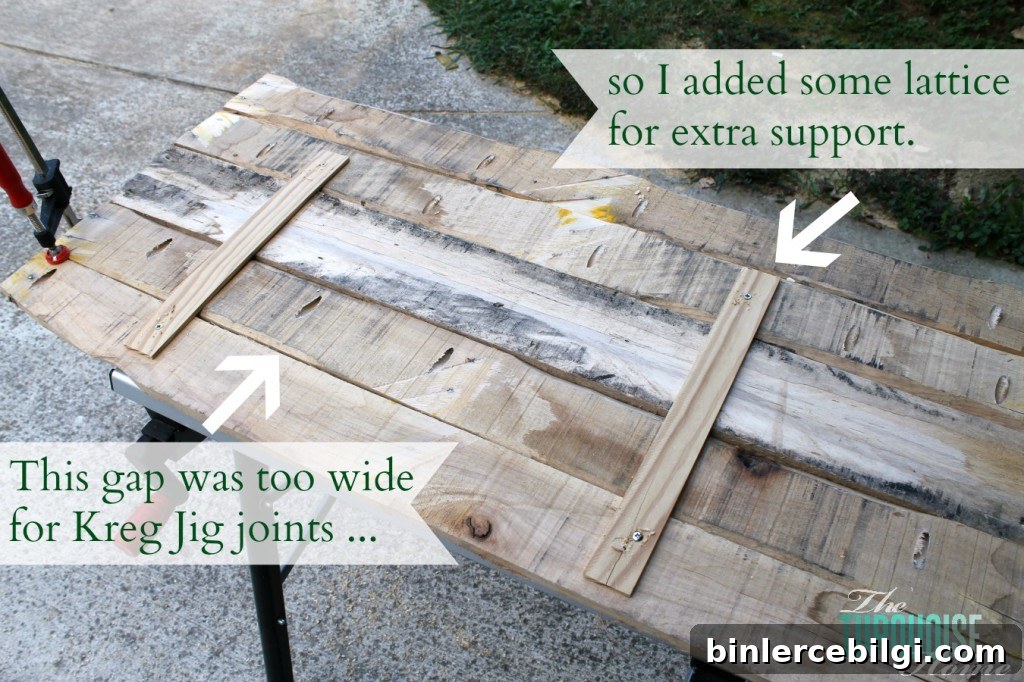
If your sign needs extra stability, attach a couple of support boards across the back running the width of the sign and screw them into each front plank. This reinforcement keeps the sign flat and prevents the boards from separating over time.
5. Sand the surface and edges
Smooth any rough spots with an orbital sander or sanding block. Sanding removes splinters and smooths the surface so paint adheres evenly. Wipe away dust with a damp cloth before painting.
6. Paint the base color for the text
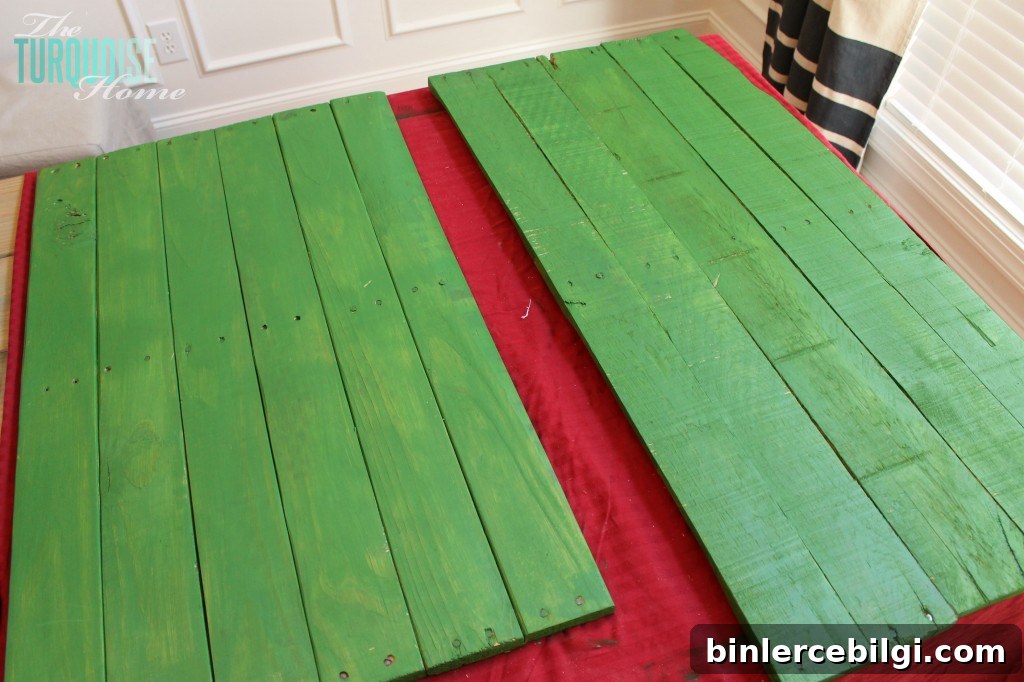
Paint the letters’ color first so it will show through when you remove your stencil. For these signs I used a bright green chosen by the bride and had a small sample pot mixed at my paint store. Allow this coat to dry completely before applying stencils.
7. Create vinyl or adhesive stencils
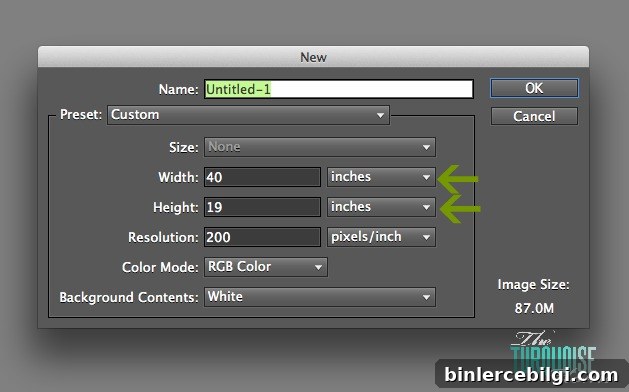
Design your lettering to scale using a graphics program, matching the dimensions of your boards so the words will fit precisely. I used two complementary fonts with different styles to create contrast. A cutting machine like a Silhouette Cameo speeds this process and cuts lettering from contact paper or shelf liner to make adhesive stencils.
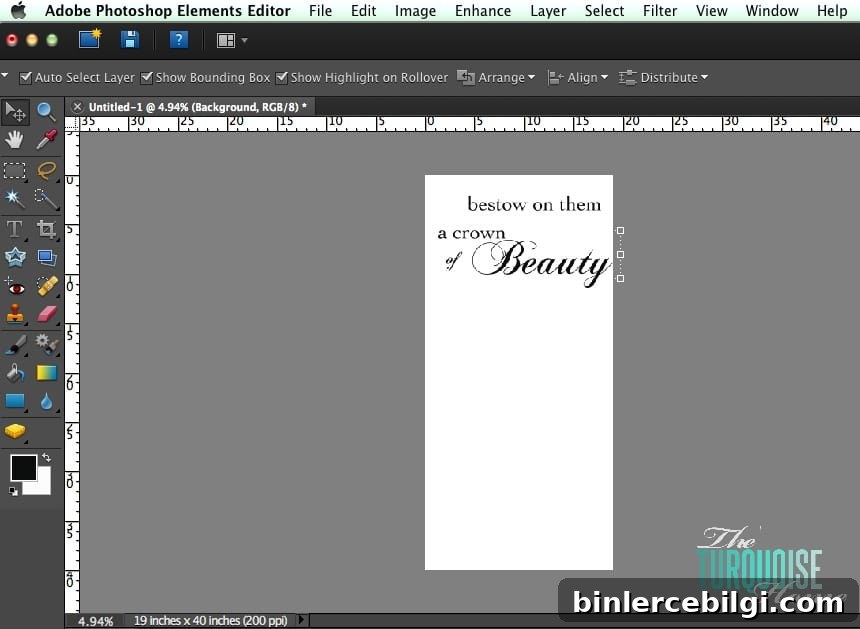
8. Apply the adhesive lettering to the board
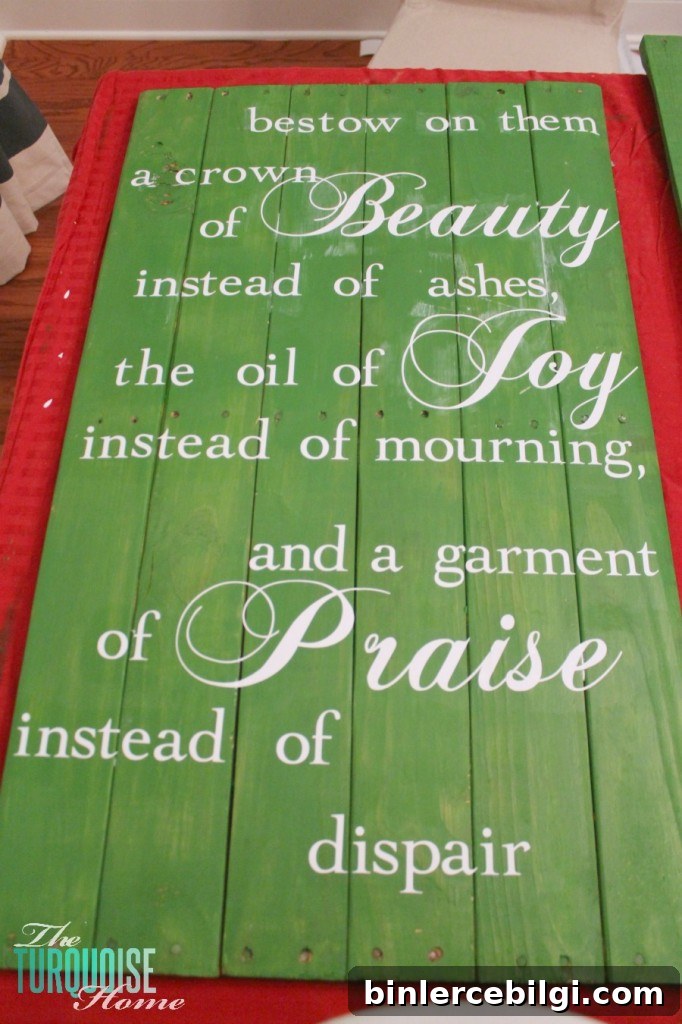
Carefully transfer each letter or word to the board. Using transfer paper makes this step faster and keeps spacing consistent, but you can also apply letters by hand. Painter’s tape helps keep lines straight while you work. Script fonts with delicate connections take longer, but produce a lovely finished effect.
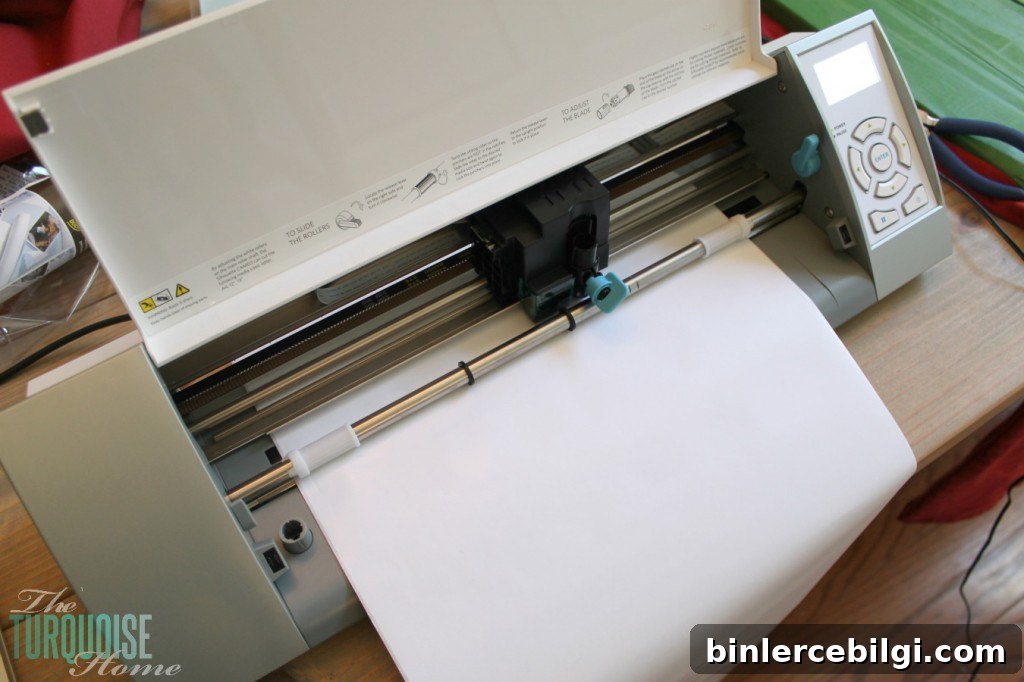
9. Seal around the letters with Mod Podge
Brush a thin layer of Mod Podge or clear sealer around the edges of each letter to block paint bleed. This trick creates a clear barrier so any bleed will be less noticeable than if it were the background color. Let the sealer dry before moving on to the next step.
10. Paint the background color
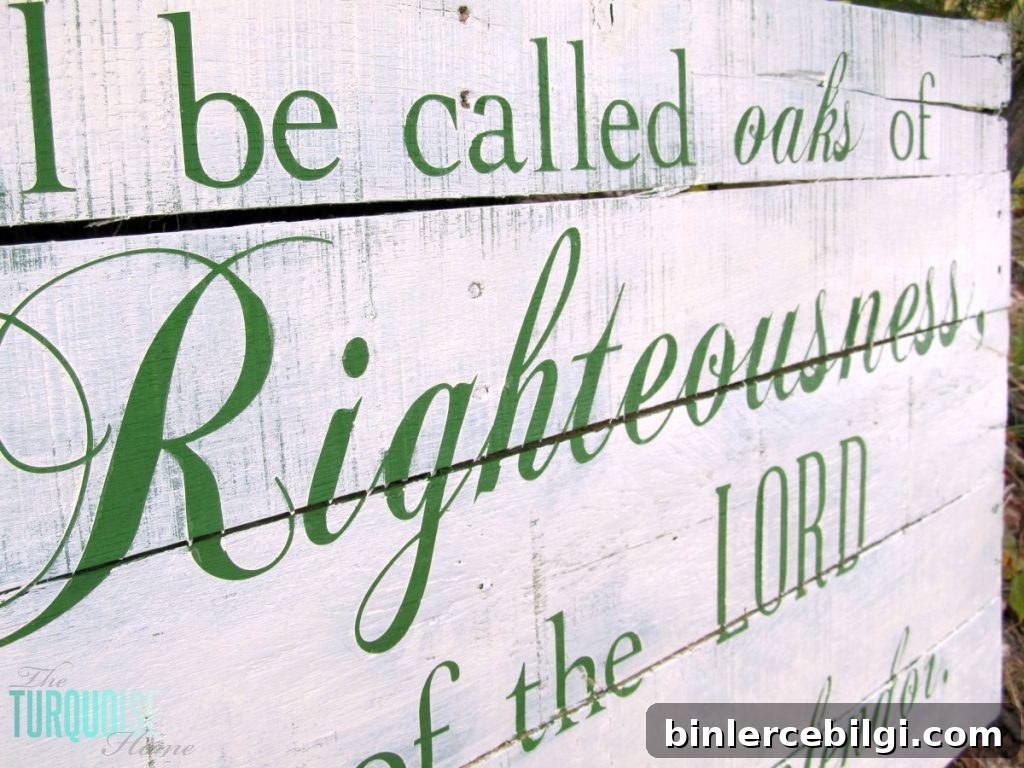
Apply the background paint over the entire sign. I used an off-white and dry-brushed it so the green base showed through in places for a weathered, layered look. A light, uneven coat adds depth and charm while letting the lettering color remain dominant.
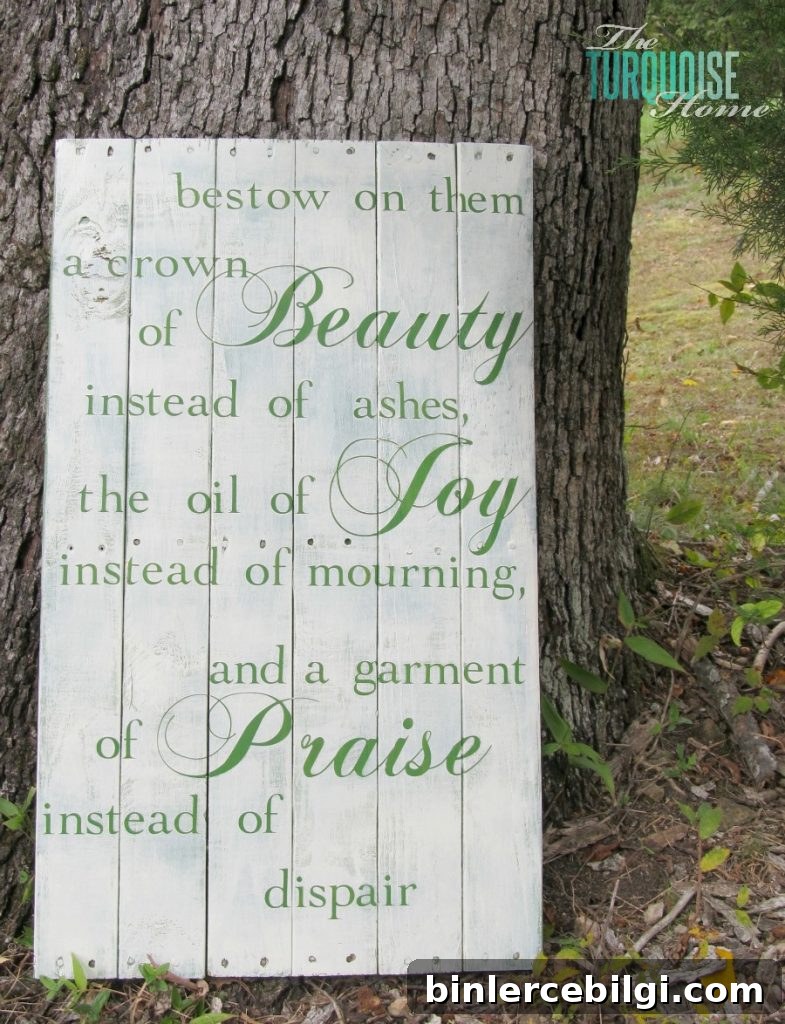
11. Remove the vinyl lettering
Once the top coat is mostly dry, peel off the contact paper to reveal the original color beneath. If you wait until the paint is fully cured you’ll ensure cleaner edges, but removing it when tacky can work if you’re careful. Expect a little bleed where letters cross board seams — this can add rustic character, but avoid overlapping letters across board joints if you want perfectly crisp lines.
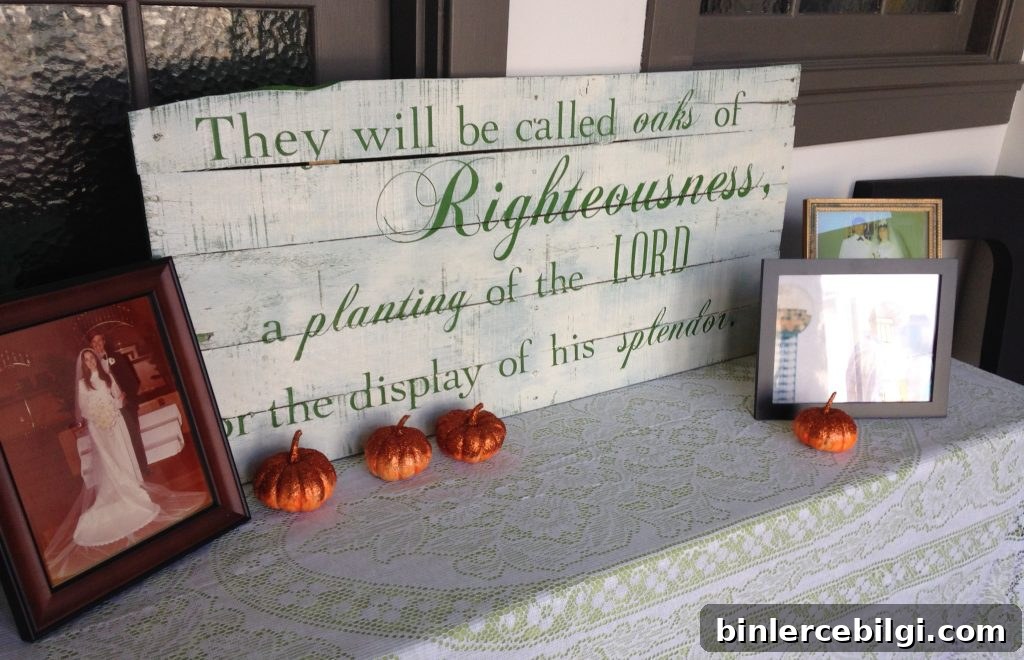
I loved how the thin script details came out. These signs became sentimental pieces that worked beautifully at the wedding and now hang in the couple’s home as a lasting gift.
At the wedding the signs were displayed on the guest table and added a warm, personal touch to the entrance. I didn’t get many photos there, but one bridesmaid grabbed a quick shot so I could see them in place.
If you enjoy handmade décor, this project is rewarding and highly customizable. Change fonts, colors, and finishes to match your style or the intended recipient’s home. These pallet signs are a great mix of rustic charm and personal sentiment.
More posts you may enjoy:
- How to Make a Large Wooden Sign
- Large DIY Wall Decor Ideas
- A Guide to Wall Trim and Wall Molding Ideas