
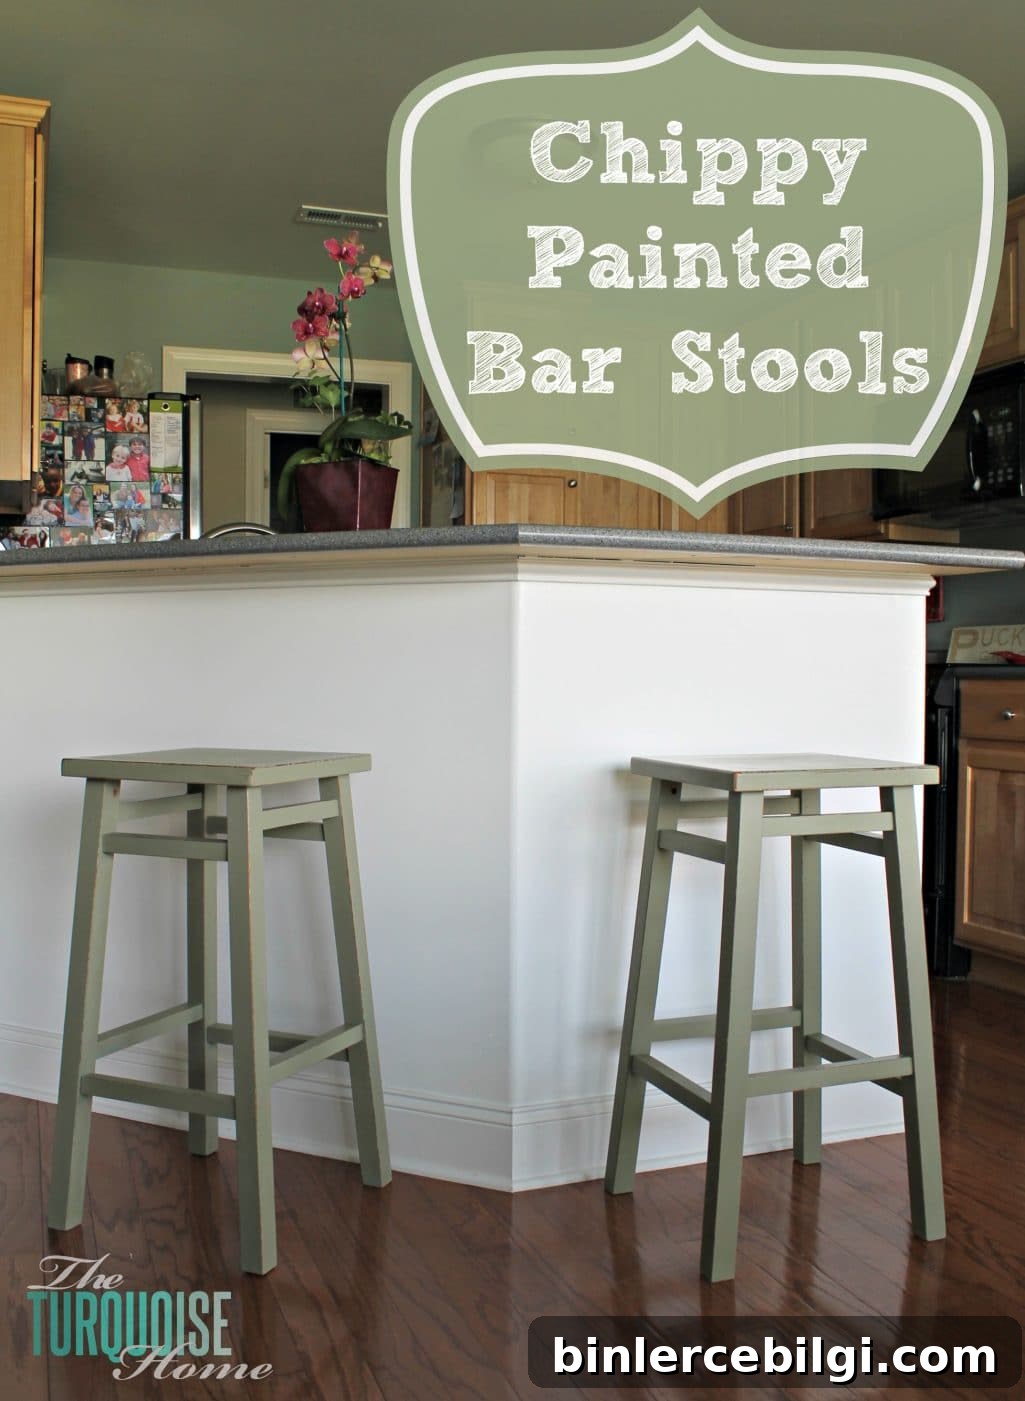
A couple of weeks ago I mentioned on Facebook that I had finally bought Annie Sloan Chalk Paint for the very first time. Yes—after years of admiring it, I was an ASCP beginner at last.
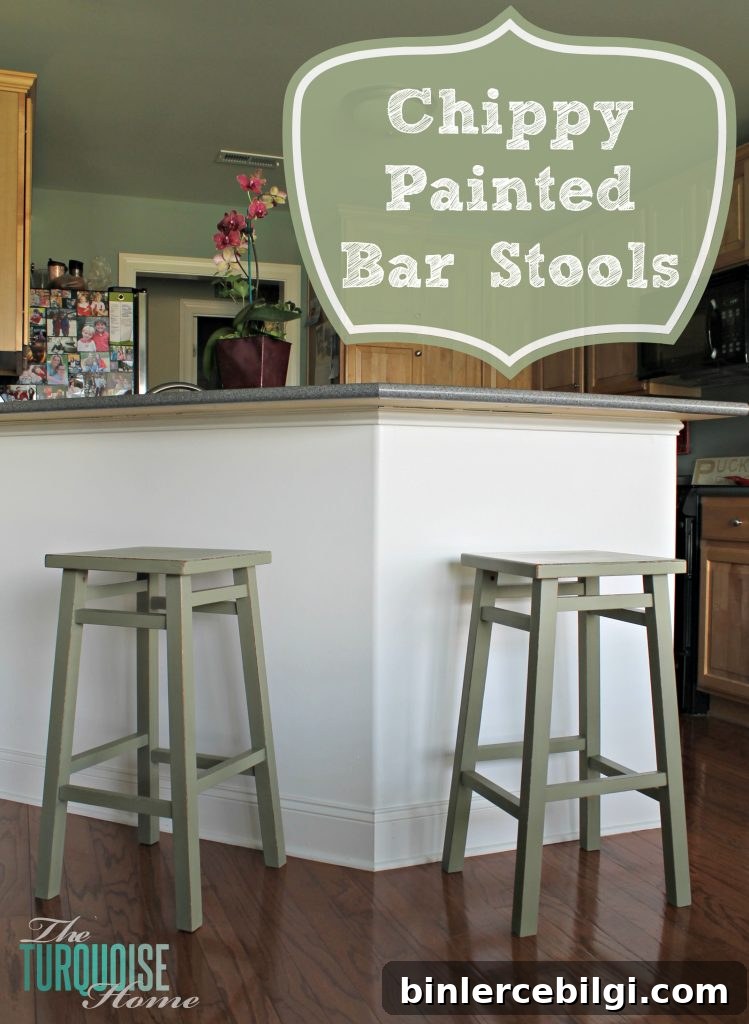
My original plan was to use the chalk paint on a worn dresser I rescued from Craigslist, but I quickly realized it would be perfect for the bar stools at our kitchen counter. The stools had been the same color as the floor, and I wanted to break up that uniform look. I wasn’t sure exactly what to do with them, but I knew they needed a refresh.
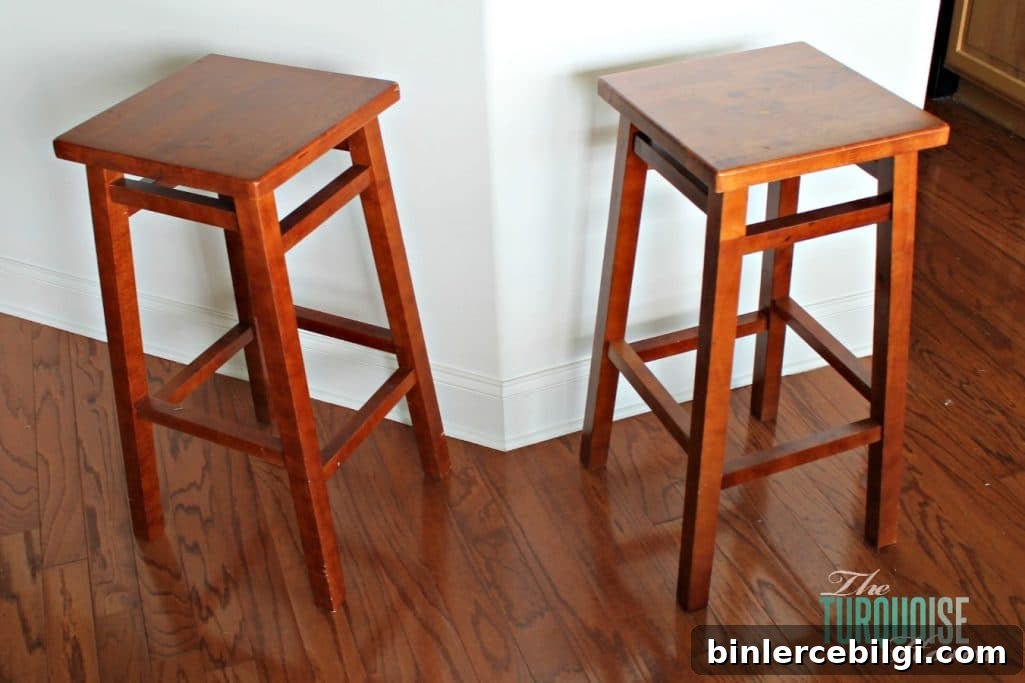
If you’re wondering why I ended up with stools that matched the floor, I didn’t buy them—my friend gave them to me. I’d been hunting for simple, inexpensive used bar stools to use in the kitchen, and when a friend was clearing out items during our Project Simplify, these came home with me. Free furniture is always a win.
I’d prefer to have three matching stools, so I’m still keeping an eye out for one more. Luckily, once I find it I’ll be able to paint it to match the others so they’ll look cohesive at the counter.
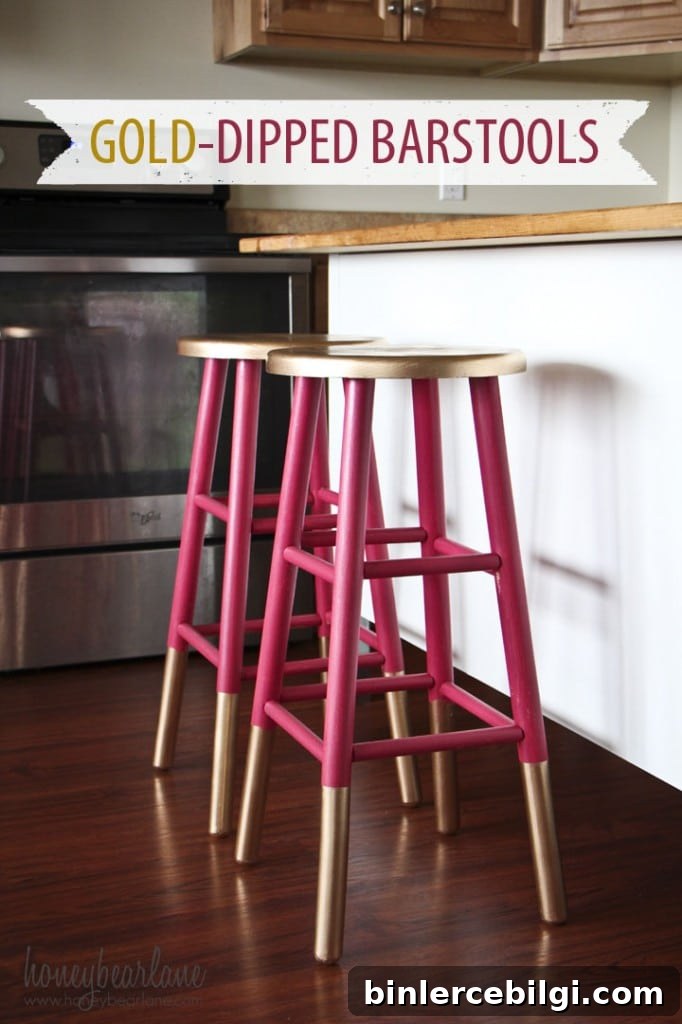
There are so many creative bar stool makeover ideas on Pinterest. I’ve pinned several to my kitchen board, and a few of my favorites were inspiring for this project. One idea I loved was gold-dipped legs for a modern twist, and another was a vintage industrial look with metal and distressed wood. Those styles gave me some direction when choosing how bold to go with color and finish.

The stools turned out to be an ideal beginner project for testing my chalk painting technique. I learned several practical lessons on application and finishing that I’m glad to have discovered before tackling the dresser.
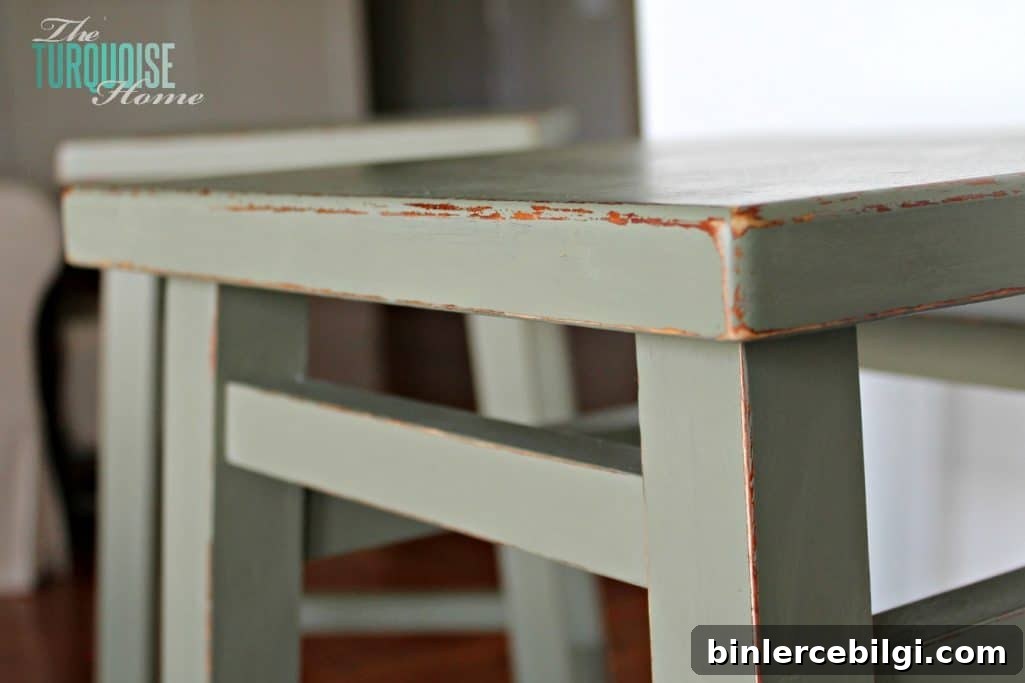
I applied two fairly thick coats of Annie Sloan Chalk Paint. The first coat didn’t seem to cover completely, and the second coat ended up a bit heavy in places. I’d also read that waxing first and then distressing produces less chalky dust, so I tried waxing before distressing. That sequence required more sanding than I expected—I worked through the wax and paint layers and ended up limiting the amount of distressing I could achieve. After distressing, I went back and applied another coat of wax and then buffed the pieces to a smooth finish.
All that painting, waxing, sanding, and buffing felt like a lot of effort, but it’s worth noting an important point about chalk paint: although it is often promoted as requiring little to no prep—no primer needed—you still typically need to finish with wax. That means it’s not a single-step process. On the bright side, I much prefer waxing to priming; waxing feels more creative and satisfying, whereas priming feels like a chore.
Overall, I’m very pleased with the results. The stools no longer blend into the floor, and the color brings the counter area to life. I plan to tweak a few things when I work on the dresser, but the stools gave me the confidence to proceed.
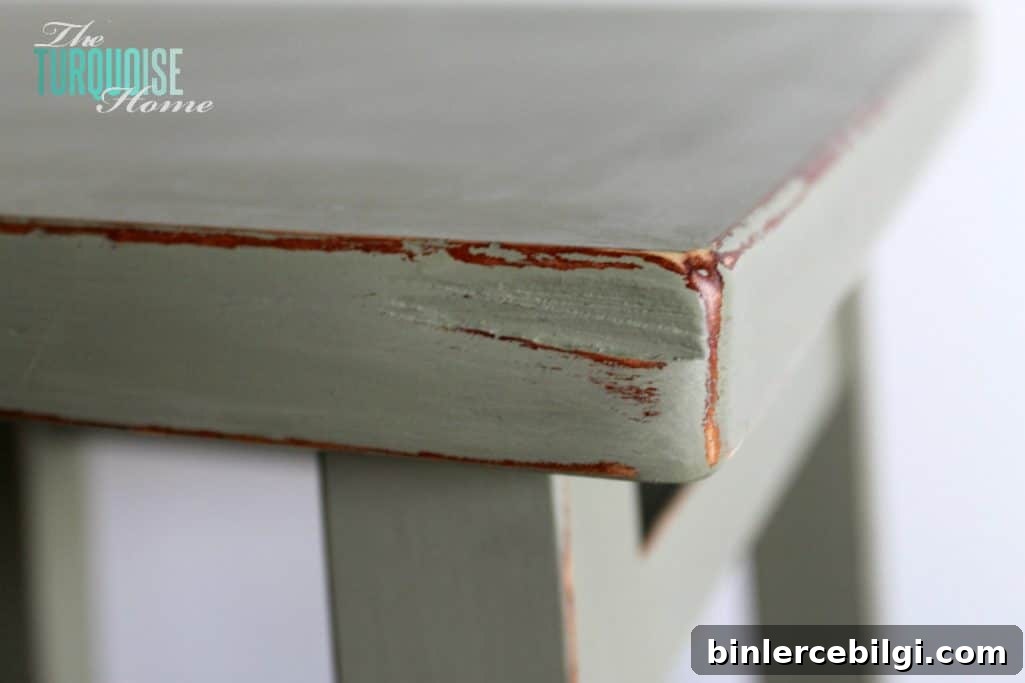
The paint color I used is Annie Sloan’s Chateau Gray. On my stools it reads like a muted olive green, exactly the tone I wanted to complement the kitchen. I’ll explain more about why I picked this shade when I share the dresser update.
Have you tried chalk paint on furniture? What tips or techniques would you recommend—especially for distressing and waxing? And what are your favorite Annie Sloan chalk paint colors? I’d love to hear your experiences and suggestions as I continue experimenting with chalk paint furniture makeovers.