
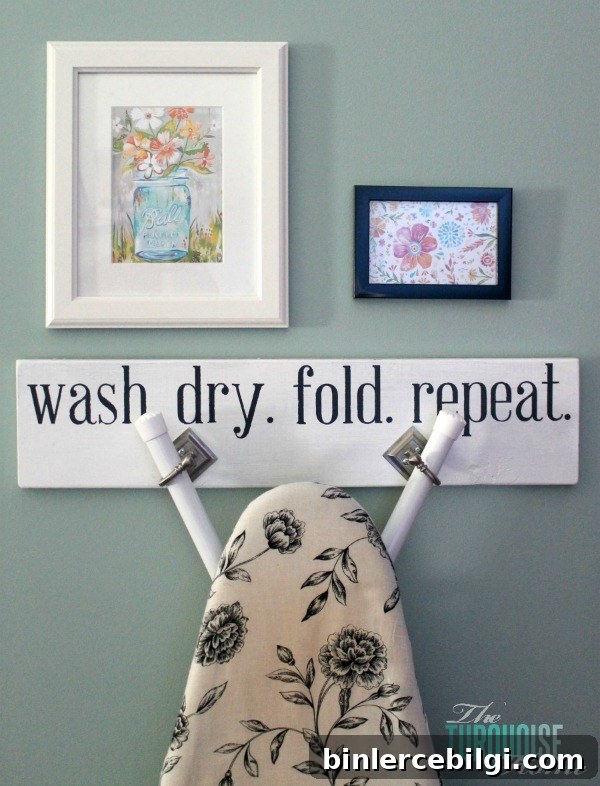
I’m sharing how to use a French cleat picture hanger when I finally hung my ironing board hanger in the wall!
You might recall the DIY ironing board hanger I built last year. It wasn’t used immediately — it lived in corners, became a plaything for Miss A, and generally waited for a proper mounting. After several failed attempts with temporary hanging methods, I finally found the right solution and hung it where it belongs.
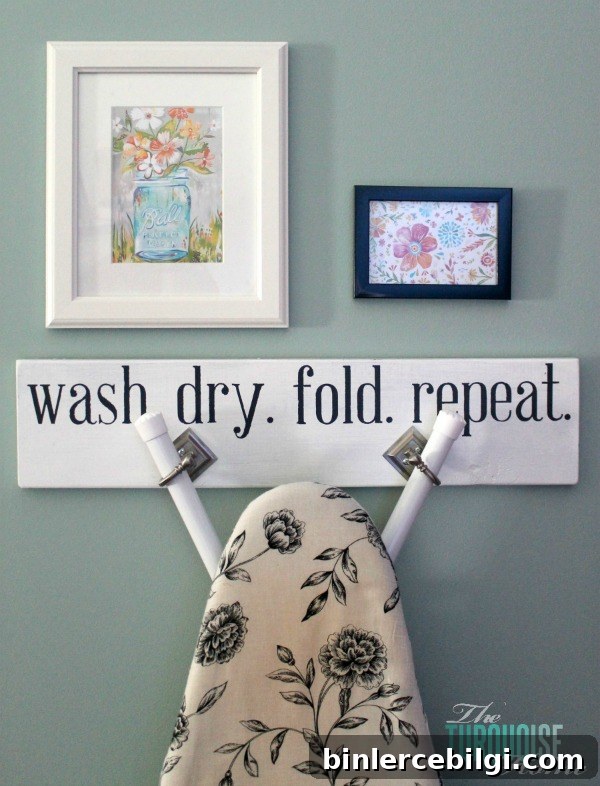
At first I tried strong adhesive strips to display the board on the dining room wall for a quick photo. Bloggers often stage things in brighter spaces for better lighting and backgrounds — I’m guilty of that too. After taking some Pinterest-ready pictures, I moved the hanger to the laundry room and used the same adhesive strips. That didn’t go well: one night the whole unit slid off the wall. Thankfully no one was hurt, but it was a reminder that adhesive fasteners aren’t appropriate for heavier or awkwardly shaped items.
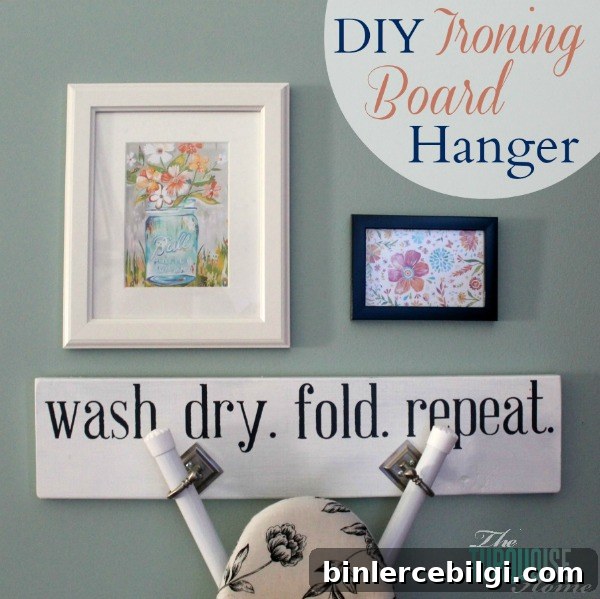
I then tried D-ring hooks attached to the back, but that caused the hanger to pull away from the wall when the ironing board was placed on it. The hanger needed a more secure, stable mounting system that distributed weight across a wide area and engaged the studs behind the drywall.
While browsing the hardware aisle, I discovered French cleat picture hanging devices. They were exactly what I’d been missing: a simple, robust solution designed to hold heavy or bulky items flush to the wall.
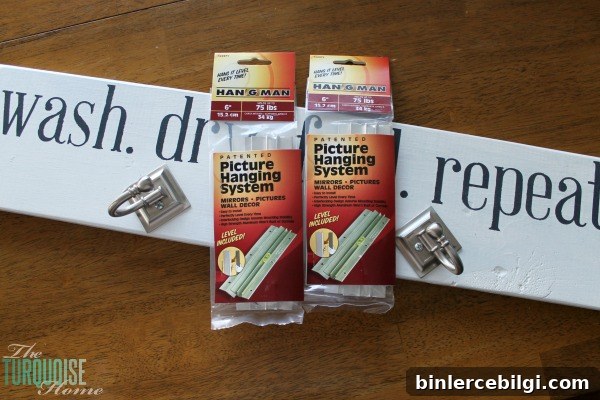
French cleats work by pairing two interlocking angled strips. One cleat secures to the wall — wide enough to span studs — and the matching piece attaches to the back of the item to be hung. Slide the two pieces together and the angled faces lock, creating a very secure and level mount.
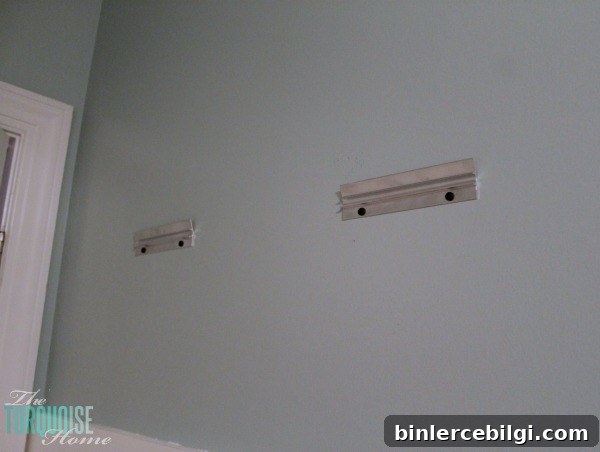
Here’s the straightforward process I used:
- Locate and mark studs with a stud finder so the wall cleat can be anchored solidly.
- Measure and level the wall cleat placement carefully — this determines how high the board will hang.
- Pre-drill pilot holes and screw the wall cleat into the studs using appropriate screws. Make sure the cleat is level and fully seated against the wall.
- Attach the matching cleat to the back of the ironing board hanger. Use screws long enough to penetrate the hanger’s frame securely, and add washers if needed for extra hold.
- Lift and slide the hanger cleat onto the wall cleat. Check that the unit is level and test the fit by placing the ironing board into its holder.
Because the cleat spans a wider area, it distributes the load across one or two studs and keeps the hanger flush to the wall. Once mounted, the ironing board sits neatly and stays put — no more leaning in the bedroom corner or collecting clutter.
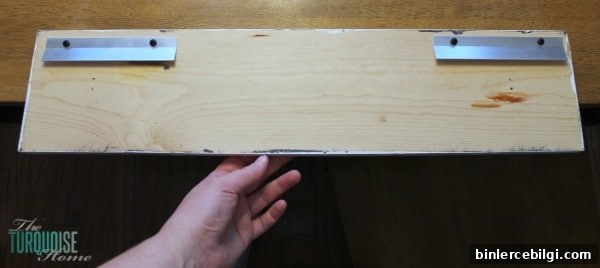
A few practical tips if you try this yourself: always find studs when possible, use a good level, pre-drill to prevent splitting, and choose screws suitable for your wall type. If you’re mounting on plaster or masonry, use the correct anchors. After hanging, gently test the assembly before leaving a heavy load on it.
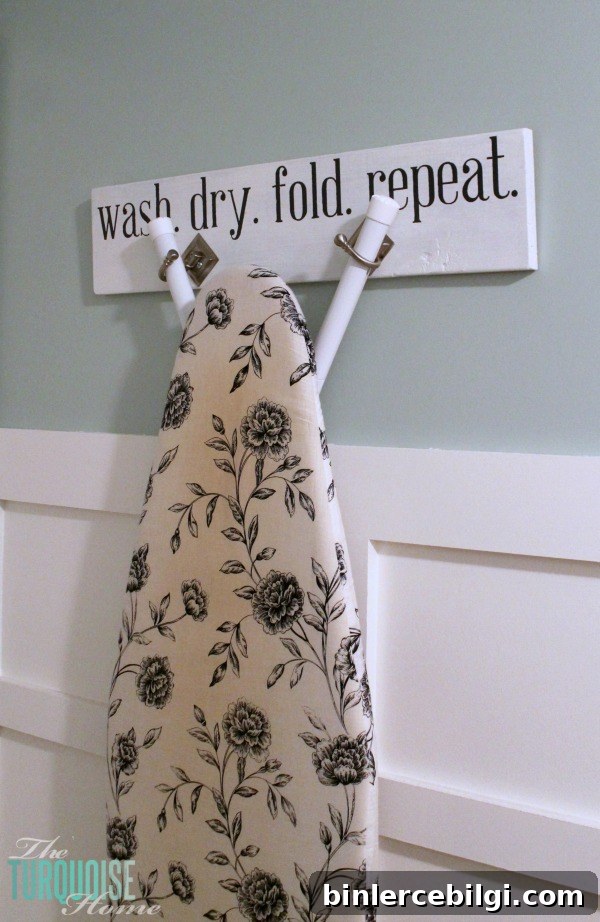
Now the ironing board is off the floor and neatly stored in the laundry room, and the space looks more organized. It’s also one more step toward finishing that long‑running laundry room project — the board and batten are in place, and this hanger finally gives the room a more finished look.
Have you used French cleats before for unusual storage needs? And while we’re at it, I’m looking for a cute new ironing board cover — any suggestions for patterns that are durable and easy to clean? This one is a little singed and could use an update.