
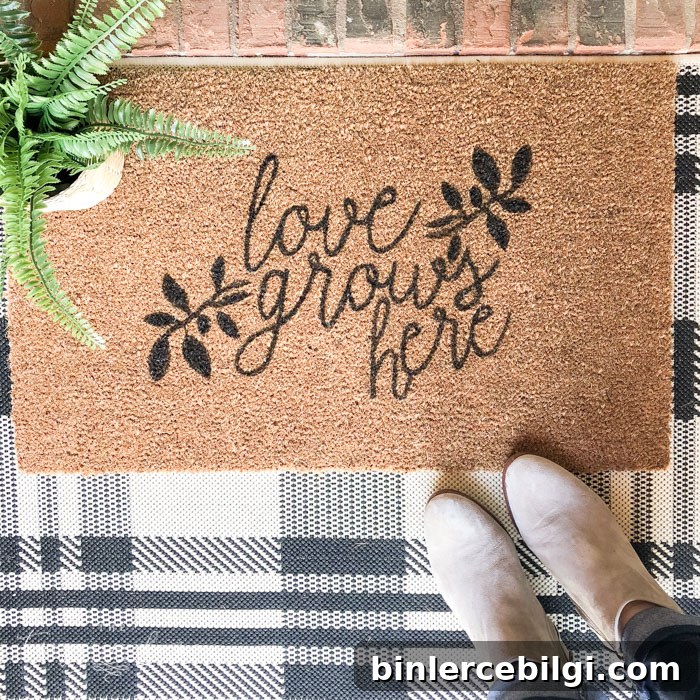
Learn how to make a charming DIY doormat with a sweet message for under $20. This simple project delivers a custom look for a fraction of the cost, and I’ve included a free “Love Grows Here” Silhouette .studio file for your convenience. Have fun creating!
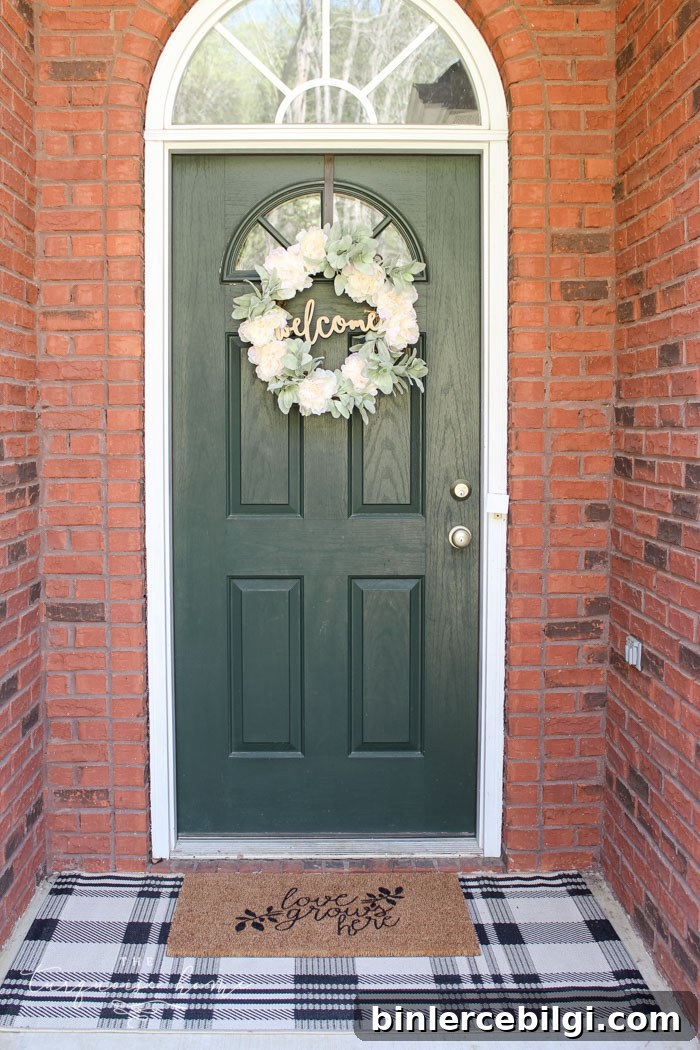
Doormats with playful sayings—like “welcome y’all,” “oh hello,” or “wipe your paws”—are everywhere, and it’s easy to see why. They add personality to your entryway and make a great first impression. But pre-made custom mats can be expensive. Making your own personalized coir doormat is simple, affordable, and gives you total control over the design and wording.
I learned a few lessons while making mine, so I’ll walk you through the process, share tips to avoid common mistakes, and suggest easier approaches where appropriate. Follow these steps and you’ll have a durable, attractive doormat to greet your guests.
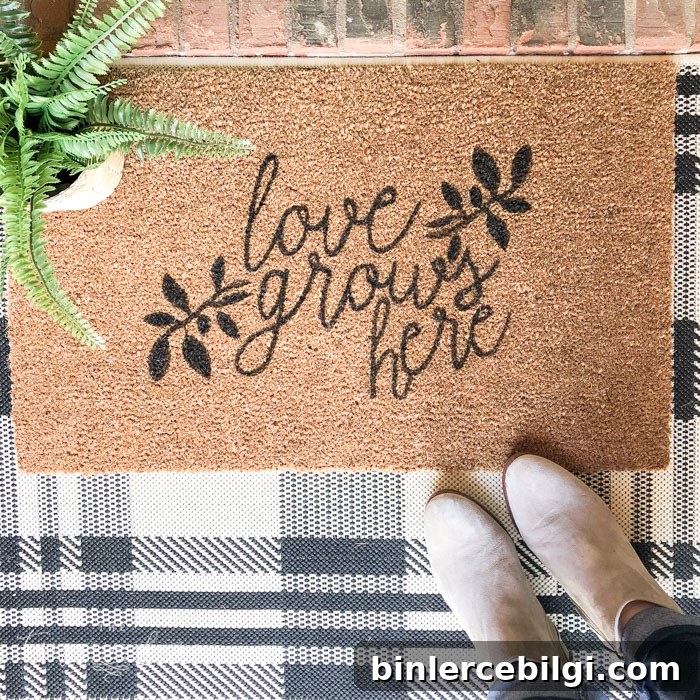
The black and cream plaid rug I paired with my doormat is one of my favorite purchases—durable and still looks great. I used a smaller runner size on my porch that fits nicely with the mat.
I’ll explain what I did and what I would change next time. Some techniques are easier and more reliable than others, so I’ll point those out as we go. Ready? Let’s dive in.
Supplies Needed for the DIY Doormat
Gather the following items before you begin. These are inexpensive and easy to find:
- Plain coir doormat (plain, natural coir surface works best).
- Stencil cutting machine such as a Silhouette Cameo (optional). If you don’t have one, see the tip below for a hand-cut alternative.
- Cardstock, thick paper, or reusable stencil material for your stencil. Thicker paper or stencil sheet helps hold the shape on coir.
- Black outdoor acrylic paint formulated for exterior use.
- Stencil brush with bristles (not a foam brush) for best coverage on coir fibers.
- Small art brush for touch-ups and filling in details.
- Exterior clear coat spray to seal and protect the painted design.
Instructions for Making a DIY Doormat
1. Make Your Stencil.
Choose your wording and layout first, keeping the size of your doormat and your cutter’s cutting area in mind. I recommend cutting your stencil from cardstock or a dedicated stencil sheet so it can be pinned or temporarily secured to the coir. Avoid thin adhesive vinyl for coir—the rough fibers make it hard for adhesive to stick and the stencil can shift.
If you use a cutting machine, prepare and cut your design, then pin the stencil in place with straight pins to keep it stable while painting. If you prefer, trace large printed letters onto cardstock and cut them by hand—this works well for simple layouts and avoids the need for a machine.
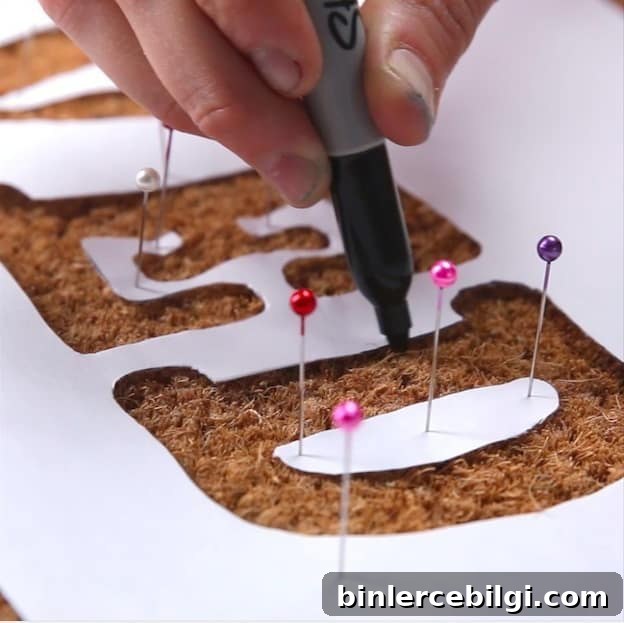
I’ve included a free Silhouette .studio file for the “Love Grows Here” design below if you’d like to use the exact layout I made. Of course, feel free to design your own phrase or pick another style that fits your entry.
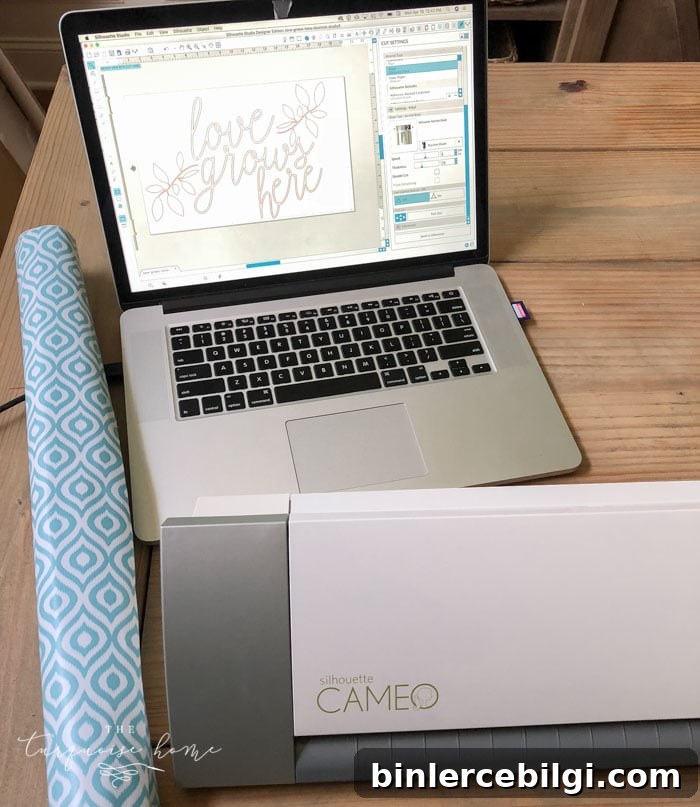
Tip: If you don’t have a cutting machine, print large letters on cardstock and cut them out with scissors or a craft knife—this method works surprisingly well for simple text designs.
2. Gather Your Supplies.
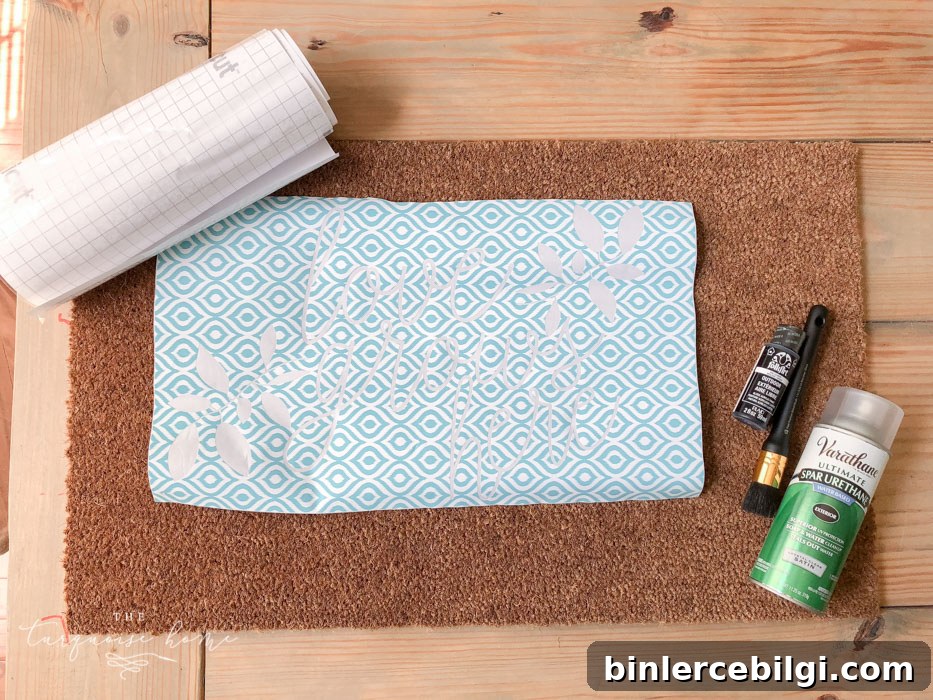
Lay out your doormat, stencil, brushes, paint, and clear coat in a well-ventilated workspace. Protect your work surface with newspaper or a drop cloth—coir can be messy when painted.
3. Stencil Your Image.
Center and secure the stencil on the mat. If you used thin adhesive vinyl, be aware it may shift on the textured surface—thicker cardstock pinned in place is more stable. Start with a light first pass: dip the stencil brush into the paint, remove excess, and gently dab or stipple the paint over the stencil. This helps prevent bleeding under the edges.
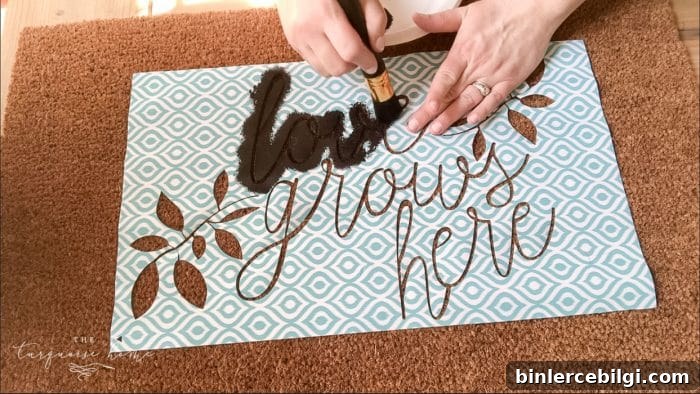
After the first pass, remove the stencil to inspect the coverage. If the paint looks thin, fill in and darken the letters with a small art brush, using an up-and-down motion to work paint into the coir fibers. Take your time on edges and curves for a crisp look. Allow the paint to dry for at least 24 hours before sealing.
Note: See the video section for a quick visual guide to the stenciling technique.
4. Finish the Doormat with a Clear Coat Spray.
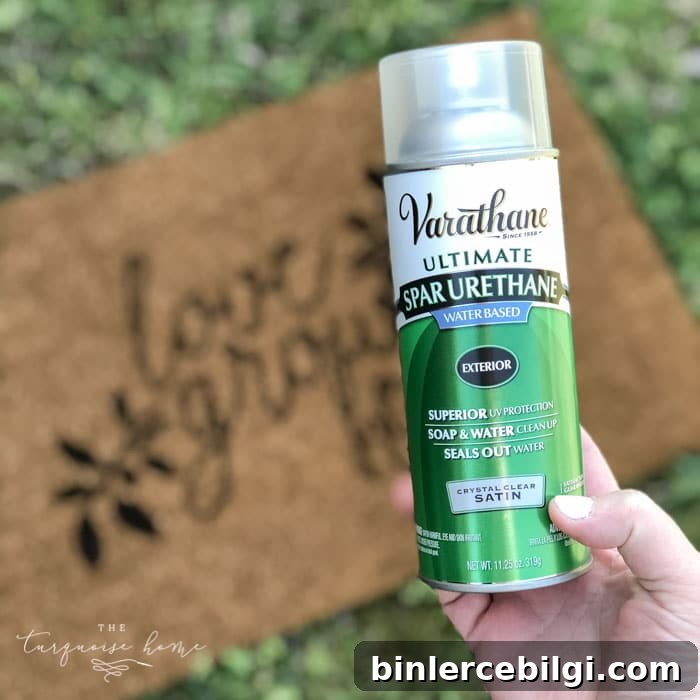
Protect your painted design with a clear exterior spray sealer. Because the coir surface is rough and porous, the sealer won’t provide perfect coverage but will help the paint resist fading and wear. Apply 2–3 light, even coats, allowing appropriate drying time between coats. Let the mat cure for 24 hours before placing it in the entryway.
Once dry, your custom doormat is ready to welcome guests and add personality to your porch. Enjoy the compliments!
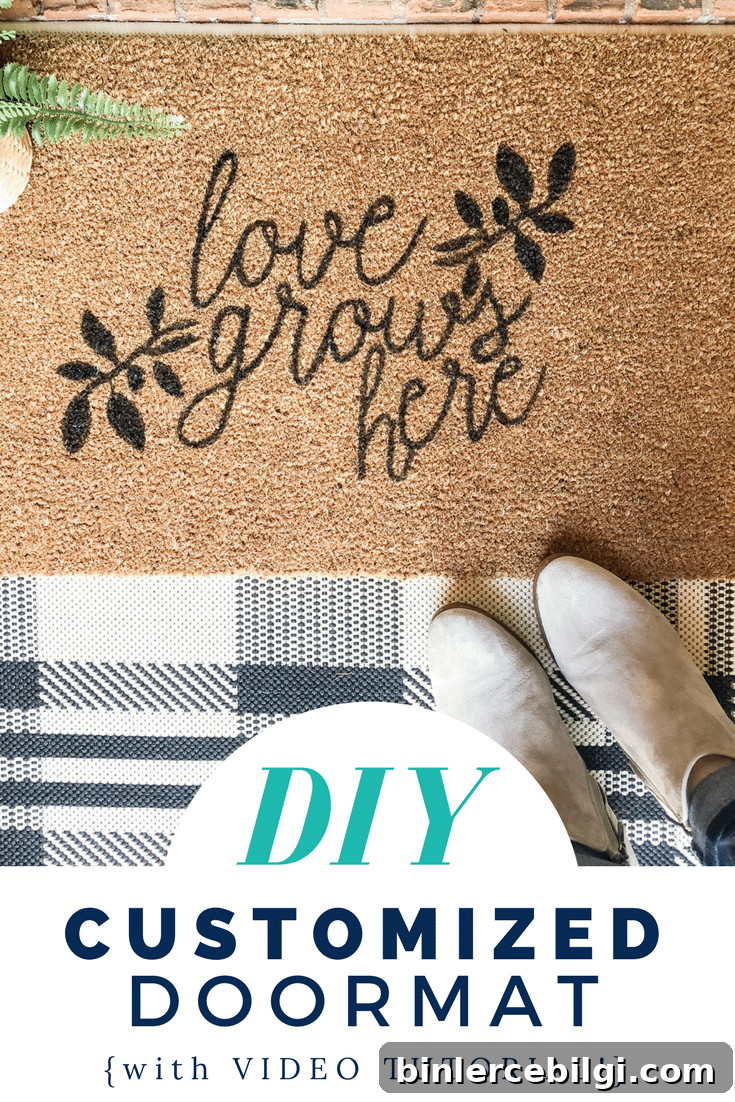
There’s also a short video that demonstrates the full process if you prefer to watch the steps in action.
Free “Love Grows Here” Silhouette .studio File
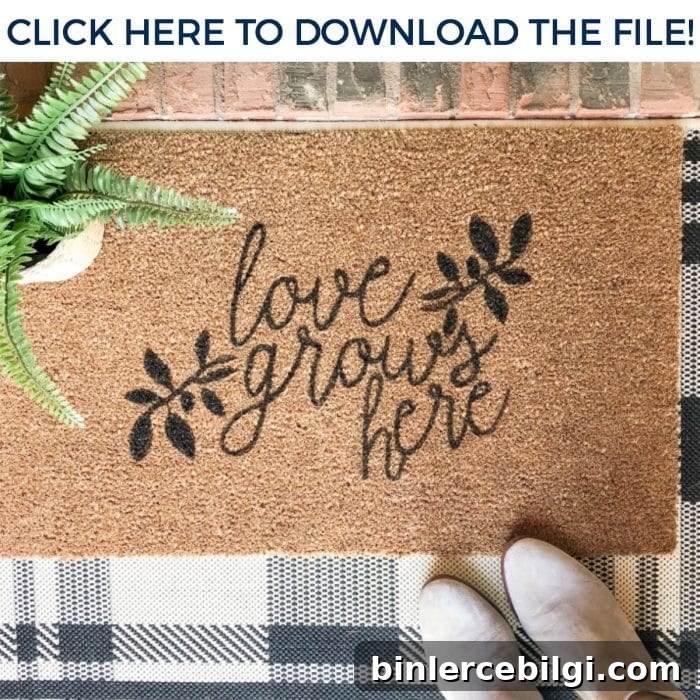
If you’d like to use the exact design shown here, the free Silhouette .studio file is available from the original post’s resources. Use it as-is or modify the text to create your own variation.
Thanks for reading! I hope this tutorial inspires you to make a personalized doormat for your home. If you try this project, share a photo on social media and tag the original creator so they can see your version.
More project ideas you might enjoy:
- DIY No-Sew Garden Flag
- No-Sew Bunting Tutorial
- How to Make a Patriotic Wreath
- DIY Chinoiserie Egg Wreath
- DIY Lighted Pumpkin Candy Holder