
You can learn how to transform your space with a $40 gallon of paint and these easy steps!
Some people think I’m crazy for loving to paint rooms, but there’s something magical in the transformation that comes from the bottom of a paint can. Painting furniture or small projects is fun, but refreshing an entire room with an affordable can of paint delivers a dramatic, low-cost improvement to your home.
Recently I painted my office/guest bedroom. It had been the last builder-beige room in the house, and after four years of working in a flat beige space, it was time to choose a color I truly loved.
So I did something I’d never done before: I painted a room white. My first white room—and it won’t be my last. I love the clean, bright backdrop. A white room makes photographing small projects easier because the walls act like a built-in white backdrop for photos.
I’d also recently painted my kitchen, which sparked a lot of conversations about painting rooms yourself versus hiring the job out. I’ve done both, but I usually paint myself. I prefer to do it because I’m particular about clean lines and careful cutting in—qualities some hired professionals don’t always prioritize.
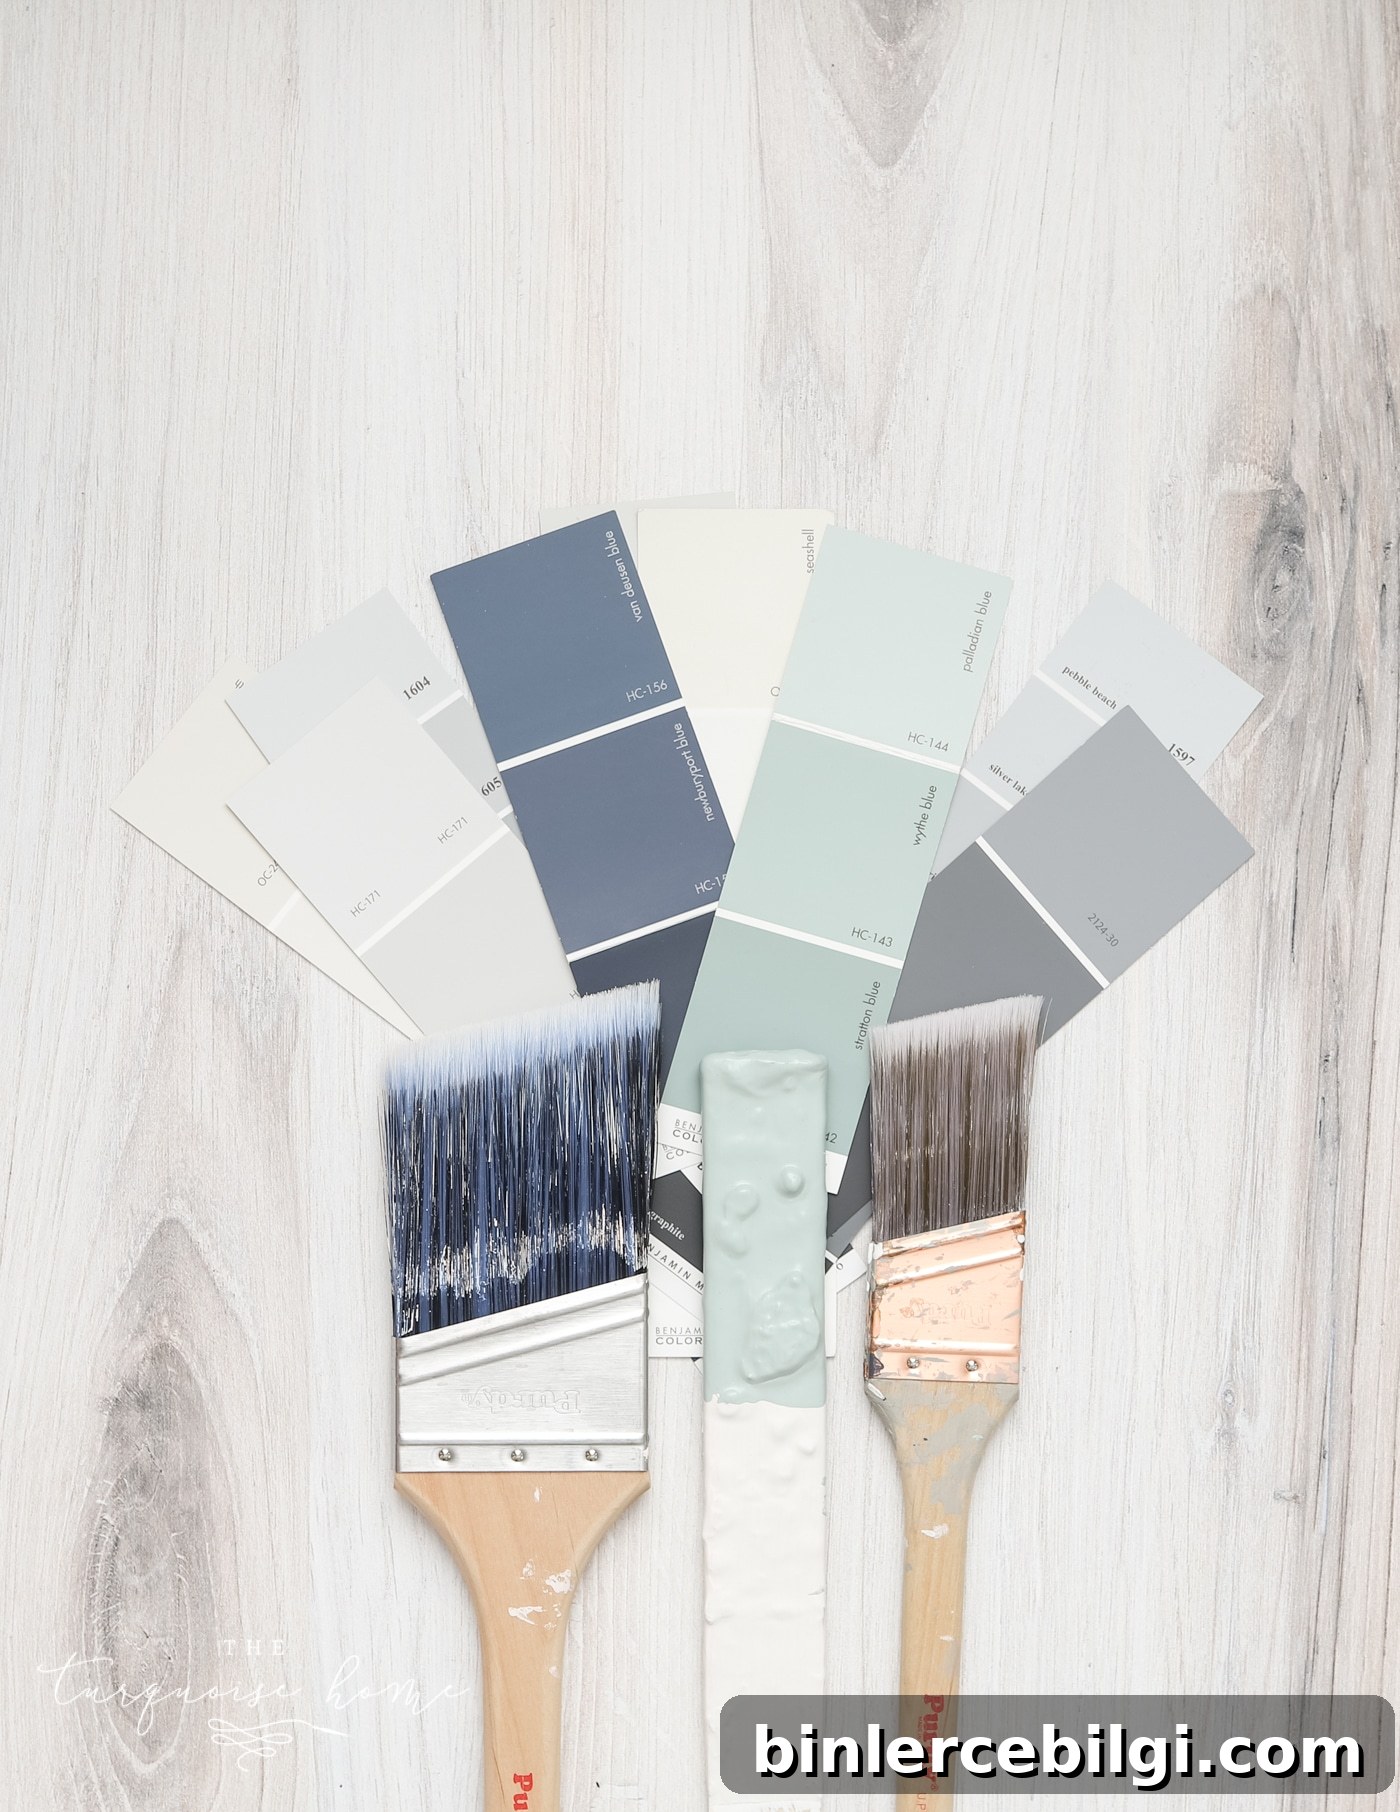
Before you start, choose your paint color carefully. Picking the right shade can be daunting, so test real paint samples in your own home under different light at different times of day. Seeing the actual paint on your walls will help you avoid regrets.
PRO Tip
Always test the real paint color in your home before committing. Peel-and-stick paint samples or small sample pots applied to the wall show you how the color interacts with your room’s light and furnishings. Testing eliminates guesswork and helps you choose a shade you’ll still love weeks later.
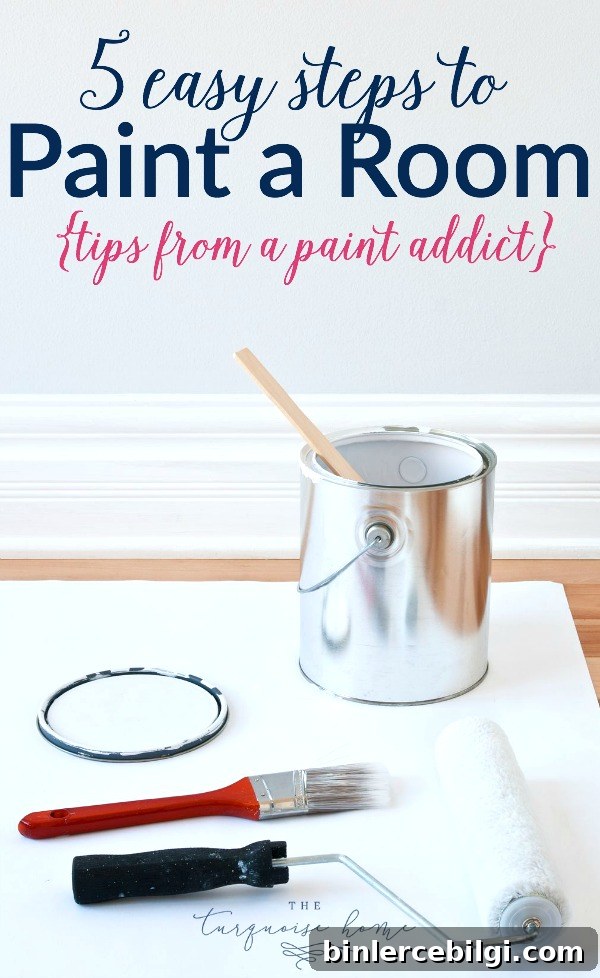
Tools You Need for Painting a Room
- Paint – choose the finish and quality appropriate for your room (higher-quality paint plus primer often cuts coats needed).
- Roller covers – select the appropriate nap for your wall texture.
- Extendable roller frame – useful even in 8-foot rooms for reaching high areas without stretching.
- Angled paint brush – for cutting in along trim, windows, doors, and ceilings; an angled bristle brush makes crisp edges easier.
- Handy paint pail – a comfortable paint pail with a brush holder speeds up the process and reduces trips to the paint can; disposable liners simplify cleanup.
- Handy roller tray – a sturdy tray with a deep base and optional liners prevents spills and holds more paint so you refill less often.
- Press’n Seal or plastic wrap – wrap tools during short breaks to keep them wet and ready.
- Painter’s tape – a good quality tape seals edges better so you get cleaner lines where you choose to tape.
- Spackling – patch and primer-in-one spackling makes filling nail holes and small imperfections fast and simple.
Steps for Painting a Room
Step 1 – Prep
You can’t skip preparation. Wipe down walls, baseboards, and trim to remove dust, grease, or fingerprints. A damp rag works well for baseboards; a dusting mitt or Swiffer cloth is good for walls. Remove anything sticky and make sure surfaces are clean so paint adheres properly.
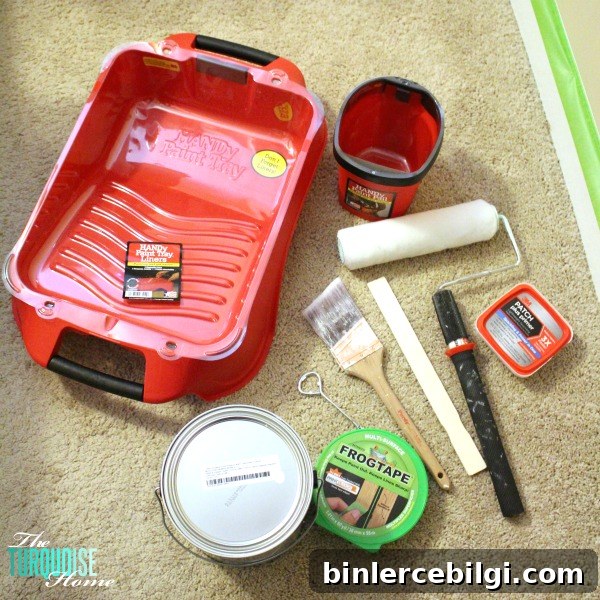
Gather all your supplies before you begin so you won’t have to interrupt the flow. Lay down drop cloths if needed and move or cover furniture.
Step 2 – Patch Any Holes
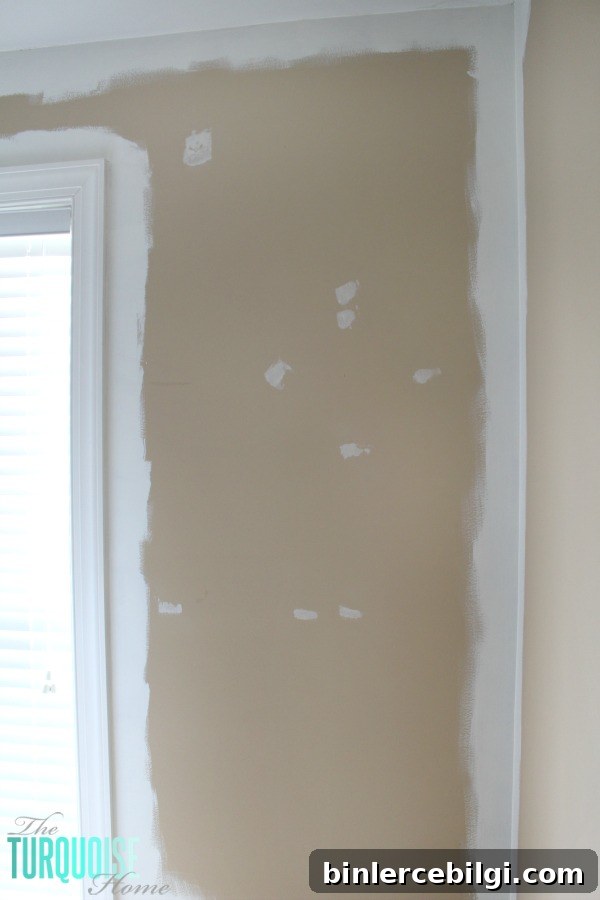
Fill nail holes and small dents with spackling or a patch-and-primer product. For holes you plan to reuse for hanging, you can leave them, but otherwise patch and smooth them. Use a small putty knife for neat application; in a pinch, a fingertip works for tiny spots. If you’re painting over flat paint, light sanding may not be necessary; for glossy or semi-gloss finishes, lightly sand to dull the surface, then wipe down before painting.
Step 3 – Tape the Baseboards
I tape baseboards to protect them and the floor from roller splatter or drips. Good painter’s tape prevents bleed-through and saves cleanup time. I usually don’t tape doors, window frames, or the ceiling because I prefer to cut in those edges by hand with a brush for a crisper line.
Step 4 – Trim or Cut In the Room
Use an angled brush to “cut in” where walls meet trim, windows, doors, and ceilings. This method takes practice and a steady hand, but it produces cleaner edges than painting over tape or painting haphazardly along taped lines. Start with a downstroke in the corner and keep the brush horizontal as you drag along the ceiling edge. Take short breaks if needed—cover your paint pail with plastic wrap and your brush with plastic to keep them from drying out for short pauses.
Longer breaks: for several hours, put the brush in the refrigerator; for a day or more, freezing the brush keeps it usable without a full cleanup.
Step 5 – Roll the Wall
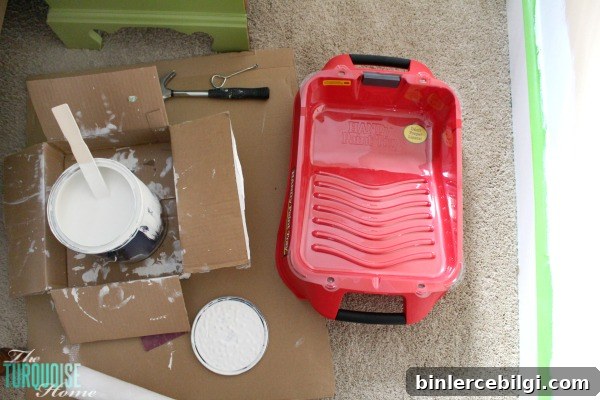
Load your roller and roll the wall using different angles—up and down, then cross-roll left and right—to blend and even out coverage. Use the textured part of your tray to remove excess paint so the roller isn’t dripping. Roll lightly over drips to smooth them before they dry. Aim for even coverage across the entire surface.
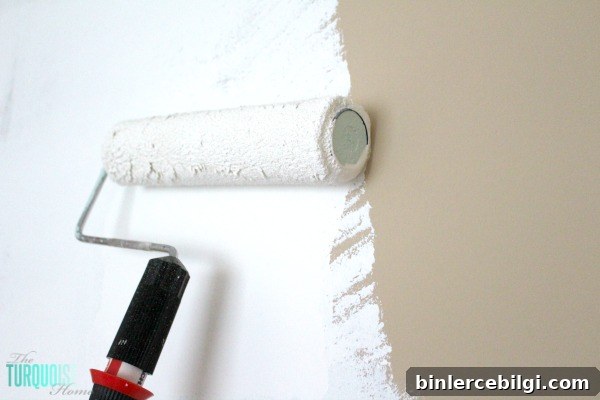
Repeat Steps 4 and 5 as Needed
Most walls often require at least two coats for uniform coverage. The number of coats depends on paint quality, the new color, and the existing color. Dark shades like deep reds, browns, or black typically need more coats when covering with lighter paint. If you’re switching from a very dark color to a light one, consider using a tinted primer first. High-quality paint with built-in primer can often achieve full coverage in two coats.
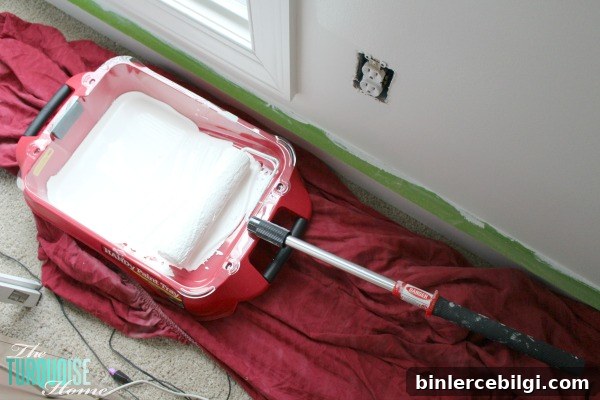
In my experience, buying a better-quality paint with primer helps reduce the number of coats and delivers a more durable finish.
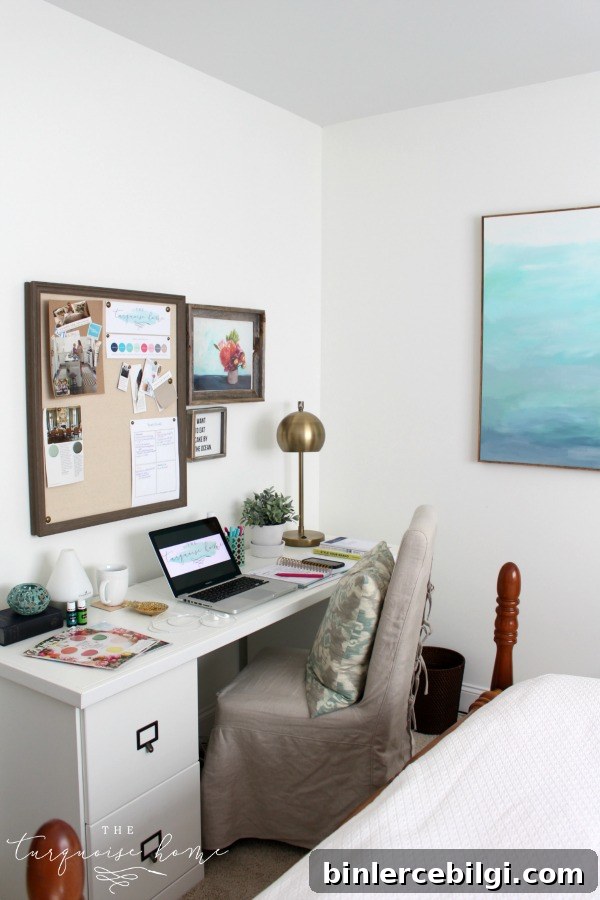
Bonus: a peek at my newly painted office corner—simple changes make a big difference.
When I can work straight through, I can typically finish a standard 12×12 room with one window and one or two doors in a single day. Bigger rooms or many windows and doors can take two days. With children or interruptions, it can stretch to several days; plan your time and expectations accordingly.
What about you—do you paint your own rooms or hire the job out? Which room is first on your list to repaint?
For a more finished look, consider painting outlet covers and switch plates to match the walls once painting is complete.
More posts you may love:
- How to Paint Trim: A Step-by-Step Guide (guide to crisp trim and baseboards)
- 20 Best Nursery Paint Colors and Accent Wall Ideas (color inspiration for children’s rooms)
- The Best 17 Sage Green Paint Colors for Your Home (popular calming neutrals and accents)
- How to Paint Countertops to Look Like Marble (a budget-friendly countertop makeover)
- The Best Bedroom Paint Colors (ideas for restful and stylish bedrooms)