
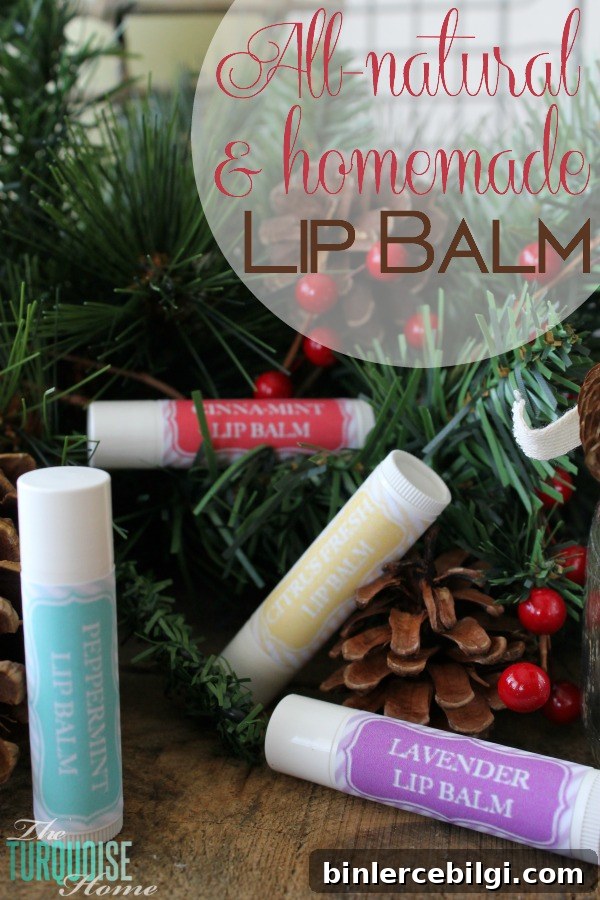
Make your own all-natural lip balm at home with just a few ingredients and your favorite essential oils. This easy DIY yields smooth, nourishing lip balms that make great gifts or a lovely addition to your daily routine.
This project is wonderfully simple and surprisingly quick. With only a couple of ingredients and a few minutes of hands-on time, you can create small batches of lip balm that taste and smell delightful while avoiding the unwanted additives often found in commercial products.
These homemade balms are perfect for gifting, party favors, or stocking stuffers. They’re also an excellent option for anyone who prefers to know exactly what’s in their skincare—no mystery chemicals, just natural ingredients you can recognize.
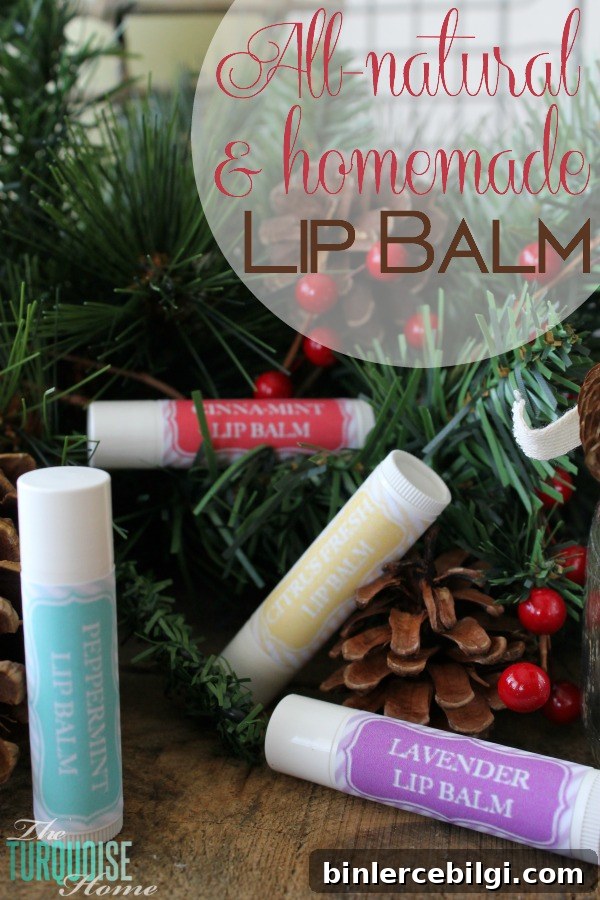
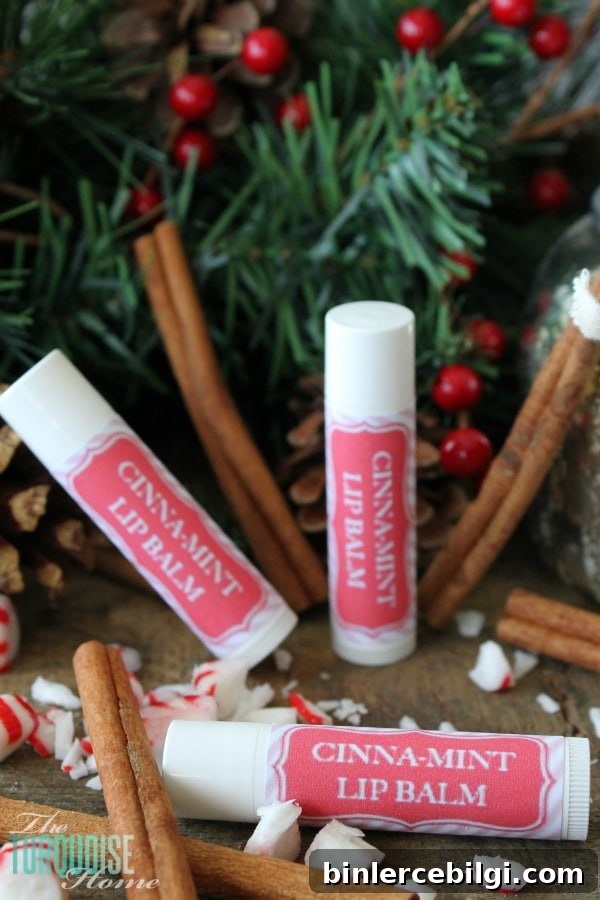
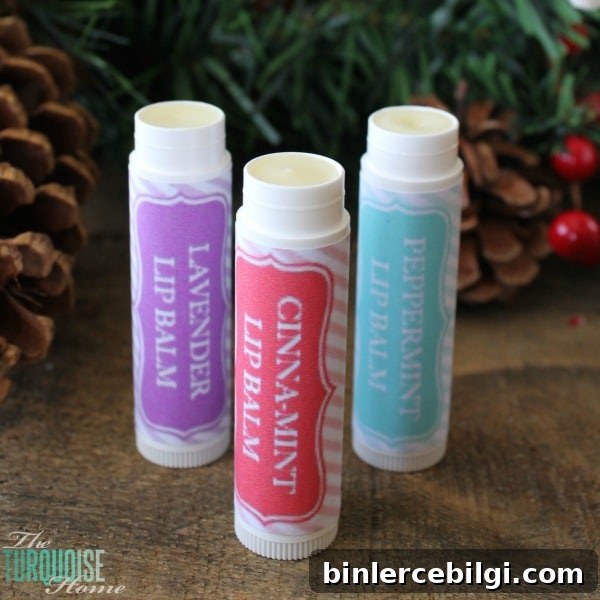
I tested several scent combinations and found them all enjoyable, but my personal favorite was a Cinna-mint blend—warm cinnamon with a cooling hint of peppermint. For a child-friendly option, a lavender balm is gentle and soothing. Let your creativity guide you: citrus, mint, floral, or spicy blends all work beautifully.
All-Natural Lip Balm Recipe
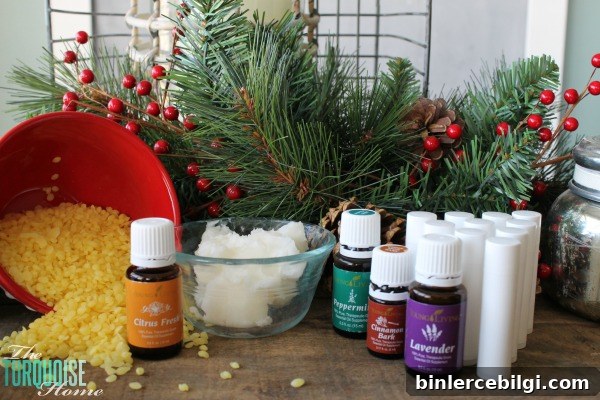
2.5 tablespoons coconut oil
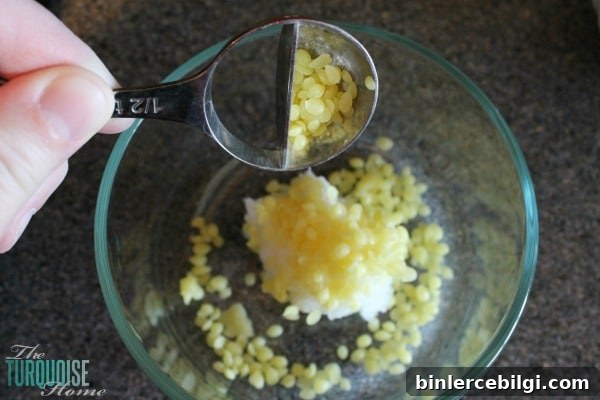
1.5 tablespoons beeswax (use grated or pastilles for easier melting)
About 12 drops total of your preferred essential oil(s) (examples: Citrus, Peppermint, Cinnamon Bark, Lavender)
10 empty lip balm tubes or small tins
Instructions:
1. Combine the beeswax and coconut oil in a heatproof glass or ceramic bowl. You can melt them in the microwave in short bursts, stirring between intervals, or use a double boiler on the stovetop for gentler, even heating.
2. Once fully melted and combined, remove from heat and stir in your chosen essential oils. Start with fewer drops and adjust to your preference. Mix thoroughly so the oil is evenly distributed.
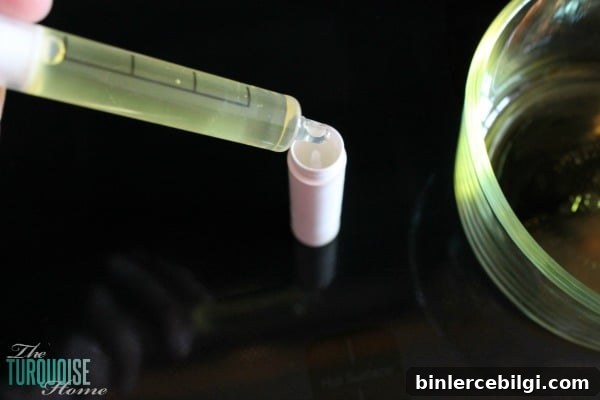
3. Carefully transfer the warm mixture into your lip balm tubes or tins. A small medicine dropper, pipette, or a narrow pour spout works well for precise filling. Work quickly, as the mixture will begin to set as it cools.
4. Allow the balms to cool and set completely before capping. Avoid touching the surface while it sets to keep a smooth finish. Once set, label and store them in a cool, dry place.
Helpful tips:
- Adjust firmness: increase the beeswax slightly for a firmer balm; reduce it a bit for a softer texture.
- Flavor variations: try cocoa butter with orange, peppermint and vanilla, or lavender for a calming scent. Experiment to find your favorite combinations.
- Filling tools: a pipette or small dropper makes filling tubes neat and easy. If you prefer to pour, use a small heatproof pourable container.
- Labeling: printable labels work great on sticker paper or full-sheet label stock; you can also use regular paper and secure with clear tape.
Safety note: essential oils are concentrated and not all are appropriate for babies, young children, or during pregnancy. Always perform a patch test before widespread use and consult reliable guidance if you have concerns. Keep products out of reach of small children.
Storage and shelf life: store your homemade balms in a cool, dry place away from direct sunlight. Because these contain natural oils, using them within a few months ensures freshness and scent quality.
The possibilities are endless with DIY lip balms—you can create seasonal blends, themed gift sets, or a signature scent to keep on hand. If you enjoy labels, printable designs can be created and printed on sticker paper to give your gifts a polished look.
More handmade gift ideas using essential oils
- DIY Lemon Sugar Scrub with printable labels
- Homemade Bath Bombs with gift tags
- Cocoa-Mint Luxurious Lip Balm with labels
- Homemade Lavender Bath Salts