
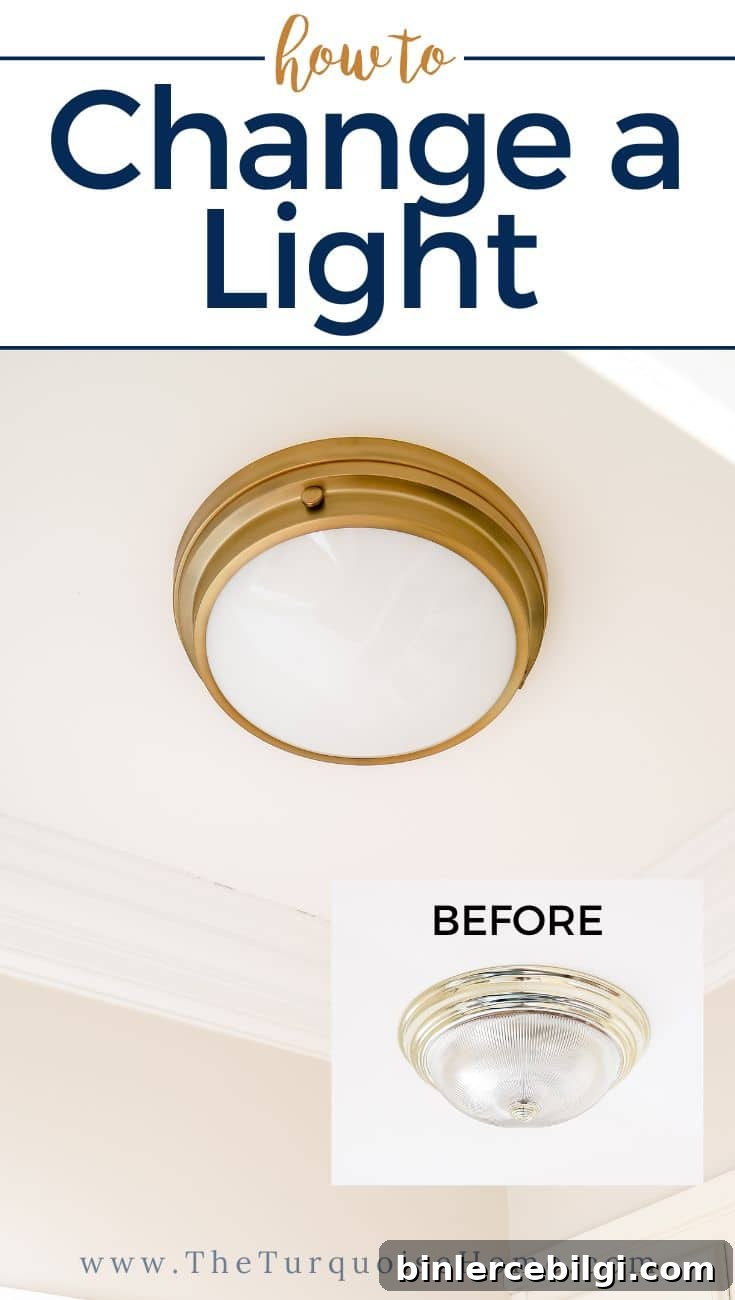
Learning how to change a light fixture is one of the simplest, most effective ways to refresh your home—new lighting can transform a space in minutes.
When we moved into our first house, I waited far too long to swap outdated fixtures because the idea of working with electricity intimidated me. After several years I finally asked my husband for help changing the dining room chandelier. It was nerve-wracking since we had no experience, but after that first project I gained confidence. Over time I’ve replaced many fixtures and now changing a light is a straightforward DIY for us.
Note: This project involves working with electrical wiring. Always turn off the circuit at the breaker box before you start. If you are unsure or uncomfortable with electrical work, hire a licensed electrician. Safety first.
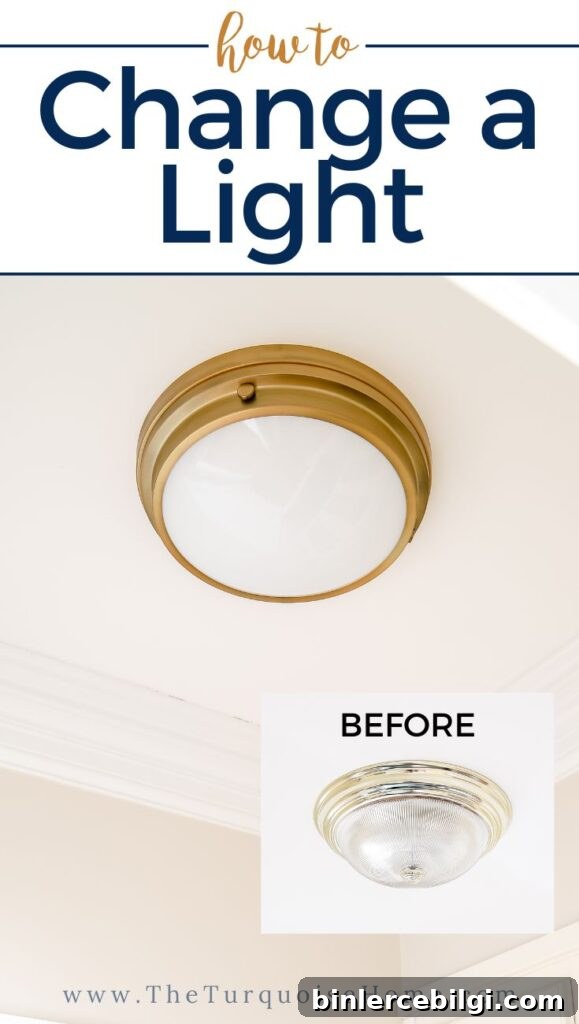
In our current home of less than three years I’ve already replaced ten fixtures and I plan to update the rest. With the right tools, basic precautions, and a clear plan, you can do the same and give your rooms a fresh, modern look.
What You Need to Change a Light Fixture
- New light fixture (match size and mounting type to your existing box)
- Wire cutter and stripper
- Sturdy ladder
- Screwdrivers (Philips and flat head) or a power drill with screwdriver bits
- Voltage tester (optional but recommended to double-check power is off)
- Wire nuts/connectors (often included with the fixture)
- A helper to hold the fixture while you secure it
How to Replace a Light Fixture
1. Choose the Right Fixture
Selecting a new fixture can be the trickiest part. Consider the room’s size, ceiling height, and the fixture’s mounting style (flush mount, semi-flush, chandelier, pendant, or sconce). Also check the light’s weight and whether your existing ceiling box supports it—heavy fixtures may require a brace or rated box.
2. Turn Off the Power
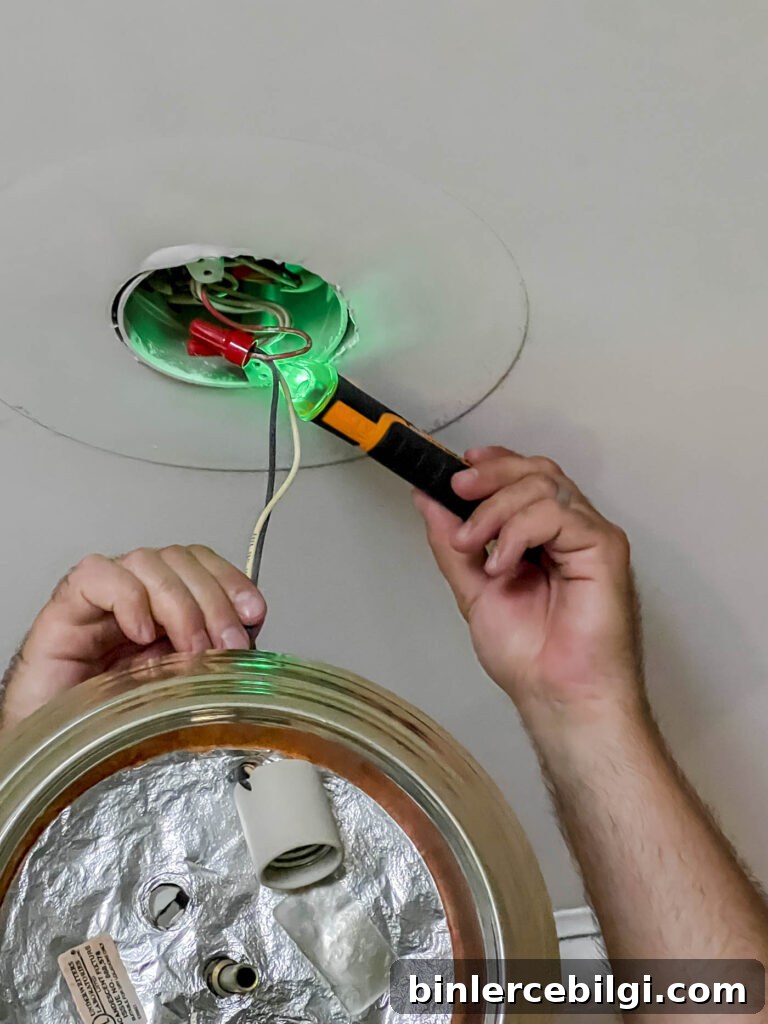
Find the correct breaker in your electrical panel and switch it off. To confirm, turn the light switch on and off; when the light does not respond, the power is off. For extra assurance, use a voltage tester at the junction box to verify there’s no live current before touching any wires.
3. Remove the Old Fixture
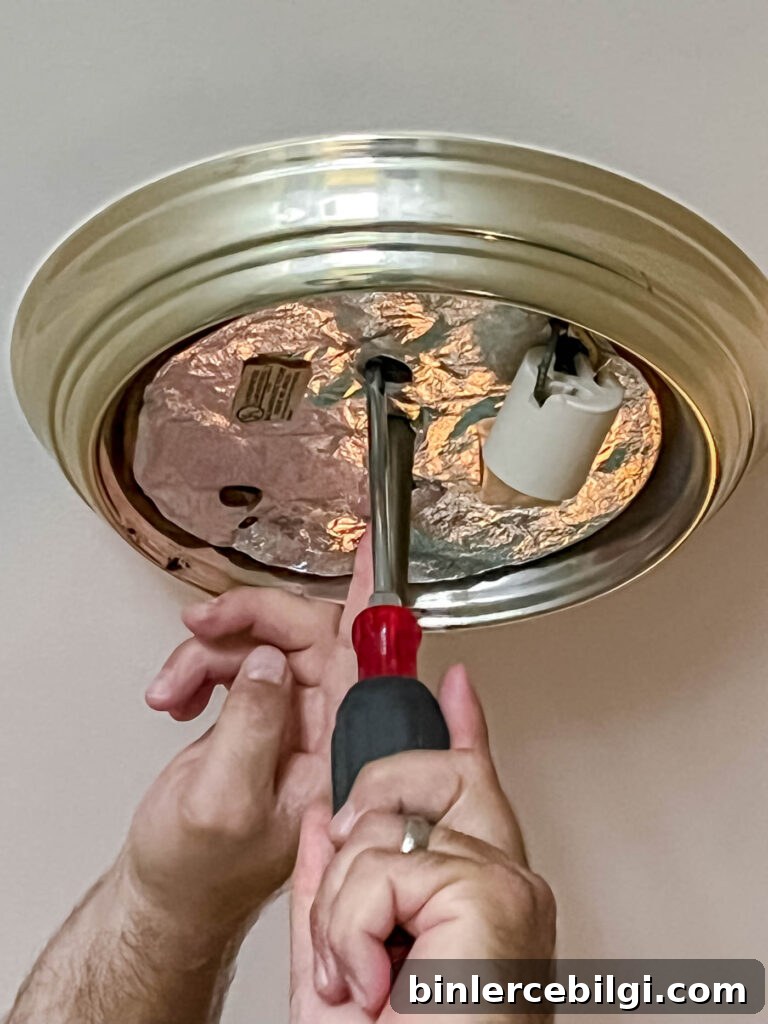
Most fixtures are fastened to a mounting bracket or crossbar in the ceiling box. Remove the decorative cover or canopy, then unscrew the mounting screws to lower the fixture enough to access the wire connections. Support the fixture as you remove the last screws so it doesn’t fall.
4. Disconnect the Electrical Connections
Before disconnecting, take a clear photo of how the wires are connected—this is very helpful when installing the new fixture. Unscrew the wire nuts and separate the fixture wires from the house wiring. Carefully lower the fixture and set it aside.
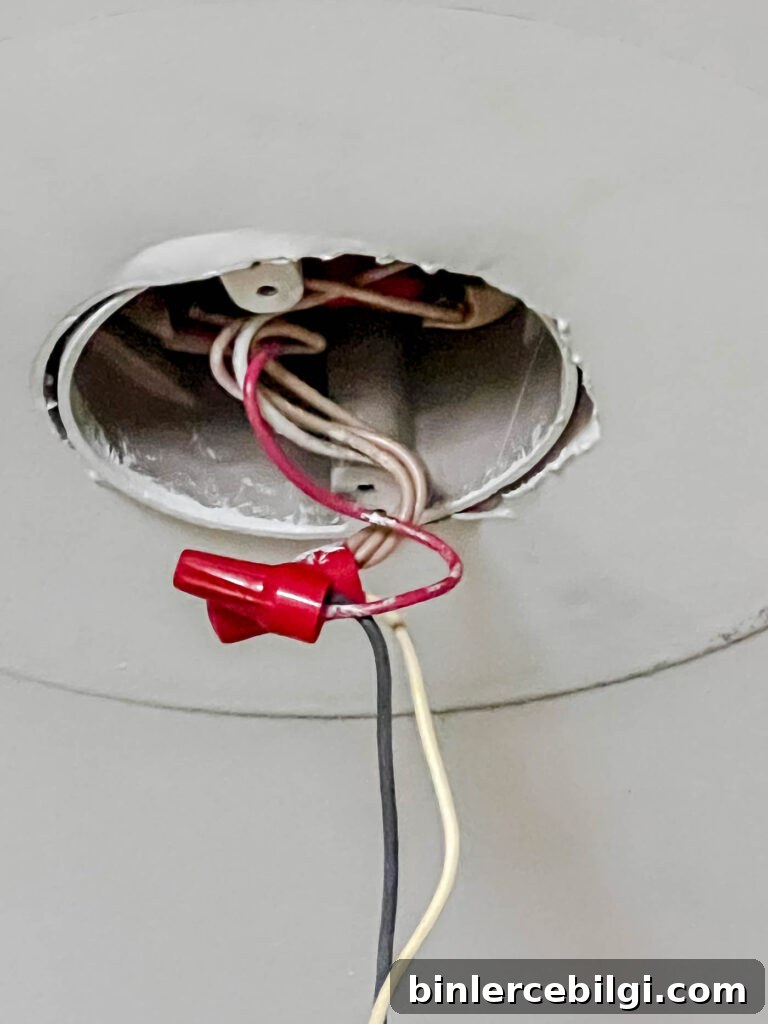
5. Prepare the New Fixture
Read the manufacturer’s instructions for the new fixture. Most fixtures include a crossbar, mounting hardware, wire connectors, and the fixture wires. Strip about 1/2 inch of insulation from the fixture wires if needed, so clean copper is exposed for a secure connection.
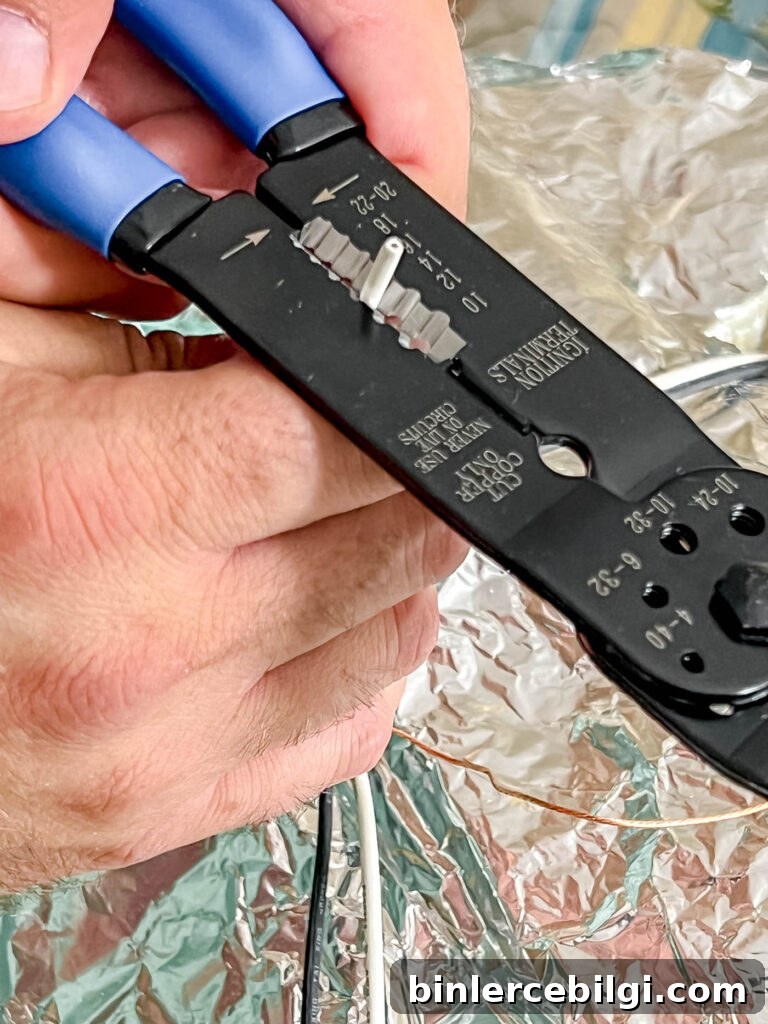
If there are multiple supply conductors (for example multiple whites or blacks), tidy and twist the like-colored house wires together as directed by the fixture instructions before you climb the ladder.
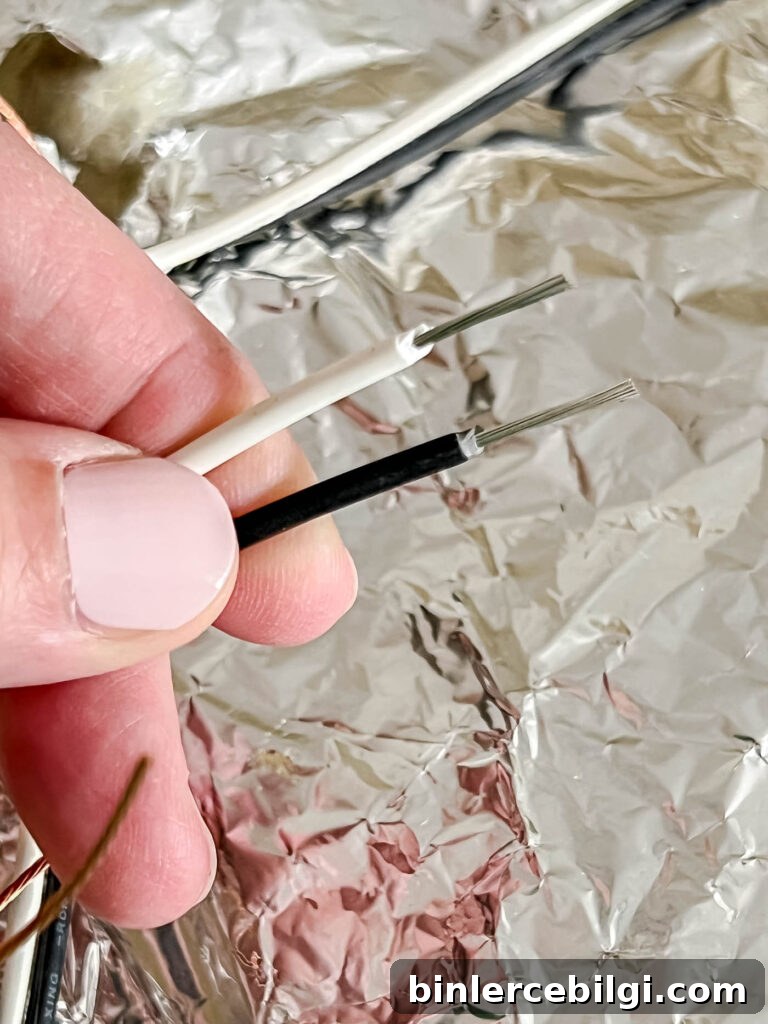
6. Install or Replace the Mounting/Crossbar
Most fixtures attach to a crossbar or mounting bracket that secures to the ceiling box. If your old crossbar doesn’t match the new fixture, swap it out. The crossbar often includes a green grounding screw; if your ceiling box lacks a separate ground conductor, attach the fixture ground to this screw.
7. Connect the New Wires
With a helper holding the fixture, connect the grounding wire (bare copper or green) from the fixture to the ground in the ceiling box or to the green screw on the crossbar. Then match the fixture’s neutral (usually white) to the house neutral, and the fixture’s hot (usually black) to the house hot (black or sometimes red). Twist wires together and secure with wire nuts. Tug gently to confirm secure connections.
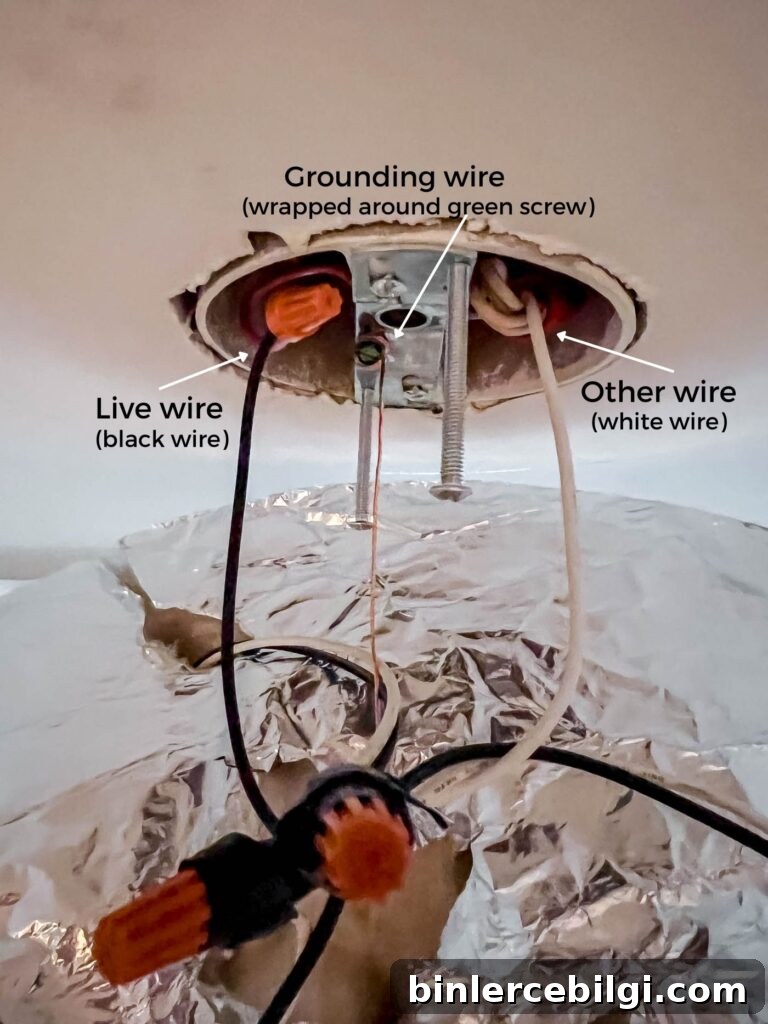
Tuck the connected wires neatly into the junction box, leaving enough slack so the fixture seats flush against the ceiling.
8. Secure the Fixture
Fasten the fixture to the crossbar or mounting bracket following the included instructions. Attachment methods vary—some fixtures use screws, others use decorative nuts or locking rings—so follow the manufacturer’s guidance to ensure a snug, level installation.
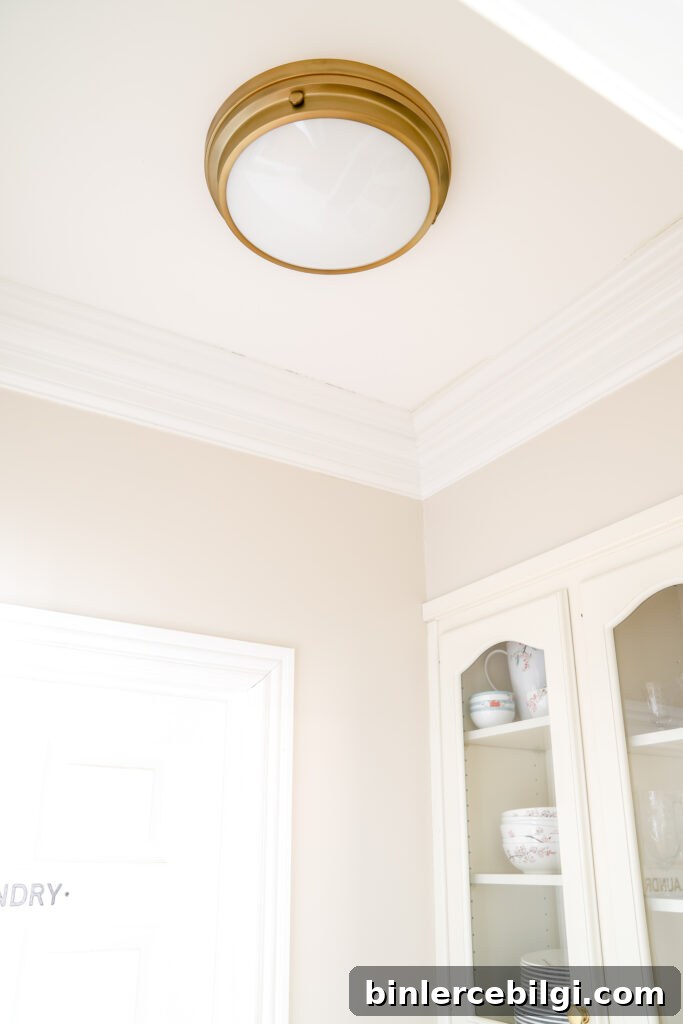
9. Install Bulbs and Shades
Install bulbs recommended for the fixture—pay attention to wattage limits and bulb type. Add any shades, globes, or decorative covers. Restore power at the breaker, flip the light switch, and confirm everything is working properly.
Step back and enjoy the refreshed look. A new light fixture not only improves appearance but can also enhance the room’s function and mood.
More topics you might find helpful:
- Choosing the right light bulbs for each room
- Essential tools for beginner DIYers
- How to remove drywall anchors safely