
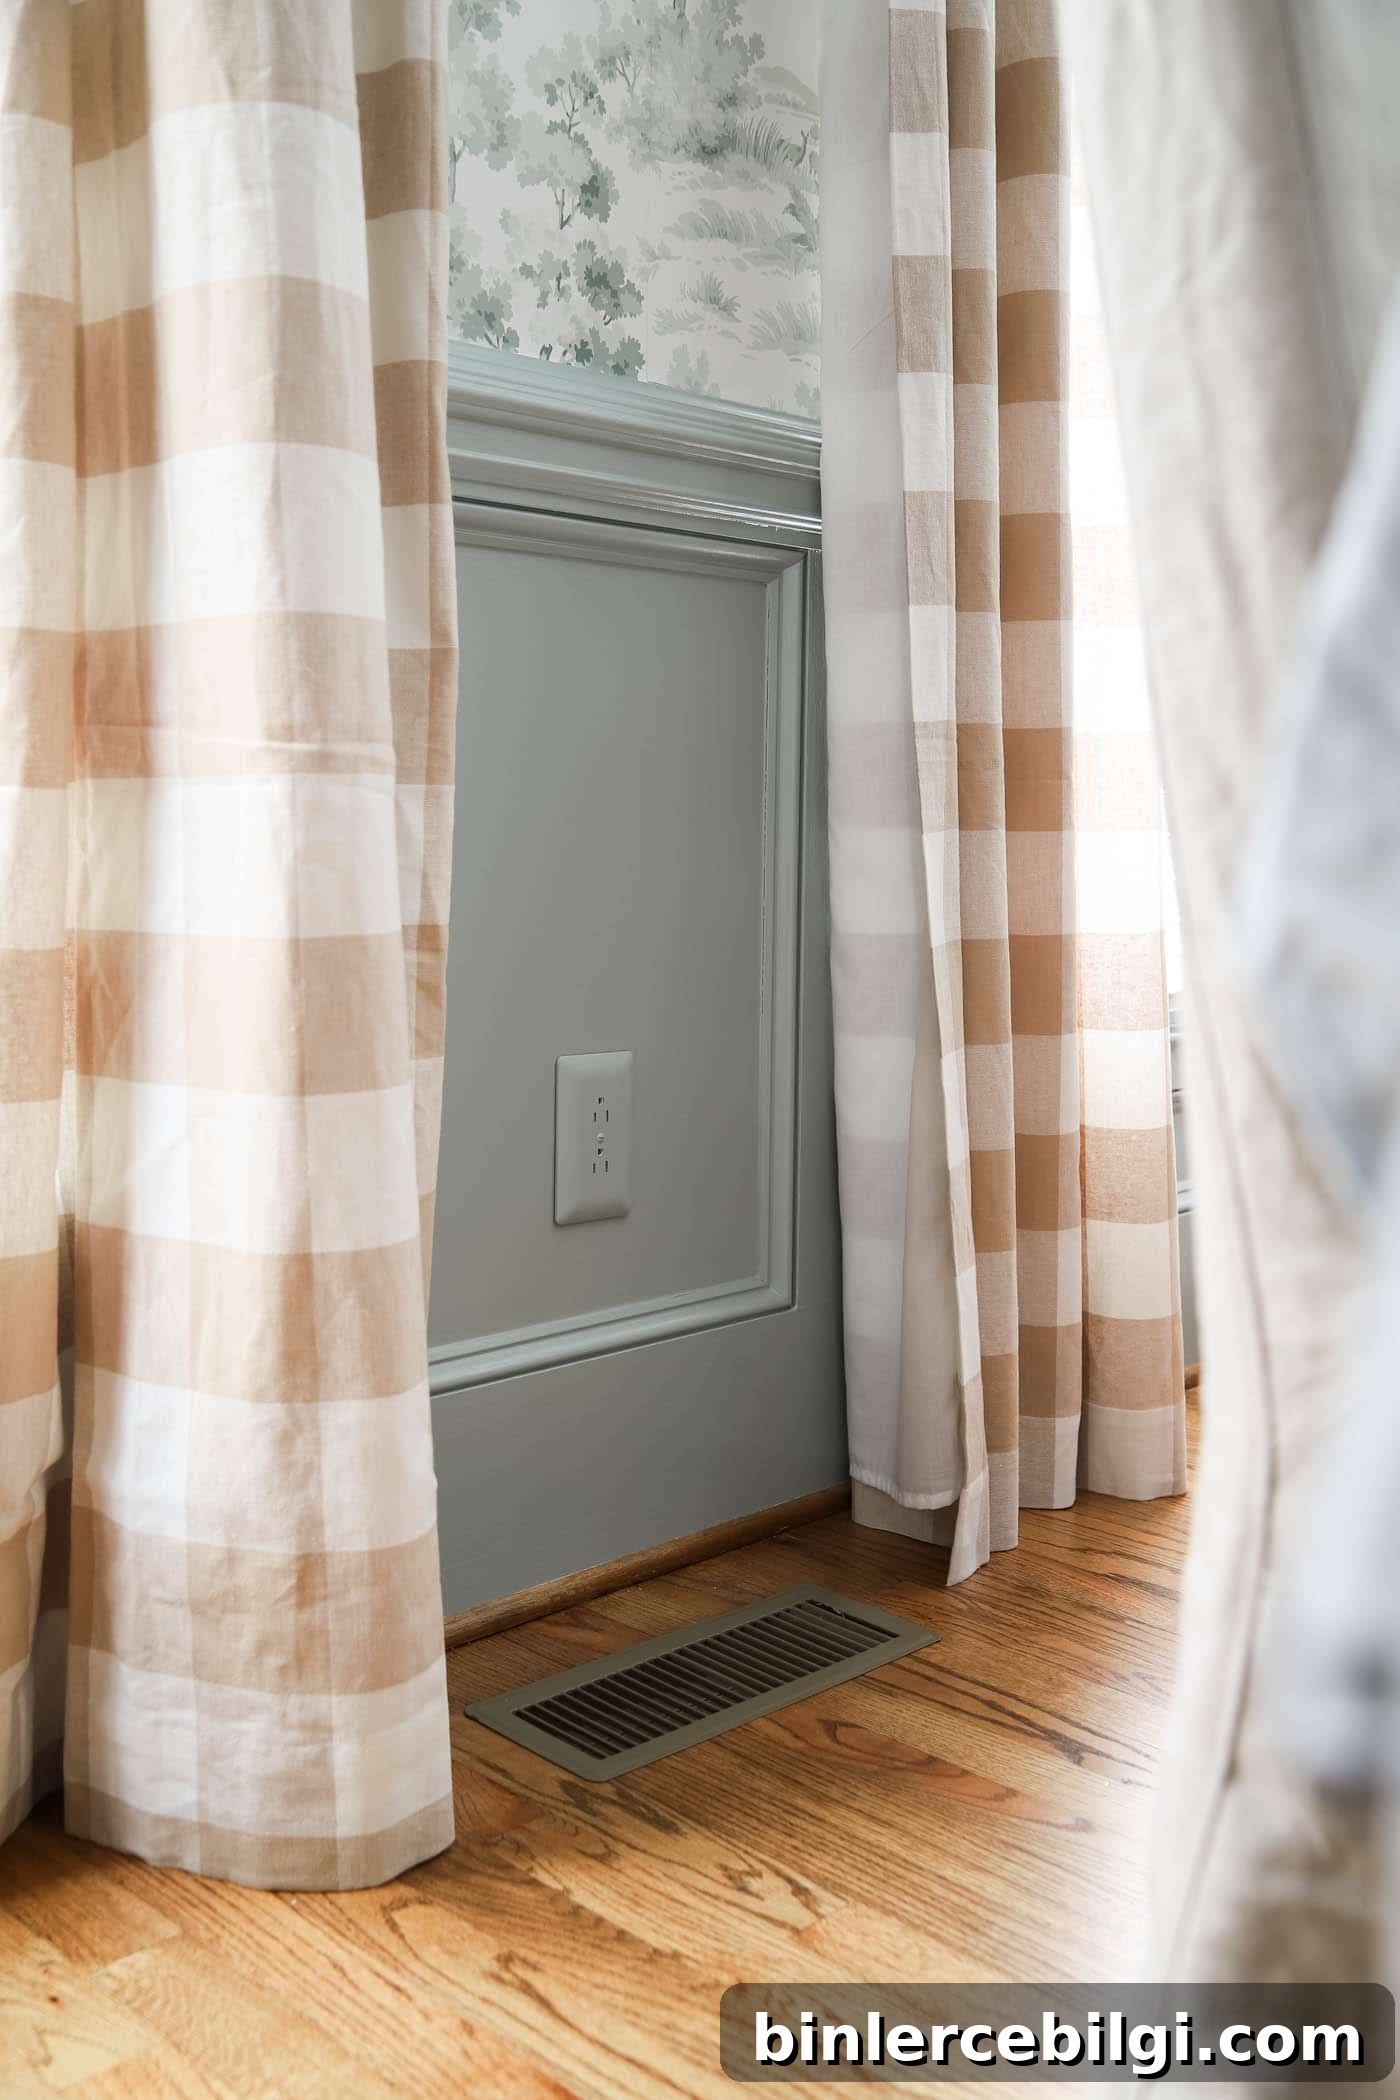
Don’t let outlet covers stand out awkwardly against your freshly painted walls. Painting outlet covers to match the wall is an easy, affordable way to make details disappear and give any room a more polished, cohesive look.
If you’ve ever noticed how a plain white or off-white outlet plate draws the eye against a richly painted wall, you’re not alone. Matching outlet covers to the wall color is one of those small finishing touches that can elevate a room’s look with very little time or expense.
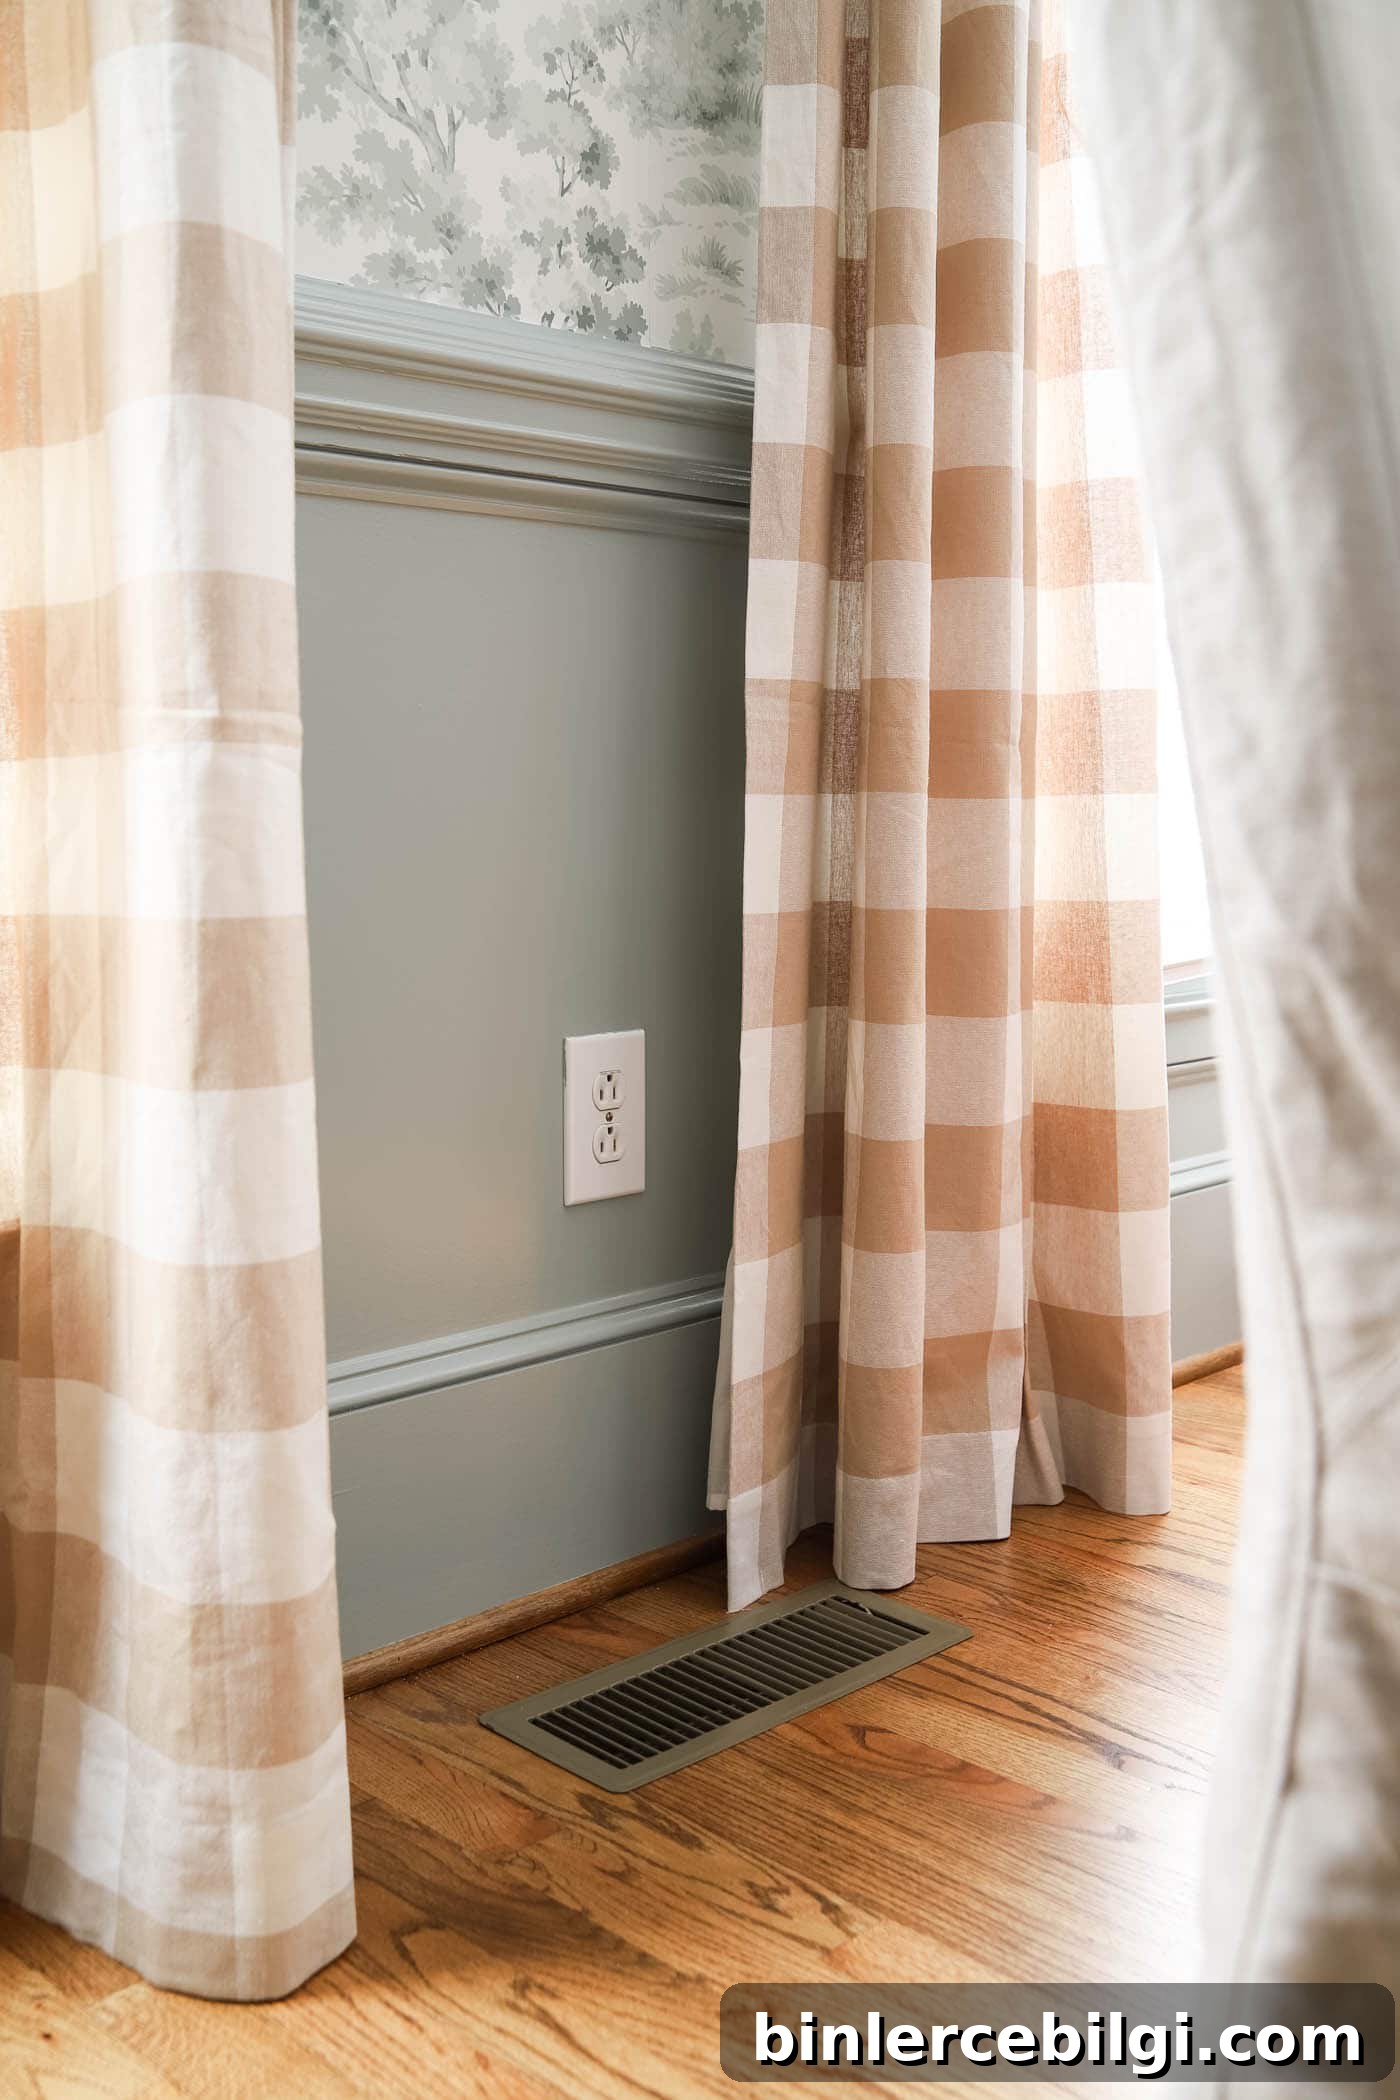
I recently painted the lower trim of my dining room in a deep green. The white outlet plates looked out of place against that painted section, especially since the trim sits on the lower third of the wall where details are more noticeable. That’s when I decided to replace the plain covers with paintable ones that sit over the existing outlet, making it simple to match them to the wall.
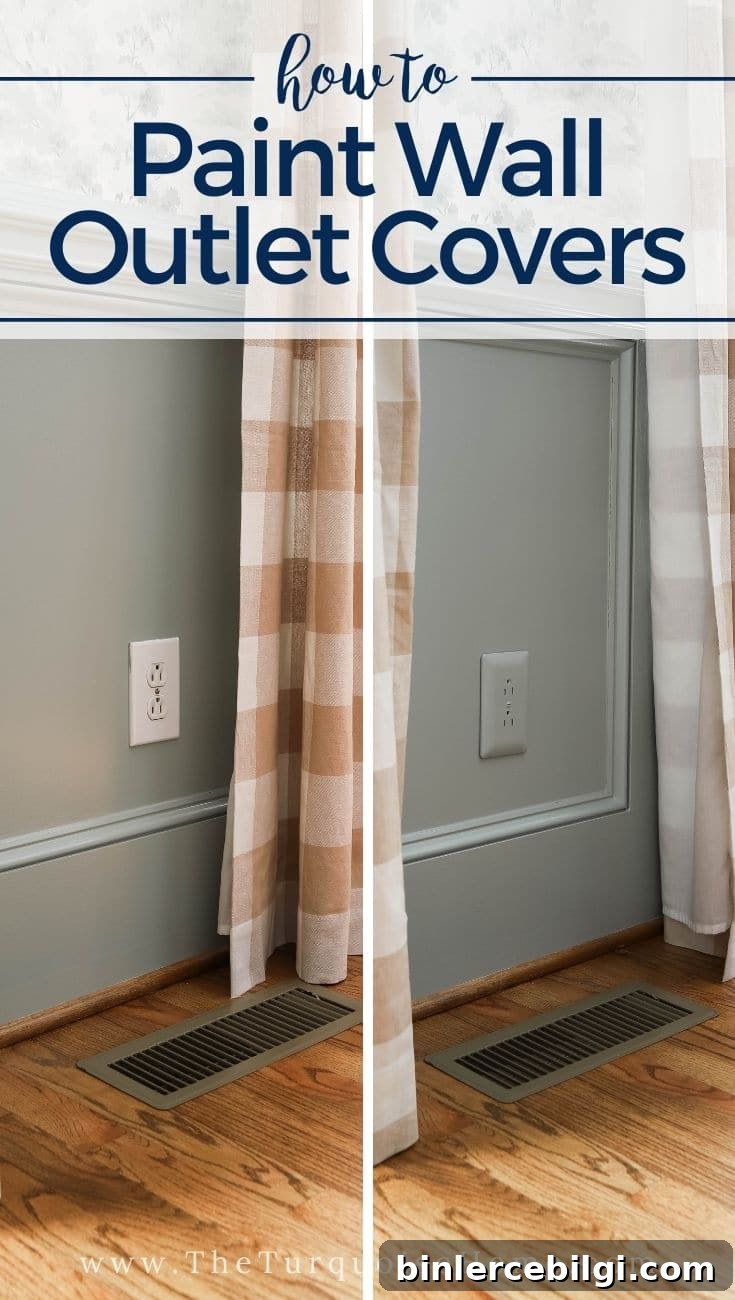
Painting Outlet Covers – the easy way!
At first I considered painting the existing plastic covers in place, but I hesitated to paint the actual receptacle openings or the area where plugs go. Instead, I discovered textured outlet covers designed to be painted. These replacement covers slip over the original plate and include a screw you can paint too, so none of the old white shows through.
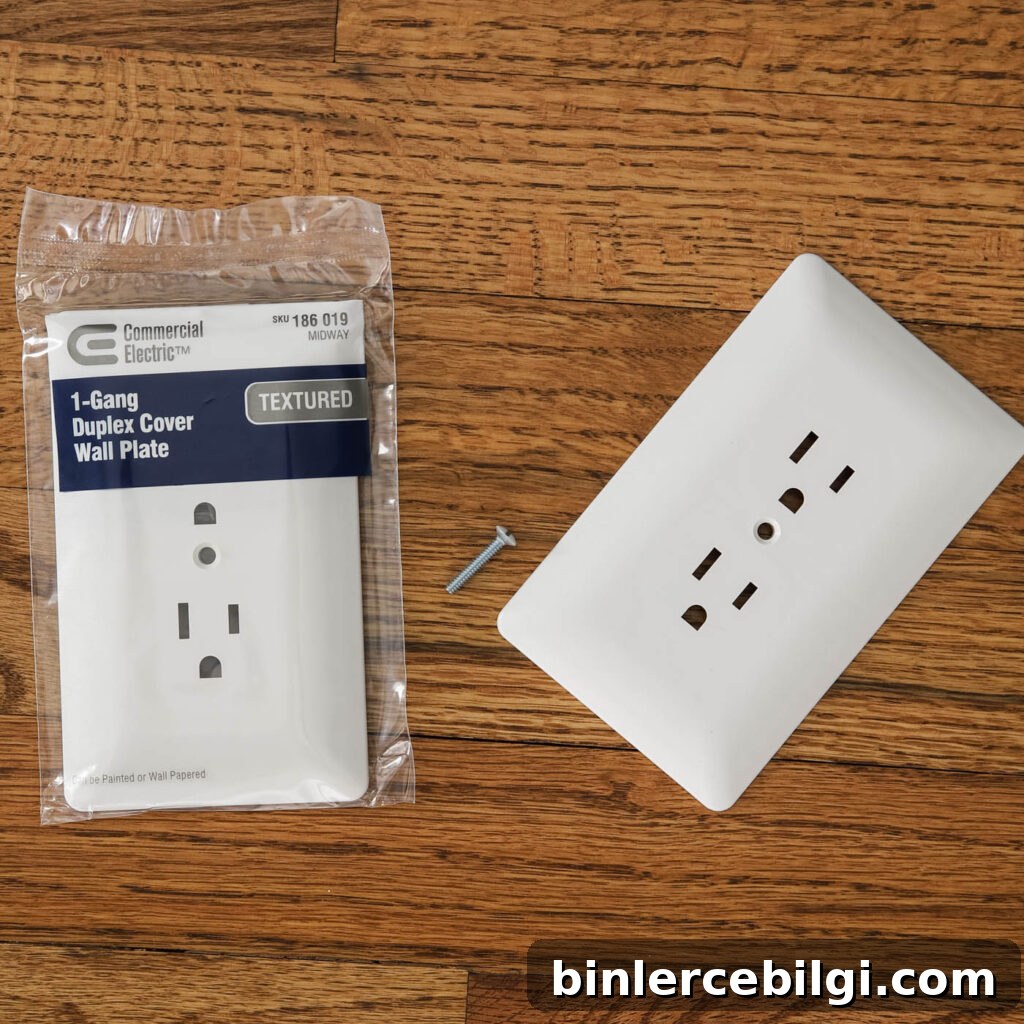
Because these covers extend slightly beyond the original outlet and are made of a surface that accepts paint, they let you achieve a seamless, painted look without altering the electrical components themselves. They’re inexpensive, easy to install, and a quick way to add a custom touch throughout your home.
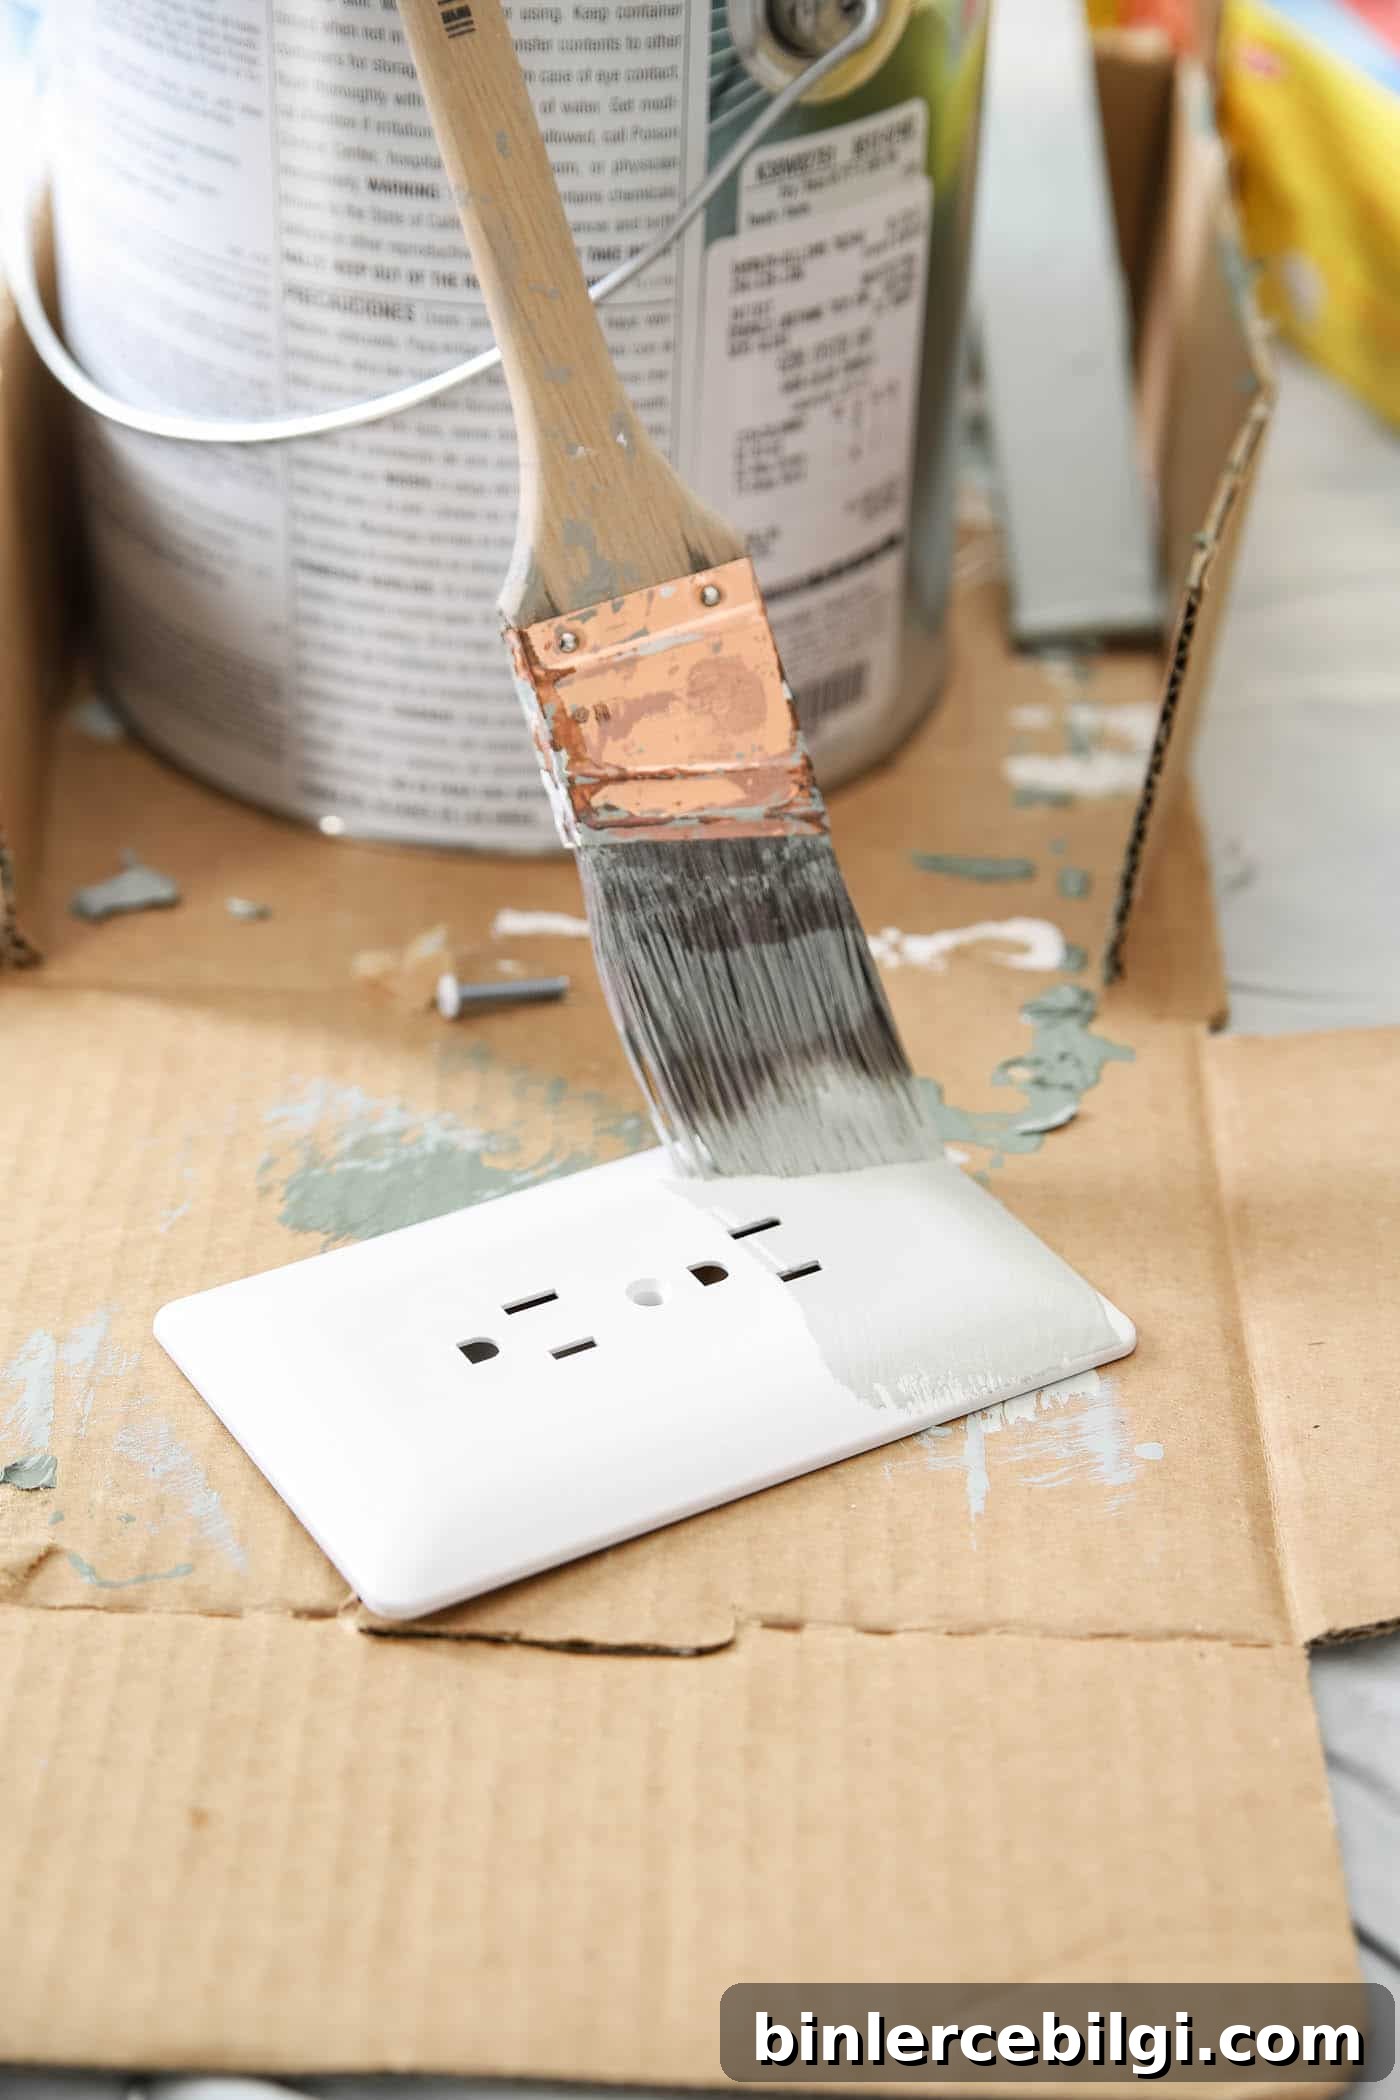
Supplies You Will Need
- Paintable outlet cover(s) sized for your outlets
- Paint — I used the same semi-gloss trim paint I used on the wall trim
- Small paint brush or mini roller for a smooth finish
- Small screwdriver to remove and replace the plate
- Fine-grit sandpaper or scuff pad (optional, for a smoother finish)
How to Paint Outlet Covers
The process is straightforward and quick. Follow these steps for a clean, professional-looking result:
- Turn off power at the switch to the outlet if you feel more comfortable doing small electrical work. You do not need to disconnect wiring to change the outer cover, but turning off nearby switches provides peace of mind.
- Remove the old outlet cover using a screwdriver and set it aside.
- Test-fit the new paintable cover over the existing outlet to make sure it aligns correctly and the screw hole lines up.
- Lightly scuff the paintable cover with fine-grit sandpaper if the surface feels very smooth; this helps paint adhere better.
- Paint the cover and the included screw. Two thin coats usually provide even coverage—allow adequate drying time between coats as recommended by the paint manufacturer.
- For the smoothest finish, consider using a small foam roller or spraying if you have the tools; a high-quality brush also works well for small areas.
- Once dry, attach the painted cover using the painted screw and tighten carefully so you don’t chip the finish.
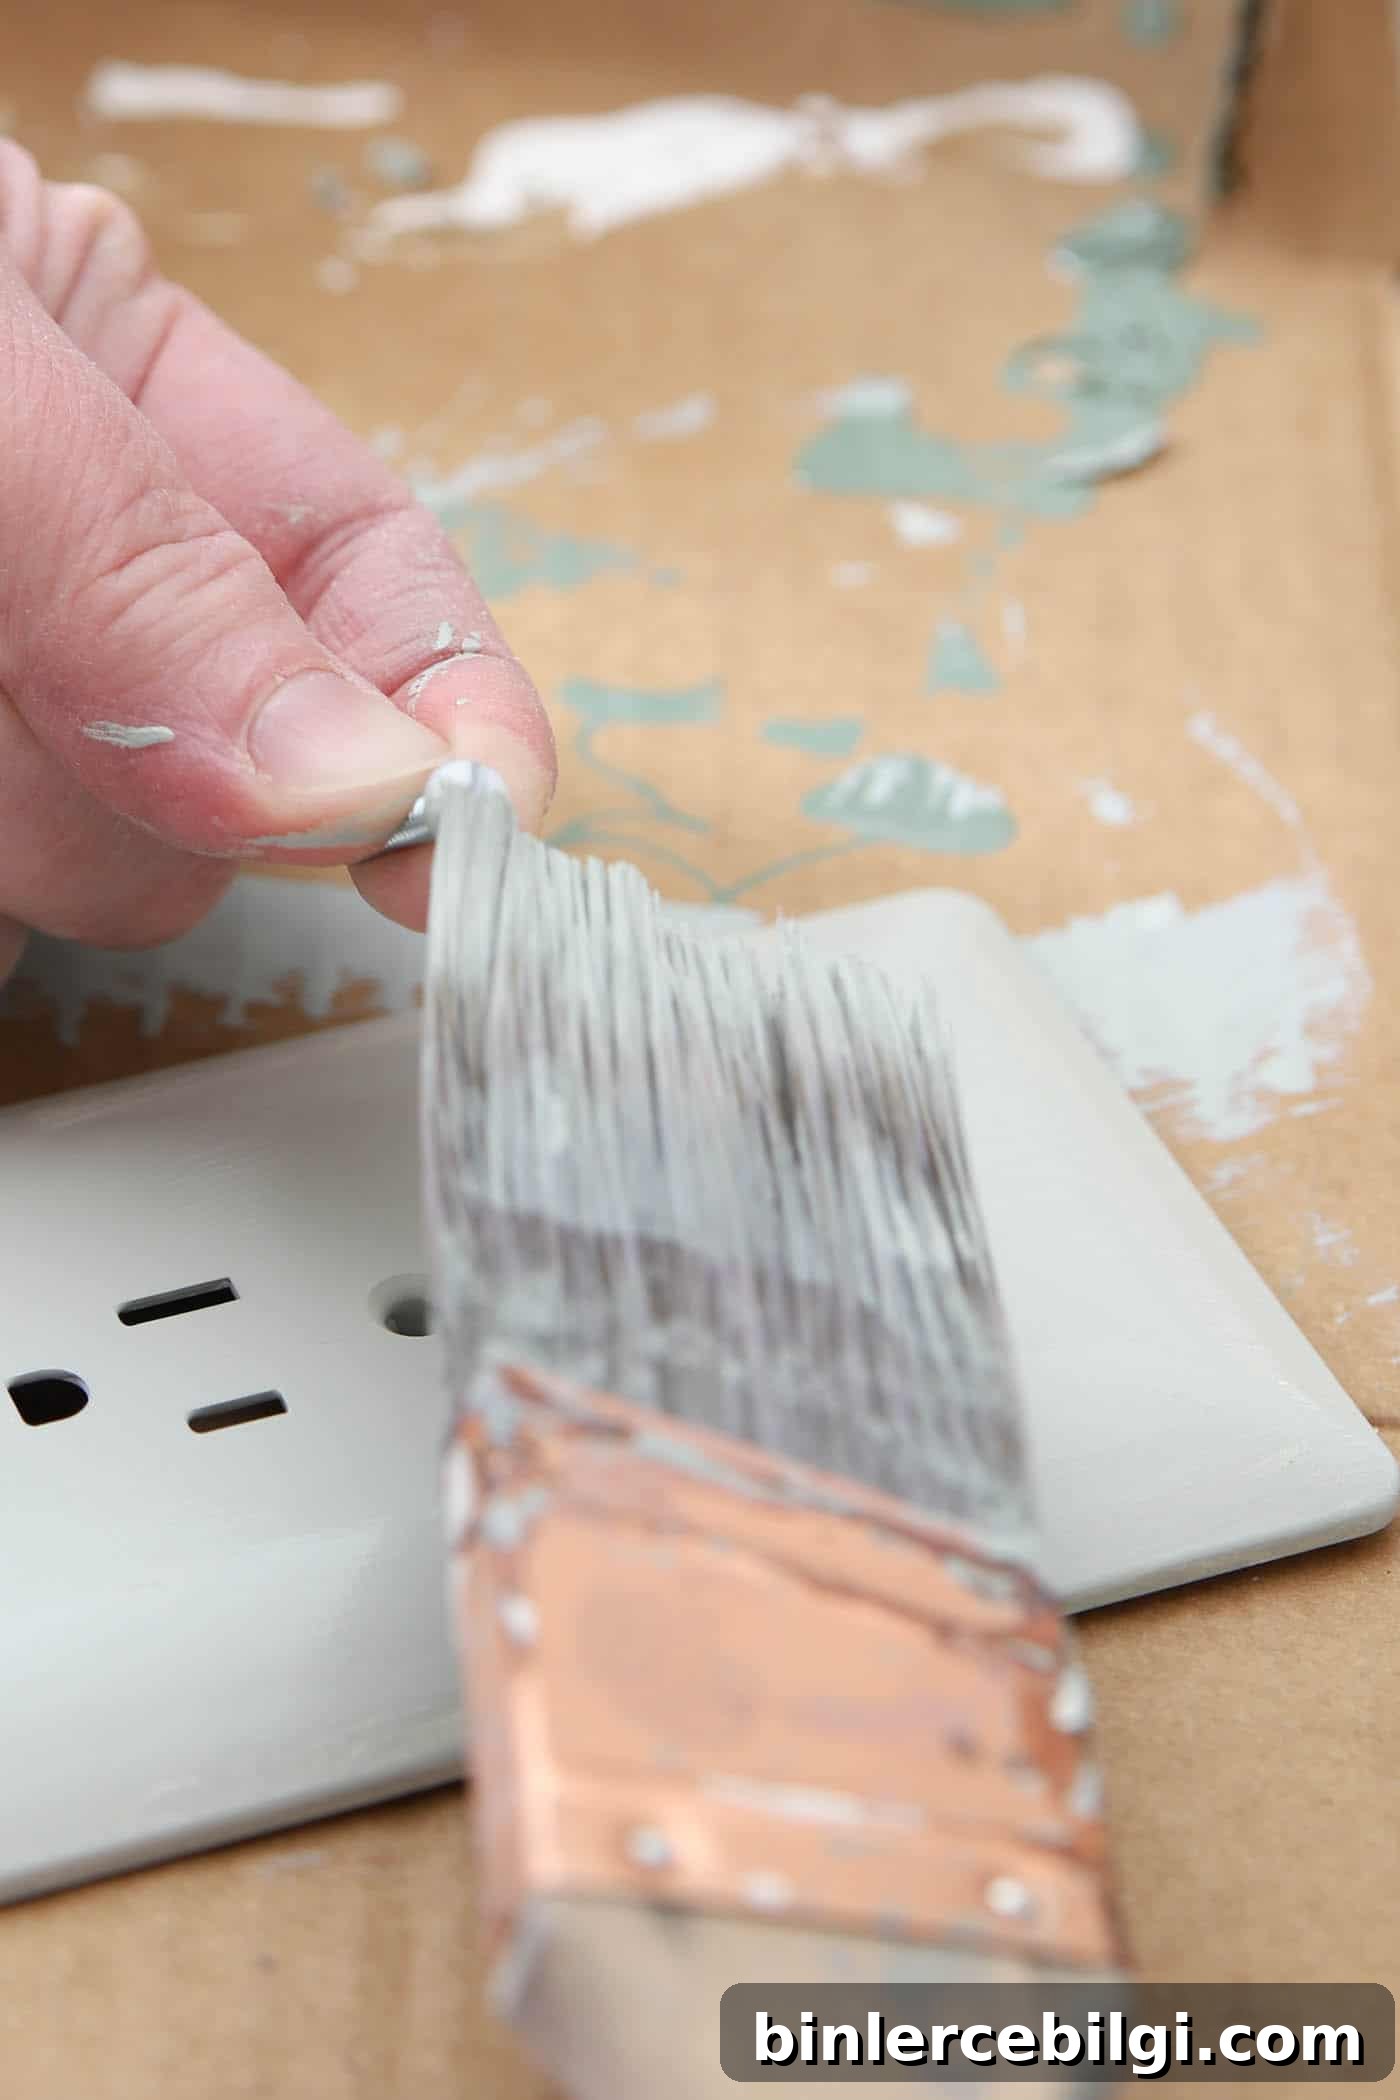
I applied two coats of paint before installation. Rolling can reduce brush marks and give a factory-smooth finish, but a good brush will still look excellent after two coats. Painting the screw is an easy step that completes the seamless look.
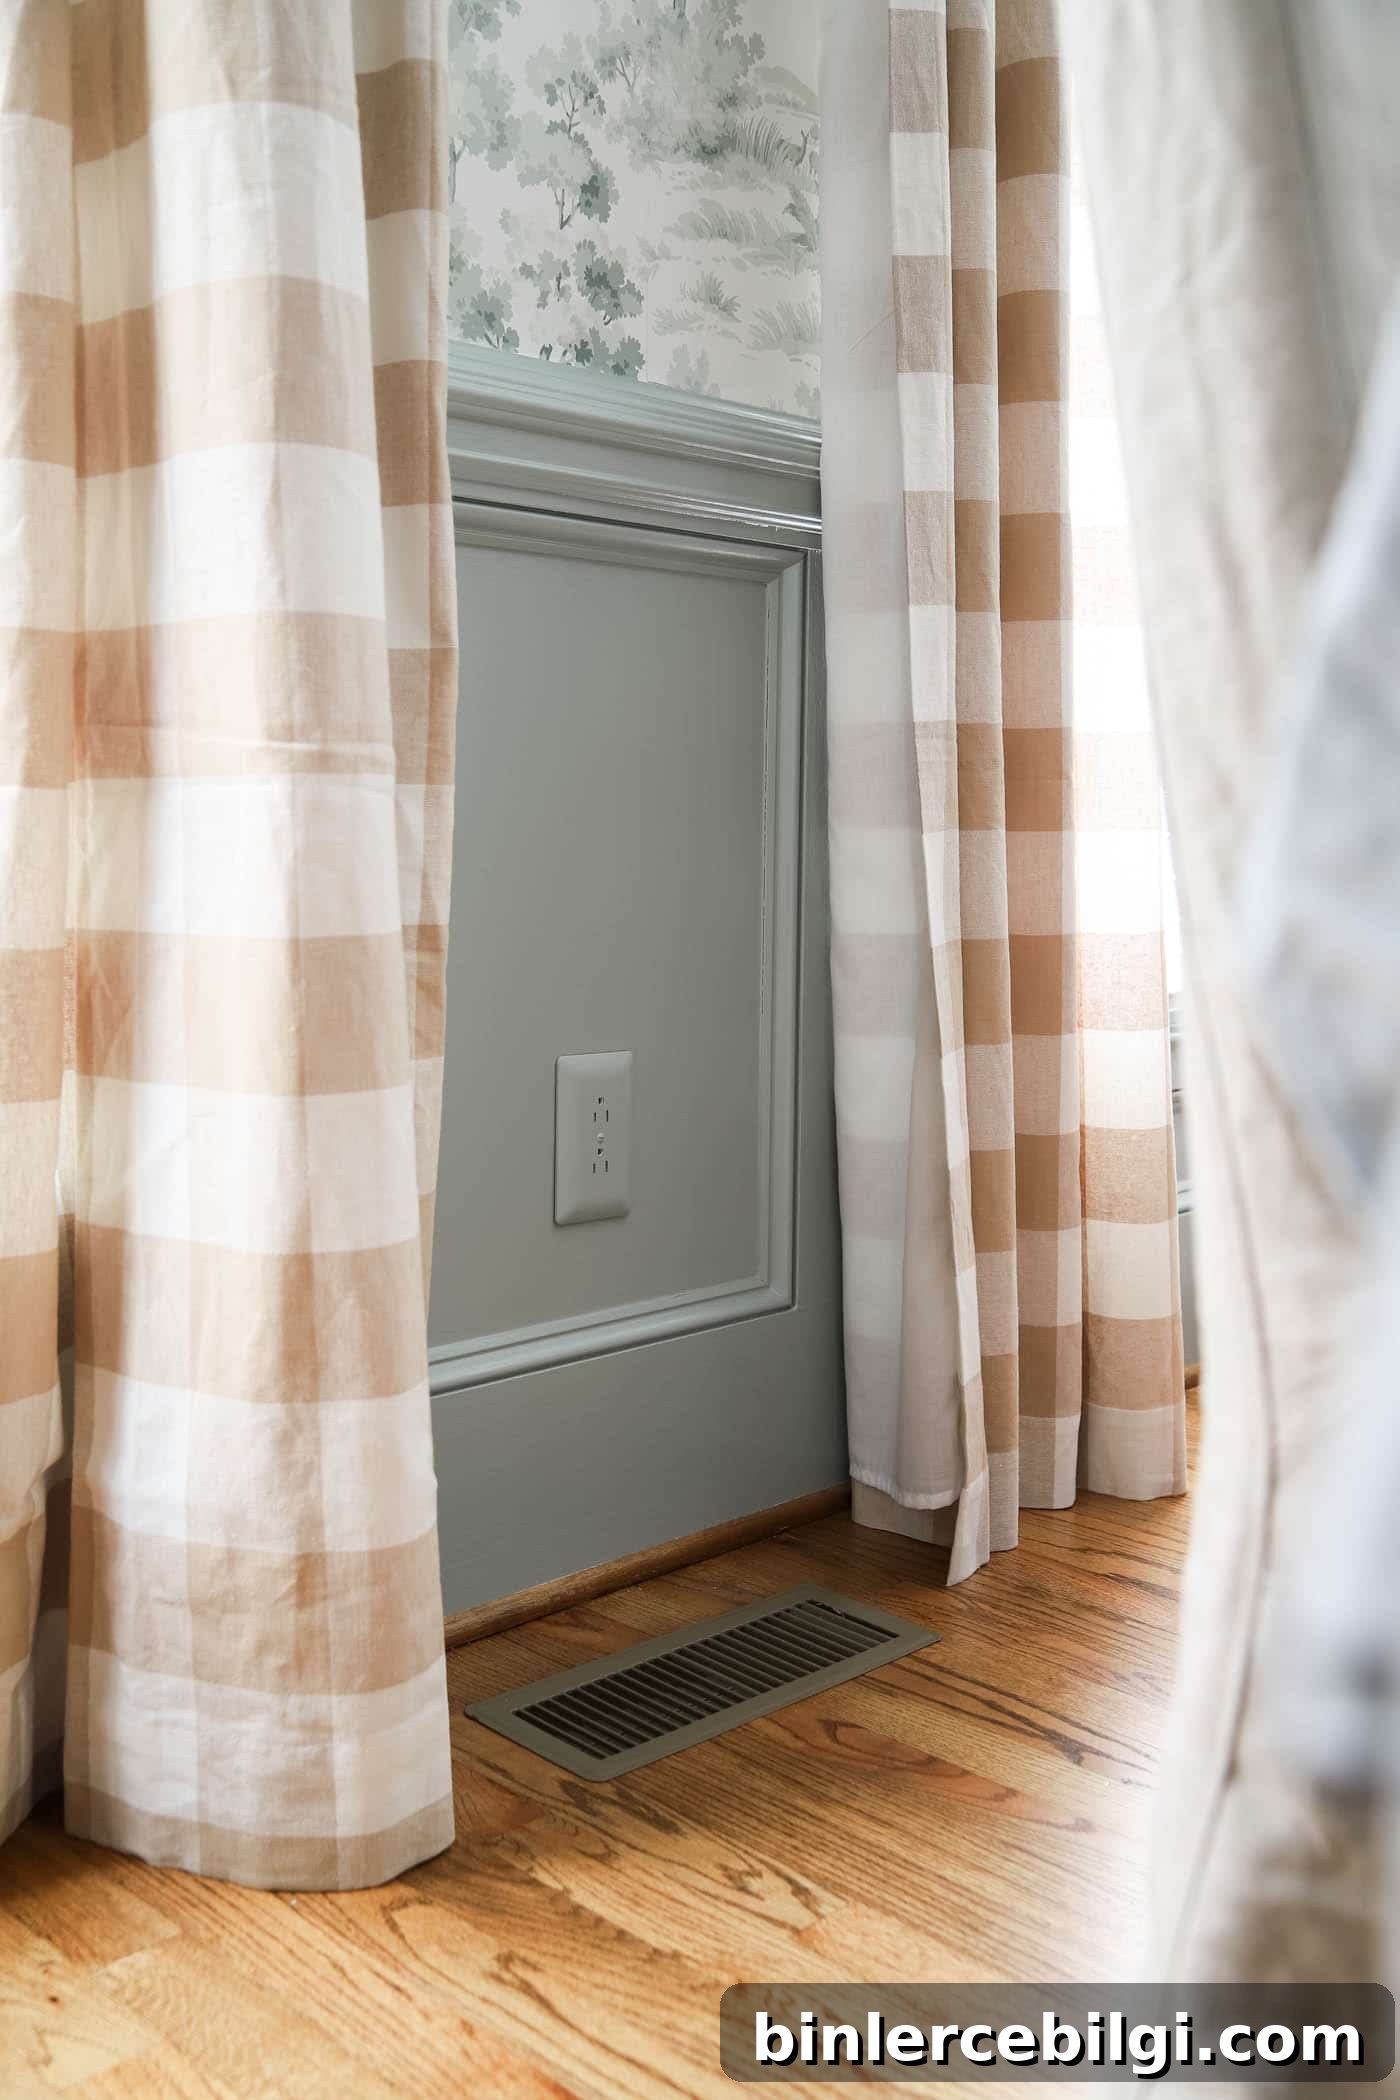
Tips and Safety
- Always avoid painting electrical contacts or the receptacle itself—only paint the outer cover and screw.
- If you’re unsure about electrical work, you don’t need to remove wiring to replace the cover; swapping the plate is a low-risk task.
- Match the paint finish (for example, semi-gloss for trim and baseboards) so the plate blends with surrounding trim or wall sheen.
- Allow ample drying time and handle the covers gently until fully cured to avoid fingerprints or scuffs.
- Buy an extra cover or two when starting your project so you have spares if a cover gets nicked while painting or installing.
I’m already scouting the rest of the house for spots that would benefit from these painted covers—my navy living room might be next! If you’ve discovered paintable outlet covers before, this is a friendly reminder of how a small DIY detail can make a big visual difference.
More posts you may enjoy:
- My Favorite Paint Tools, Tips and Tricks
- Paint a Room Like a Pro in 5 Easy Steps
- Which Interior Paint Finishes to Use? (+ Where To Use Them)
- How to Paint Trim: A Step-by-Step Guide
- How to Paint Countertops to Look Like Marble