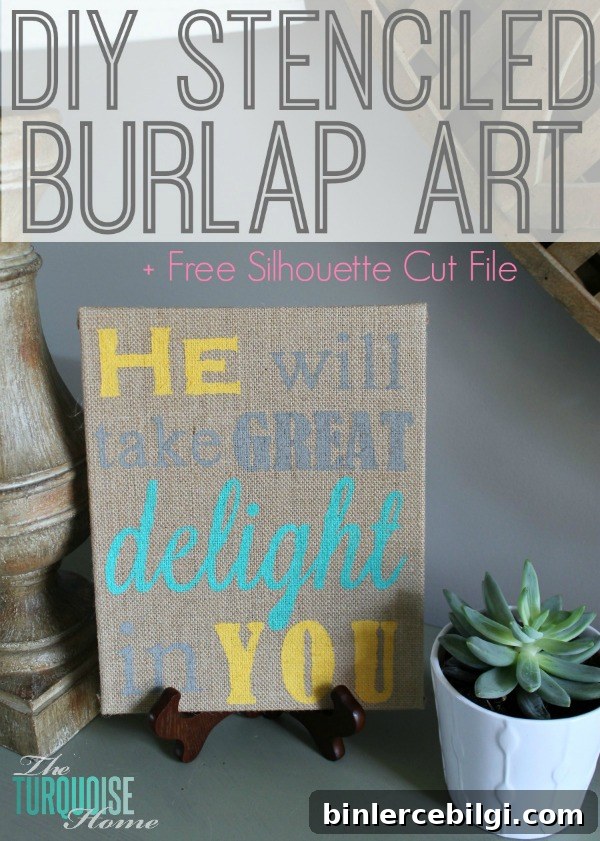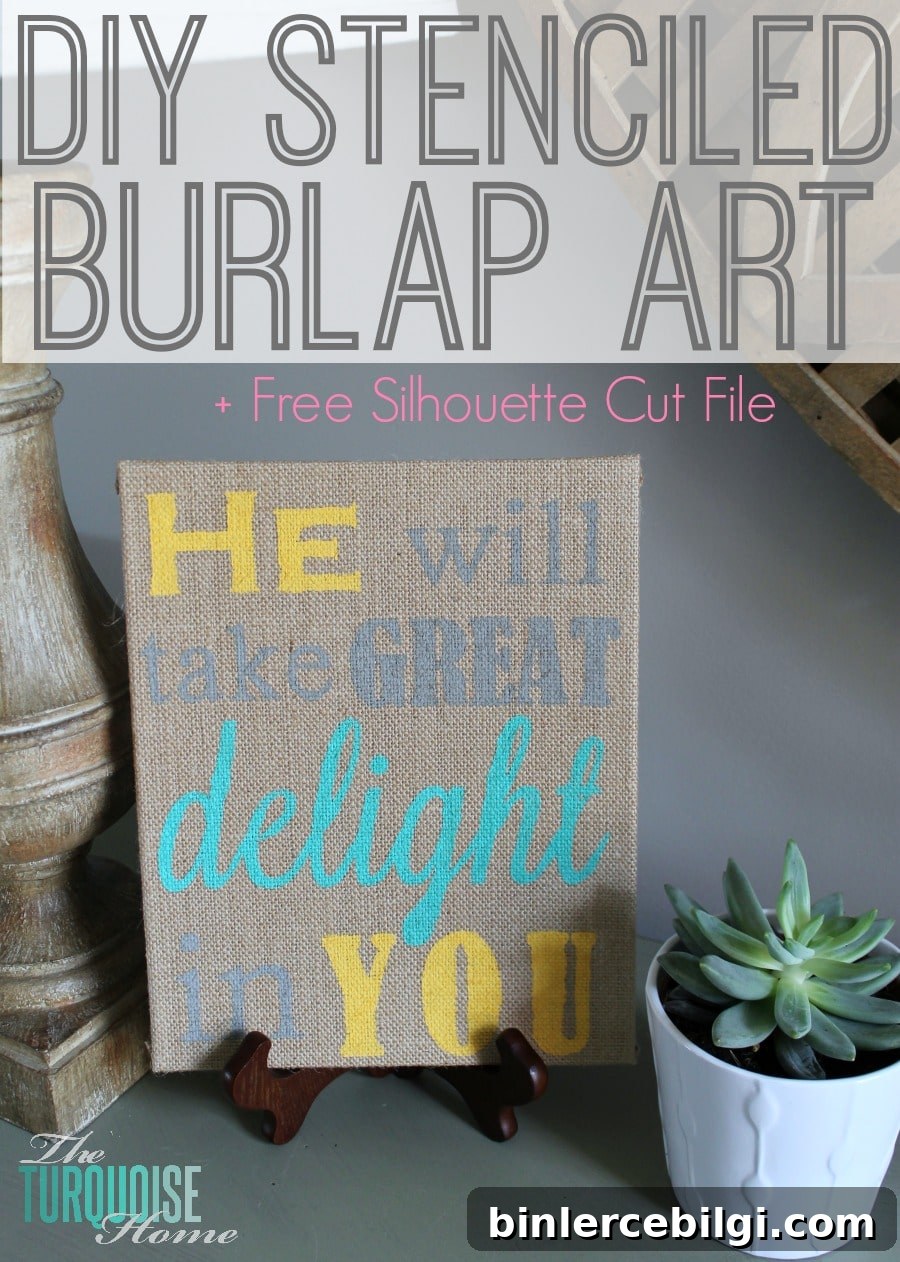
This simple tutorial shows how to create DIY stenciled burlap art using a Silhouette machine (or pre-made stencils) and a few easy steps.
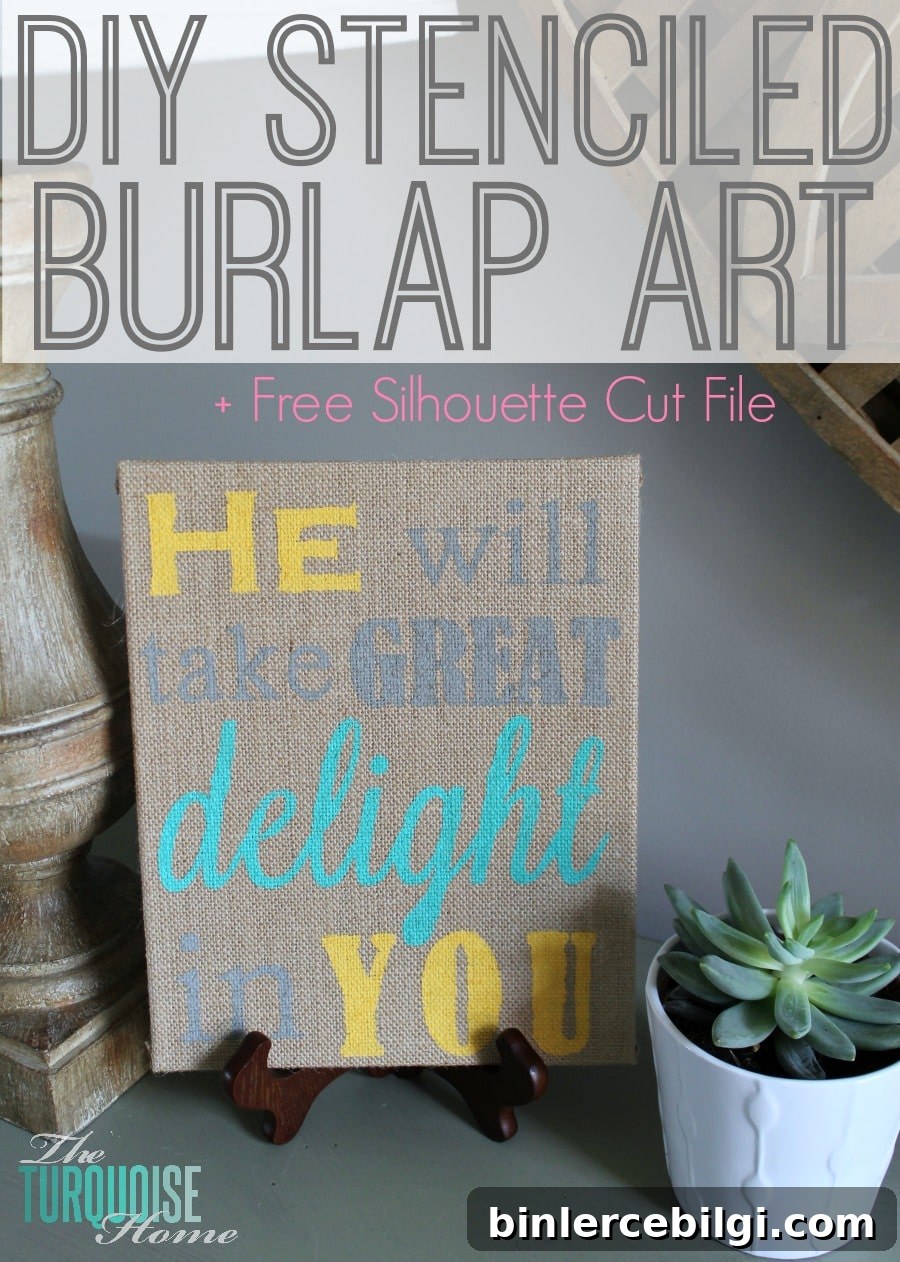
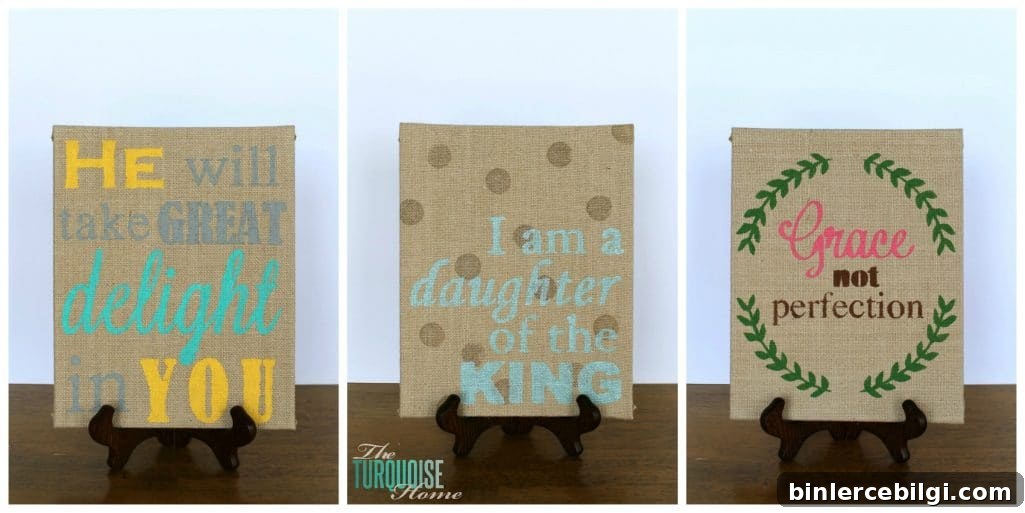
I recently made this project for about 150 women at a church conference, so I’ve tested a few shortcuts and tips to make the process quick and approachable for crafters at any level. I also learned the importance of slowing down and taking care of myself between big projects—rest matters—but I’m excited to share this easy burlap stenciling idea with you.
A few months ago I saw stretched burlap canvases and panels in craft stores and at Pinterest parties. The stretched burlap panels are an excellent base for stenciled designs — they’re affordable, lightweight, and give a textured, rustic look that works well in many home decor styles.
My goal was to create a craft that anyone could complete in a short amount of time, whether they’re a beginner or experienced crafter. Below I list the supplies I used and a step-by-step guide so you can make your own stenciled burlap art.
This post originally contained affiliate links.
Supplies for DIY Stenciled Burlap Art
- Artist’s Loft stretched burlap panels (available at major craft stores — canvases or panels both work)
- Blank stencil material or pre-made stencils (blank sheets are available at craft stores)
- Silhouette machine or any cutting machine (optional if you buy pre-made stencils)
- Acrylic craft paint in the colors you prefer
- Foam brushes (for pouncing paint through the stencil)
- Paper plate or palette for paint
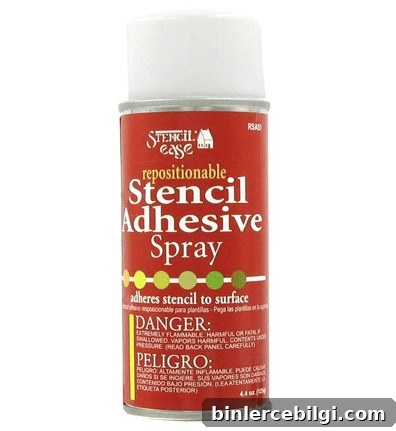
- Repositionable spray adhesive (helps hold the stencil firmly in place while painting)
How to Make DIY Stenciled Burlap Art
1. Design your stencil
Begin by creating the text or image you want to stencil. If you’re using a cutting machine, test font choices and sizes first. Some fonts need small bridges or cuts added to keep inner shapes (like the hole in an “o” or the center of an “a”) attached to the stencil. Planning those bridges prevents the middle pieces from falling out when you weed the stencil.
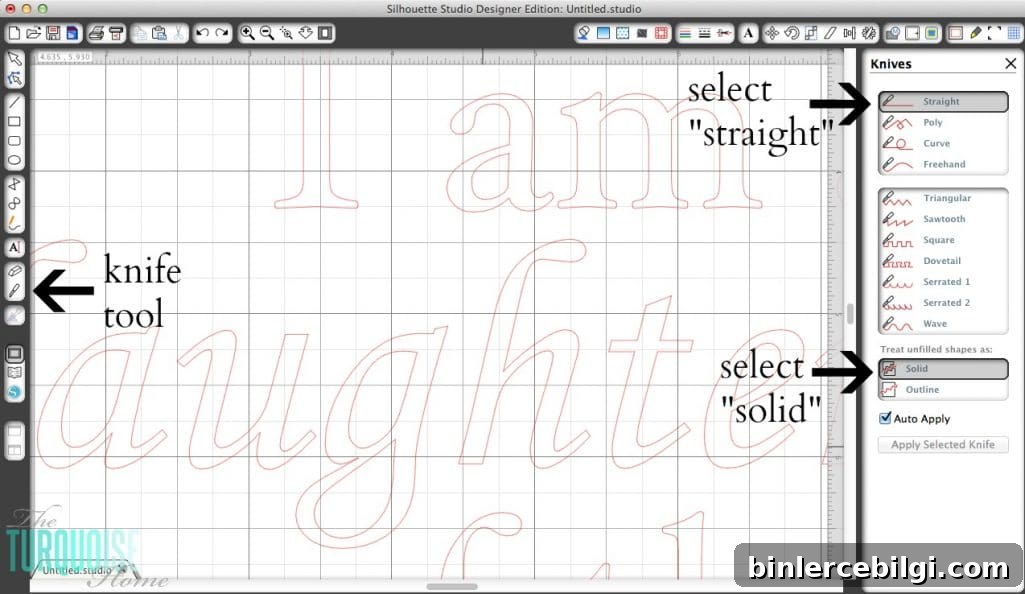
2. Turn any font into a stencil
In your cutting software, use the knife or cut tool to add small connecting lines where needed so the inner pieces remain attached to the stencil sheet. This step can be done manually for most fonts and ensures the final stencil stays intact when lifting it from the mat.
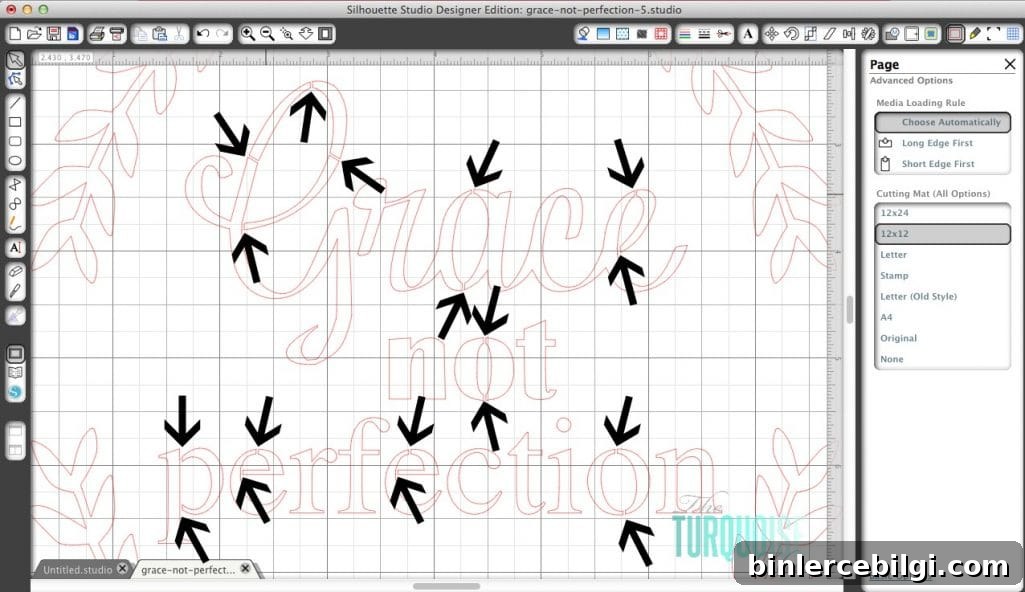
3. Cut the stencil
Load your stencil blanks into the cutting machine and cut the designs. If you’re unsure about settings, test on cardstock first to verify your design holds together before cutting the stencil material. Different stencil blank brands and sizes require different blade depths and speeds; thicker blanks may need a double cut. Testing prevents wasted materials.
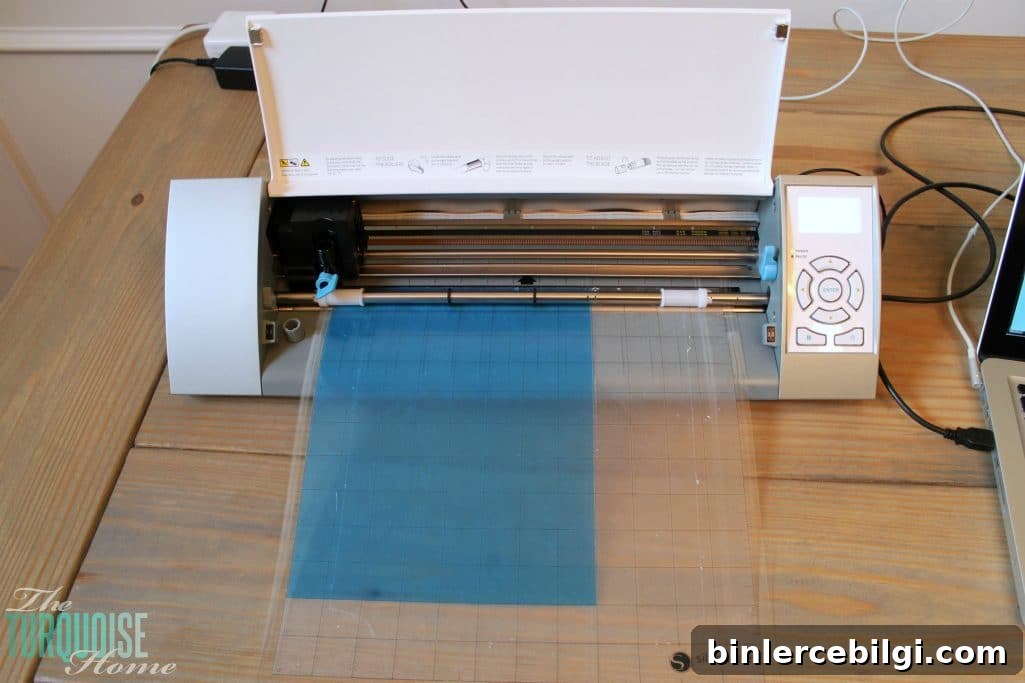
From my experience, larger stencil blanks cut differently than smaller ones, so keep a few test cuts handy and adjust blade depth and speed accordingly.
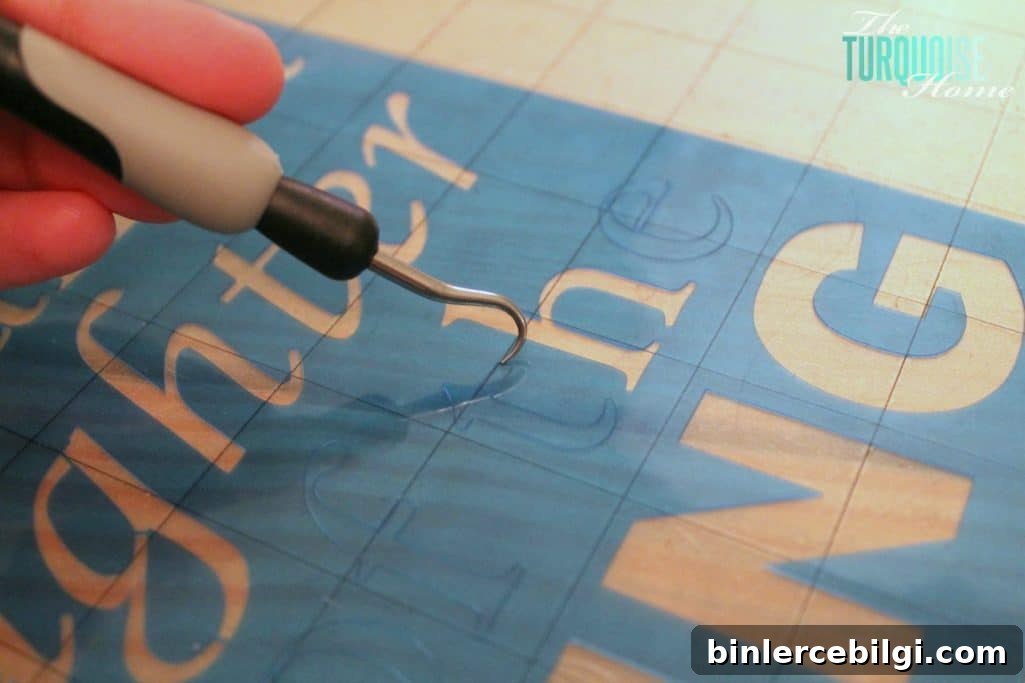
4. Weed the stencil
Carefully remove the excess stencil material, keeping the small interior pieces attached where you planned the bridges. For large batches this step can be repetitive, so take breaks and use a good weeding tool to speed things up.
5. Apply repositionable adhesive
Lightly spray the back of the stencil with repositionable adhesive so it stays flat and doesn’t shift on the burlap while you paint. This adhesive comes off cleanly and allows you to reposition the stencil if needed.
6. Place the stencil on the burlap and paint
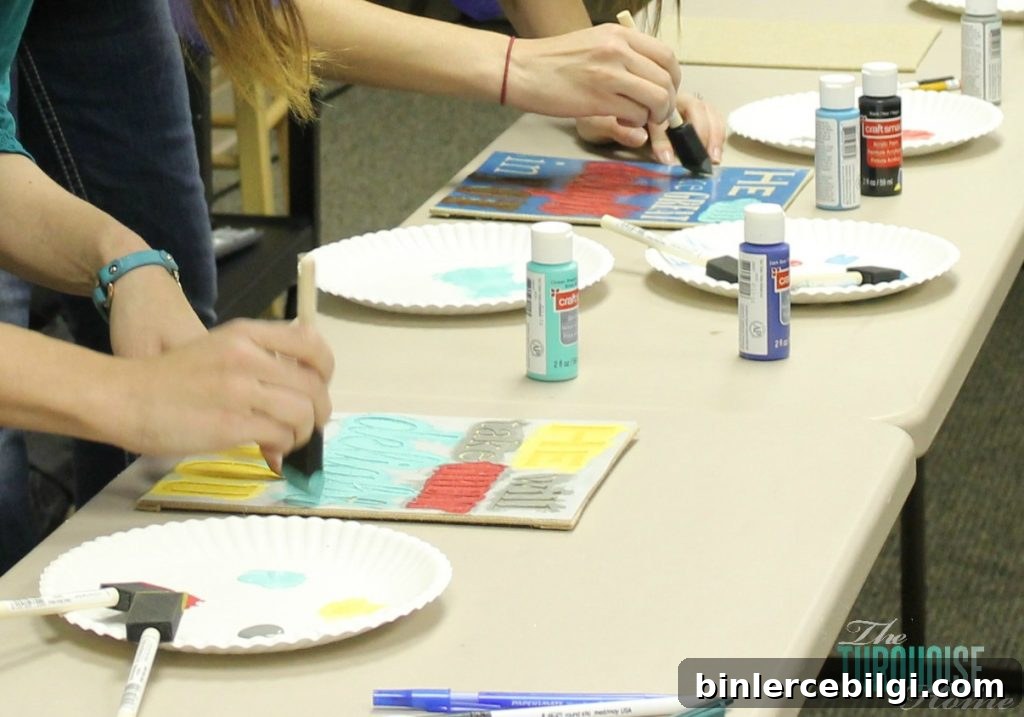
This is the fun part. Choose your paint colors and use a foam brush to pounce the paint onto the stencil. Two key tips for crisp stenciled edges:
- Use very little paint on the brush—dab off excess onto a paper plate before you start.
- Use an up-and-down pouncing motion rather than brushing side-to-side, which can force paint under the stencil and blur the edges.
7. Remove the stencil and let the paint dry
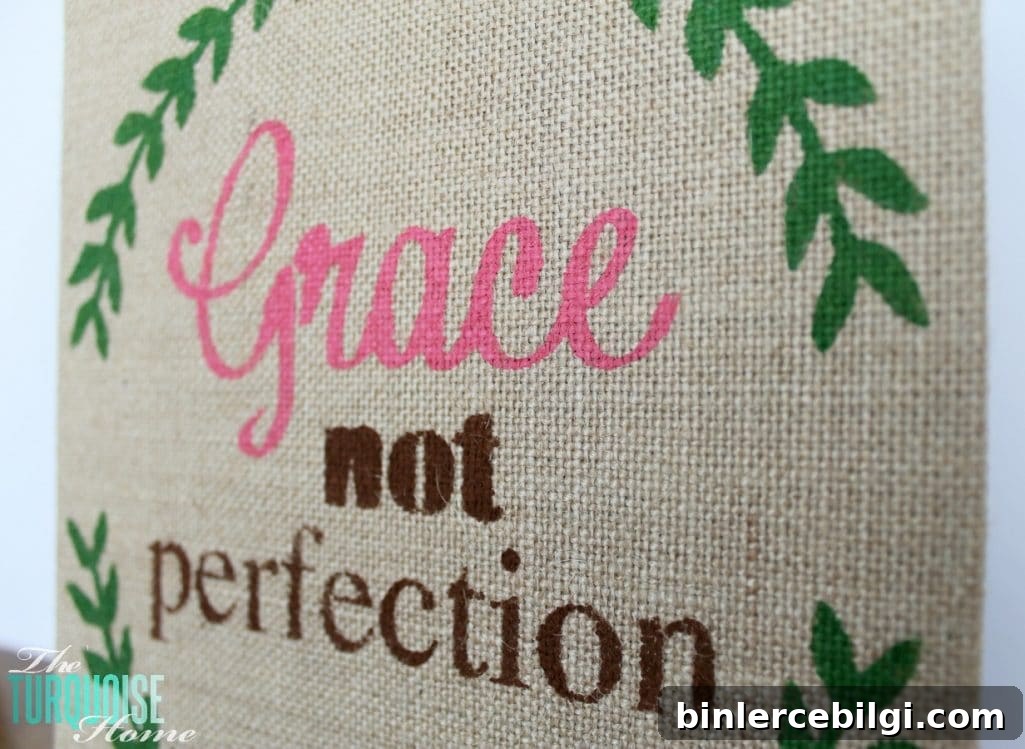
Carefully lift the stencil while the paint is still slightly wet to avoid peeling any paint away with the stencil. Allow your piece to dry completely before handling or hanging. I loved seeing the variety of finishes and color choices from everyone who made these at the conference—each one looked unique and beautiful.
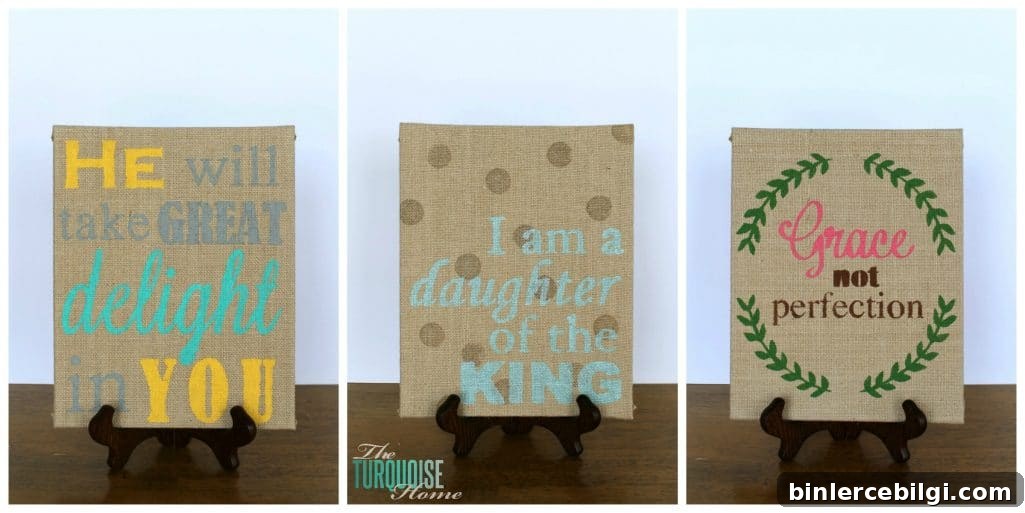

I created a few stencil files I used for the conference. If you would like the stencil files or have questions about settings for specific stencil blanks, comment or reach out and I’ll share what I can.
Have you tried stenciling on burlap before? Do you have favorite tools, tricks, or color combinations? I’d love to hear about your experience—please share your tips or variations.
Please feel free to save or pin this project for later inspiration.