
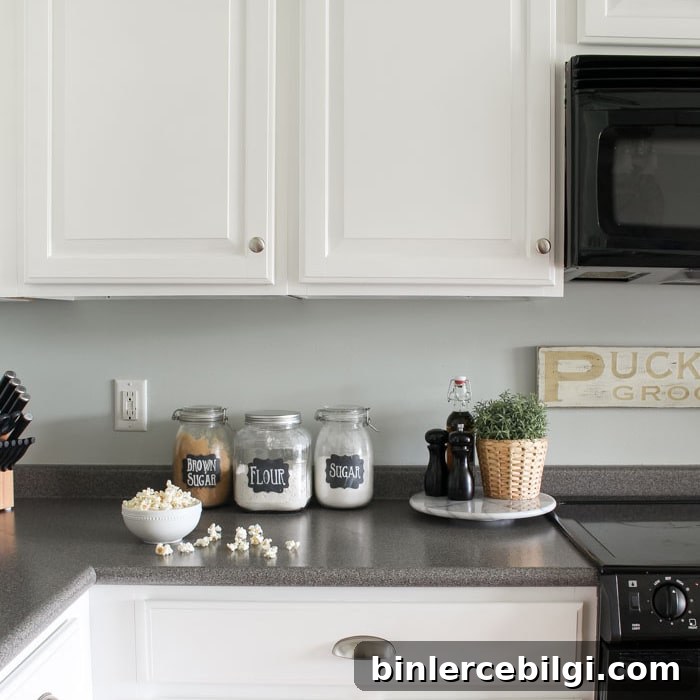
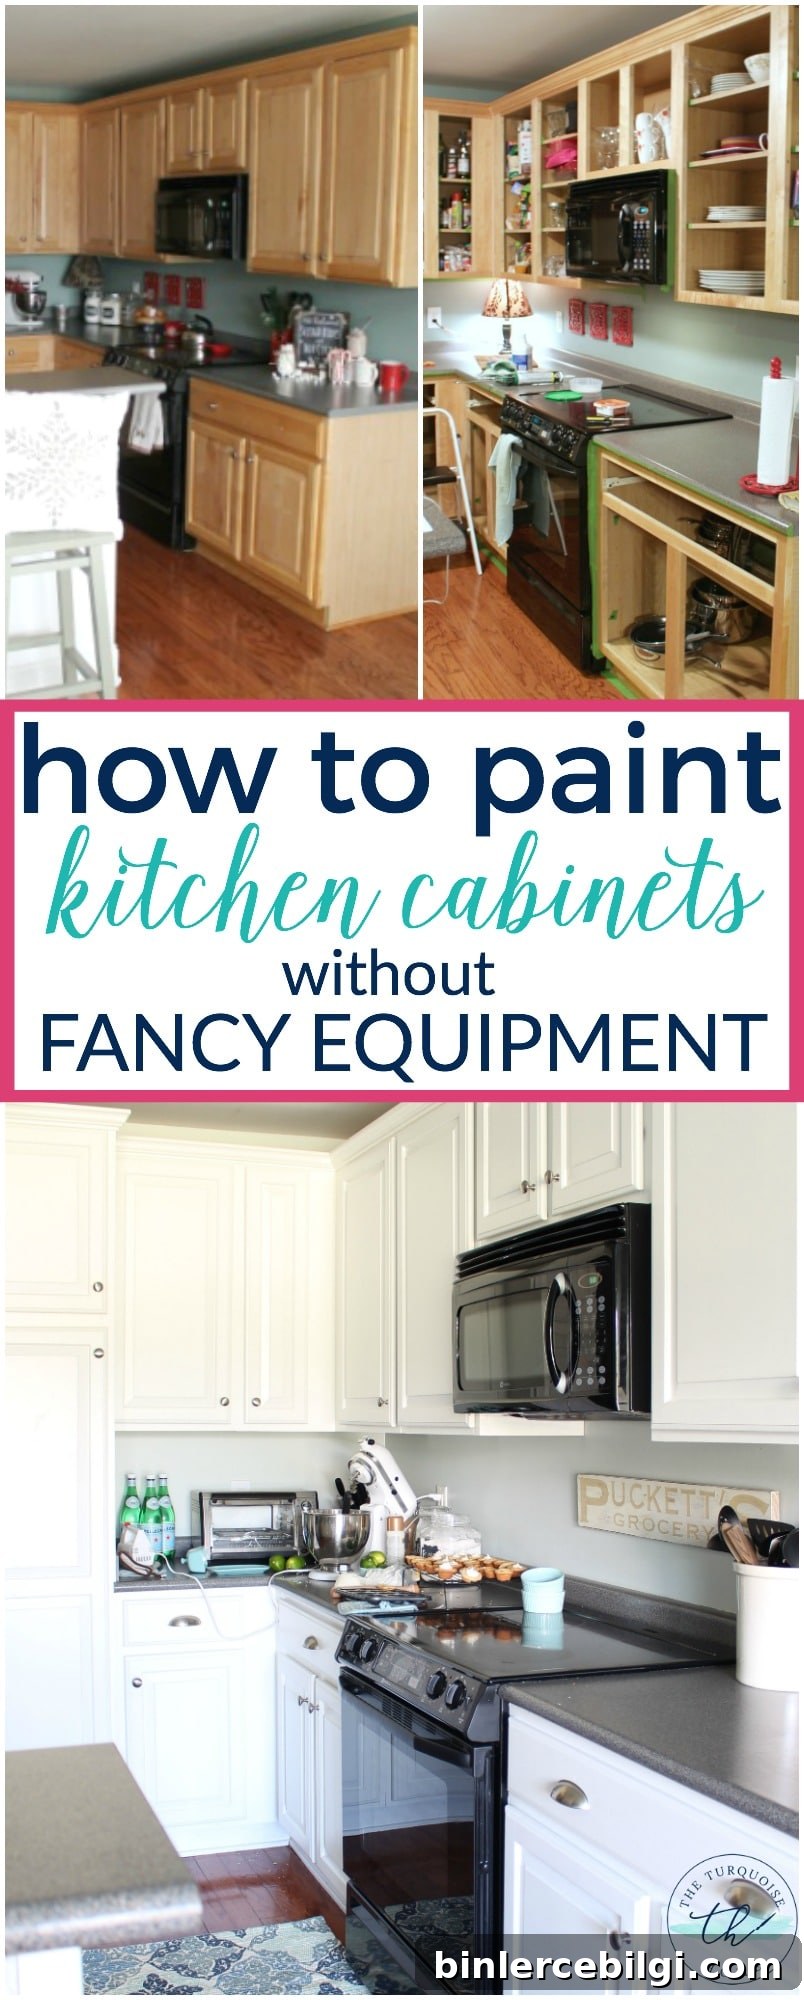
How to paint kitchen cabinets without professional equipment isn’t hard when you follow these easy DIY steps. This full tutorial shows how I transformed my tired kitchen with a little elbow grease and a modest budget—I’d do it again in a heartbeat for these results.
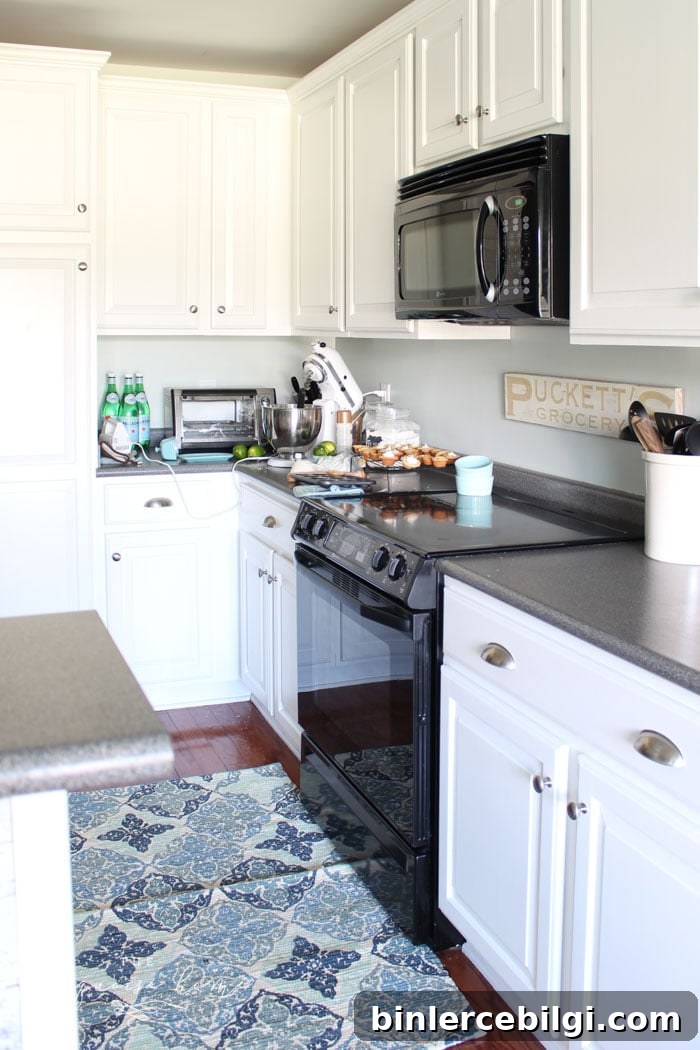
Before we dive into the step-by-step tutorial on how to paint kitchen cabinets and refresh your space, a quick word of warning:
Painting cabinets is a lot like childbirth—intense effort, occasional swearing, and a timeline that often stretches beyond what you imagined. The process requires patience and persistence.
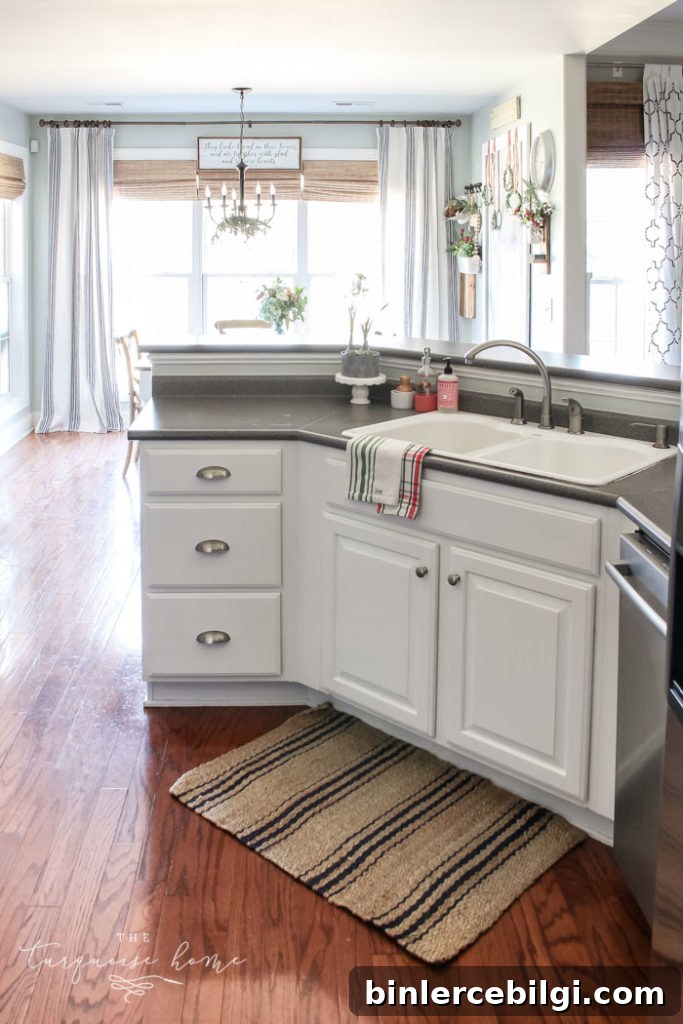
That said, when the freshly painted cabinets are finished and hanging in your kitchen, the payoff is immediate and worth every minute. The anxiety and effort fade fast when you see the final result.

Want to Save This?
Enter your email below and I’ll send it directly to your inbox!
How to Paint Kitchen Cabinets: The Timeline
This timeline covers removing the doors, prepping and painting them, and prepping and painting the exterior of the cabinet boxes. I didn’t paint the insides of the cabinets.
Working mostly during nap times and evenings, it took me about four weeks to complete a small-to-medium kitchen on my own, with one day of extra help from my mom and my husband assisting to hang the doors back up. If you plan for a realistic pace, expect roughly 4–6 weeks for a similar project if you’re working around family and other responsibilities.
If you’re able to dedicate uninterrupted time, you may finish sooner—but plan conservatively so you don’t rush the prep and painting stages.
How to Paint Kitchen Cabinets: Supplies
Here are the essential supplies for painting cabinets using brushes and rollers:
- Painter’s tape
- Degreaser (for cleaning)
- Wood filler
- Electric sander or sandpaper (an electric finishing sander saves time)
- Foam roller for smooth coverage
- Liquid deglosser (optional, for avoiding sanding in some areas)
- High-quality primer
- Cabinet-grade paint (semi-gloss or gloss recommended)
- Good paint brushes (angled brush for detail)
- Tack cloths for dust removal
Best Paint for Kitchen Cabinets
Choosing the right paint is one of the most important decisions. Use a paint formulated for cabinets and trim in a semi-gloss or gloss finish. These finishes are easier to clean and create a harder, more durable surface than flat or eggshell finishes.
I’ve used several cabinet paints. Some are thinner and self-level better, reducing brush strokes, while others dry faster and may show more texture. If you choose a paint that tends to show brush strokes, add a paint conditioner (follow the product directions) to improve flow and reduce marks.
How to Paint Kitchen Cabinets
Step 1: Gather Your Supplies
Decide on your paint color, buy the paint and primer, and collect tape, sanders or deglosser, drop cloths, degreaser, brushes and rollers. Clear a workspace—I used the garage for sanding and priming and my dining room for painting the doors. Remove items from the cabinets or store them elsewhere to make workspace and keep curious kids away from removed doors and hardware.
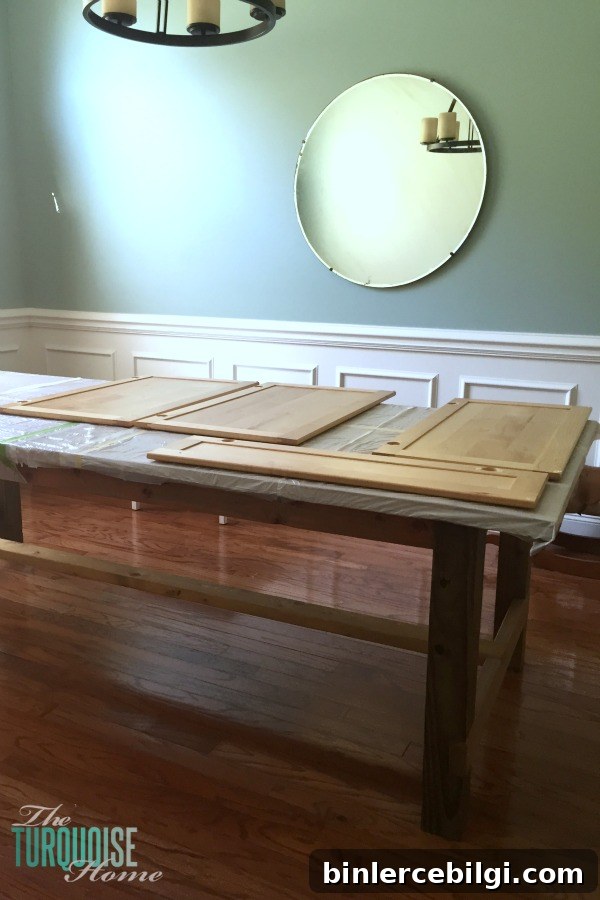
Step 2: Remove Doors & Hardware
Removing doors and hardware is time-consuming—ask for help if possible. Label each door and its corresponding cabinet so reinstallation is simple: write a number under the hinge location and cover it with a small piece of tape to protect the marking from paint. Place each door’s hardware into a labeled baggie and keep them with the matching door or inside the cabinet.
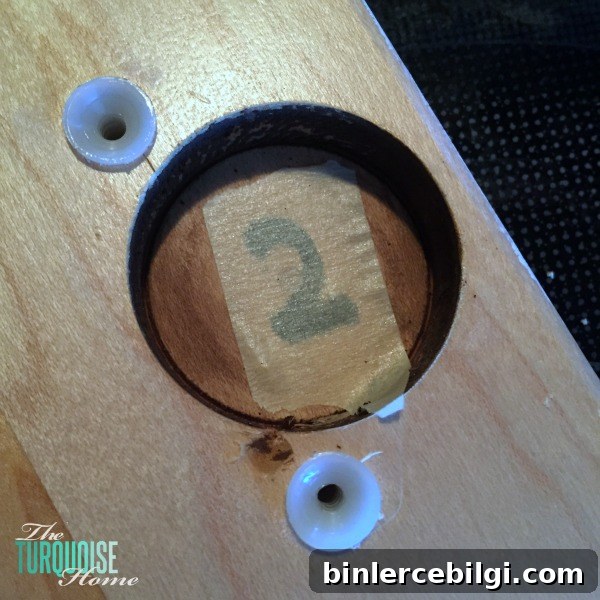
Step 3: Clean with a Degreaser
Thoroughly clean all cabinet faces, doors and drawer fronts with a degreaser. Kitchens collect grease and grime you can’t always see—skipping cleaning will affect adhesion and the final finish. Use a stronger cleaner for sticky spots and a gentle daily cleaner for general wipe-downs.
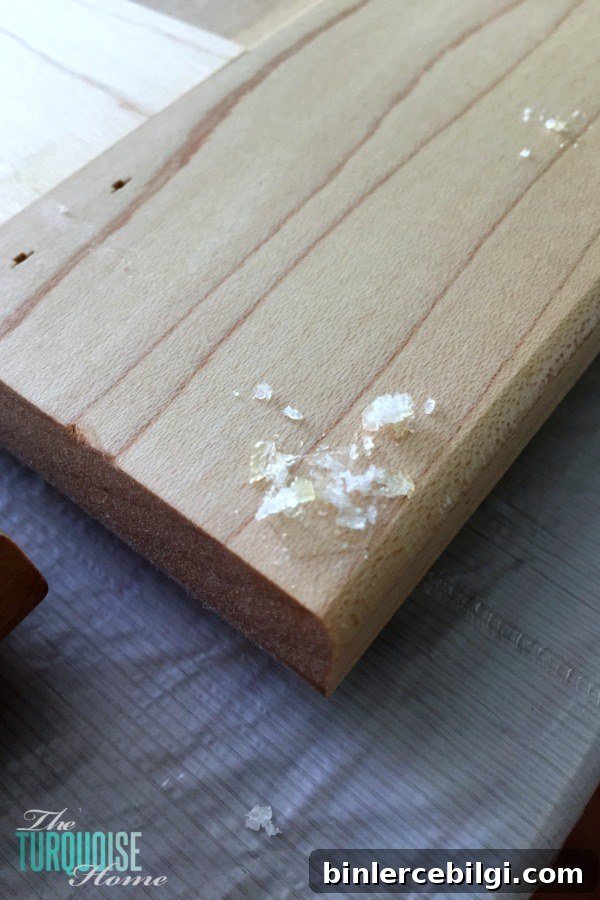
Step 4: Fill and Drill Hardware Holes
If you’re changing hardware, fill the existing holes with wood filler and sand smooth. If you’re keeping existing hardware, inspect each hole and tighten or replace fasteners as needed. Plan ahead so you can drill new holes later if you change knob or pull spacing.
Step 5: Patch, Caulk and Fix Damage
Repair any cosmetic or structural issues before painting. Use wood glue, brad nails, caulk and filler to fix loose panels, gaps, and damaged toe kicks. A smooth, even surface makes a big difference under paint and helps achieve a professional-looking finish.
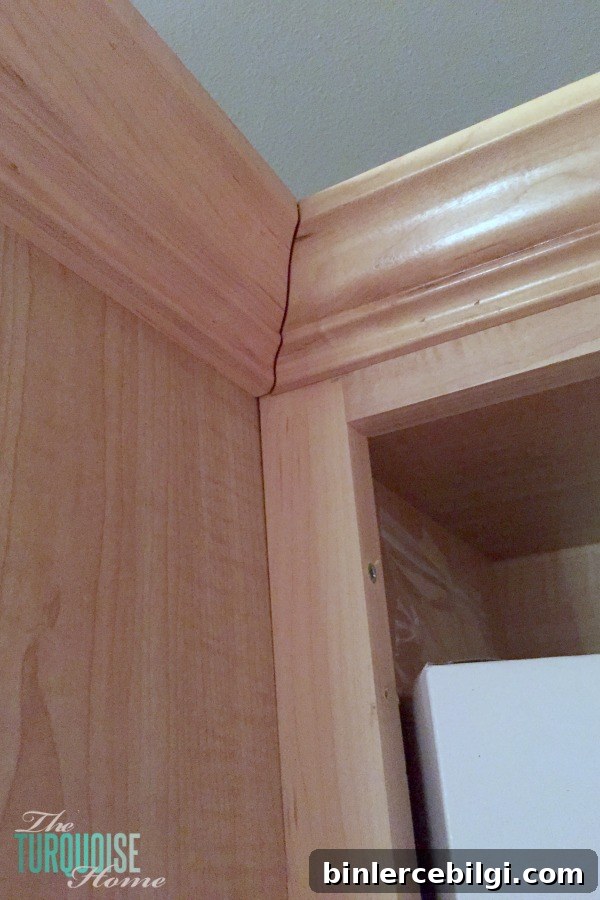
Step 6: Sand (or Degloss) Everything
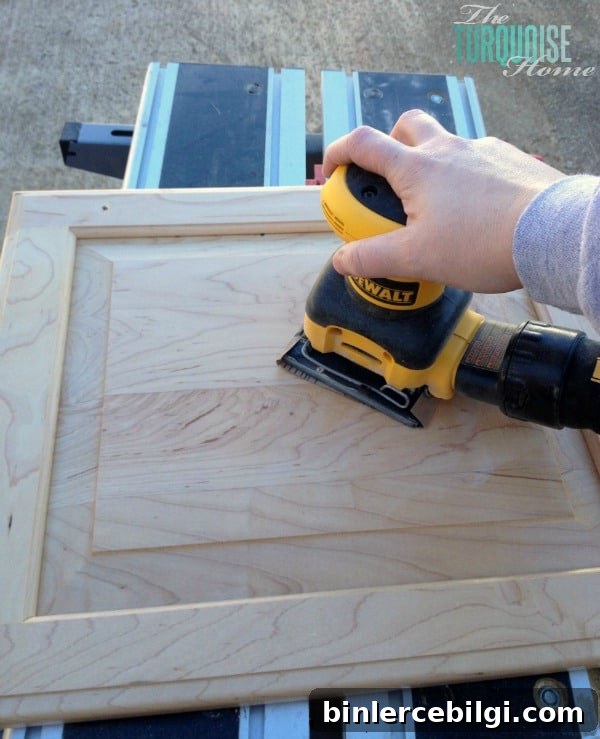
Lightly sand cabinet doors front and back with a finishing sander to degloss the surface and give primer something to bite into. Use medium-grit paper to rough up the finish but don’t sand to bare wood. Wipe clean with tack cloths after sanding.
As an alternative, a liquid deglosser can be used on cabinet boxes to avoid sanding dust. If you use a deglosser, follow safety directions, use gloves, and ensure good ventilation. Sanding typically provides better adhesion, but deglossers can save time if used carefully.
Step 7: Tape the Surroundings
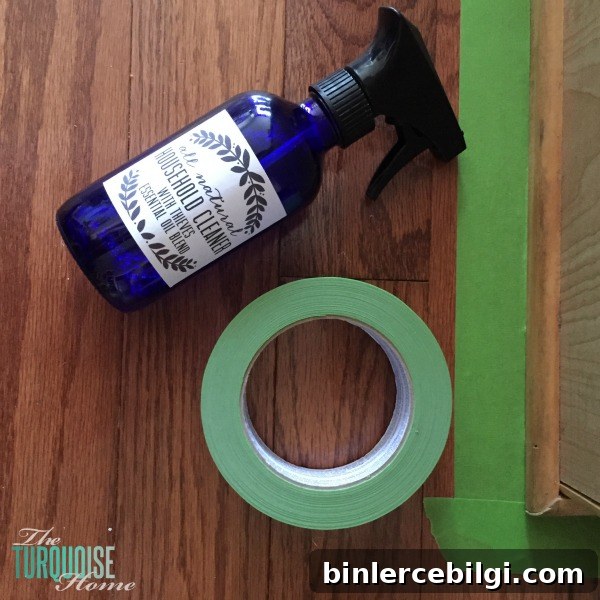
Protect adjacent walls, floors and countertops with painter’s tape and drop cloths. Proper masking prevents accidental paint on surfaces and helps produce clean edges.
Step 8: Prime Everything
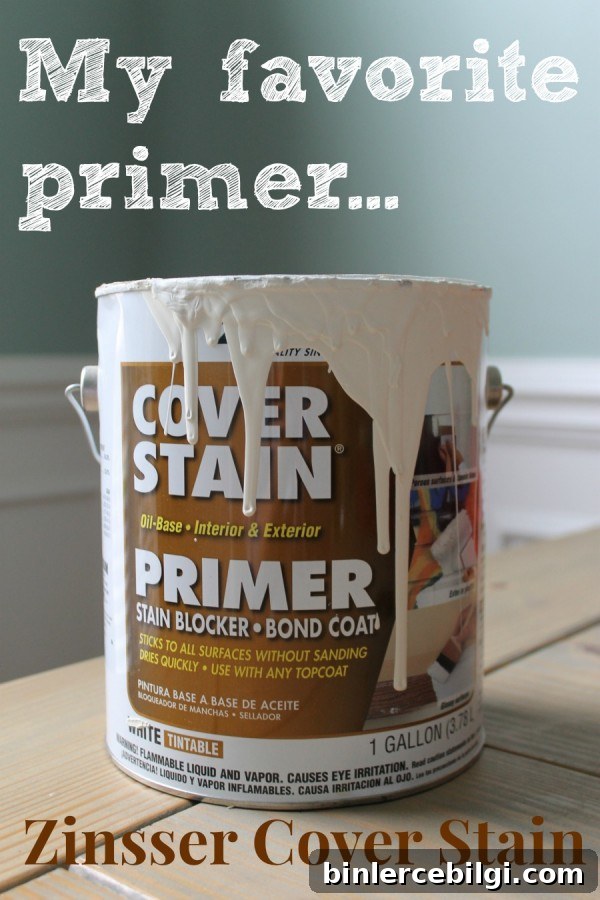
Use a high-quality primer designed to bond to slick surfaces. Don’t skip primer or try a paint-and-primer-in-one for cabinetry—prime first for adhesion and durability. Use a disposable brush and a foam roller for oil-based primers, and consider tinting primer if you’re moving to a very dark or saturated finish.
Step 9: Sand Any Drips or Runs
After primer dries, inspect and lightly sand any drips, runs or rough spots with fine-grit sandpaper. Wipe clean before painting.
Step 10: Paint
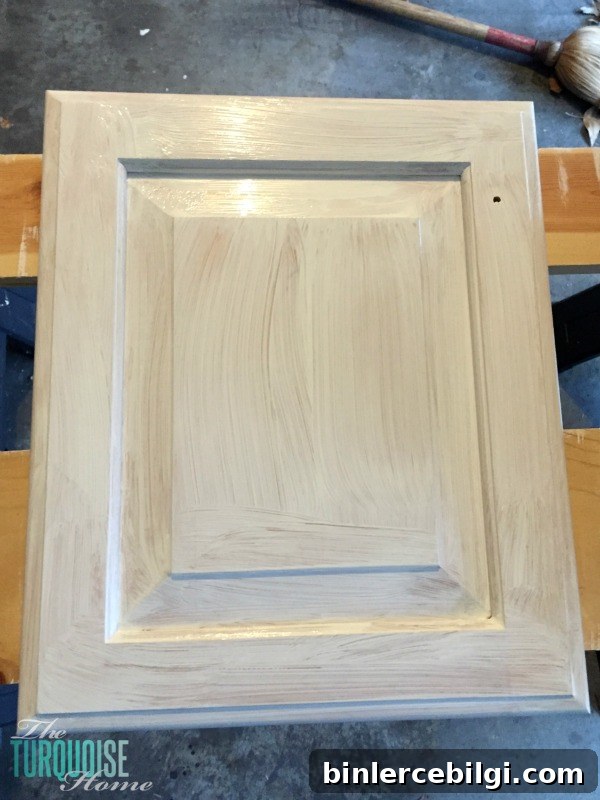
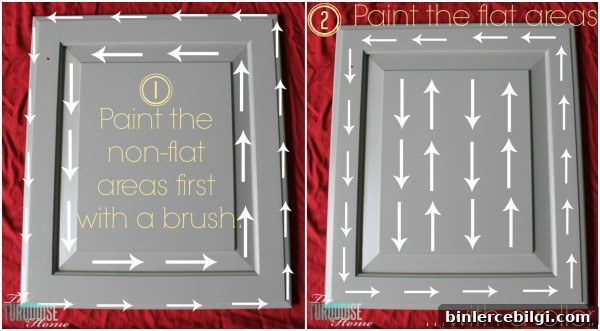
Paint in controlled coats. Start with the backs of doors and apply all coats needed before flipping to the front—this minimizes the risk of handling marks. Use a brush for detailed or beveled areas and a fine foam roller for flat surfaces to reduce brush strokes and achieve a smooth finish. Apply thin, even coats and watch for pooling in corners.
Step 11: Sand Between Coats When Needed
Follow your paint manufacturer’s recommended recoat time. If you notice texture or small drips after the first coat, sand lightly with fine sandpaper and wipe clean before applying the next coat. If the surface is smooth, you can often skip intermediate sanding.
Step 12: Repeat Coats and Reinstall
Most cabinet doors need two to three coats for full, even coverage. Allow proper drying time, then reinstall hardware and hang the doors. Check alignment and make any final adjustments. The result is a refreshed kitchen that can transform the look of the whole room.
Final tips: recruit help for heavy or repetitive tasks, keep kids and pets away from wet paint, and use a paint conditioner if your paint shows brush marks. With careful prep and patience, painting kitchen cabinets yourself delivers beautiful, long-lasting results without professional equipment.
More Posts You Will Love:
- Painted Kitchen Cabinets: 2 Years Later
- Budget-Friendly DIY Kitchen Cabinet Ideas
- How To Display Kitchen Cabinet Wreaths
- A Coastal Summer Living Room & Kitchen
- A Peachy Summer Kitchen