
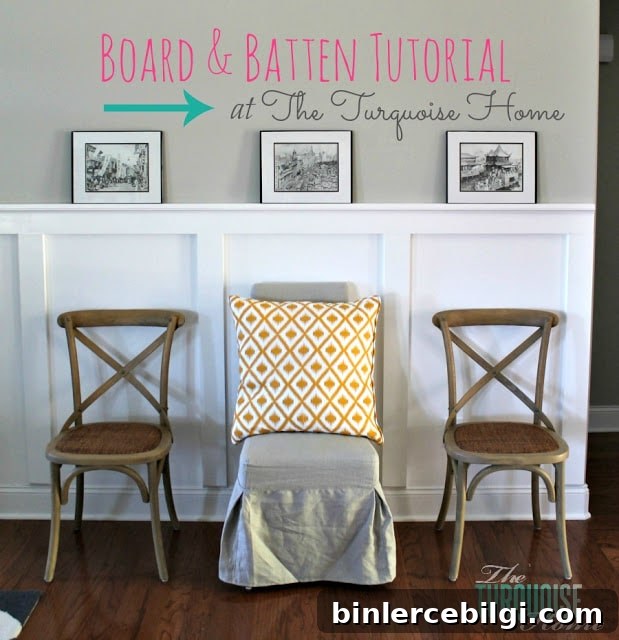
Use this simple, budget-friendly DIY board and batten wainscoting tutorial to give your home character and architectural interest.
Board and batten is a popular update for interiors, and after living with it in our large living room I’m sharing the exact process I followed—including what worked, what didn’t, and the mistakes I learned from so you can avoid them.
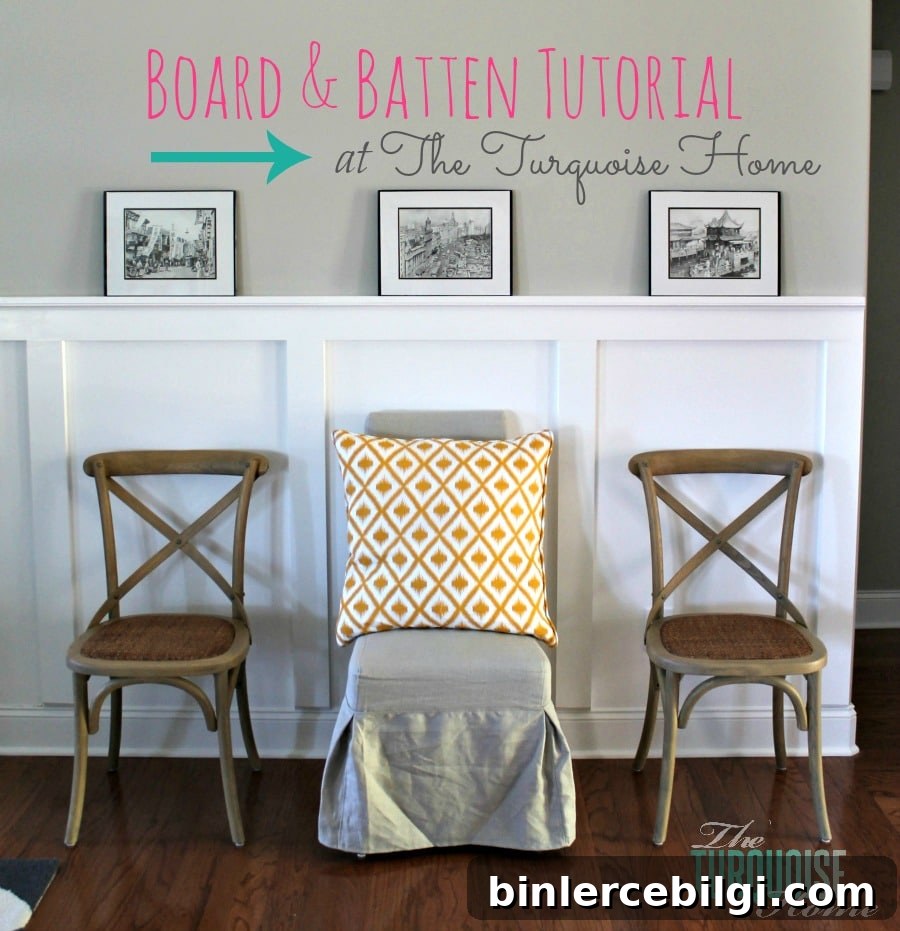
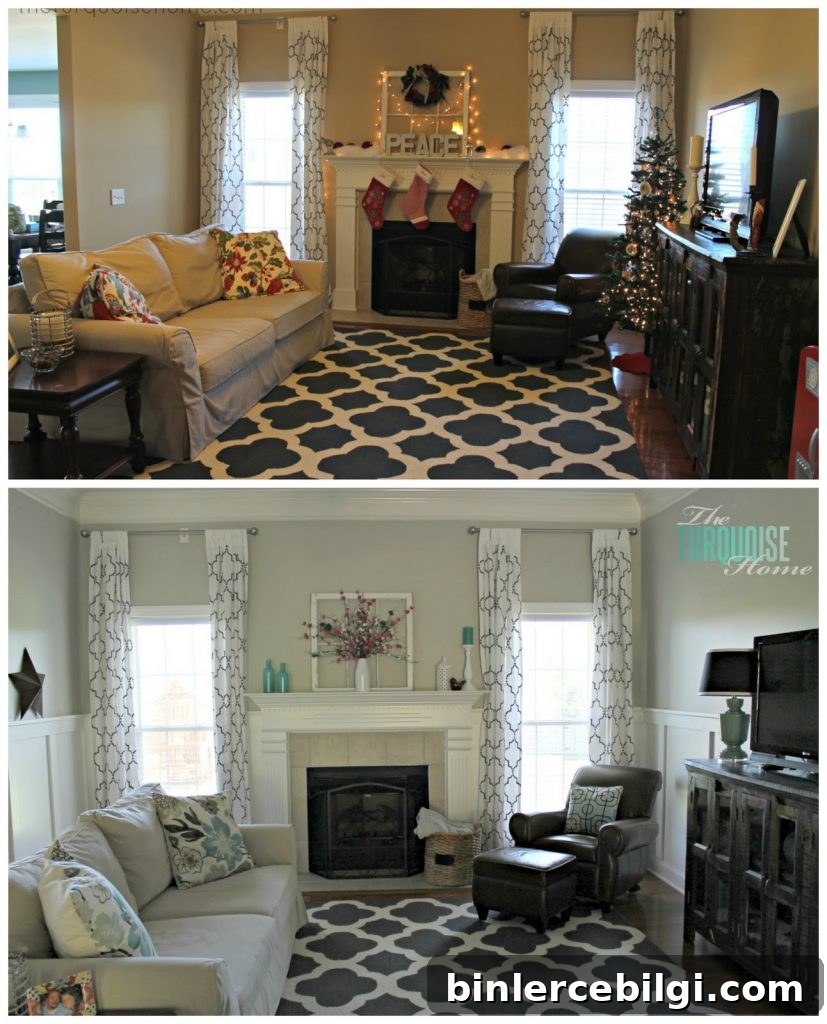
I added board and batten to our living room to bring structure to the open space and help define the area within an open floor plan. The result created visual interest and balances the tall ceilings—exactly the improvement I hoped for.
Below I’ll walk you through the steps I took, from planning to the final coat of paint. Expect some patience, especially for large rooms: painting, cutting, nailing, caulking and sanding all take time, and working around family or small children adds scheduling challenges.
If you’re working with a toddler or young child, arrange help so you can use louder tools like a nail gun without interruptions—this greatly speeds up installation and reduces stress.
How to Install Board and Batten
1. Decide the Height of the Top Board
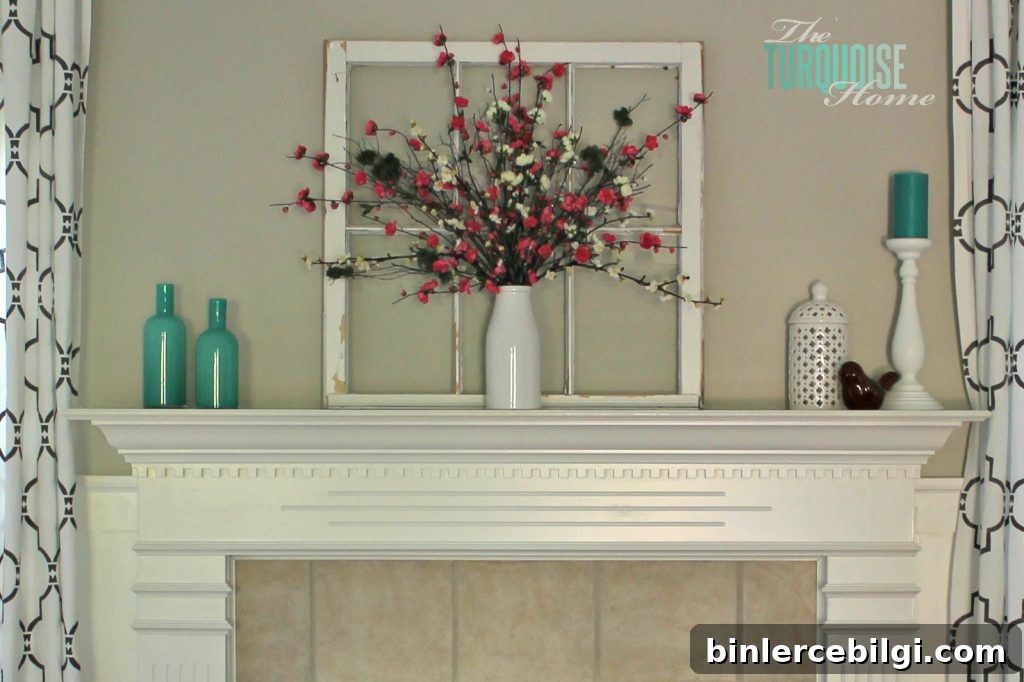
Choose the top height carefully to work with existing architecture, like a fireplace. I originally considered placing the board just above the fireplace but moved it below a projecting mantel detail so the fireplace remained visually intact and the wall avoided being split in half. Following the rule of thirds produces a more balanced look.
2. Draw a Level Line Around the Room Where the Top Board Will Go
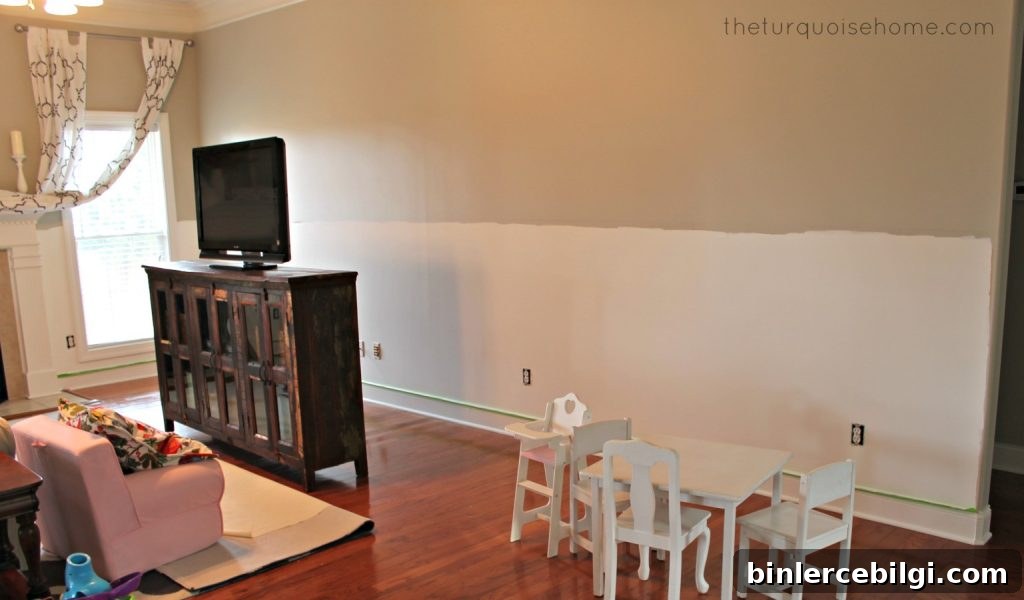
Use a laser level to mark the top board line all the way around the room. I painted the top portion of the wall gray and the bottom white before installing trim—painting first saves time and prevents hand strain when cutting and installing long runs of trim.
3. Choose and Buy Your Boards
Decide between furring strips, pine, or MDF. Furring strips are cheapest but often not perfectly straight. Pine looks best but is costlier. I chose MDF for cost and availability and had the store rip sheets into strips. Important: confirm the store can rip long pieces (e.g., 8 ft) before they start cutting—partial or incorrect cuts can lead to many extra seams and lots of caulk and spackle later.
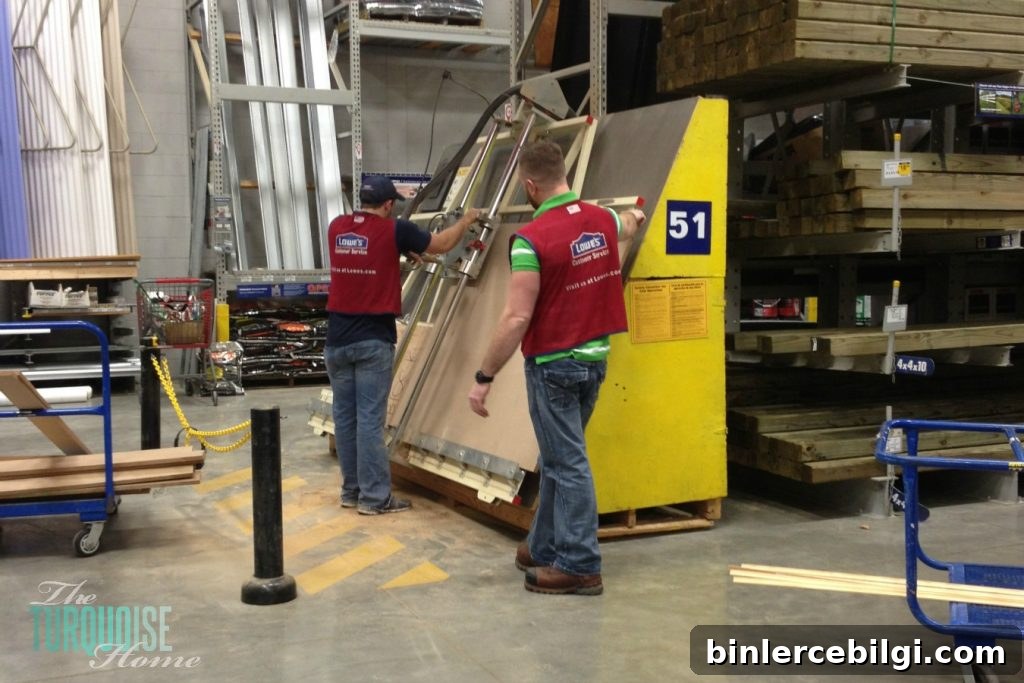
If a rip goes wrong, ask the store to replace the sheet and restart the cut so you don’t end up piecing many short segments on the wall.
4. Cut the Bottoms of the Horizontal Boards at a 45-Degree Angle
To avoid removing existing baseboards, cut the bottoms of the vertical boards at a 45-degree angle so they appear to sit on top of the baseboard. Cut these angles before painting to avoid having to repaint edges later.
5. Prime and Paint Boards
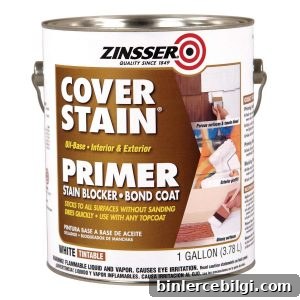
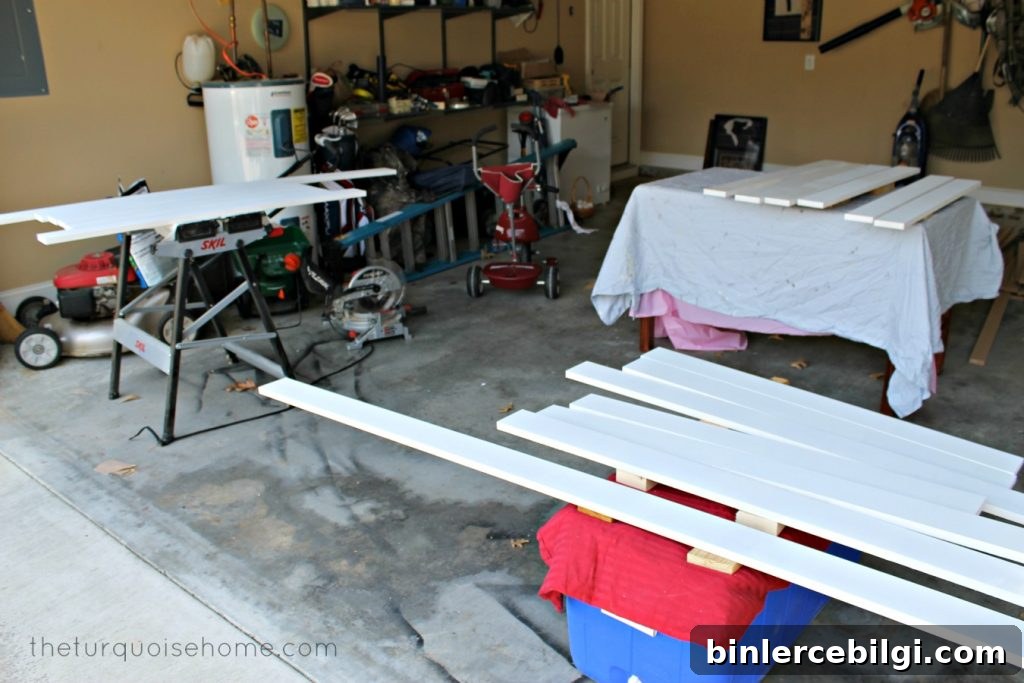
Prime MDF with a good stain-blocking primer—my go-to is Zinsser Cover Stain—then paint the boards once or twice before installation. You can also prime and paint after installation once seams are caulked; I primed and painted a coat beforehand and added final coats on the wall.
Match your white paint to existing trim to avoid a harsh contrast—I tested swatches and chose a neutral Simply White match to avoid a fluorescent-looking white.
6. Install Horizontal Boards
Install the horizontal boards first, securing them with a nail gun and confirming they are level with your laser level. Don’t rely on existing baseboards for level—use a proper level to keep lines straight across long runs.
7. Install the Vertical Boards
Next, install the vertical boards. Make sure each is plumb and evenly spaced. I used roughly 25-inch spacing along the long wall and centered boards on shorter walls so the layout felt intentional and balanced.
8. Fill Gaps, Nail Holes, and Seams
Once boards are nailed in, expect to spend time caulking seams and filling nail holes. Make sure nails are driven flush before spackling; otherwise you’ll need to re-nail and re-spackle later. If boards were cut short at the store, you may need to piece custom sections and carefully fill those seams so they’re invisible after sanding and painting.
Patience here rewards you with clean lines—spackle, sand, and repeat until seams and nail holes are smooth and flush.
9. Install the Rail Cap and Moulding
Install a top rail cap (I used a 1×2 pine board) and attach cove moulding under the top ledge for a finished look. Use liquid nails for delicate moulding pieces and hold them in place with tape while the adhesive cures to avoid adding extra nail holes.
10. Final Coat of Paint
After everything is filled, sanded and dry, apply a final coat of paint to the trim and surrounding wall. This step brings the whole installation together and hides minor imperfections. With patience and attention to detail, you’ll be rewarded with a sophisticated, finished wall that elevates the whole room.
The project is time-consuming but highly rewarding. For large rooms, plan for extra time and expect to do several rounds of caulking, sanding, and touch-up paint. The finished look, however, adds durable style and architectural detail that transforms the space.
More Posts You Will Love:
- 5 Must Have Tools for the DIYer
- Large DIY Wall Decor Ideas
- How to Decorate a Living Room