
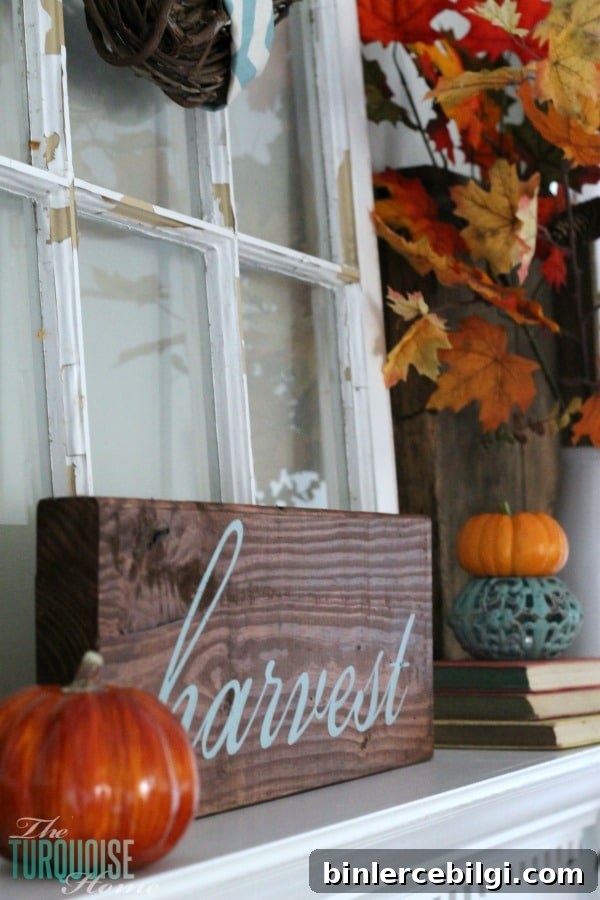
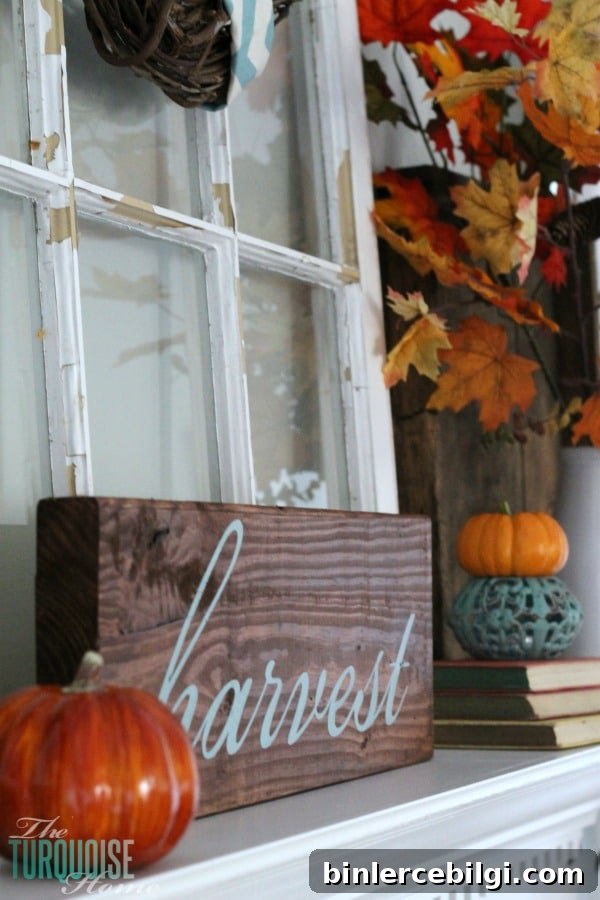
My DIY “Harvest” sign took less than two hours from start to finish. It was quick, inexpensive, and came together with a few tools and supplies I already had on hand.
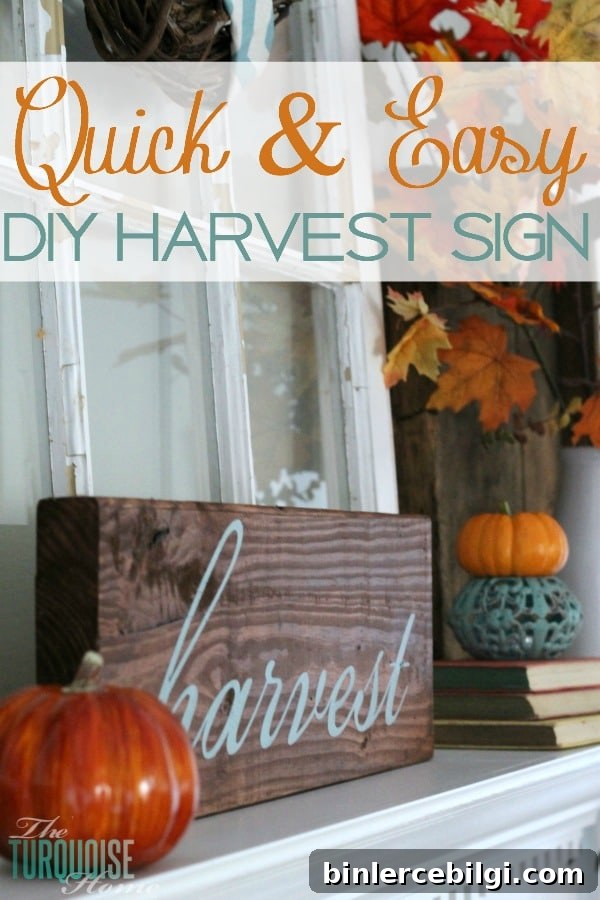
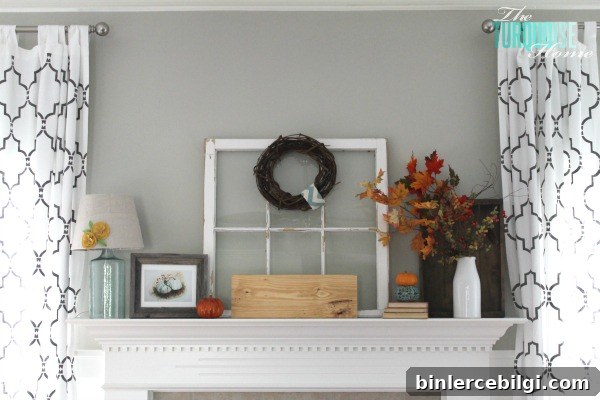
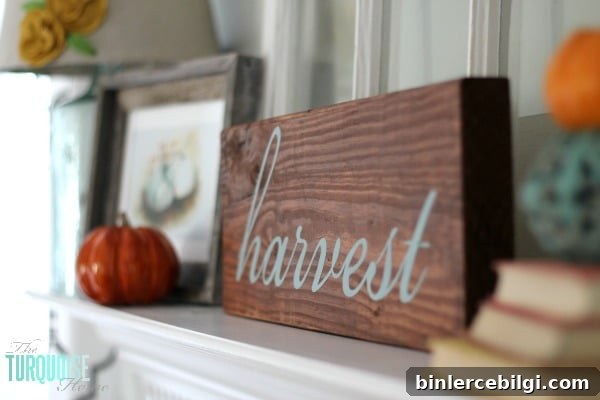
While styling my mantel, I wanted a centerpiece that would visually anchor the vignette. I keep most of my scrap wood from projects, so I dug through the garage and found a board that looked like it would fit perfectly—luck was on my side. It slid right into the space and felt like the ideal canvas for a fall sign.
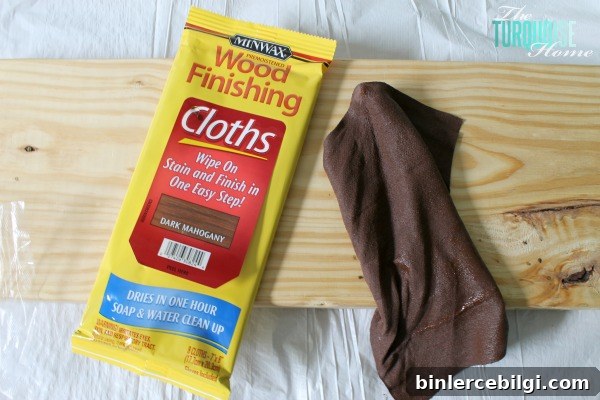
I had about an hour and a half before I needed to pick up my daughter from preschool, so the sign needed to be fast. I found a pack of stain cloths in a dark mahogany shade and decided to use one. They were convenient, came with a plastic glove, and cleaned up easily with water—no mineral spirits required. That made the whole process more pleasant and quicker to wrap up.
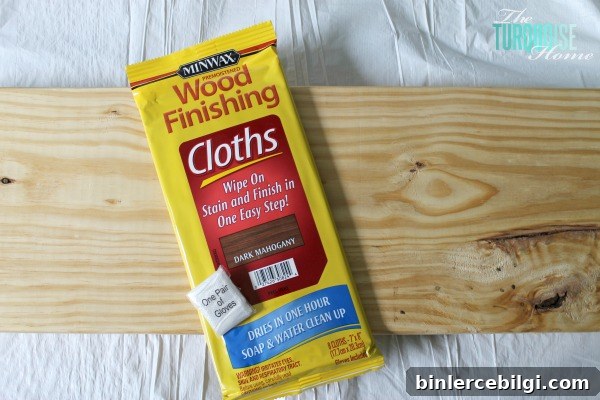
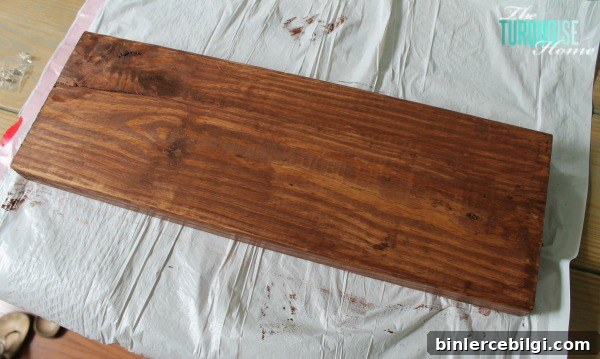
Following the instructions on the cloth packaging, I applied the stain and wiped off the excess. Within minutes the board was evenly stained; I let it dry for about 30 minutes while I worked on the lettering stencil.
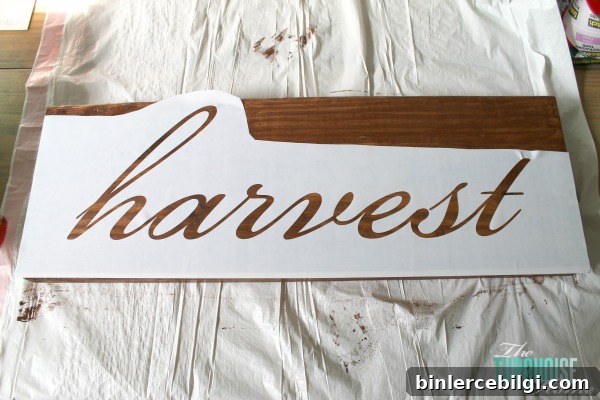
For the lettering I used my cutting machine software to design the word and cut the stencil from contact paper. If you don’t have a cutting machine, you can print a word in a large font, trace it onto vinyl or stencil material, or hand-letter if you prefer. I chose a script font (Bickham Script Pro) for a soft, welcoming look.
Once the stain was dry, I applied the contact-paper stencil, then brushed a thin layer of Mod Podge over the exposed areas. Using Mod Podge as a barrier helps prevent paint from bleeding under the stencil, so you get a crisp edge. After the Mod Podge dried, I painted the letters with a turquoise-blue paint (the color I used in my kitchen is Stratton Blue by Benjamin Moore). I peeled the stencil off while the paint was still slightly tacky to avoid chipping and achieved clean results.
The finished sign was simple and perfectly suited to my fall mantel. Because I used leftover materials—scrap wood, leftover stain cloths, and paint I already had—the project cost me nothing. That’s always a satisfying outcome.
Tips and quick notes if you want to try this:
- Start with a clean, sanded board so stain and paint adhere evenly.
- Test your stain and paint on a scrap piece first to confirm color and coverage.
- Use Mod Podge or another sealant around stencil edges to reduce paint bleed and get sharper letters.
- Peel stencils before the paint fully cures to avoid lifting; if you wait too long, score around the letters first for best results.
- Seal the finished sign with a clear topcoat if it will sit in a high-traffic or humid area.
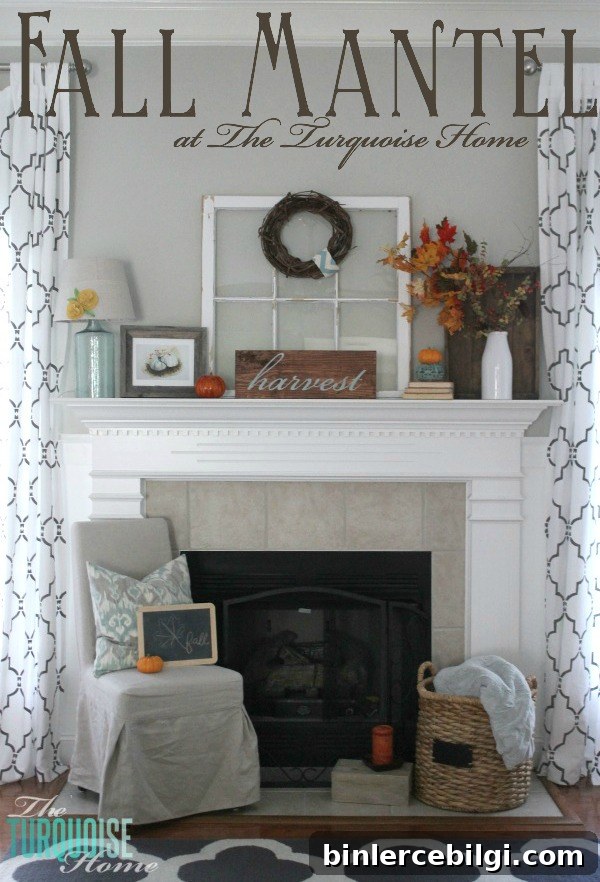
Turquoise & Orange Fall Mantel
More posts you will love:
- A Farmgirl Flowers Fall Tablescape
- How to Make a Large Wooden Sign
- DIY Frame for a Frame TV