
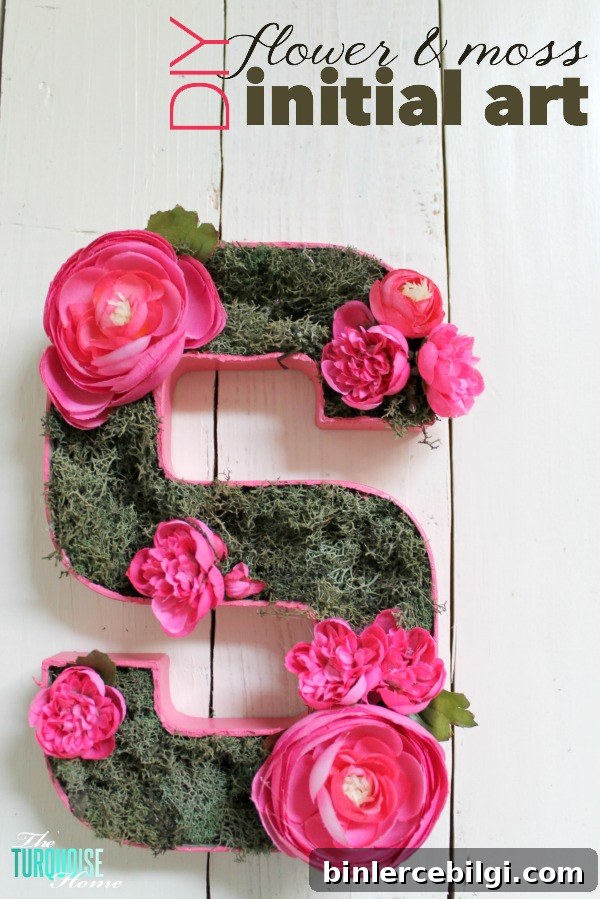
This sweet flower-and-moss initial first appeared as part of Baby G’s gallery wall. It’s a quick, budget-friendly DIY that creates a charming accent for a nursery or any room that could use a delicate, nature-inspired touch.
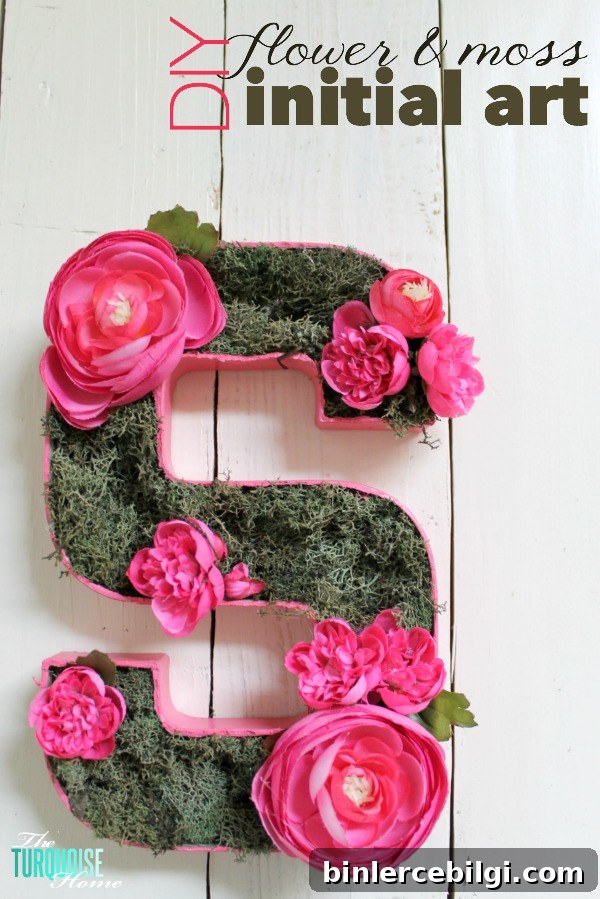
At first I planned to fill the letter entirely with flowers, but as I worked I realized a little moss underneath would create a neater, more finished base. That small change made a big difference in the final look.
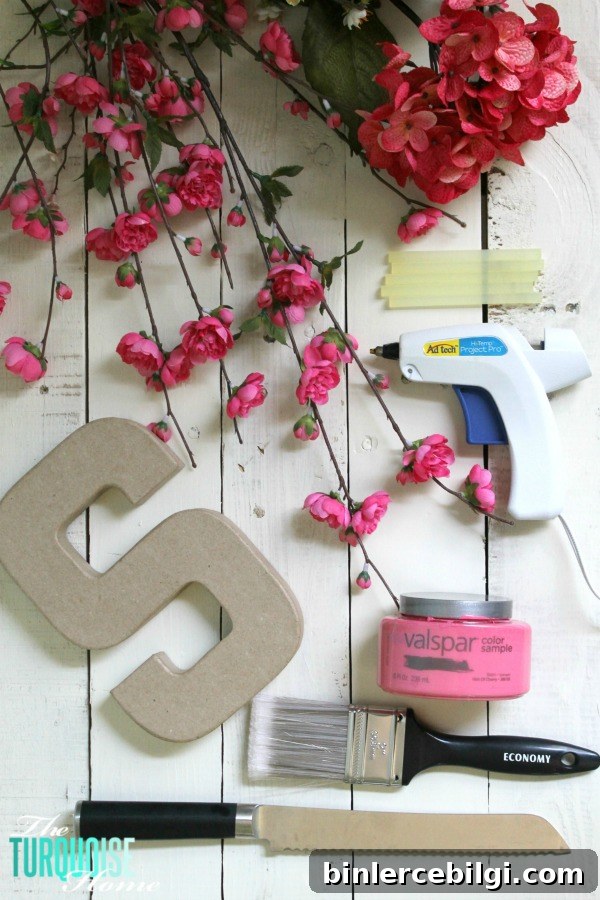
What you’ll need
- Paper‑mâché letter (available at craft stores)
- Assorted faux flowers—choose the colors and sizes you prefer
- Craft moss to cover the bottom and hide gaps
- Hot glue gun and glue sticks
- Acrylic paint and a brush
- Serrated knife or bread knife for cutting the letter
Step-by-step
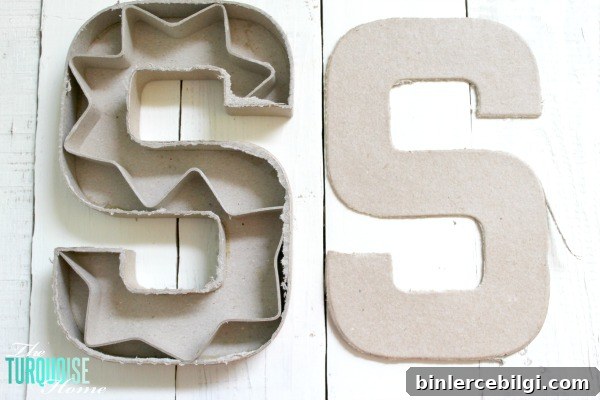
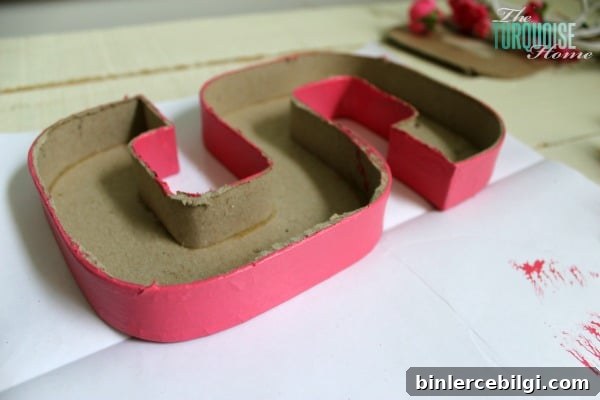
1. Prepare the letter: Use a serrated knife to carefully cut the top off your paper‑mâché letter. A bread knife works well—once you get under one edge, the cut becomes easier to control. Remove the paper interior and discard the top piece. If any edges are rough or have loose bits of paper, trim them away so the rim looks neat.
2. Paint the letter: Paint the exterior of the letter in the color of your choice. If you want the inside edges to look tidy when the moss and flowers are in place, paint the inner sides as well. A thin, even coat of acrylic paint dries quickly and gives a polished finish.
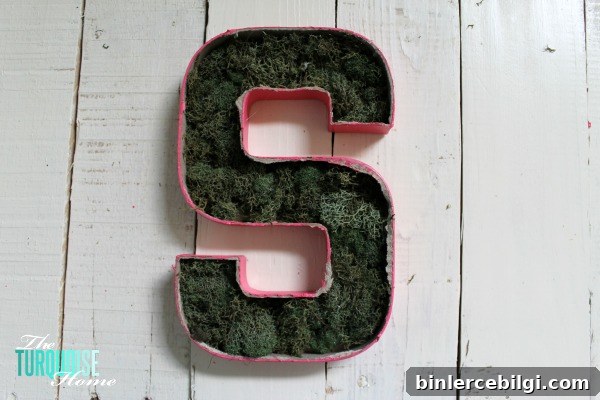
3. Add a base layer of moss: Before gluing flowers in place, attach craft moss to the bottom of the letter. The moss hides any exposed paper and creates a soft backdrop for the stems. Use small dots of hot glue to secure the moss so it sits flat and looks natural.
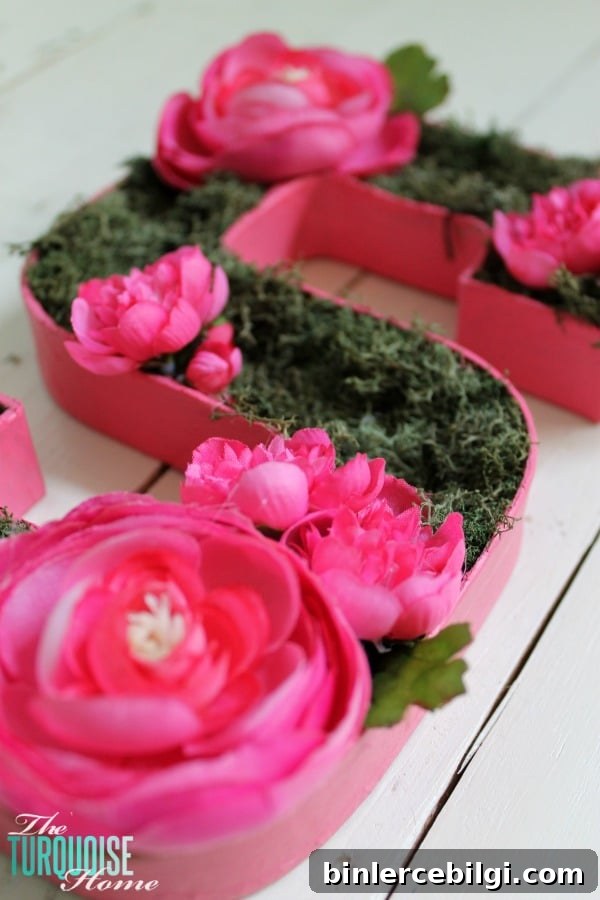
4. Attach flowers sparingly: Start by adding a few focal flowers and then fill in with smaller blooms and greenery. I found that a light, understated arrangement looked best—overcrowding the letter made it feel heavy. Tuck some moss up the inner sides and around the stems for a cohesive, organic look.
5. Refine the edges: After the flowers are in place, check the rim and remove any remaining paper bits. If needed, touch up the paint along the top rim to cover exposed edges. Add extra moss along the sides where the paper meets the flowers to blend everything together.
Troubleshooting and tips
- Work in small sections with the glue gun so the moss and flowers stay where you want them.
- Trim flower stems to different lengths for more depth and dimension.
- If the letter feels unbalanced, add a few small clusters of greenery on the opposite side to even it out visually.
- For a longer-lasting piece, use high-quality faux flowers and craft moss that won’t shed easily.
There were a few small twists and turns along the way, but adjusting as I went paid off. The combination of painted paper‑mâché, soft moss, and delicate blooms created a finished piece that felt more refined than I expected. It’s perfect for a nursery wall, a gallery arrangement, or as a personalized gift.
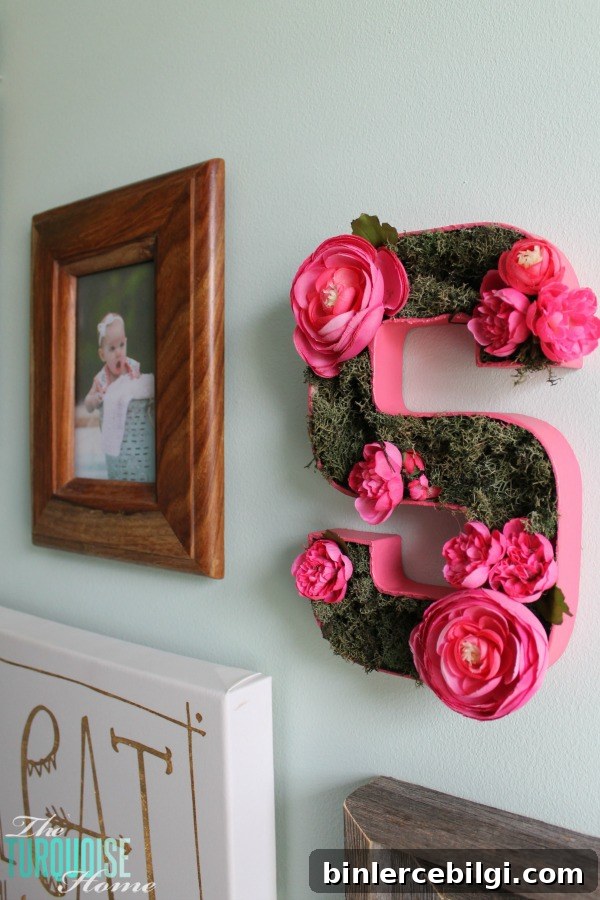
Do you think it’s darling? I absolutely love how it turned out—simple, sweet, and full of texture.
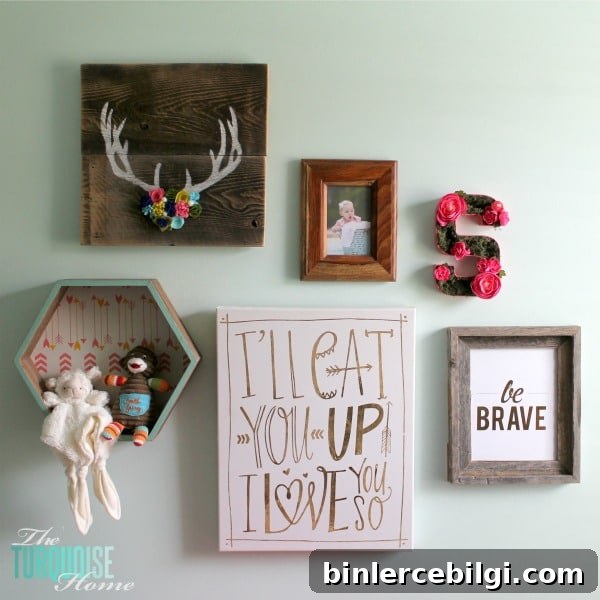
For a complete view of the nursery gallery wall where this piece was displayed, see the full gallery post linked in the original feature. Thanks for reading—what simple and cute crafts have you made recently?
More Posts You Will Love:
- Mason Jar Lid Pumpkin Craft
- Tissue Paper Stained Glass Valentine’s Kid Craft
- DIY Wood Bead Garland with Tassels