
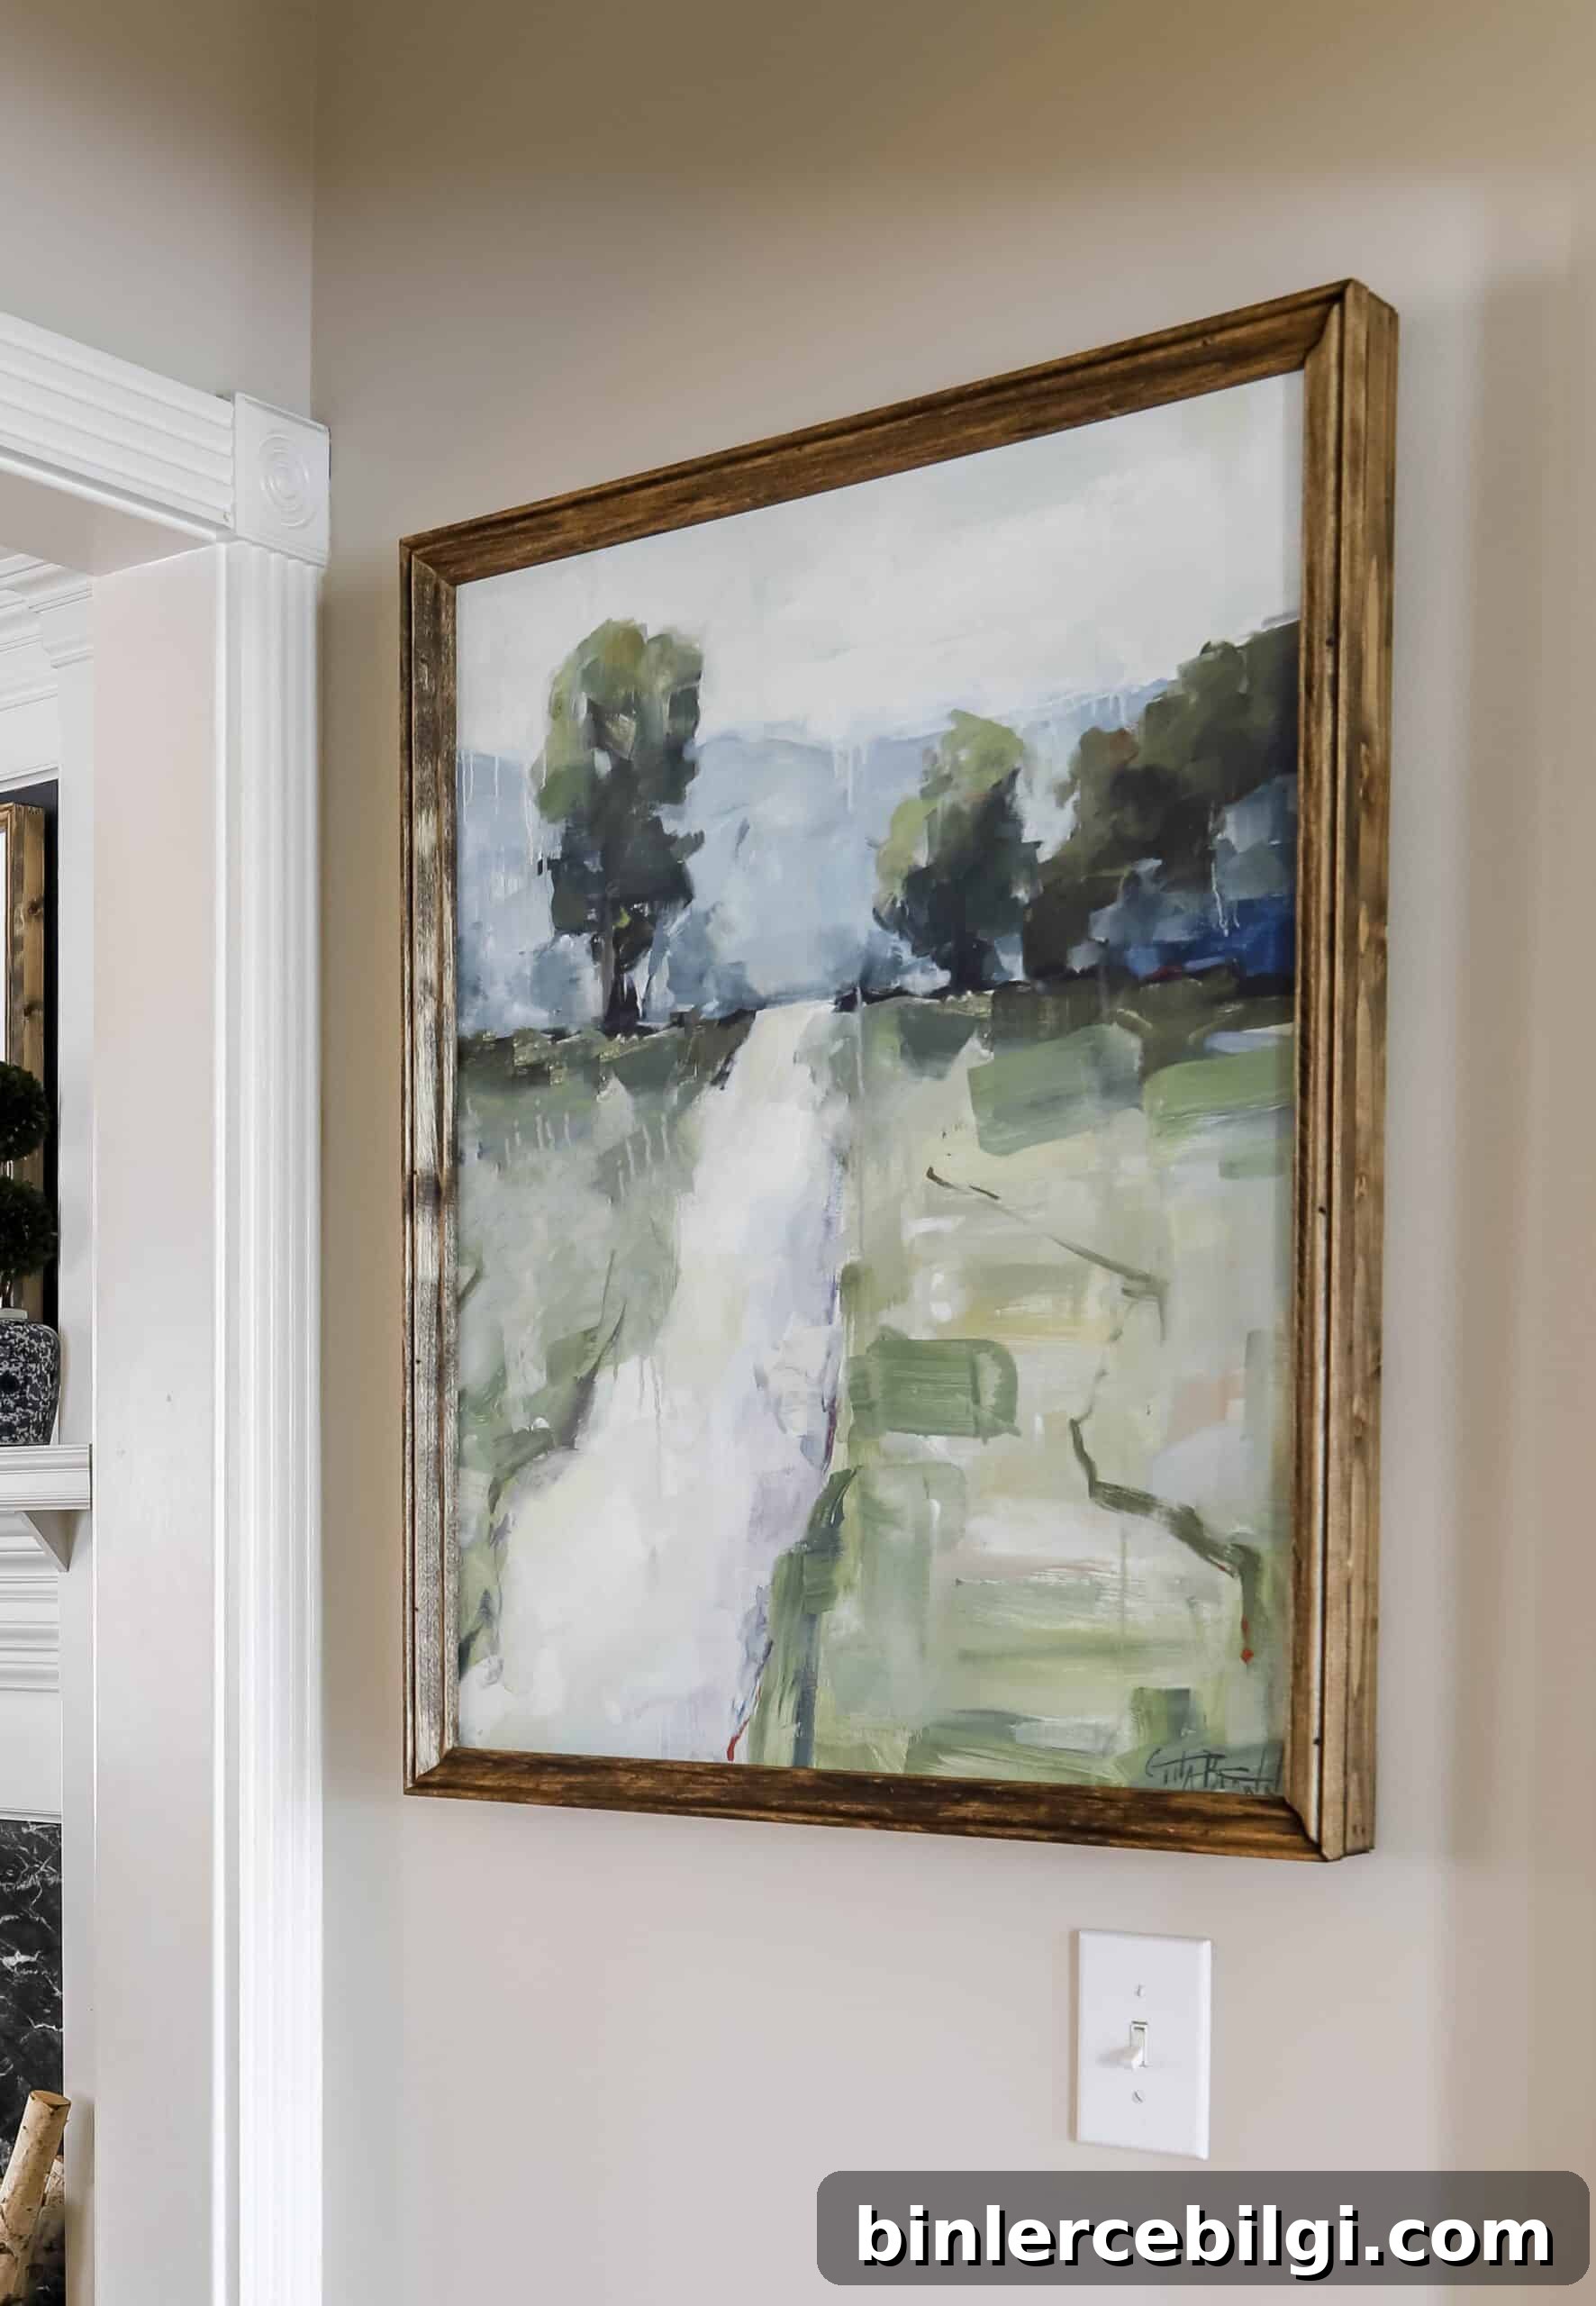
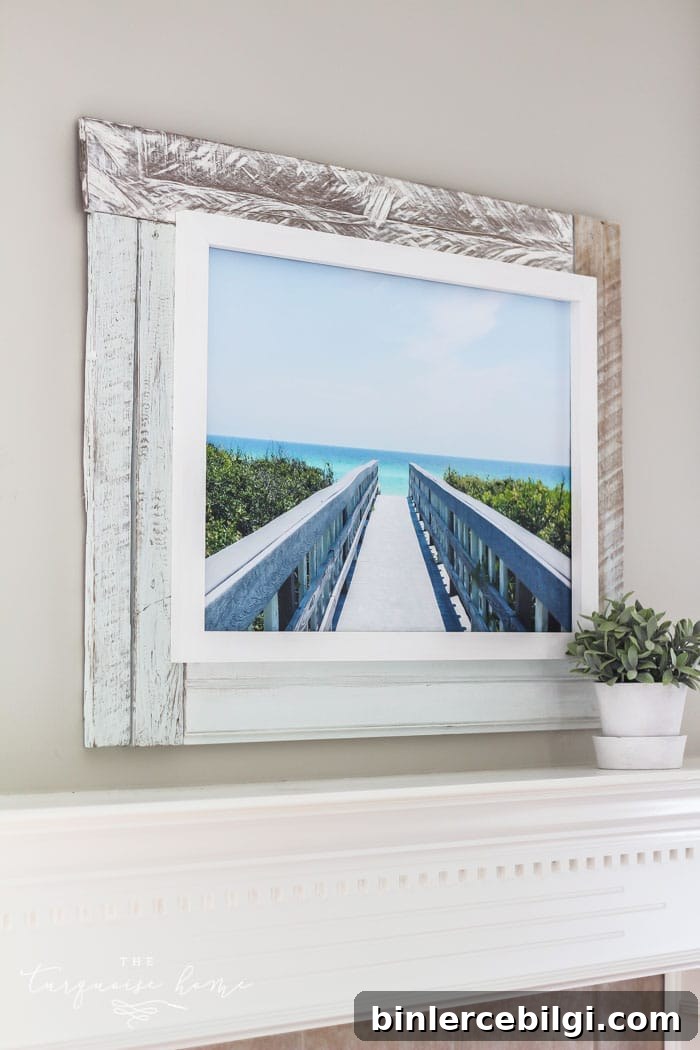
This easy DIY tutorial will teach you how to frame a canvas affordably, making any unframed painting or print look polished and finished. Using basic household tools, this is an approachable weekend project for beginners.
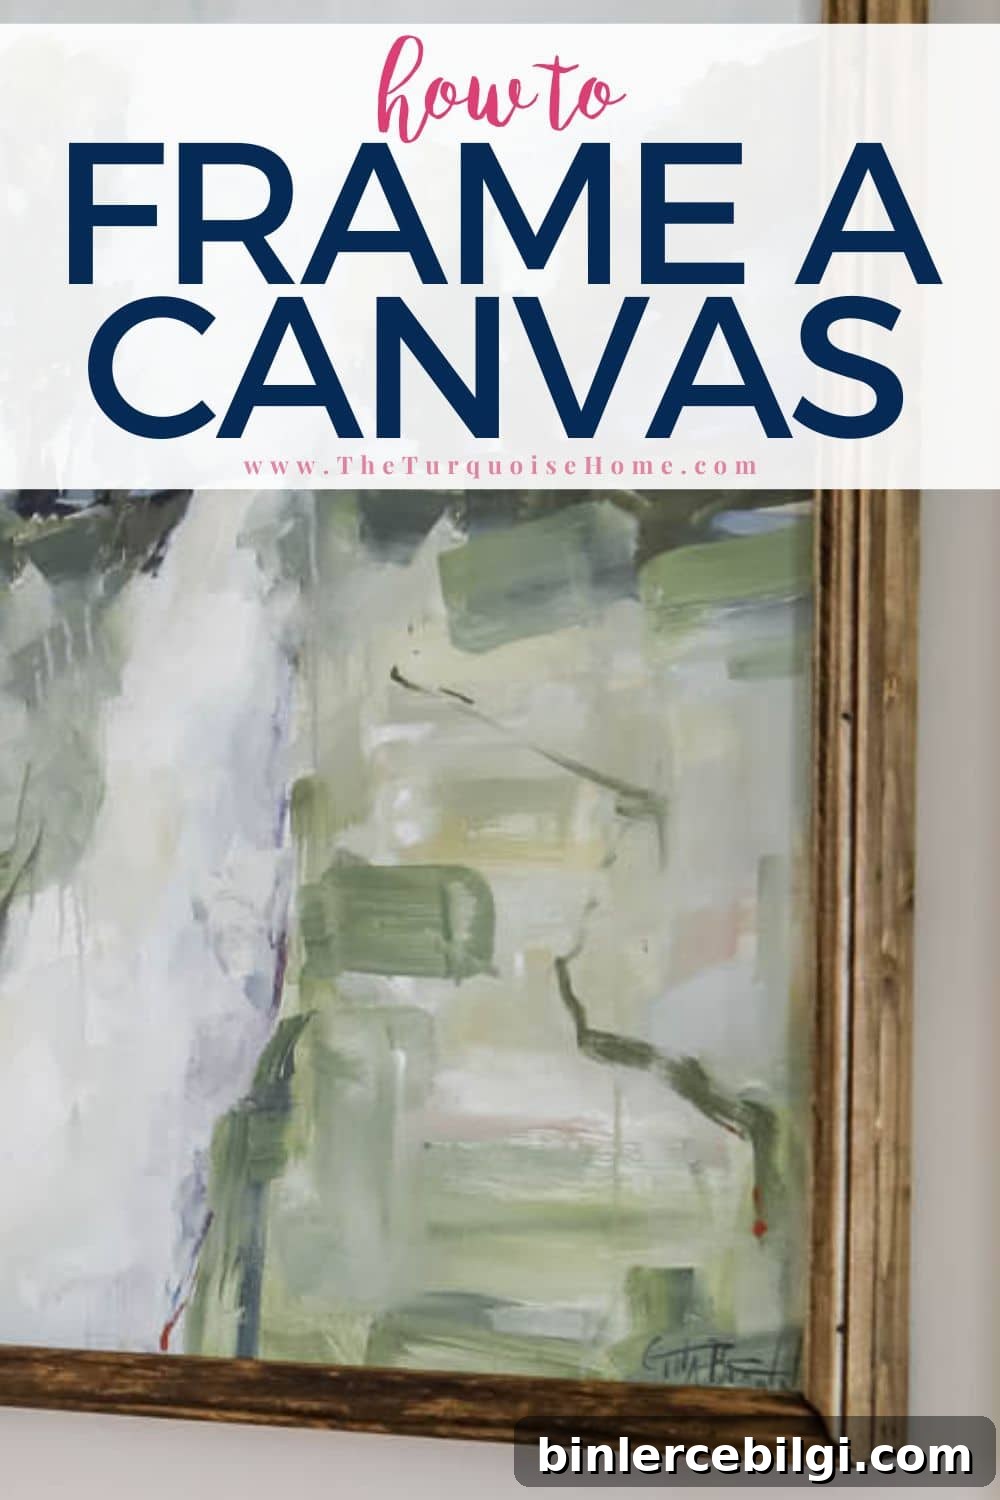
If you’ve ever bought unframed art or completed a painting on stretched canvas and felt it looked unfinished, framing it yourself is an excellent solution. Most of the tools and supplies are likely already in your workshop, and you can complete a simple frame in a few hours or over a weekend.
This post contains affiliate links for convenience. See full disclosure policy.
My First Canvas Framing Experience
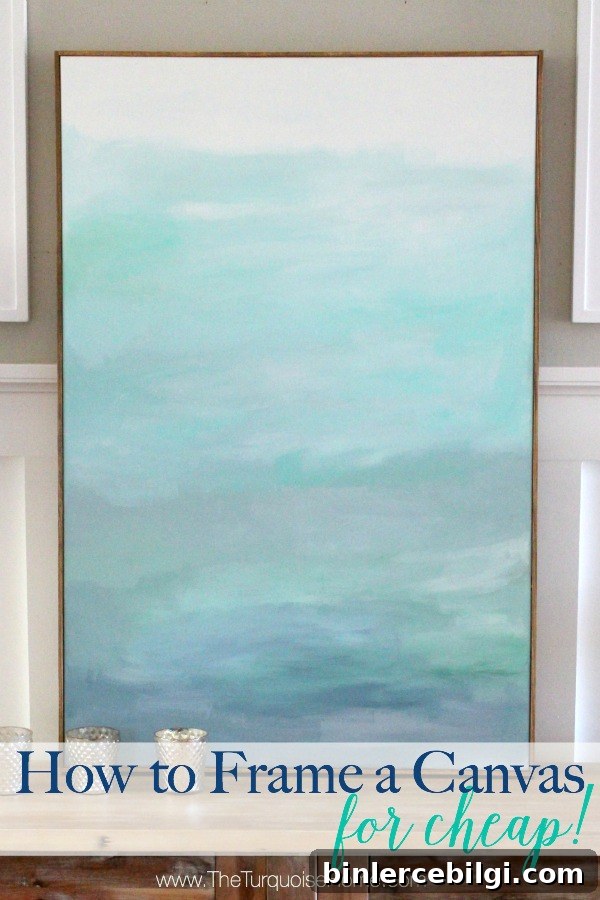
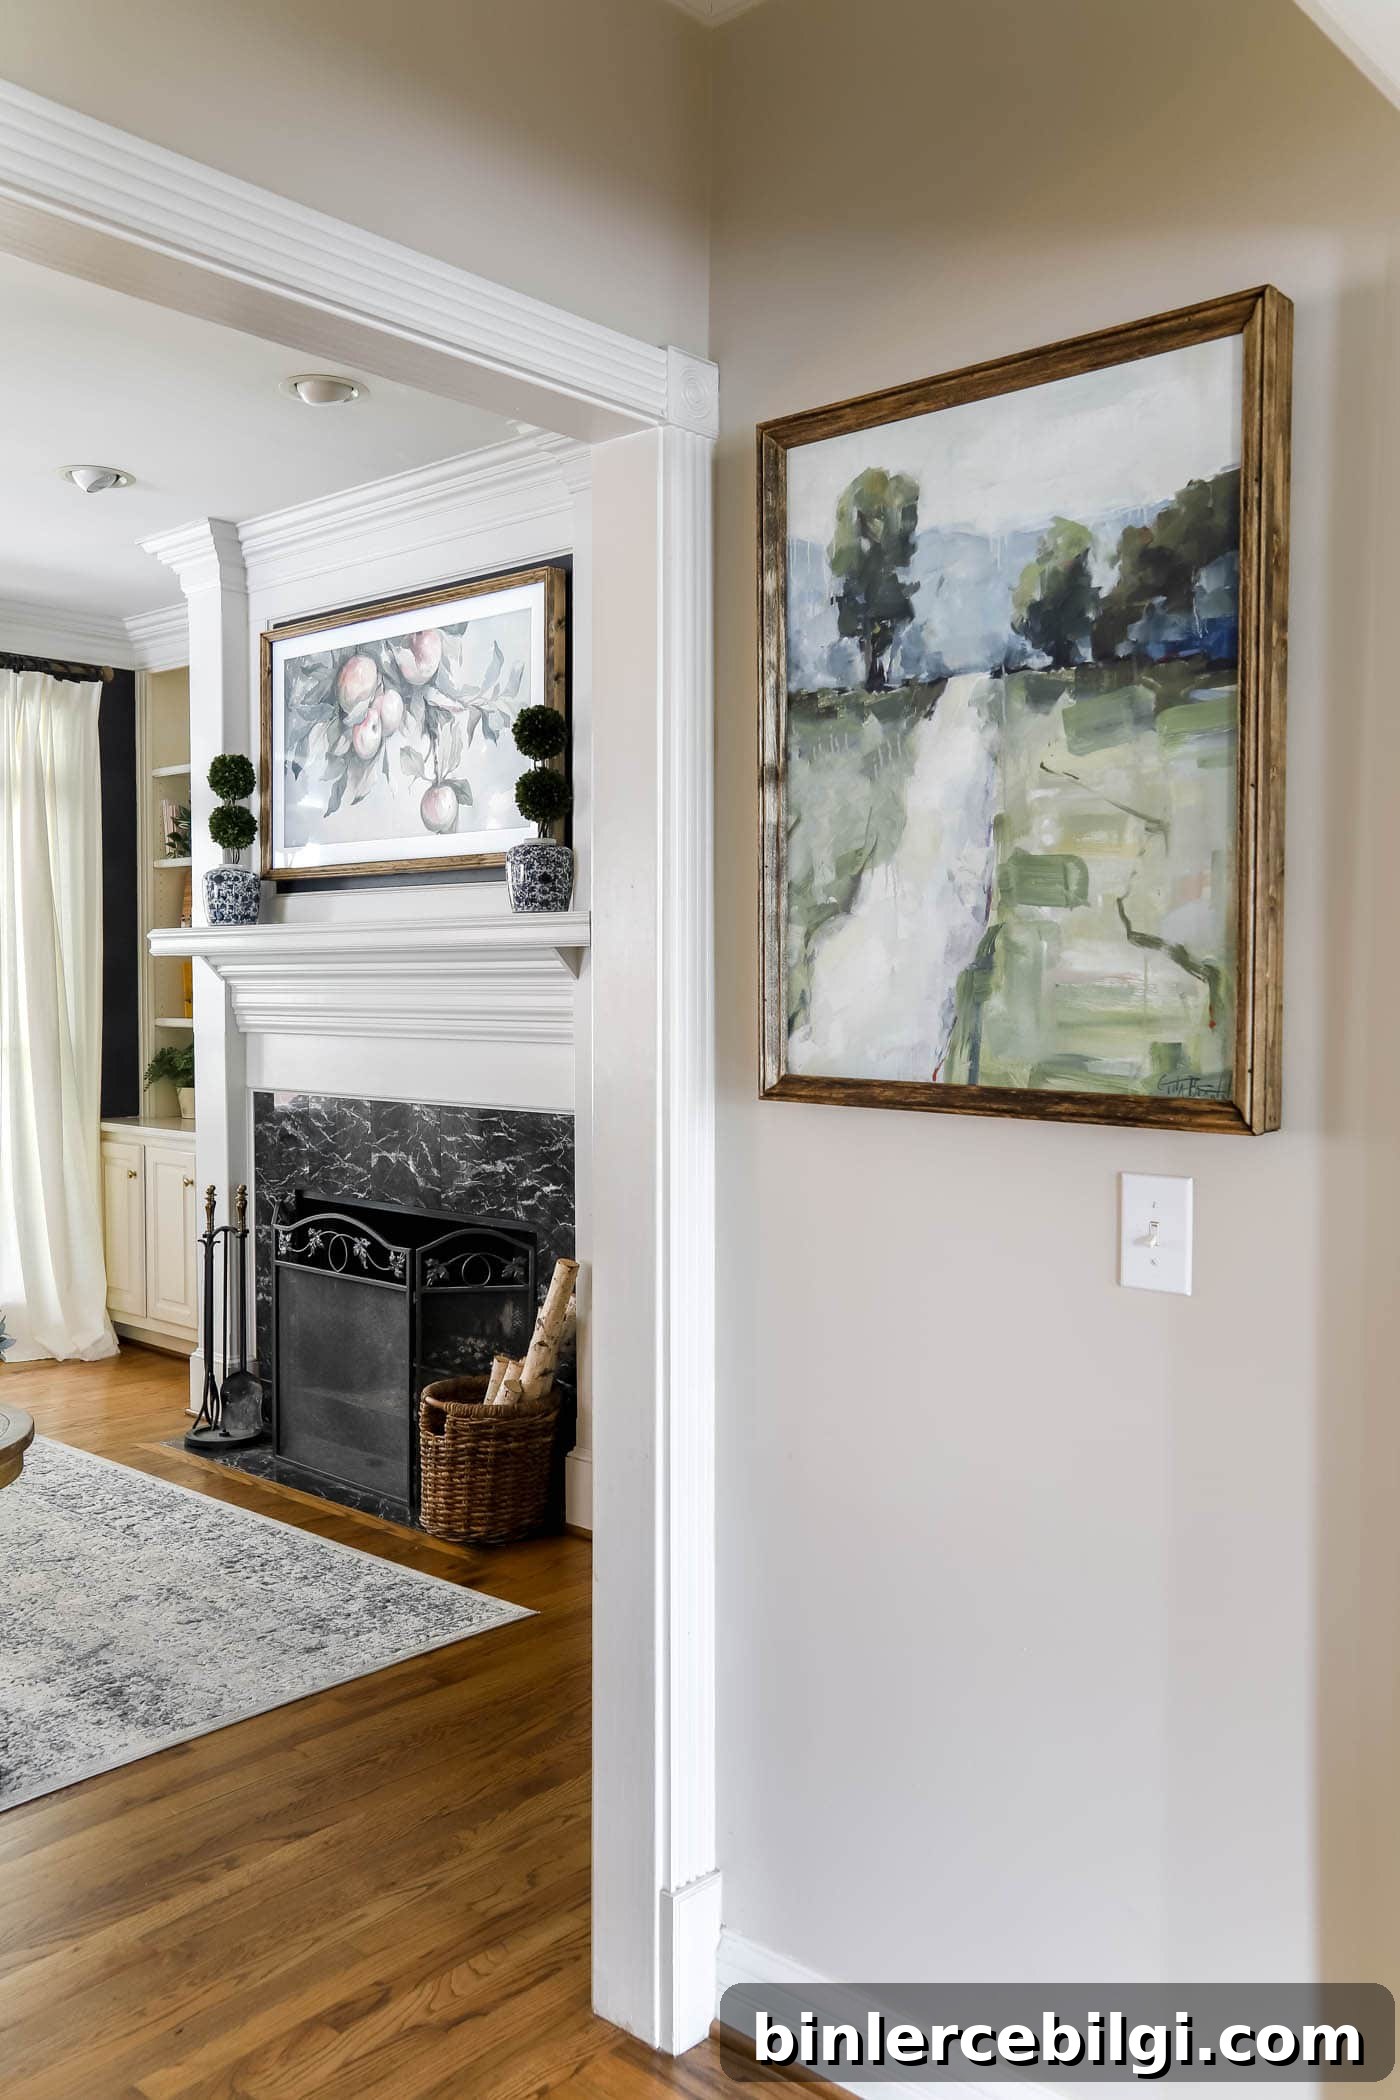
My interest in DIY framing began years ago when I created an abstract canvas for less than $22. I framed it using stained lattice repurposed from another project, and the result instantly elevated the artwork. It was inexpensive and surprisingly easy to do.
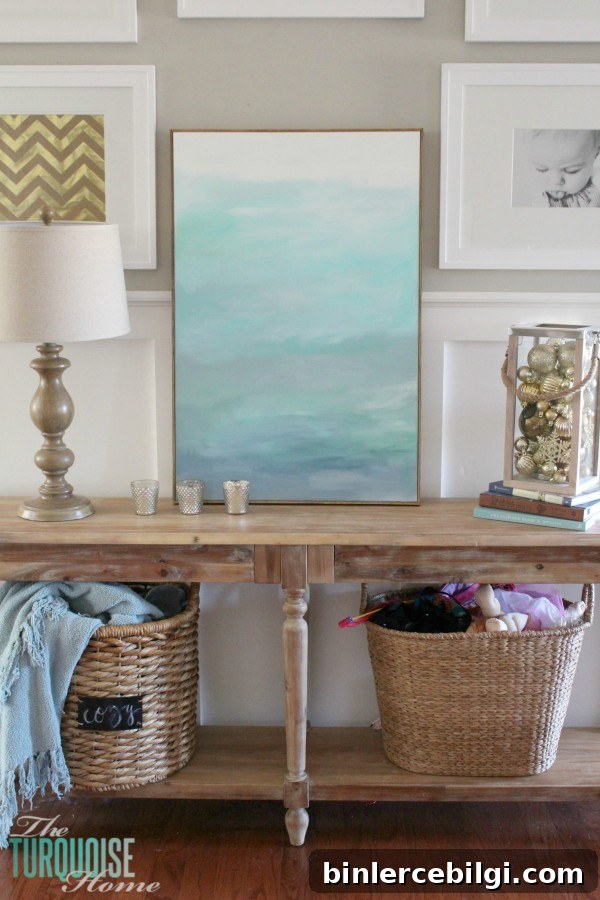
At first I considered leaving that piece unframed, but the finished look with a defined border was far superior. For that project I simply cut lattice boards to size and glued them onto the canvas stretcher frame. It was a low-cost way to get a clean, finished edge.
Since then I’ve experimented with larger, chunkier frames using reclaimed wood and even built a custom frame for a flat-panel “Frame” TV. Making your own frames saves money and gives you full control over the style, color, and scale so the finished piece coordinates with your décor.
Materials Needed to Frame a Canvas
- Wood trim or boards:
- Simple/modern: lattice, 1×2, or 1×3 boards cut to the canvas perimeter.
- Traditional/elaborate: 1×2 or 1×3 boards plus an ornamental trim or moulding on top for a layered look.
- Wood glue
- 1.5-inch finishing or brad nails
- Sandpaper (various grits)
- Paint or stain in your chosen finish
- Polyurethane or polycrylic to seal the wood (recommended)
- Wood filler (optional, for holes or gaps)
- Hanging hardware such as sawtooth hangers or D-rings
Tools Needed
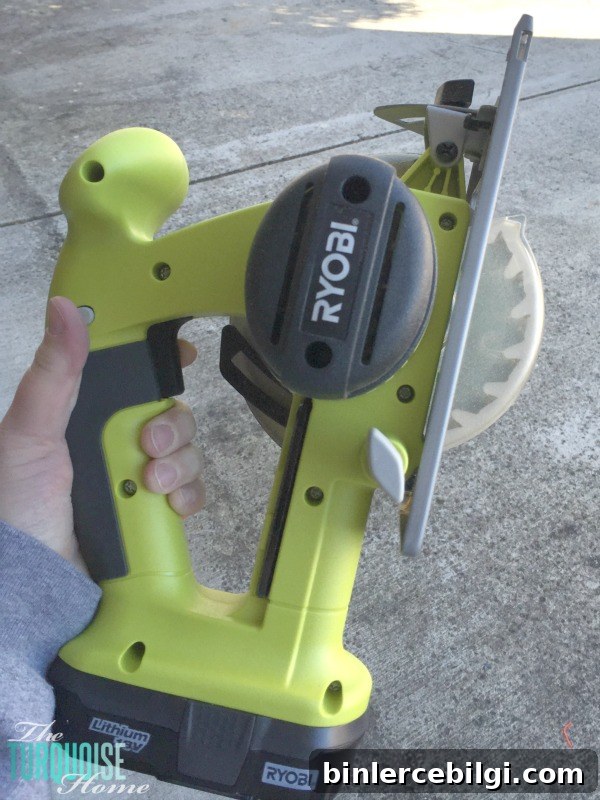
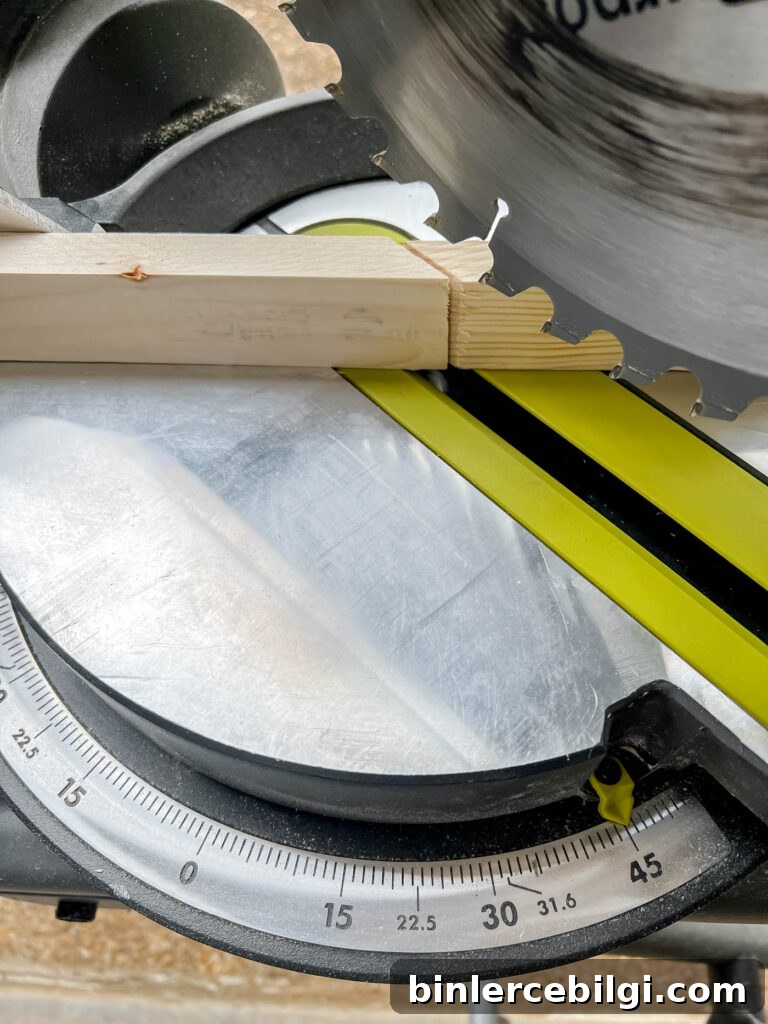
- Miter saw for precise 45° cuts. If you don’t have one, miter shears or a hand saw with a miter box can work; for butt joints a circular saw or hand saw will suffice.
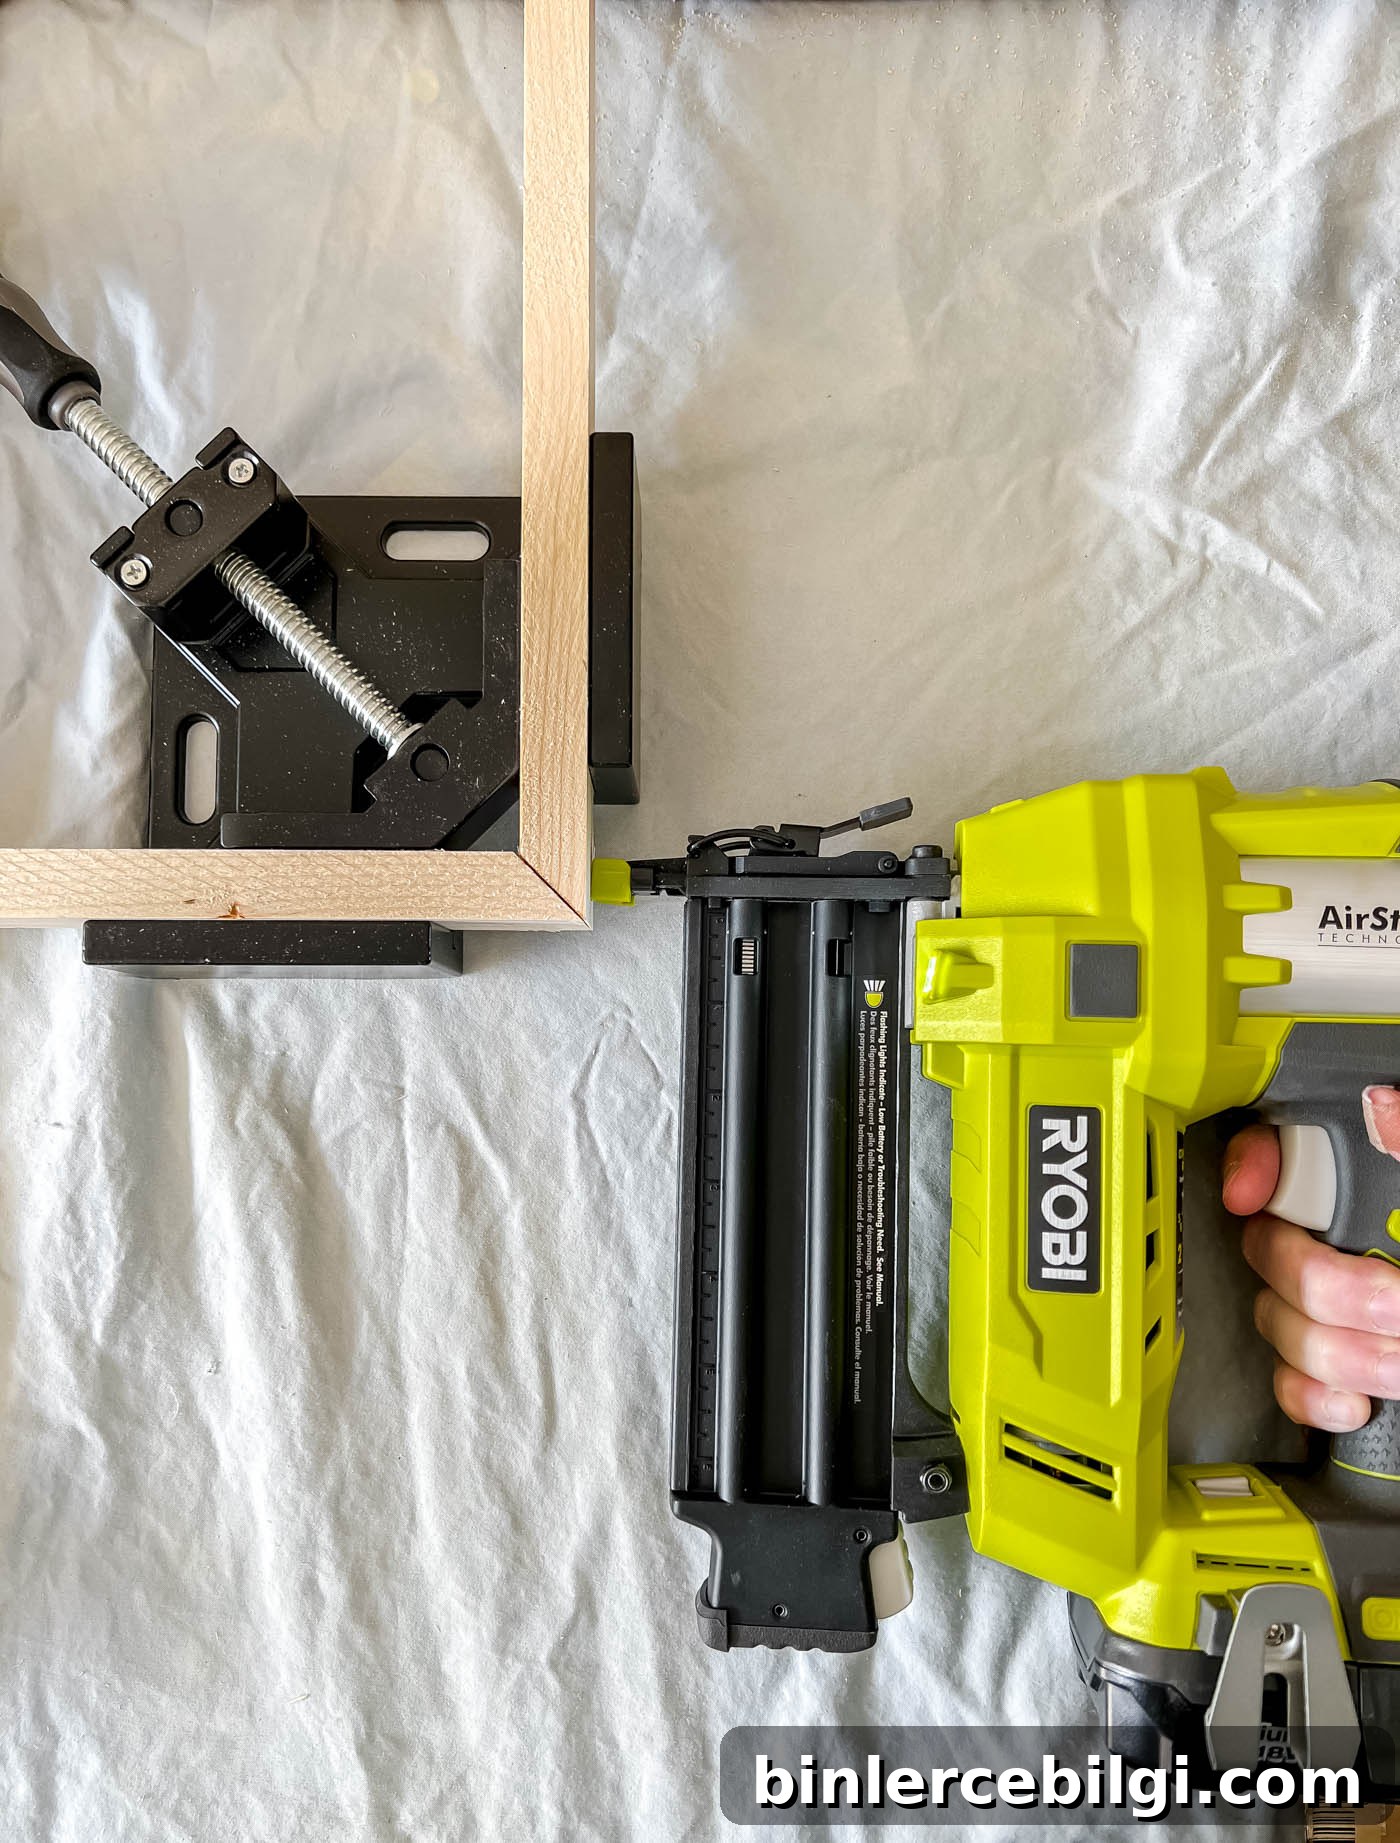
- Brad nailer or finishing nailer to fasten trim quickly and cleanly.
- Tape measure and pencil for accurate layout.
- Clamps for securing corners while glue dries; corner clamps are especially helpful.
- Rag or foam brush for stain and finish application.
How to Frame a Canvas: Step-by-Step
These straightforward steps guide you through framing a stretched canvas, whether you choose a simple butt joint or a more refined mitered corner.
1. Choose Your Corner Joint
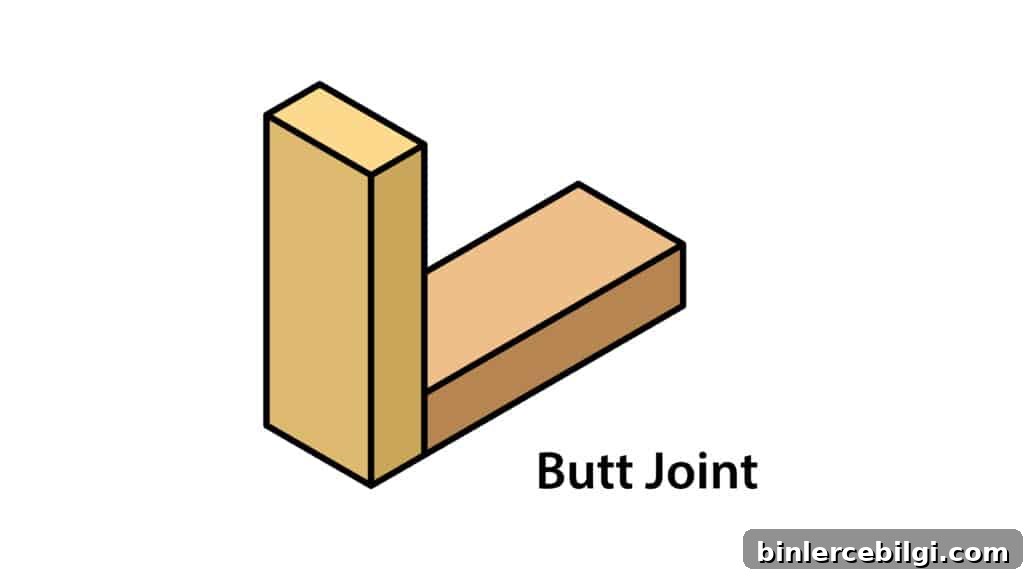
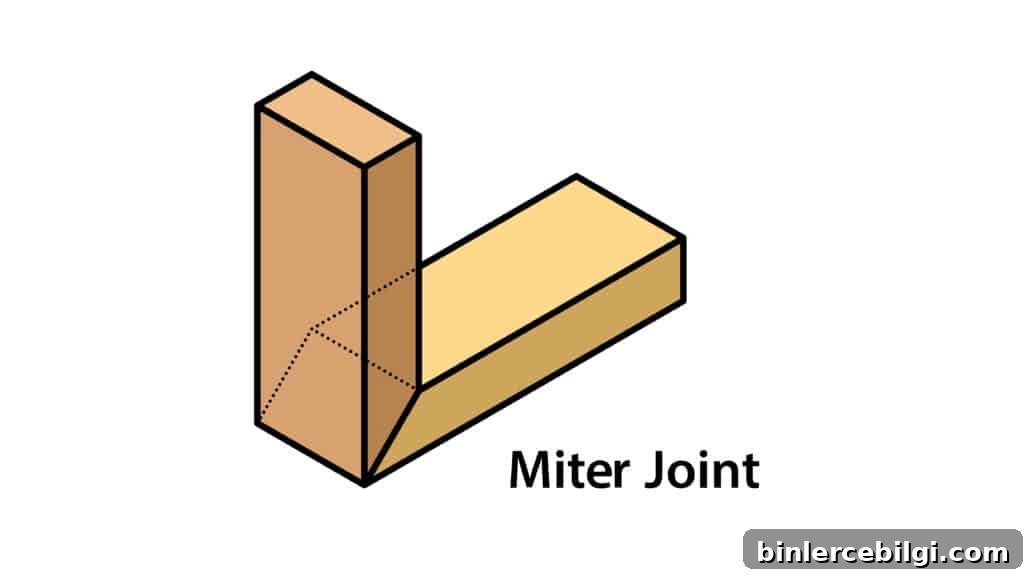
Decide between two common corner joints: the miter joint or the square butt joint. Both are essentially butt joints—the wood ends are butted together—yet they create different looks and require different cuts.
The Miter Joint
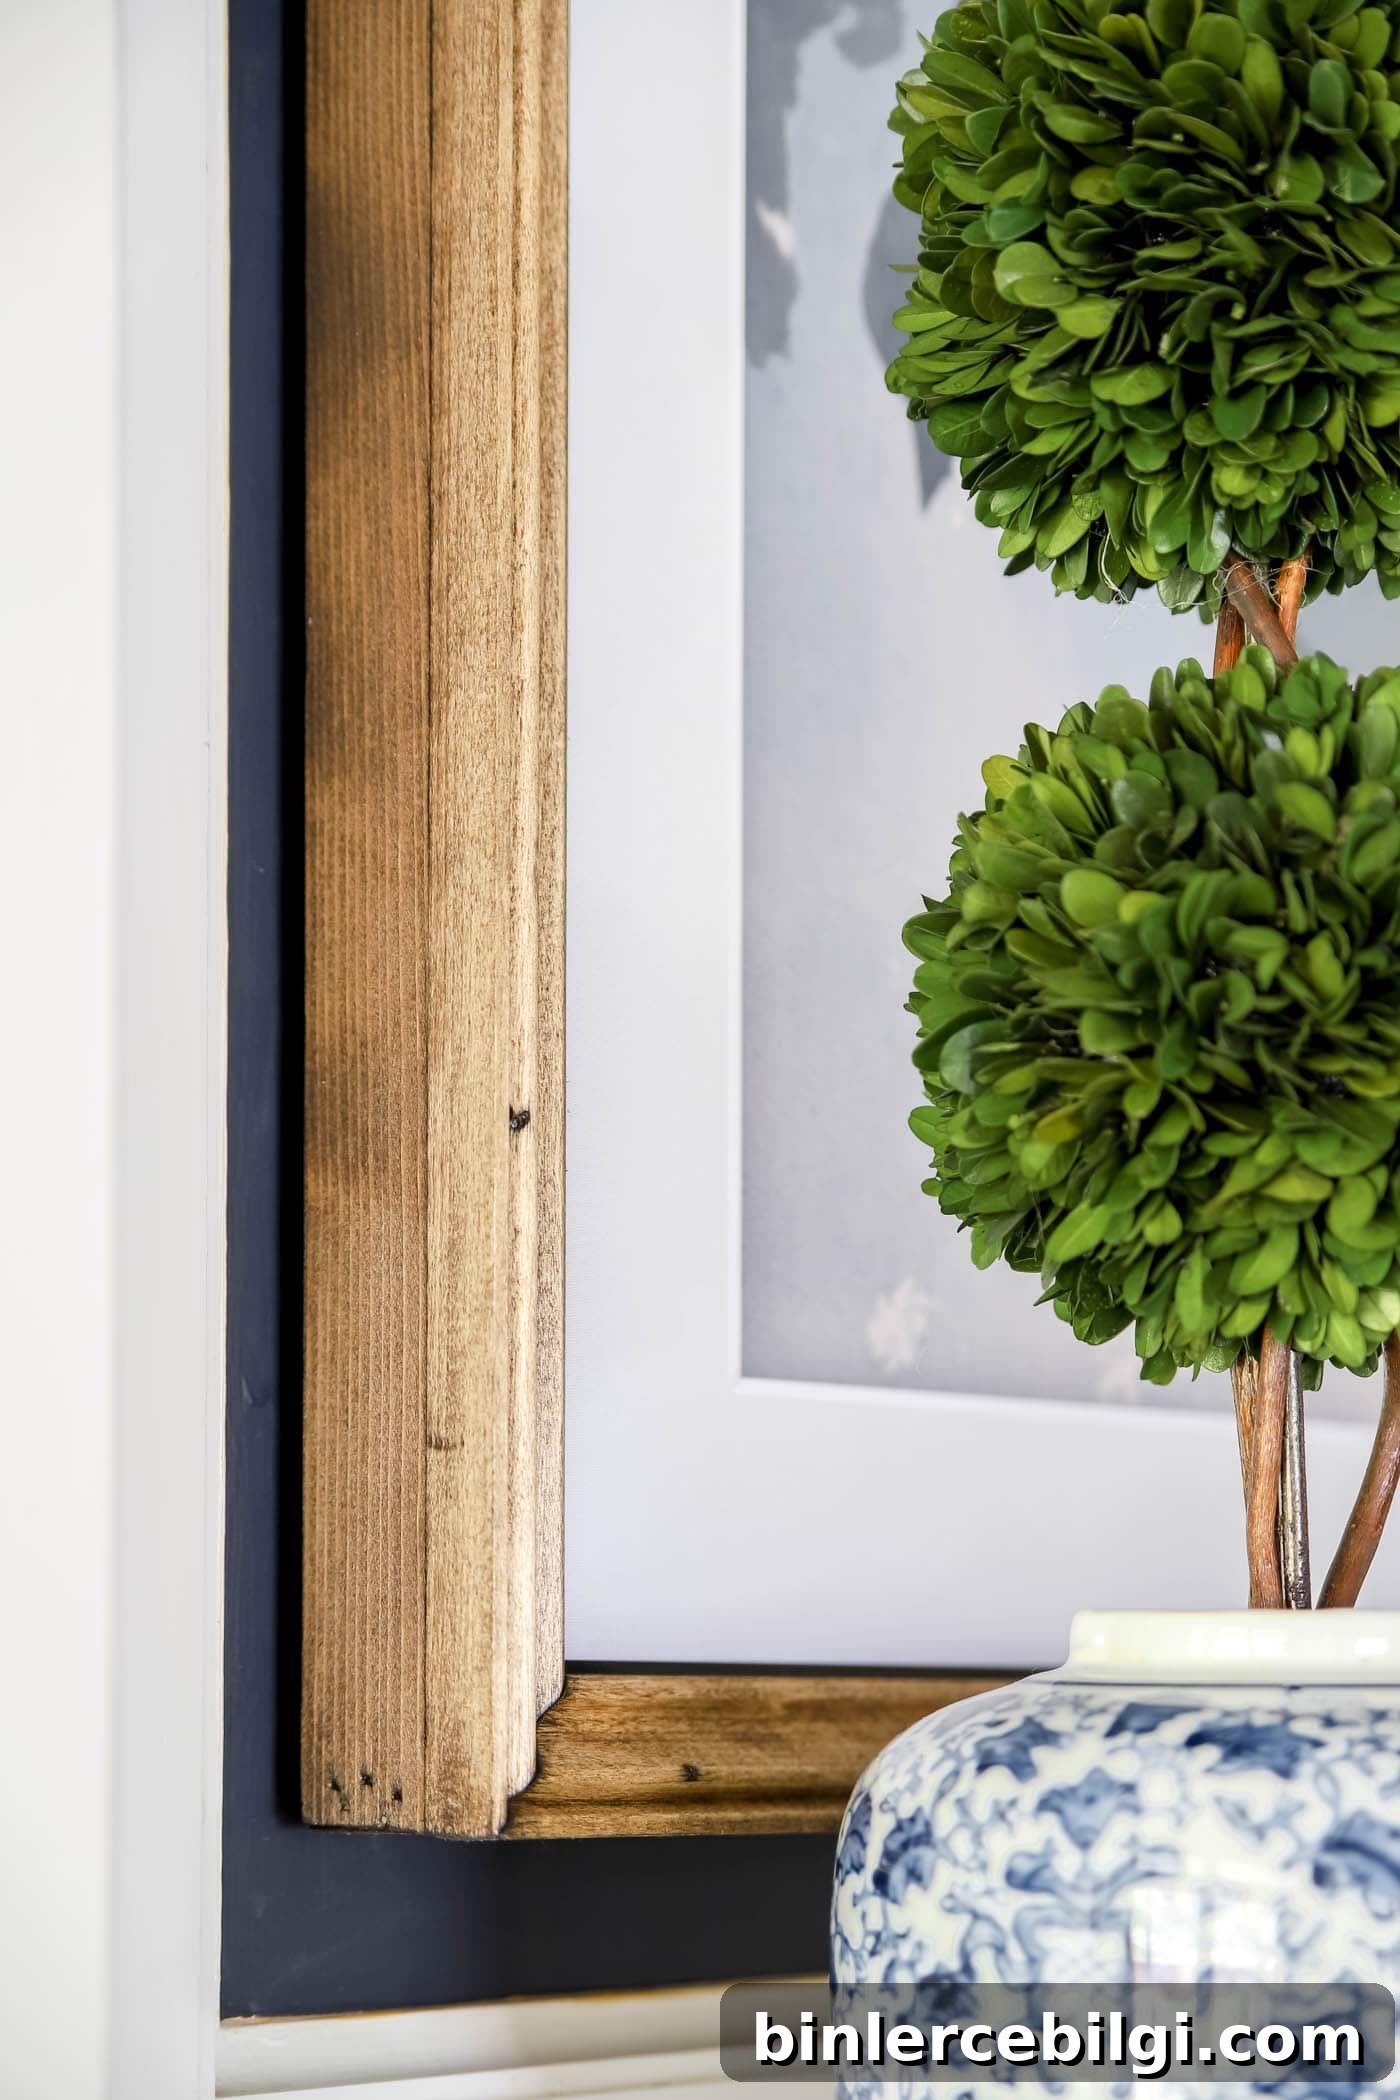
A miter joint requires cutting each end at a 45° angle so the corners meet neatly. The pieces are glued, clamped, and often reinforced with a brad nail for extra strength. Mitered corners give a professional, seamless appearance.
The Butt Joint
A square butt joint overlaps one board over the end of the adjoining board and is glued or nailed in place. This is the fastest and simplest method and works well for narrow trim or lattice frames.
2. Determine & Gather Your Supplies
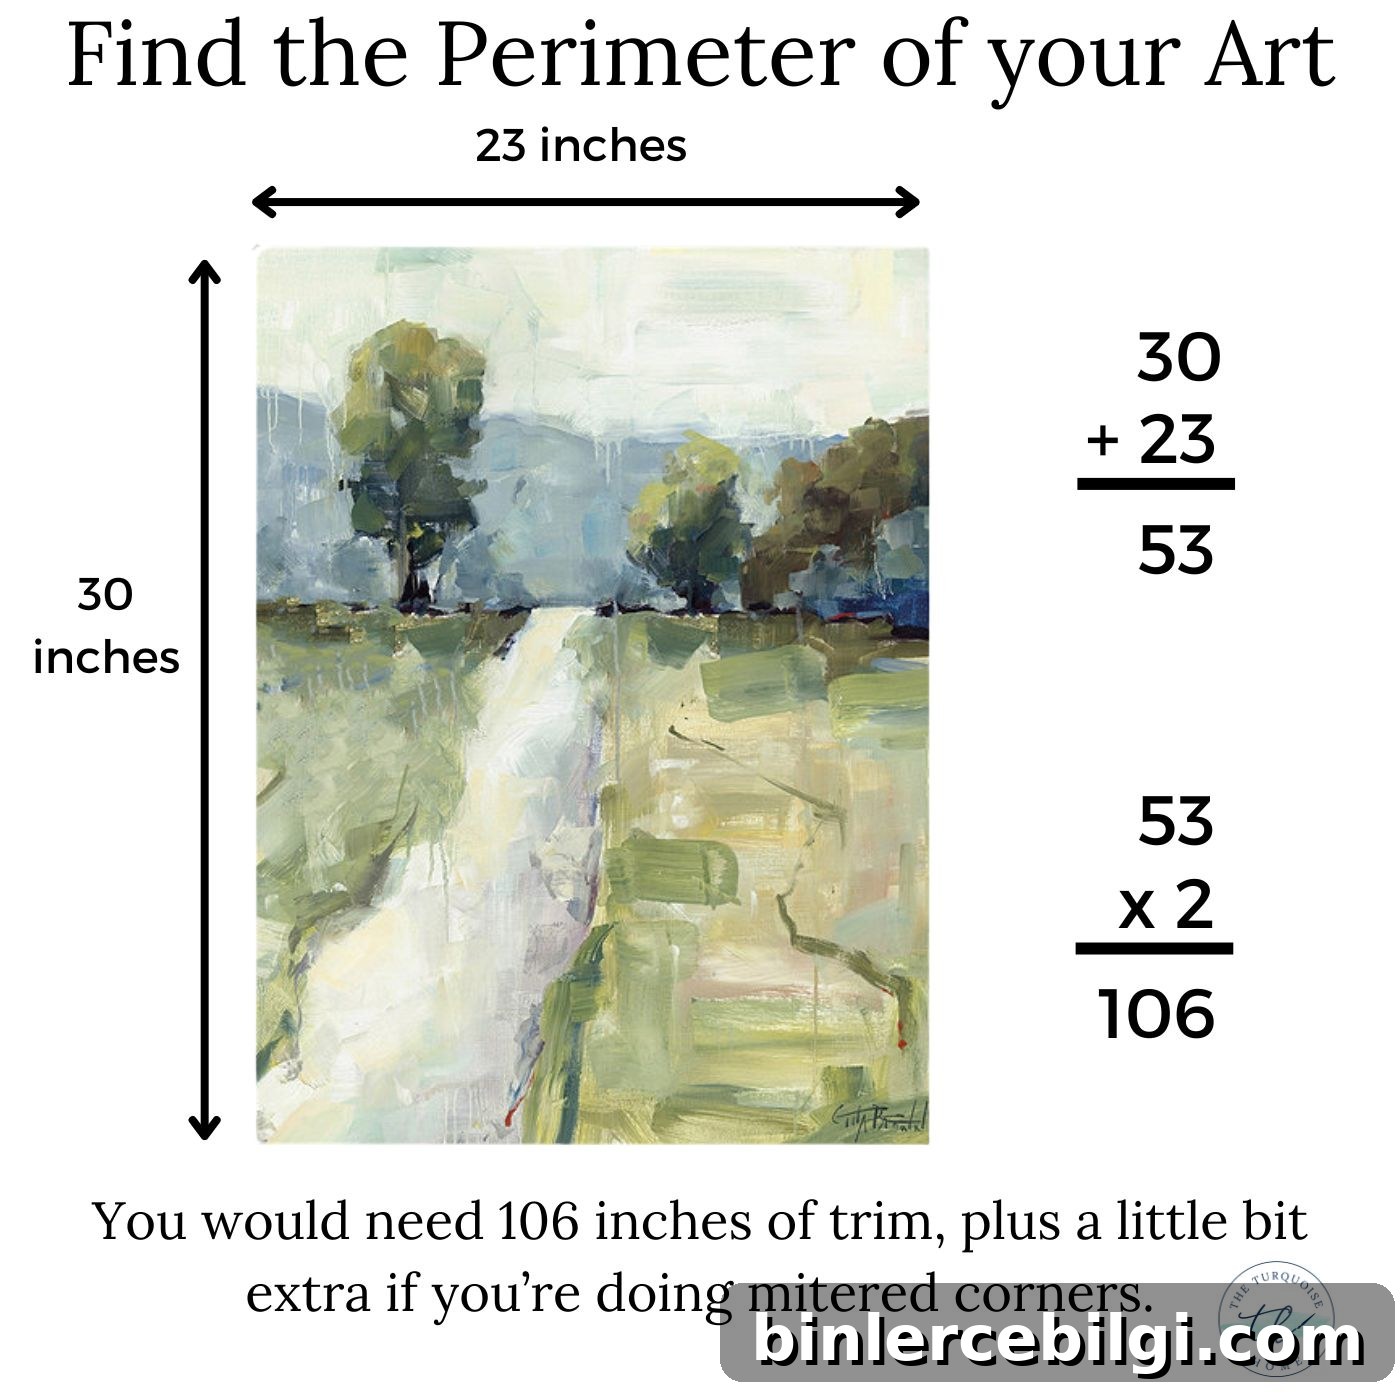
Measure the canvas accurately to find the perimeter. Add small allowances if you plan to miter the corners, since those cuts affect how the board lengths fit together. Aim to buy boards long enough to avoid splicing pieces. For example, two 6-foot boards often yield enough material without joints.
3. Measure and Cut the Frame Pieces
It’s usually easiest to cut first, then sand and finish. For mitered frames you’ll cut matching 45° angles on each piece and make sure the shorter (inside) edge aligns with the inside edge of the frame. If you’re using a layered decorative moulding, cut both the base frame pieces and the top trim so they fit together cleanly.
4. Assemble the Frame
Dry-fit the pieces first, then apply wood glue at the corners, clamp, and add brad nails for reinforcement. If using decorative trim, glue and nail it to the base frame after the corners are secure. Corner clamps make this process faster and more accurate.
5. Sand, Paint or Stain
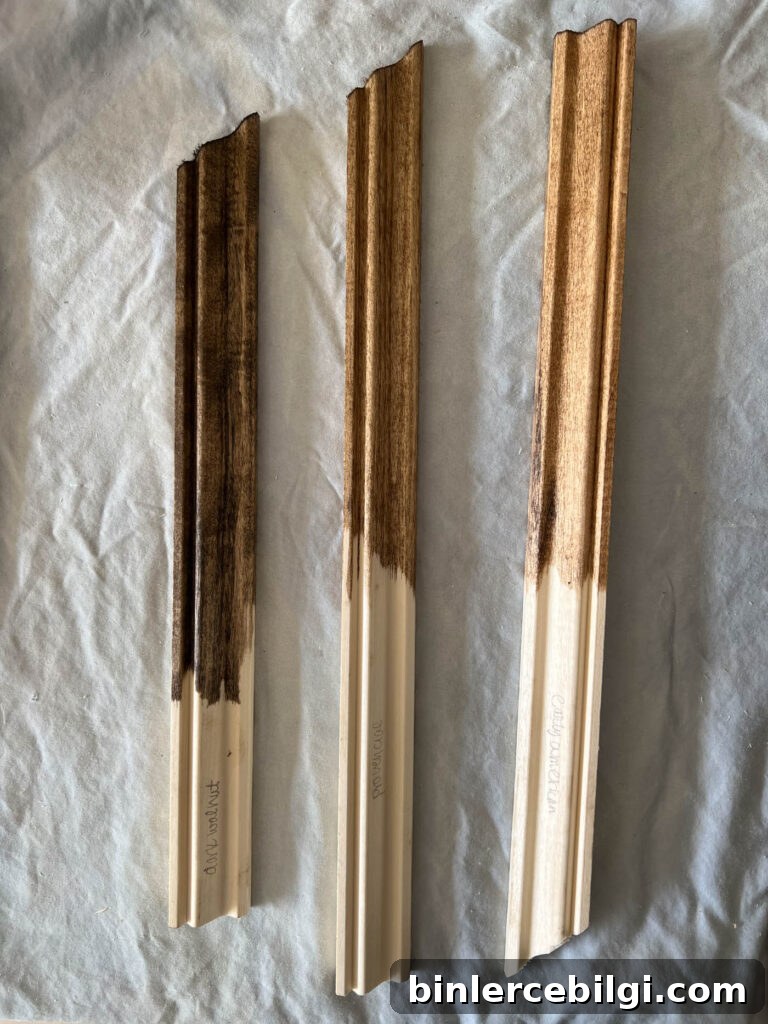
Sand any rough edges, fill nail holes with wood putty, and then apply your chosen stain or paint. Test stain colors on scrap wood before committing. Once dry, seal the frame with polycrylic or polyurethane to protect the finish.
6. Attach the Frame to the Canvas
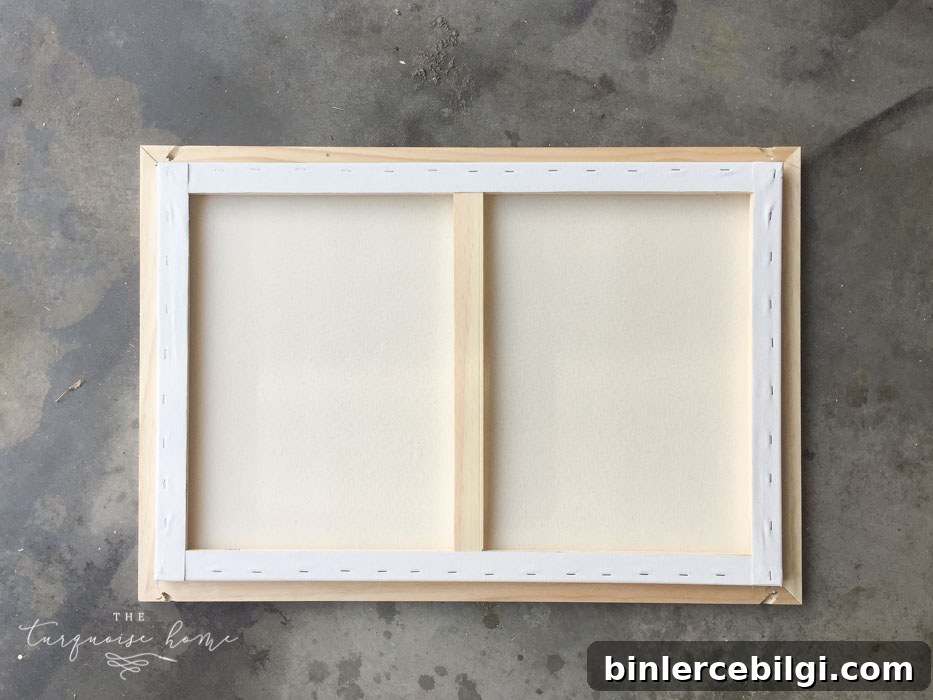
Place the finished frame over the stretched canvas. If the fit is tight, you can simply set it in place; otherwise use glue or small nails from the back edge of the frame to secure it. Avoid nailing through the front of the canvas to prevent visible damage.
7. Hang the Framed Canvas
Attach hanging hardware—sawtooth hangers, D-rings, or a picture wire—appropriate for the frame’s weight and size. Once mounted, step back and enjoy how the frame completes and elevates the artwork.
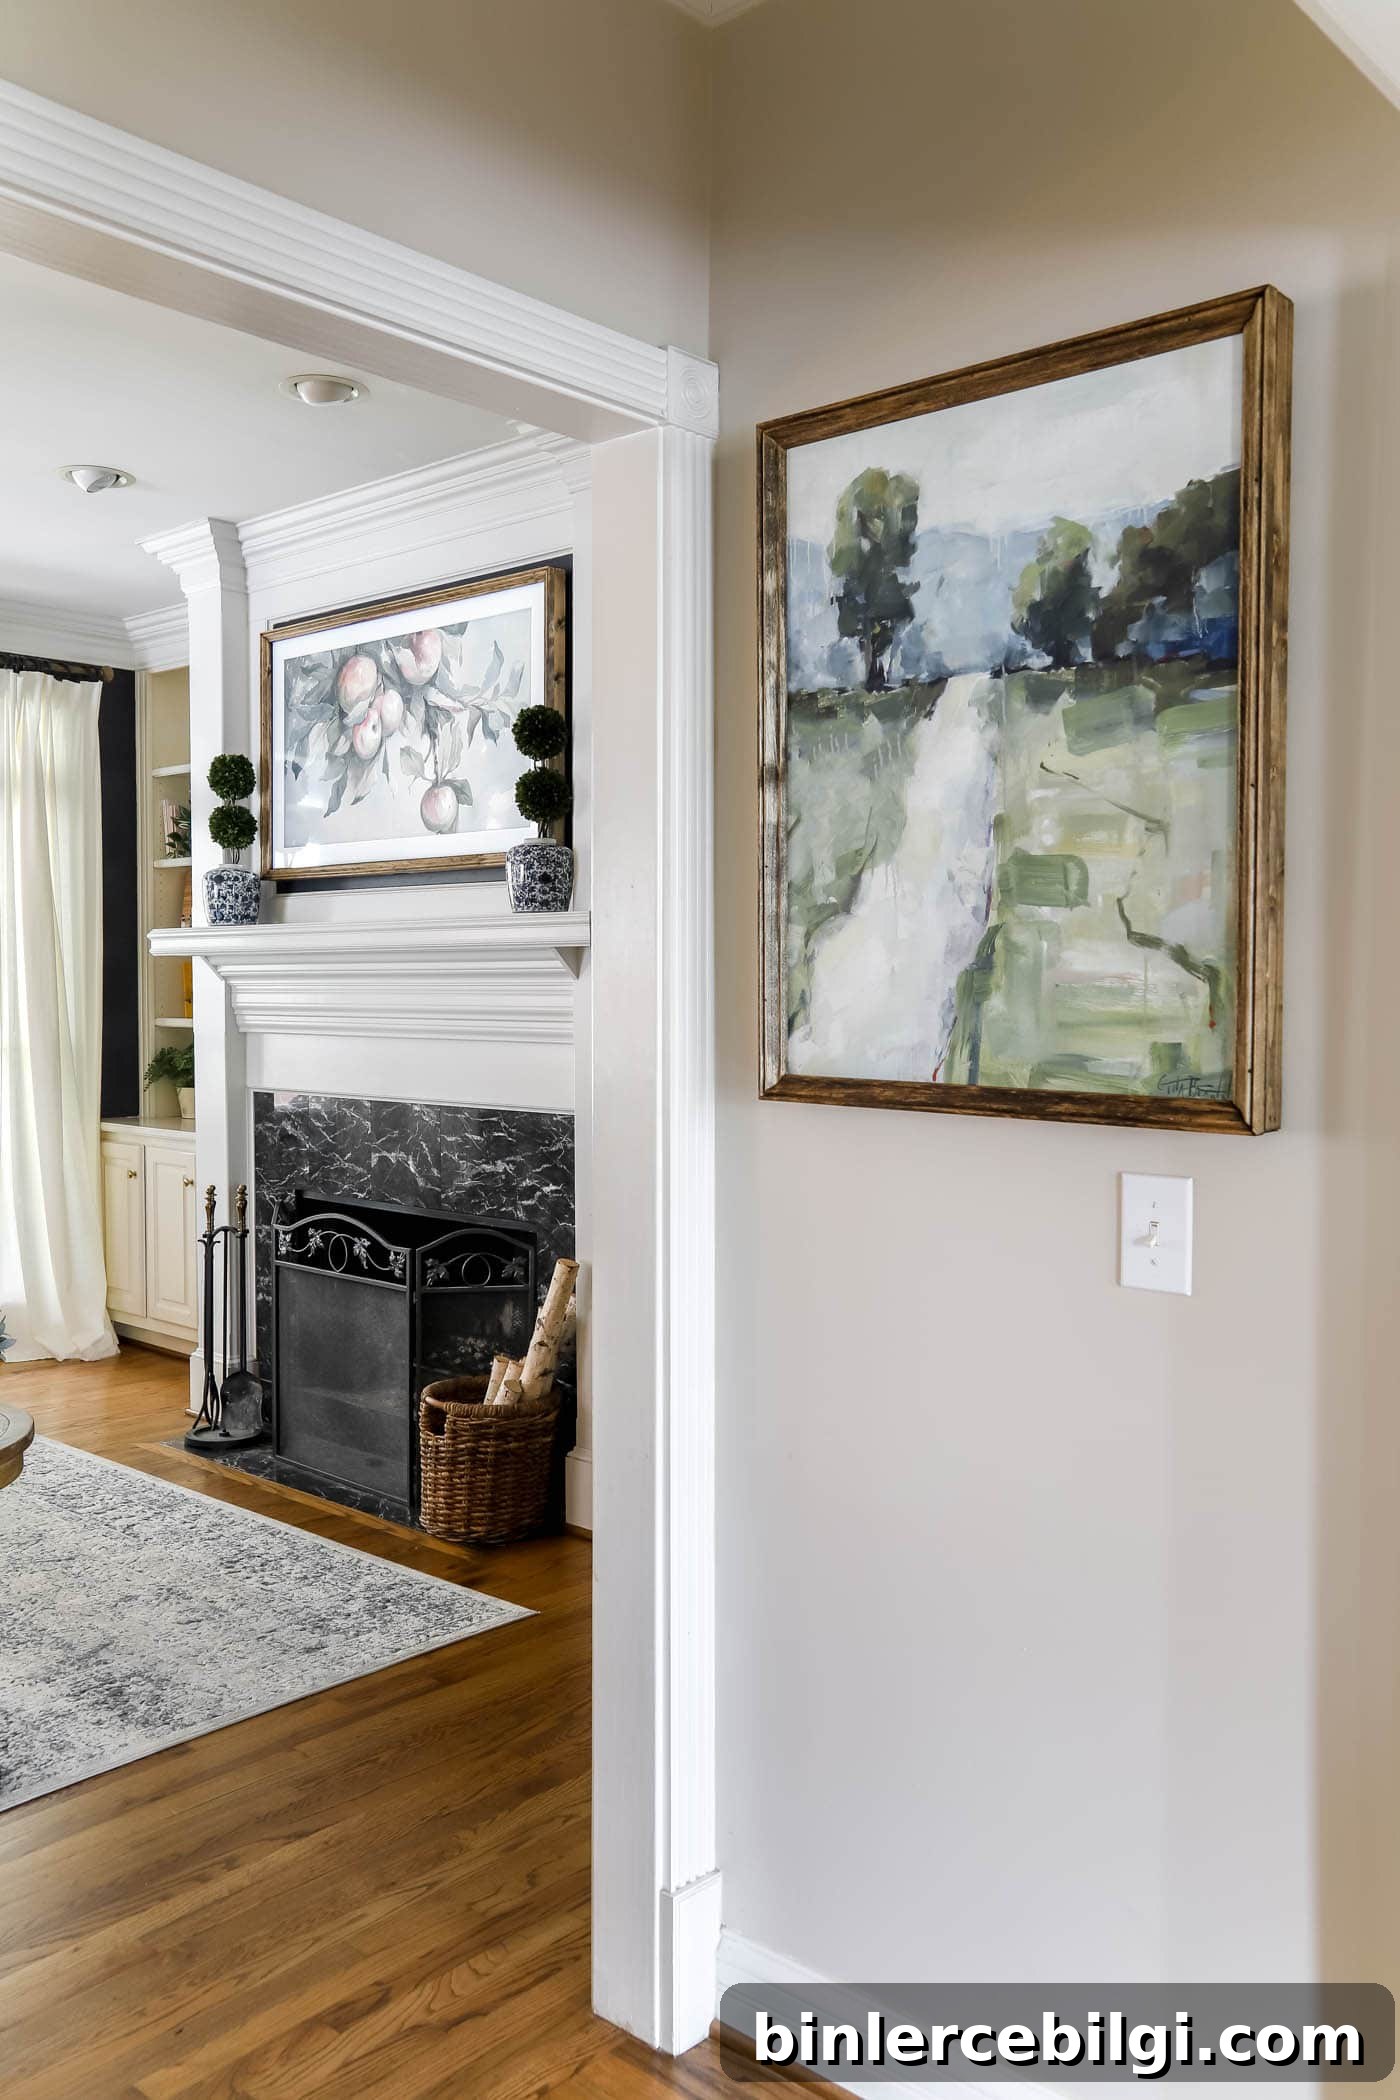
Framing a canvas is a practical, affordable way to upgrade unframed art. With a few tools, the right materials, and basic woodworking steps, you can create custom frames that fit your style and space—and save money compared with buying pre-made frames.
More project ideas and related posts you might enjoy:
- DIY Frame for a Frame TV
- DIY Picture Frame Moulding
- Samsung Frame TV Review
- DIY Window Cornice Board
- How to Frame a Builder-Grade Mirror