
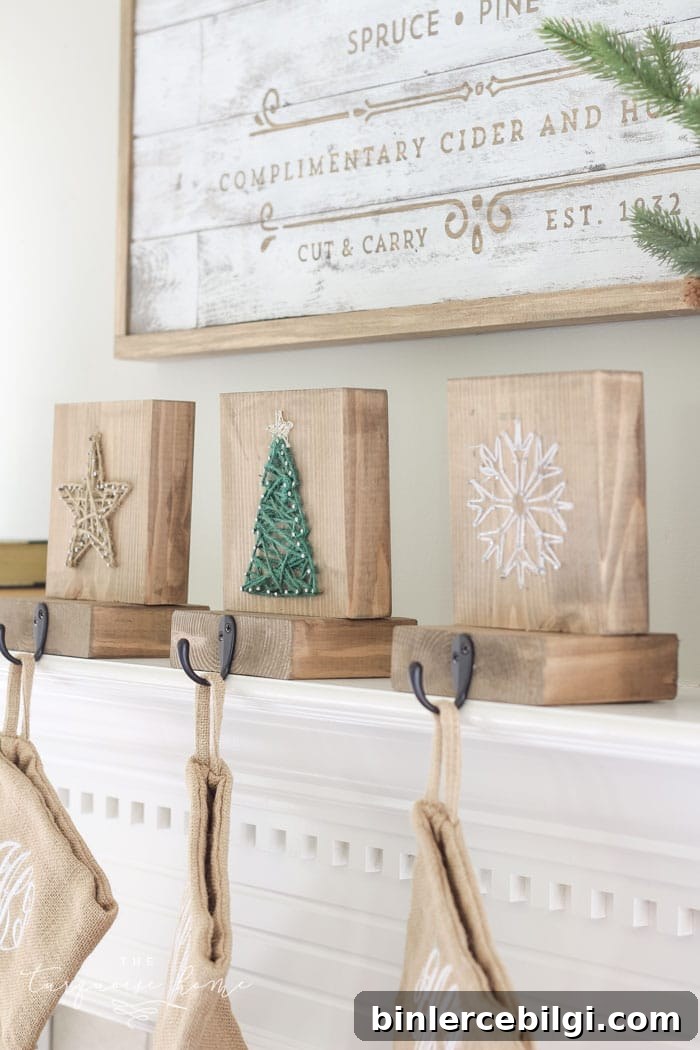
Make these string art DIY stocking holders with just a few simple supplies — a template, nails, a hammer and some string — and transform plain wood into charming, functional holiday decor.
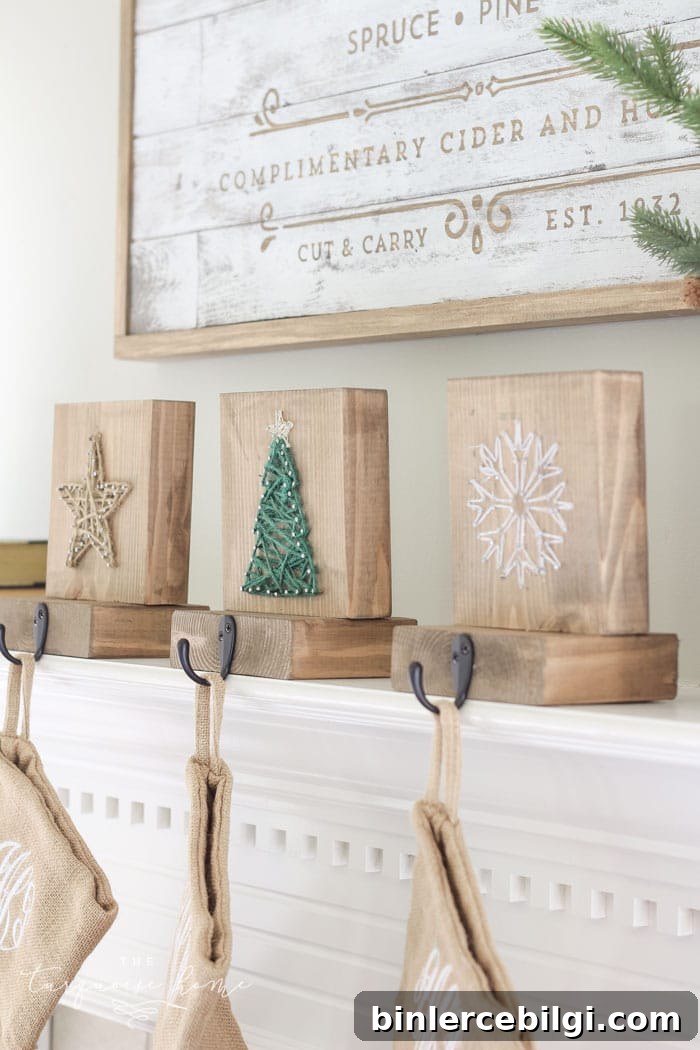
A Christmas string-art project is fun on its own, but making the pieces useful as stocking holders adds a satisfying, practical twist. I’ve seen versions of these DIY stocking holders online and decided to combine a simple string-art technique with a sturdy base to create holders that are both decorative and durable.
A small personal note: in my childhood home the stockings were always hung using thumbtacks pushed into the underside of the mantel — so the idea of a freestanding stocking holder feels a bit fancy to me, but very welcome! Even if a stocking holder isn’t essential, crafting one is an enjoyable, achievable project and a lovely way to personalize holiday decor.
Supplies to Make a DIY String Art Christmas Stocking Holder
You’ll only need a handful of basic tools and materials. Choose finishes and string that match your style — twine for farmhouse charm or colorful embroidery thread for a brighter look.
- 2″ x 6″ pine board, cut to 5.75″ and 4″ pieces (one of each per stocking holder)
- Small hooks for hanging stockings
- Hammer
- Nails about 1″ long with a flattened head (for the string-art outline)
- String, twine, or embroidery thread in the color(s) you prefer
- Longer nails, brad nails, or staples (to attach the string-art block to the base)
- Nail gun or brad nailer (optional but speeds assembly)
- Circular saw, miter saw, or a cutting service (optional)
- Stain or paint in your chosen color
- Paint or stain brush
- Hot glue or craft glue (for securing string ends)
How to Make a DIY String Art Christmas Stocking Holder
1. Cut the 2″ x 6″ Board
Cut the board into one 5.75″ square piece for the face that will receive the string art and one 4″ piece for the base. Make one pair for each stocking holder you plan to make — for example, four stocking holders require four 5.75″ pieces and four 4″ pieces.
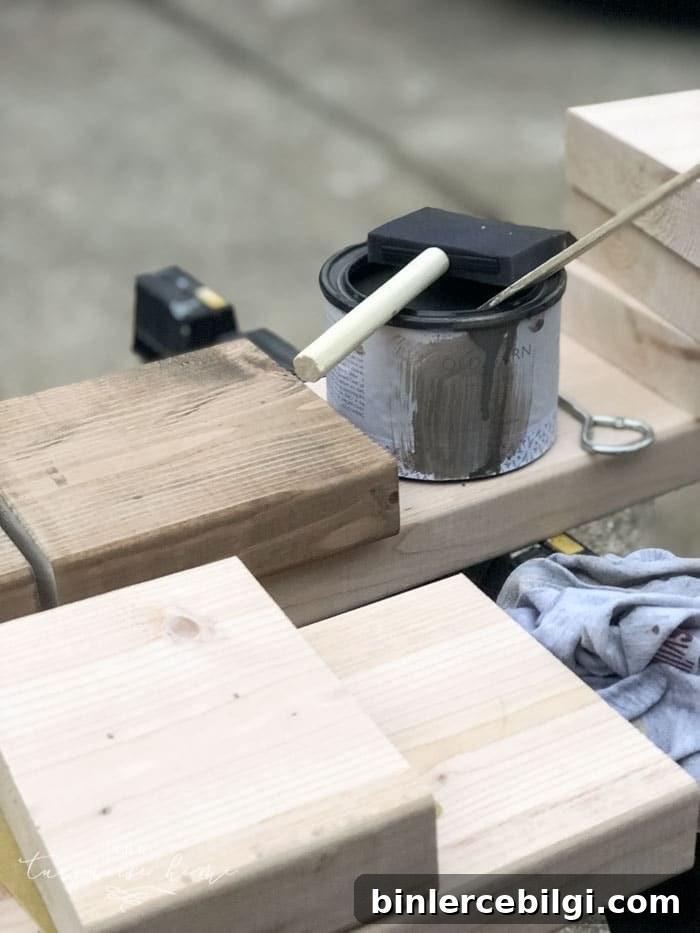
2. Stain or Paint the Blocks
Apply the stain or paint to both pieces and allow them to dry fully. Choose a finish that complements your holiday decor. Water-based stains and paints are easy to work with indoors and clean up with soap and water.
3. Prepare and Print Templates
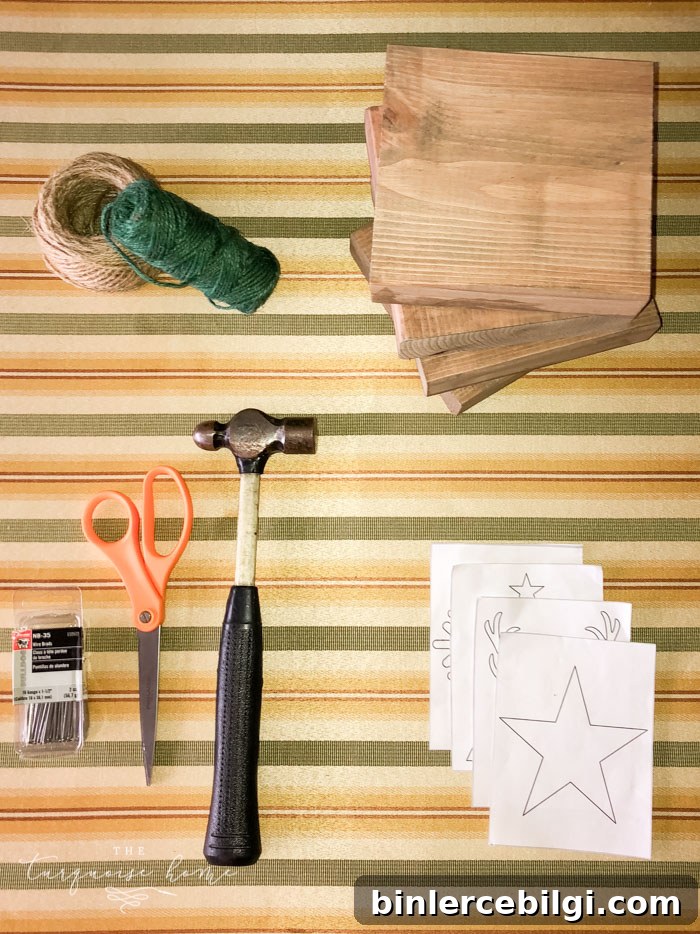
Use printed templates to guide nail placement. Popular shapes include a star, tree, snowflake and deer head. Simpler shapes are quicker and more forgiving; intricate designs like a deer head can be challenging unless you enlarge the pattern or use finer nails.
4. Nail the Template to the Block
Center the template on the 5.75″ block and begin placing nails along the outline. Start with corners and points, then evenly space nails along each edge of the design. For shapes like stars, nail the outer points first and then fill in the edges.
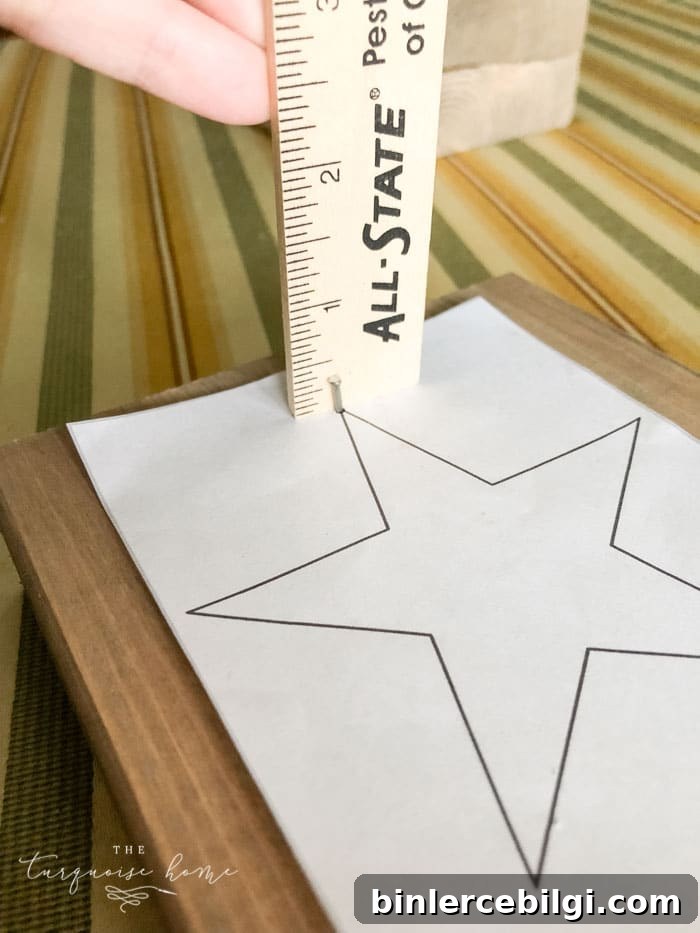
Tip: With a snowflake or similarly radial design, place nails at the central intersection points rather than only at the outer outline — this makes the pattern easier to fill and gives a cleaner result.
5. Remove the Paper Template
After all nails are in place and evenly spaced, carefully tear away the paper template so you’re left with the nail framework on the wooden block.
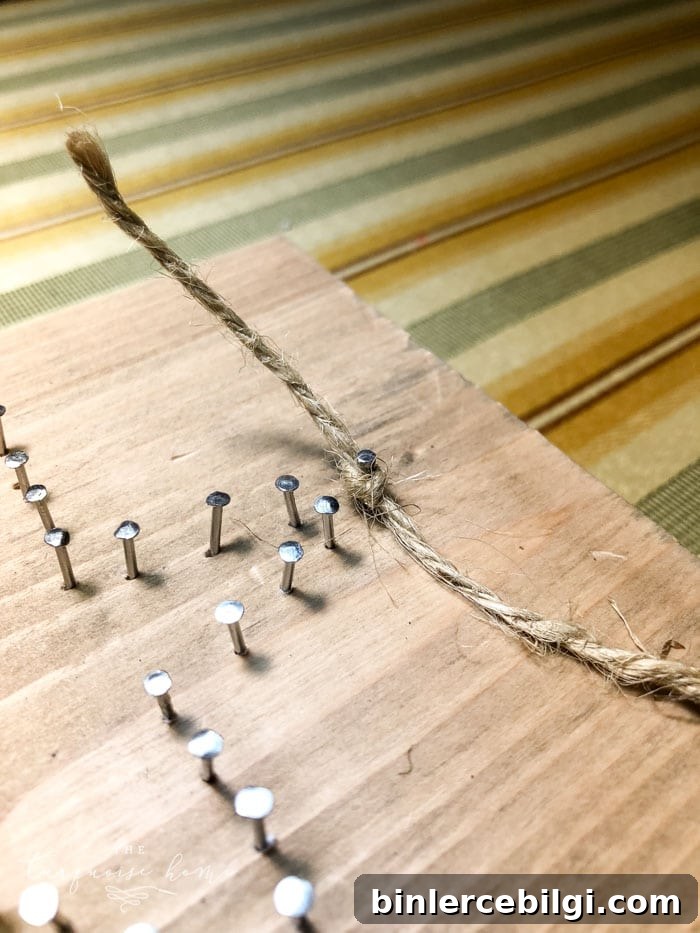
6. Add Twine or String to the Design
Tie the end of your chosen string to a starting nail and then weave the string across the nails in a random but balanced zig-zag pattern. Keep tension consistent so the string lies tidy and snug against the nail heads. Continue until the interior of the shape is filled to your liking.
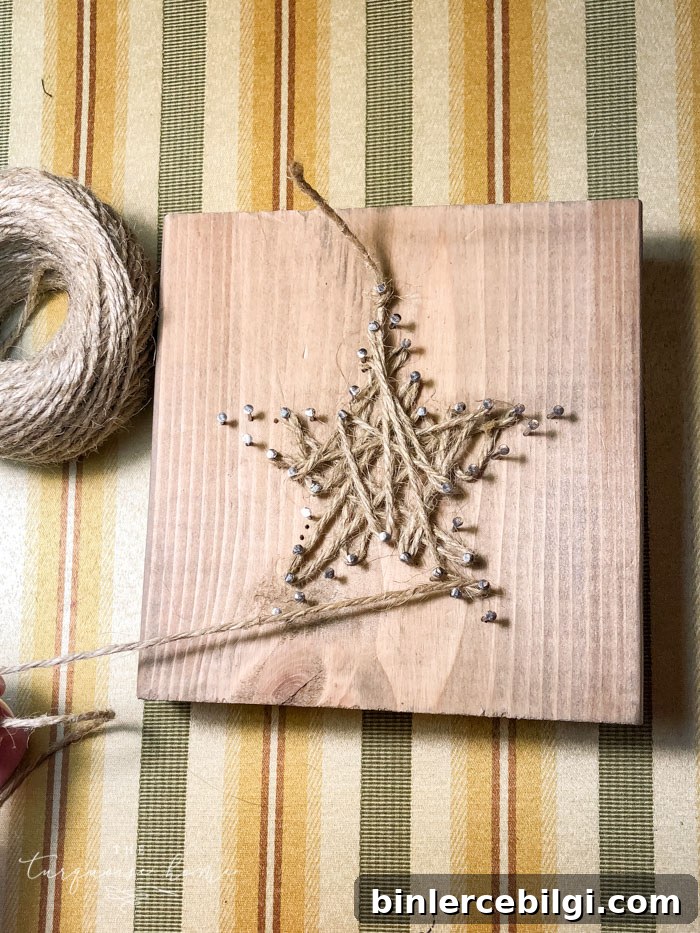
Finish by wrapping once around the outer nails to define the shape’s perimeter — this final pass gives a polished edge and helps the pattern read clearly from a distance.
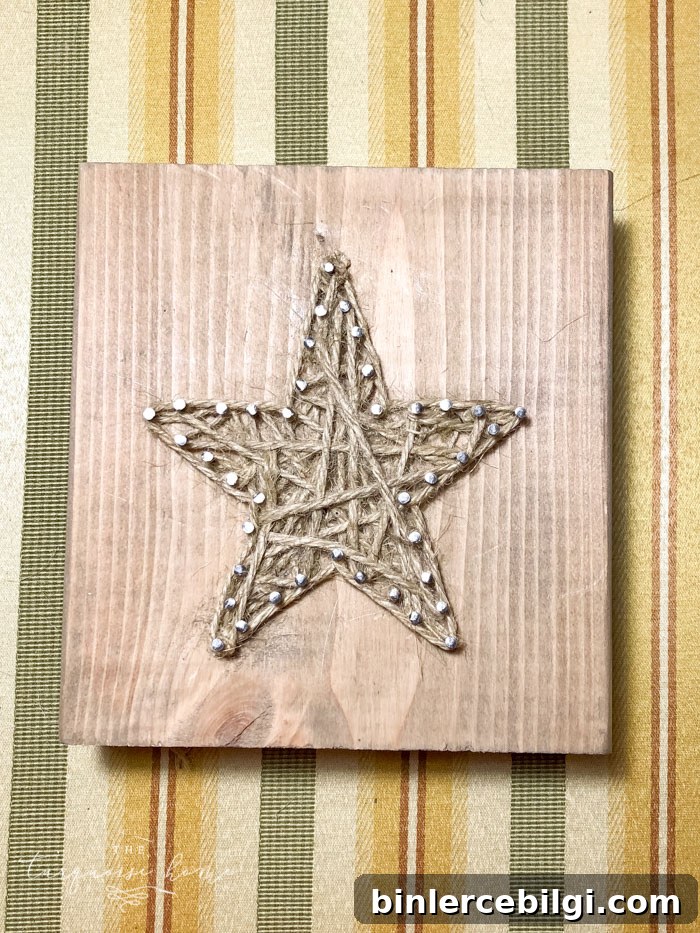
7. Secure the String with Glue
When you’re satisfied with the fill, tie the string to the final nail and secure the knot with a small dab of hot glue or clear craft glue. Trim and tuck any loose ends with tweezers for a neat finish.
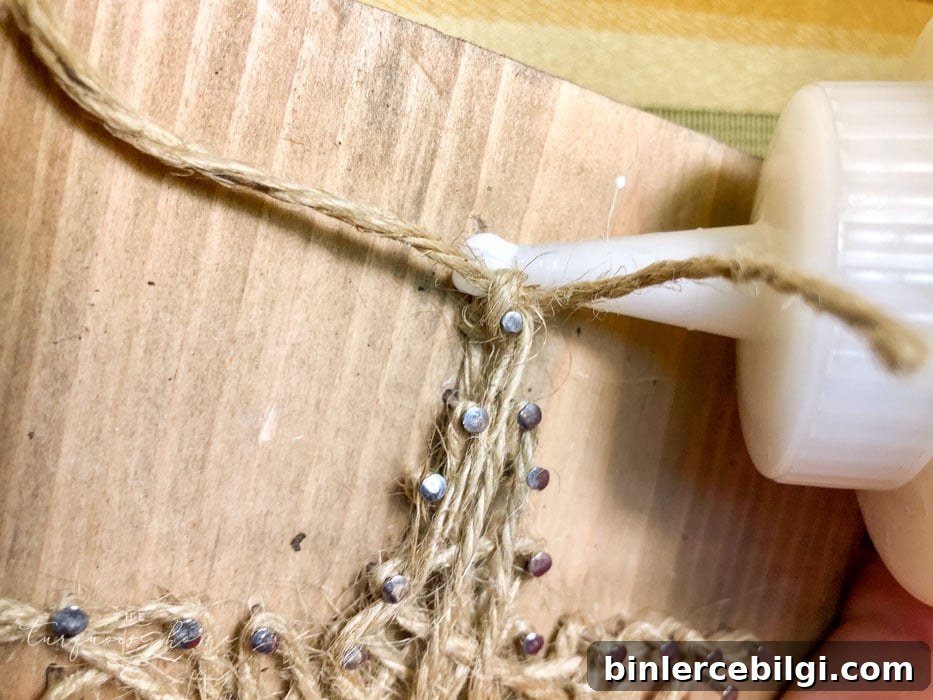
8. Repeat for Additional Blocks
Create as many unique or matching string-art faces as you want. Mixing shapes and string colors makes a playful mantel display, while matching shapes and neutral twine create a cohesive, understated look.
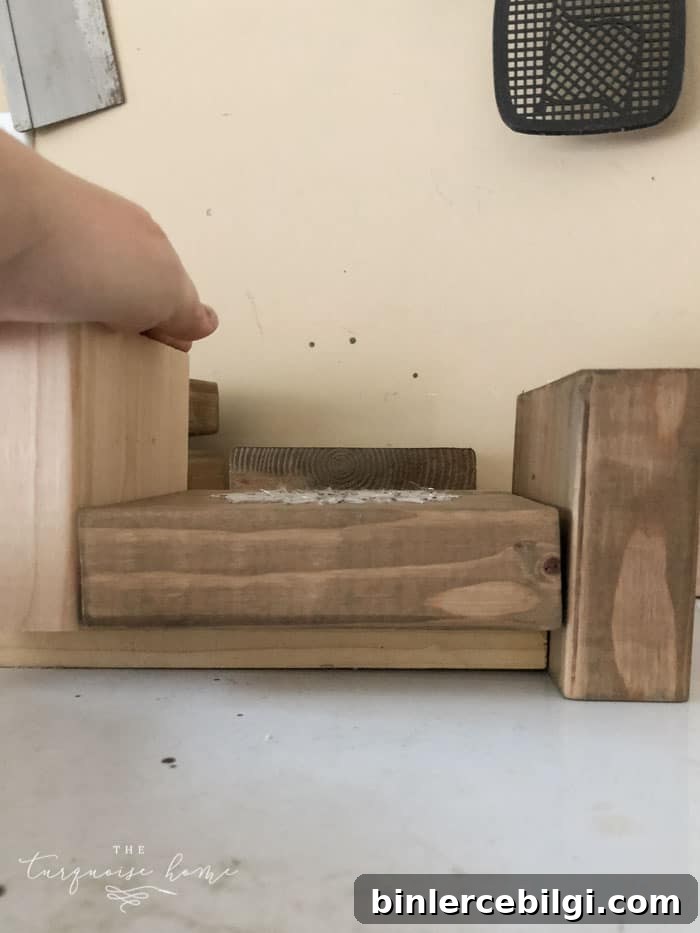
9. Attach the String-Art Block to the Base
Position the string-art block on the 4″ base piece. Optionally use a small spacer behind the string-art block for a bit of depth. Fasten the two pieces together with brad nails, screws, or construction adhesive plus clamps. A nail gun or brad nailer speeds this step, but traditional nails and glue work equally well.
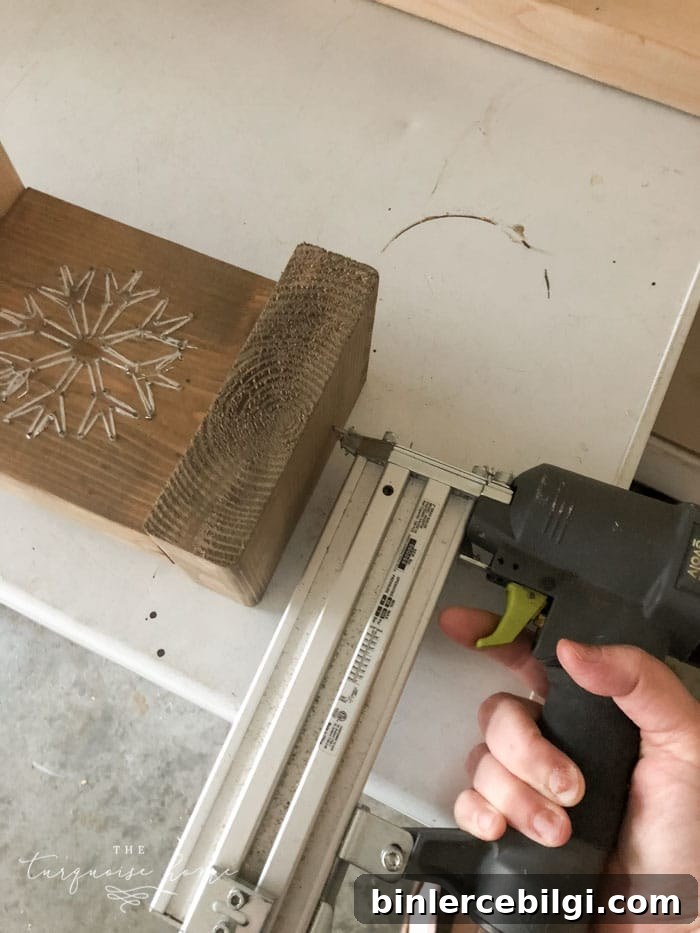
10. Install a Hook and Hang the Stocking
Screw a small decorative hook into the front of the base block, centered beneath the string-art face. Choose a hook finish that coordinates with your decor — oil-rubbed bronze, brushed nickel or antique brass are all attractive options. Once the hook is in place, hang your stockings and enjoy the display.
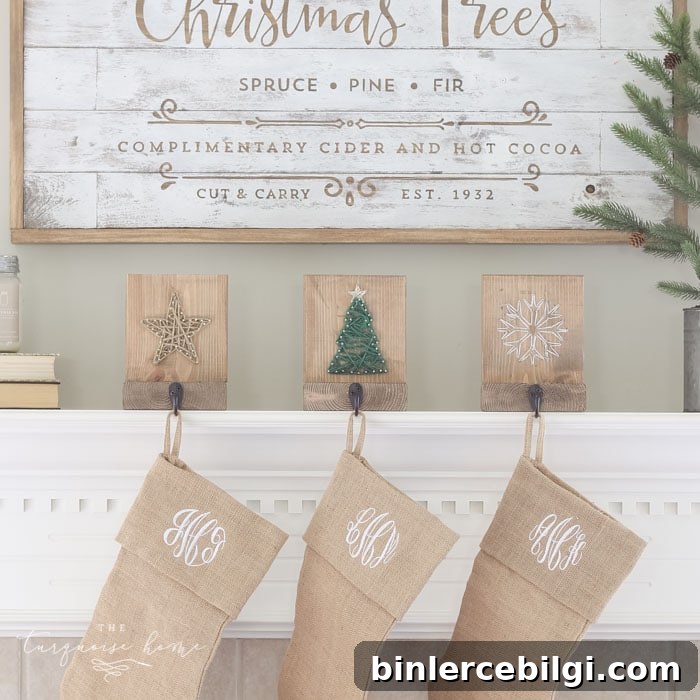
These DIY string-art stocking holders make thoughtful handmade gifts or a personalized addition to your own seasonal décor. They’re easy to customize by changing wood finish, string color, or template shape, and they add a handmade touch to the mantel that looks intentional and festive.
I’d love to see what you create — if you share your project on social media, tag your photos with your account handle so others can enjoy your version. Tell me in the comments if you plan to make these and which shapes or finishes you’ll choose.
More holiday craft ideas you might enjoy:
- DIY twig ornament Christmas tree idea
- Mason jar snow globe ornament tutorial
- 40+ DIY Christmas gift ideas for friends and family
- Mini wooden Christmas sign ornaments
- DIY winter wreath with bells