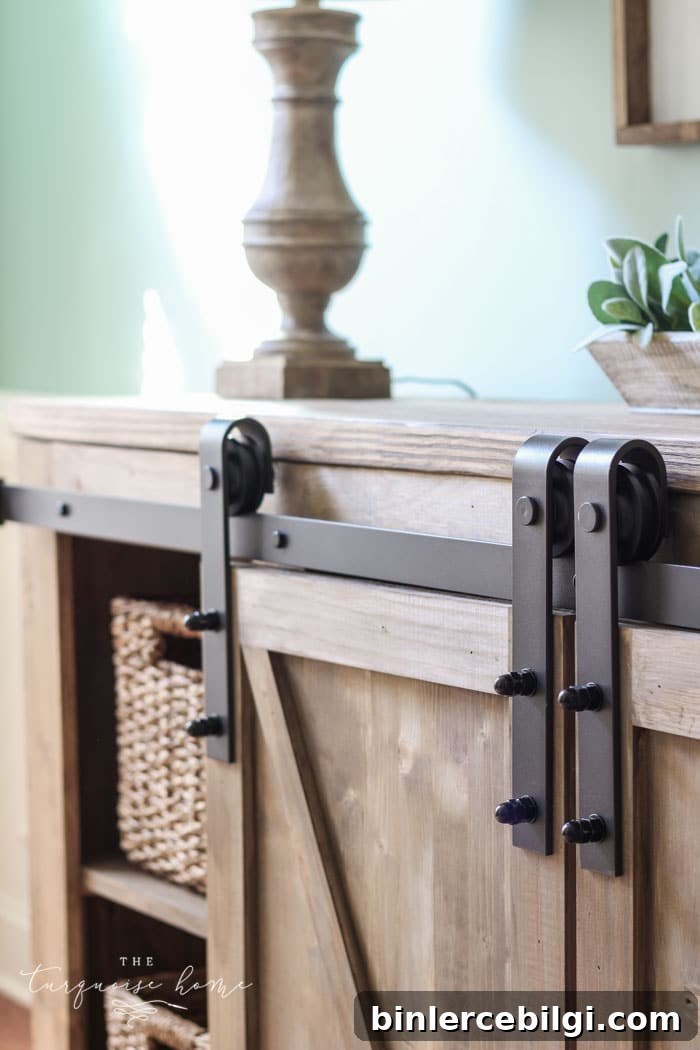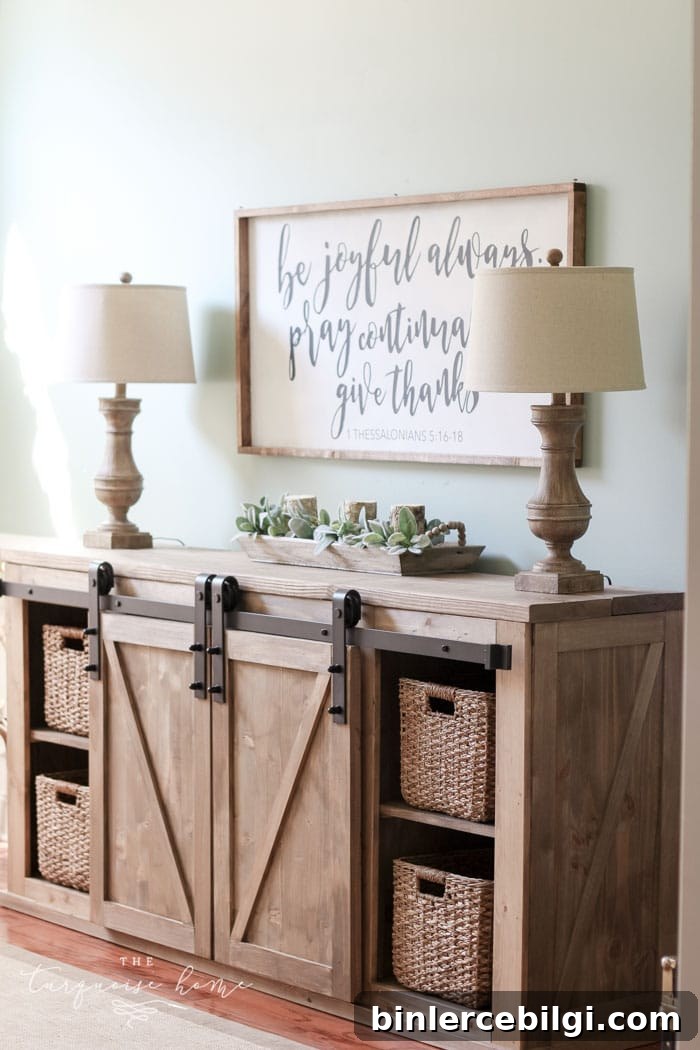
This DIY farmhouse media console table is both beautiful and built for storage. Rustic, weathered wood frames two sliding barn doors and four basket-sized cubbies for plenty of hidden storage.
It’s straightforward to build—just plan for an extra set of hands to carry it inside once it’s finished.
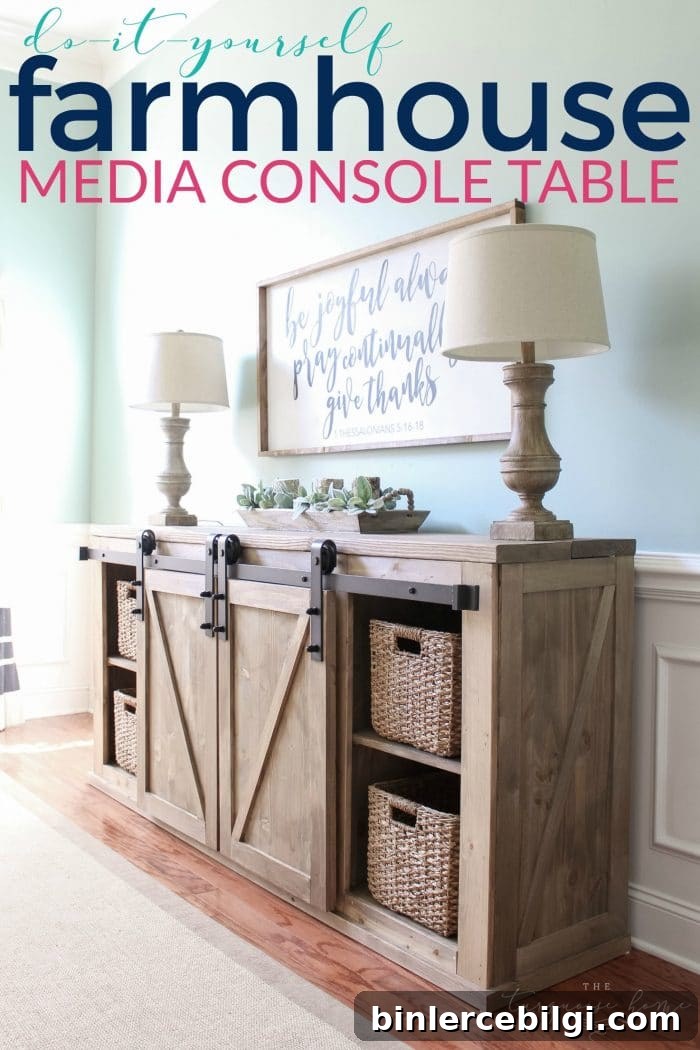
I’m excited to share the full plans for this DIY farmhouse media console table. Since I first revealed it before Christmas, I’ve had many requests for the instructions—so here they are. I built this piece to make a busy room functional and attractive, and it’s become a favorite for storing toys, craft supplies, seasonal décor, and entertaining items.
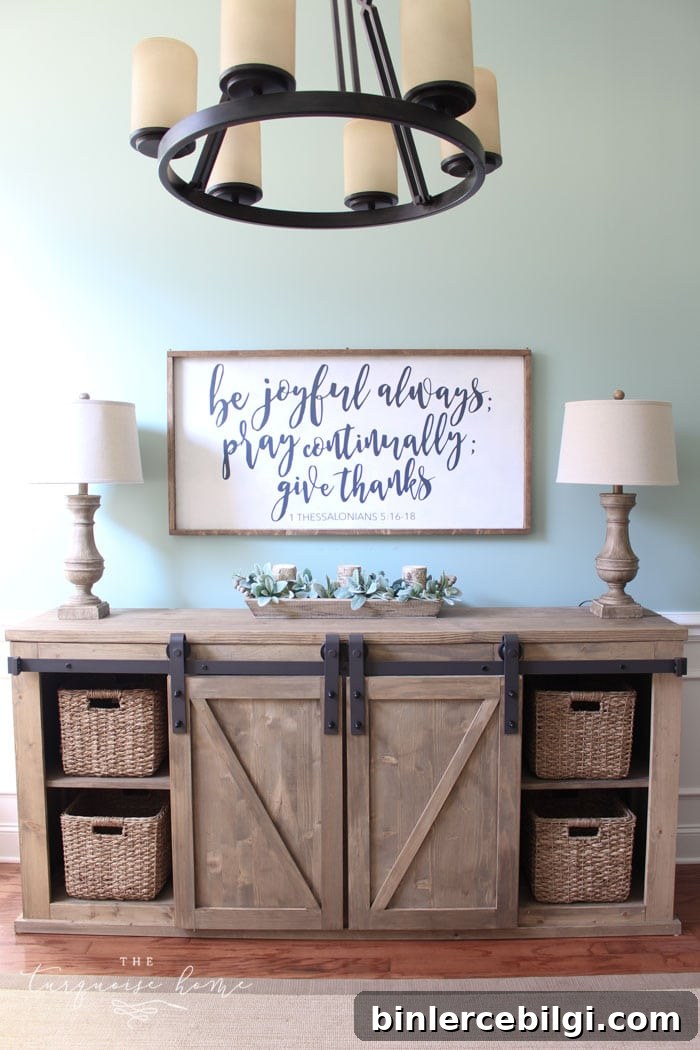
I started with a set of sliding-barn-door console plans and adapted them to match a 6.6-foot barn door hardware kit I planned to use. That hardware dictated the console’s final length, so decide on your hardware before you begin. If you need a shorter or longer cabinet, adjust the measurements to match the track length you plan to install.
Read through all steps before starting and feel free to use this as a guide alongside the original free plans if you want the complete technical drawings.
This post originally included affiliate links and product suggestions for convenience.
What You Need to Build a DIY Farmhouse Media Console Table
Tools
- Miter saw
- Drill
- Tape measure
- Level
- Brad nailer
- Safety goggles
- Carpenter’s square
- Kreg jig for pocket holes
- Bar clamp or similar
You don’t need a full workshop—just basic power tools, a Kreg jig for strong joinery, and a clamp or two. This project is beginner-friendly if you have a few small furniture builds under your belt.
Materials
- 2 — 2×10 @ 8 ft
- 2 — 1×8 @ 8 ft
- 2 — 1×10 @ 8 ft
- 1 sheet 1/4″ plywood (for ripped back planks)
- 3 — 1×2 @ 8 ft
- 4 — 1×4 @ 8 ft
- 5–6 — 2×3 @ 8 ft (cut layout can reduce quantity)
- Project panel pieces roughly 17.25″ x 36″ (or 16″ x 36″ with trim adjustments)
- Glued-edge panel 3/4″ x 20″ x 6′ (for barn doors)
- Assorted screws: 2-1/2″, 2″, 1-1/4″ finishing nails
- Wood glue and wood filler (optional)
- Sliding barn door hardware (choose the track length first)
- Spade bit for hardware holes
- Four baskets to fit the cubbies
- Stain or paint and finish of your choice
Cut List (for an 82″ long console sized to a 6.6 ft track)
The variant shown here measures 82″ long, 37.5″ high, and 18.75″ deep. Adjust if your hardware or space require different dimensions.
Frames
- 4 — 2×3 @ 75″
- 4 — 2×3 @ 17″
- 4 — 2×3 @ 14″
Face Frame
- 5 — 1×4 @ 36″
- 8 — 1×4 @ 16.25″
Shelves
- 2 — 1×8 @ 78″
- 2 — 1×10 @ 78″
Middle Shelf Supports and Cleats
- 7 — 1×2 @ 14″
- 5 — 1×2 @ 17″
Shelf Dividers (optional)
- Top shelf dividers: two project panels cut to ~16.75″ x 14.625″
- Bottom shelf dividers: two project panels cut to ~16″ x 14″
Top
- Cut two 2×10 boards to 82″
Doors
- Cut project panel into two 20″ x 30.75″ pieces for the doors
Back
- Rip plywood into 5″ strips at 36″ long for a planked back, or use a full sheet of plywood
Trim details are flexible—use 1/4″ pine project boards or any trim style you prefer.
How to Build the DIY Farmhouse Media Console Table
Below are the key steps I followed while adapting existing plans to my size and hardware. Refer to full plans for exact spacing and technical drawings if you need them.
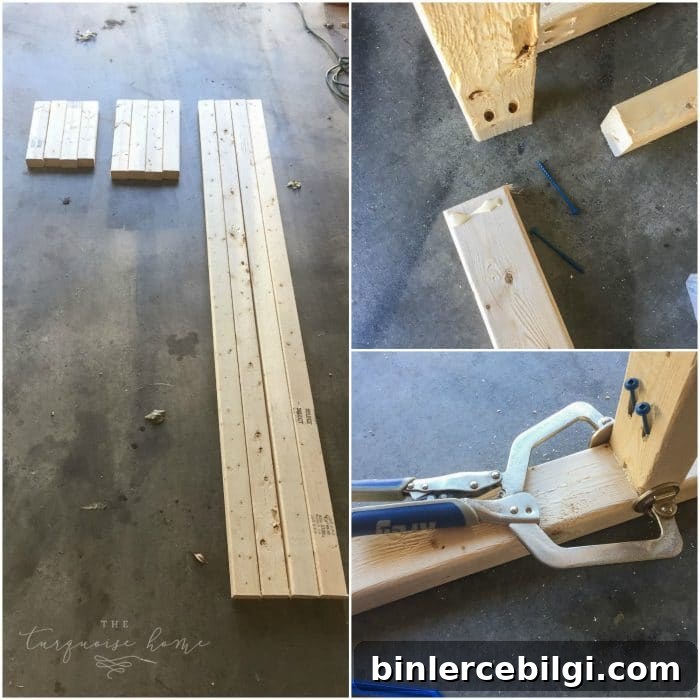
1. Cut 2×3 Frame Boards and Assemble the Frame
Cut 2x3s for the main frame and assemble using wood glue and screws. If you plan to fasten the top from underneath with pocket screws, add those pocket holes to the top rails before assembly. I used a Kreg jig and 1-1/2″ pocket holes with 2-1/2″ pocket screws for secure joints. Check boards for straightness before assembly to avoid a skewed frame.
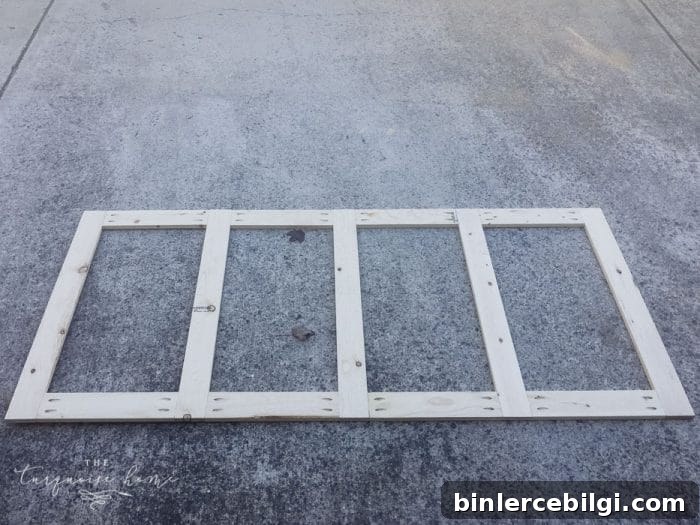
2. Build and Attach the Face Frame
Cut the 1×4 boards for the face frame. You can assemble the face frame separately using pocket holes, then glue and nail it to the front of the cabinet, or fasten the face frame directly to the assembled carcass with finishing nails and glue. Use a scrap board as a guide to keep edges flush while fastening.
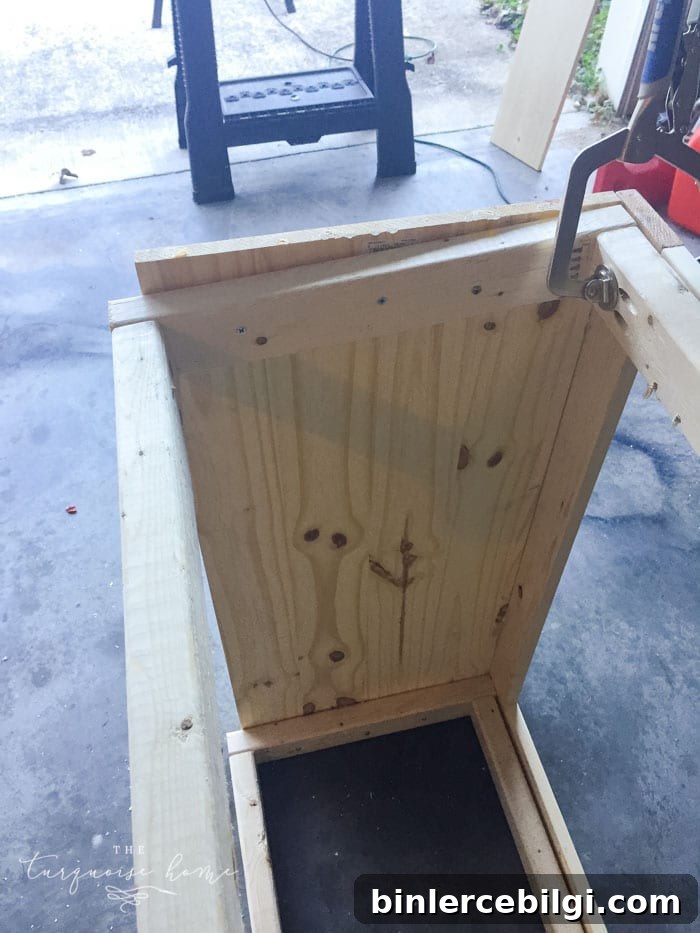
3. Attach Side Panels
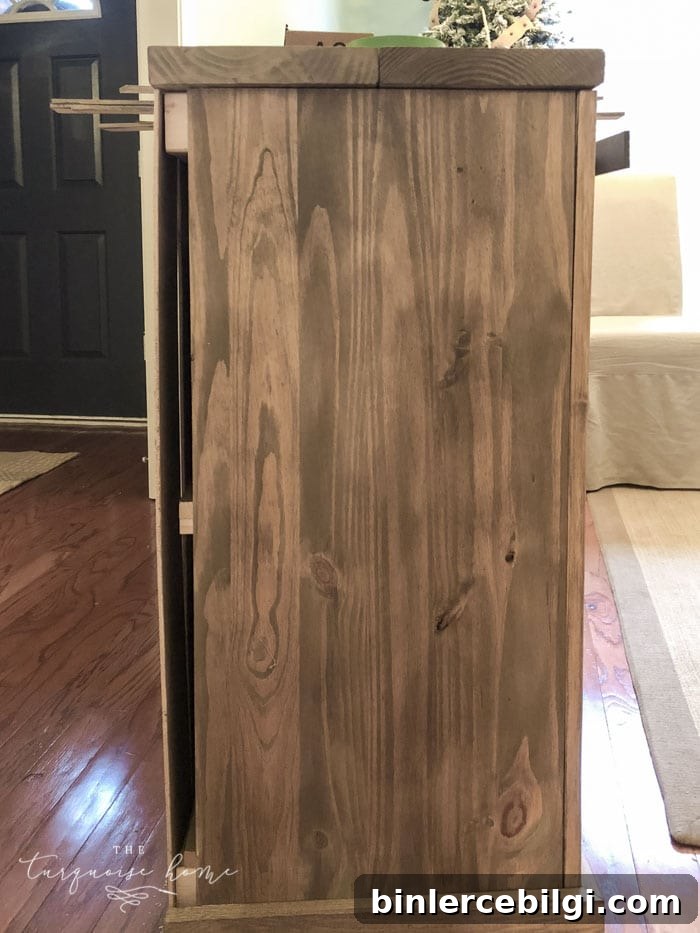
Fasten project panels to the sides with 2″ screws from inside, or use glue and a nailer. If your project panels are slightly narrower than needed (as mine were), cover the gap with decorative trim for a clean look.
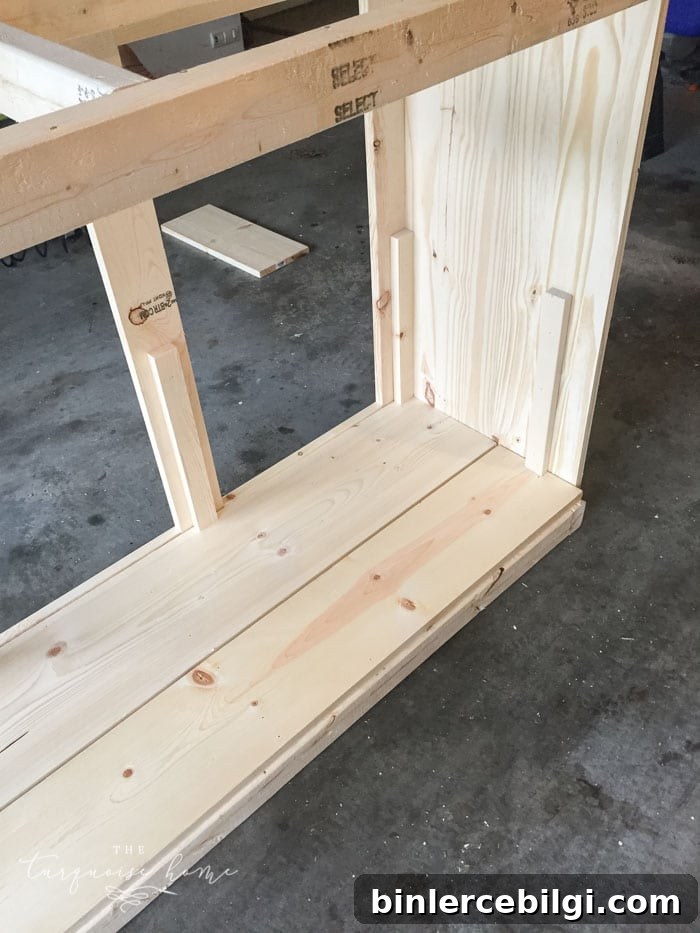
4. Add the Bottom Shelf
Cut and inset 1×8 and 1×10 boards to form the bottom shelf; nail them to the bottom frame with 1-1/4″ nails. A narrow gap between boards is fine, but avoid excessive overhang at the back.
5. Attach Shelf Supports and Cleats
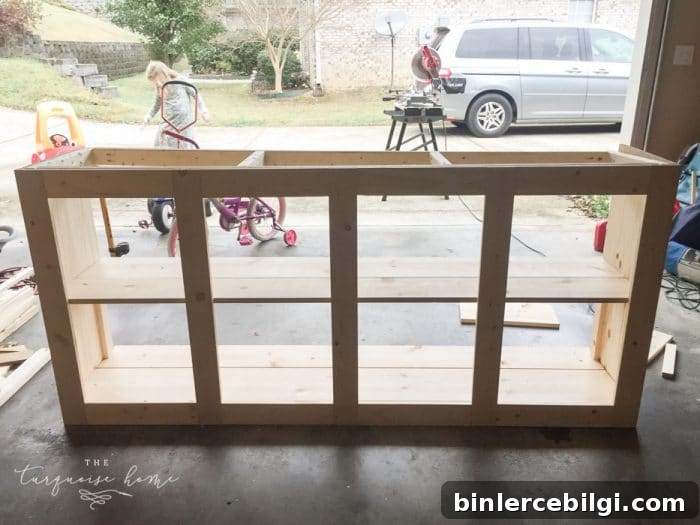
Install the 1×2 cleats around the inside perimeter to support the middle and top shelves. Secure with glue and 1-1/4″ nails. Use the installed bottom shelf to measure and mark placements for the top shelf cleats so everything aligns.
6. Assemble the Top Shelf
Assemble the top shelf boards and add cleats to the underside for strength. Leave a small expansion gap between boards if needed.
7. Attach the Top Shelf
Place the top shelf and secure it from the outside or fasten from below into pocket holes if you prepared them earlier. Pocket screws from the underside give a clean finished look on top.
8. Apply Stain
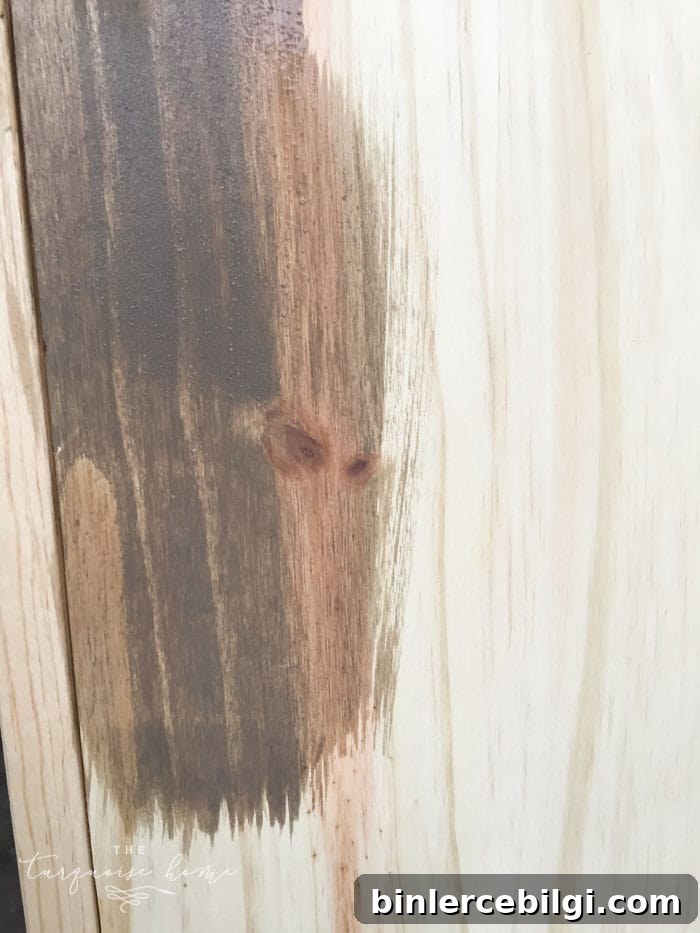
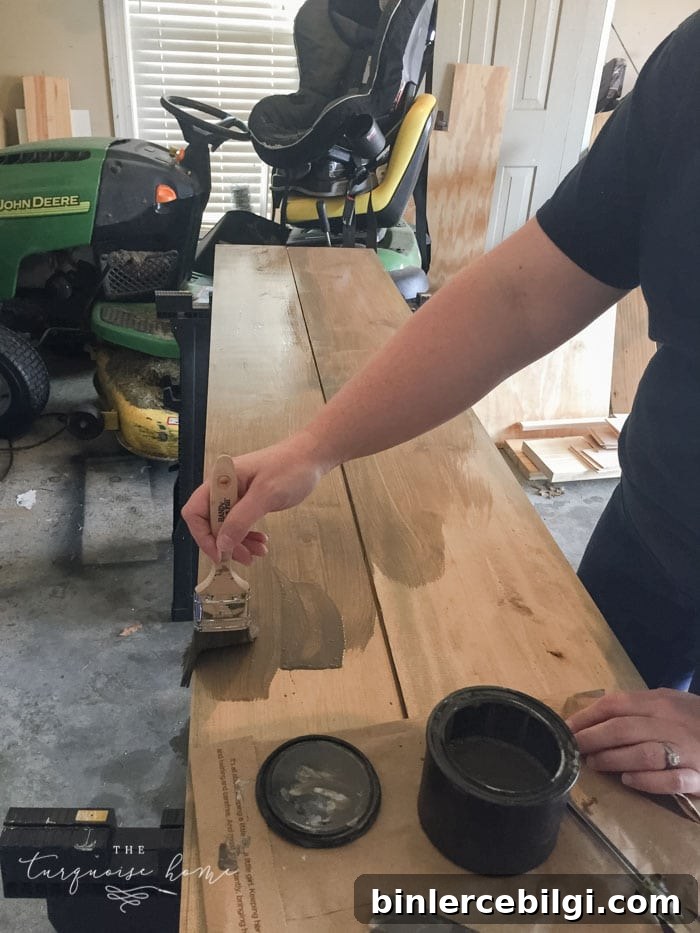
At this stage I stained assembled sections and stained remaining pieces before final assembly. Choose a stain and finish compatible with your wood and desired look. The finished project pictured uses a weathered, low-VOC, water-based stain for a rustic patina that is easy to work with indoors.
9. Add Shelf Dividers (Optional)
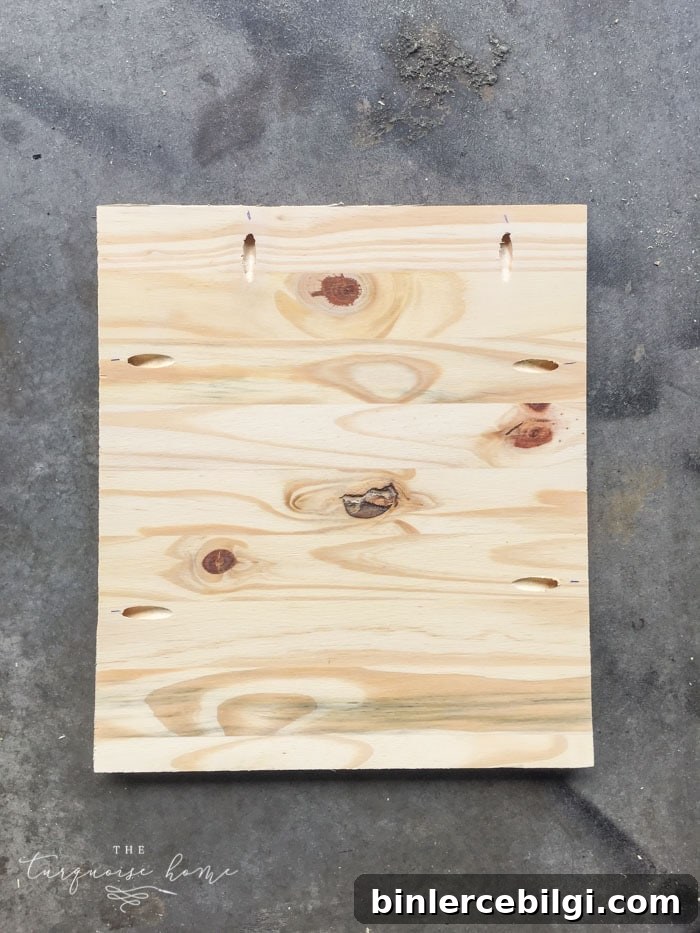
To prevent children from reaching into spaces beside the sliding doors and to visually separate cubbies, I added vertical dividers on the left and right sections only. These were cut from project panels, pocket-holed into place, and stained before installation for a neat result.
10. Attach the Back Pieces
Attach ripped plywood strips to the back for a planked look. Use 3/4″–1-1/4″ nails. Alternately install a single sheet of plywood if you prefer fewer seams.
11. Add Bottom Trim
Cut bottom trim from 1×2 stock with mitered corners and attach with glue and 1-1/4″ nails to finish the base.
12. Attach the Top
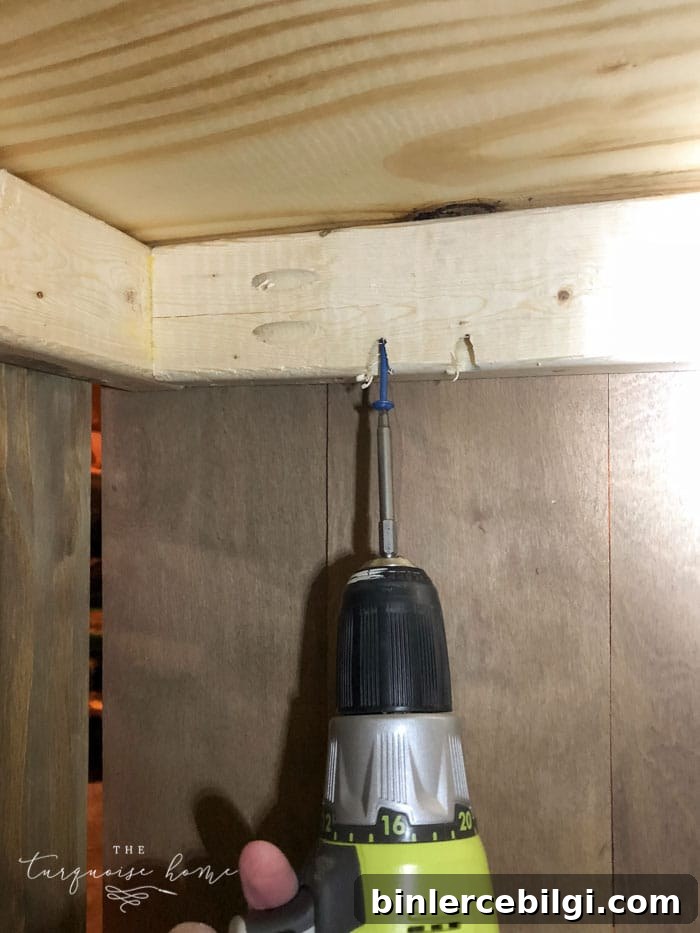
Stain or finish the two 2×10 top boards, then attach them so they overhang the front and sides while remaining flush with the back. Fasten from below into the frame using pocket screws or from above with countersunk screws and plugs.
13. Add Decorative Side Trim
If side panels are slightly narrow or you want a coordinated design with the doors, add decorative trim. Glue and nail the trim in place for a finished appearance.
14. Build the Sliding Barn Doors
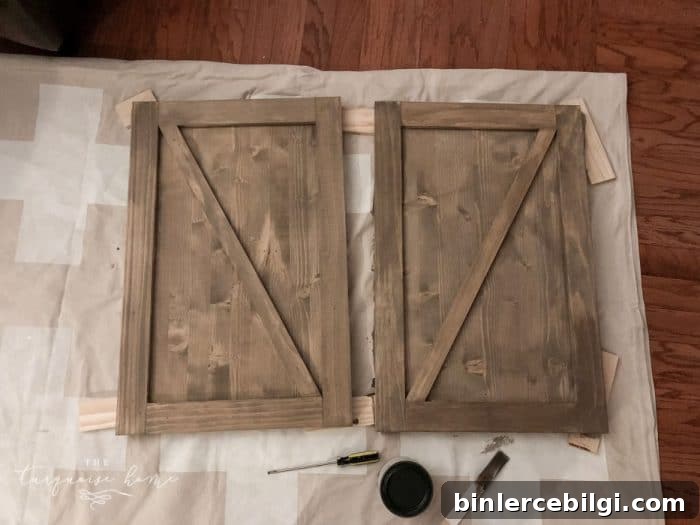
Cut a glued-edge 3/4″ panel to two doors at 20″ x 30.75″. Add decorative trim with thin pine project boards and stain them before final assembly so edges stay clean.
15. Attach the Barn Door Rail
Follow the rail hardware directions carefully. Positioning is precise—mount the rail level and ensure the doors won’t rub the tabletop or hit the rail. Place the cabinet on a level surface while marking hardware locations.
16. Attach the Door Hardware
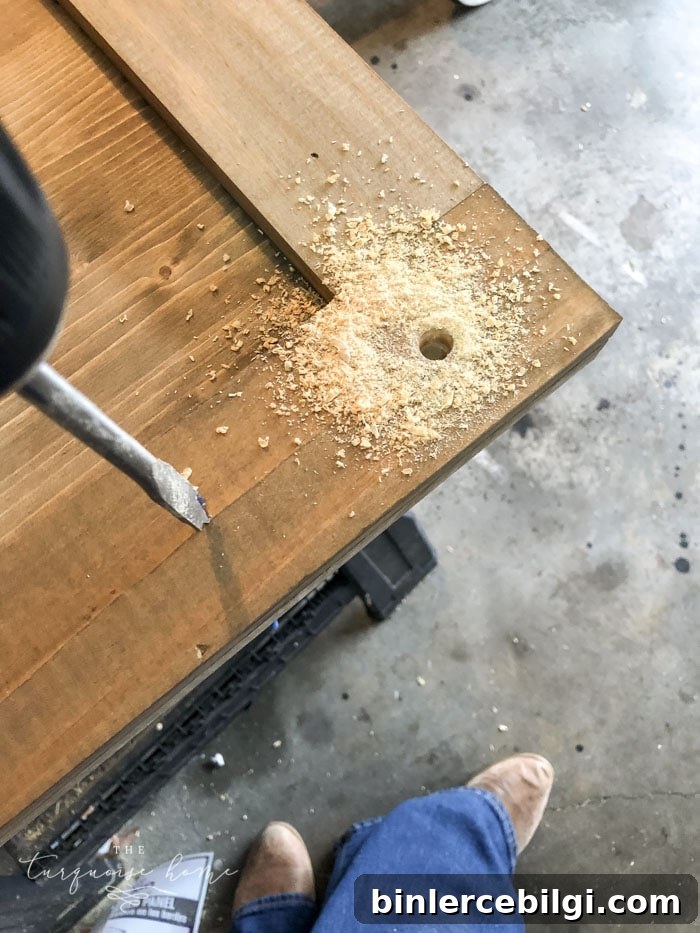
Drill the necessary holes in the doors with a spade bit and install the hangers per the hardware instructions. Hang the doors, adjust stops and hardware as needed, and test smooth operation.
Recommended Stain and Finish
I used a weathered, water-based, low-VOC stain for this project. It behaves somewhere between a stain and a paint—some boards absorb it, others take a very light wash. Because it’s water-based and low-odor, it’s easy to use indoors and to clean up. Coverage required nearly two cans for this cabinet. The product claims to be a stain and topcoat in one; I still plan to seal mine with clear wax for a smoother hand-feel and added protection.
For storage, I chose seagrass-style baskets that fit the cubbies nicely and add a warm, textural touch to the farmhouse look.
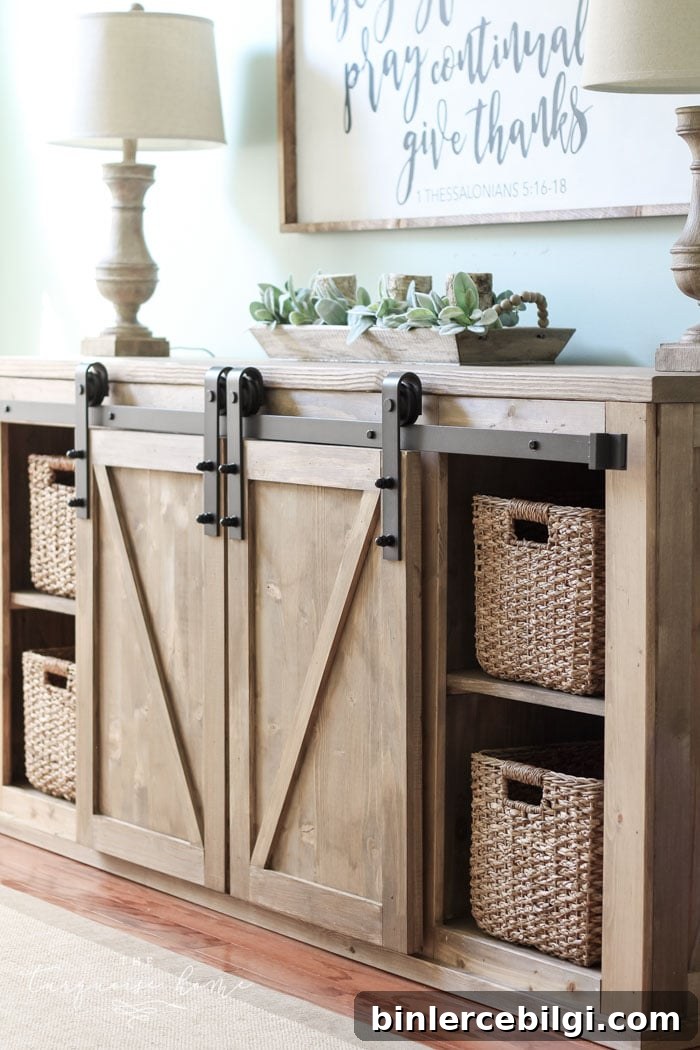
I hope this guide helps you create your own DIY farmhouse media console table. If you have questions about build steps or measurements, consider comparing these notes with full technical plans and leave comments or notes as you work through the project.
More project ideas you may enjoy:
- Traditional dining room reveal—ideas for styling your space
- Affordable wicker patio furniture and sourcing tips
- Why wood furniture remains a great choice for homes
- Wall color ideas that pair well with dark wood trim
- DIY gray wash on wood technique for a weathered finish