
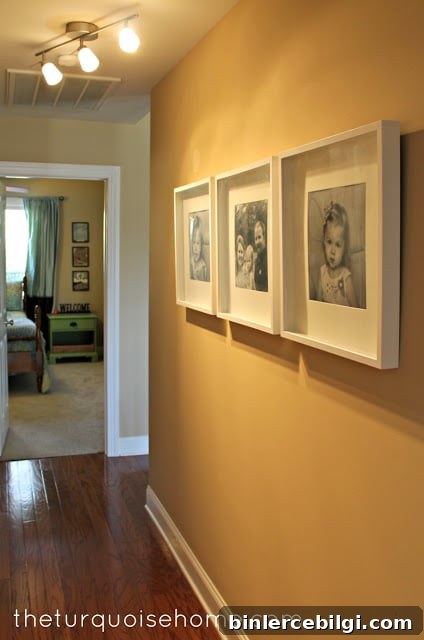
Use IKEA Ribba frames to personalize a long hallway or any long wall in your home—these frames create the look of a curated gallery wall.
I’m gradually making my house feel more like ours, adding personality one area at a time. I don’t have every wall finished yet, but this week I focused on the long hallway that connects three bedrooms and a second bathroom. A narrow passage like this is a perfect place to make a visual statement without overwhelming a room.
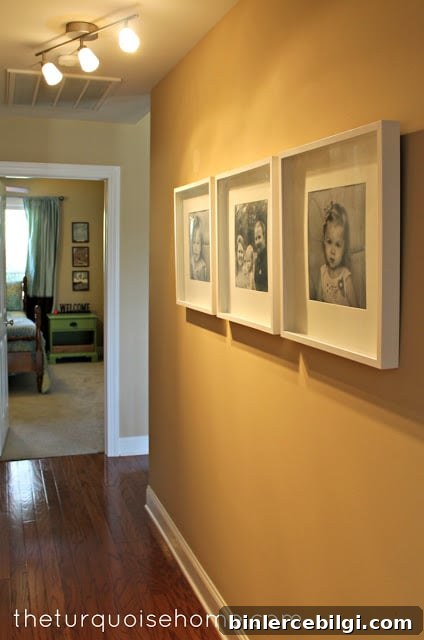
On a recent trip to IKEA I picked up three square Ribba frames and a Basisk track lighting kit to brighten the space. In my previous home I used a cluster of smaller frames along the hallway; this time I chose larger, uniform squares to create a bold, gallery-style look that works well in a long, narrow area. Smaller frames I already own will be used elsewhere around the house.
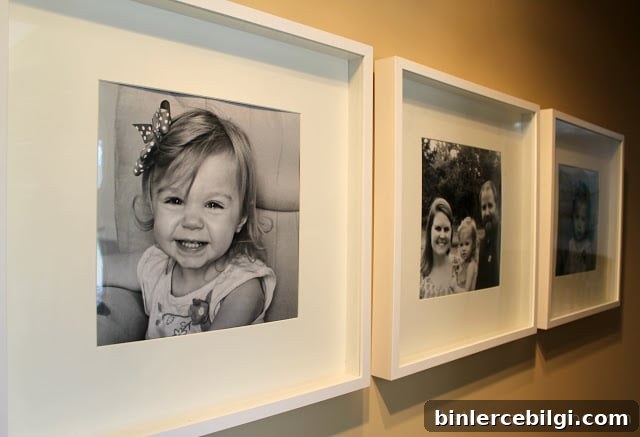
To fill these square frames I needed 12×12 prints. The only local option I found that sold that exact size was Costco, which made it easy to get prints that fit the Ribba openings without trimming. Since then I’ve switched to ordering 12×12 prints from Shutterfly for more flexibility and print options.
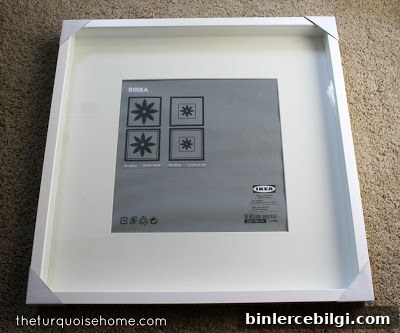
Hanging Ribba frames turned out to be trickier than I expected. Before I started, I followed an excellent tutorial by Kelly at View Along the Way that explains a simple hack to keep Ribba frames hanging level and secure. The trick is surprisingly straightforward: a short screw and a paint stirrer help stabilize the frame hook so it doesn’t shift. If you’re using Ribba frames in a gallery arrangement, plan to take a little extra time to measure, mark, and use a level for consistent spacing.
While removing a smoke alarm and swapping light fixtures during this project, I uncovered several layers of old paint. There was a different shade behind the smoke alarm on the wall and another on the ceiling near the fixture—two colors very close together for reasons unknown. We decided to move the wall-mounted smoke alarm to one of the bedrooms, which revealed even more of the previous paint job. Finding those traces of earlier colors made me eager to choose a new cohesive color for our open floor plan.
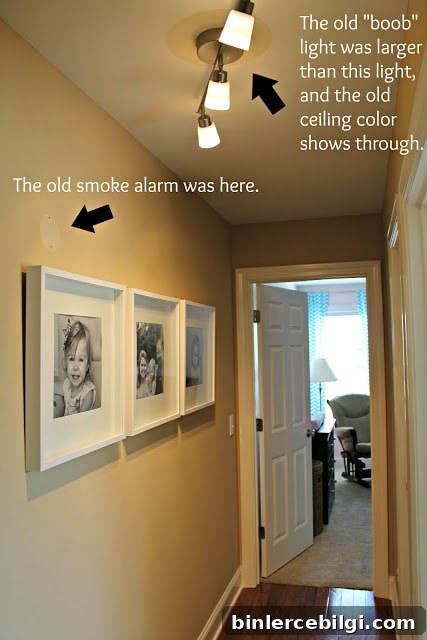
Not knowing the previous paint names or having paint samples from the previous owners meant I had to start from scratch when selecting a new neutral for the living room and hallways. That discovery actually motivated me to finalize a fresh main color for our open-concept areas sooner rather than later. Choosing a single, well-considered color will help unify the gallery wall with the rest of the home.
This was my first experience using Ribba frames, and I’m very happy with the results. They’re affordable and make a big visual impact, especially when used in a consistent arrangement. The square format gives a modern, cohesive look that reads like a small gallery, and the deep frame profiles add dimension on the wall.
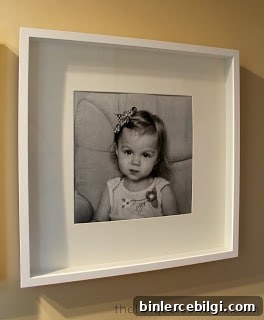
The track lighting kit is another highlight of this update. It was slightly off-center in the hallway and had to be angled to avoid the smoke alarm, but the lights allow me to showcase the frames and eliminate a dated builder-grade ceiling fixture. Track lighting gives focused illumination and elevates the gallery effect—an easy upgrade with a big payoff.
If you’re planning a similar hallway gallery project, a few practical tips: measure carefully and mark the wall before drilling; use a level to keep spacing even; choose prints sized to the frame openings to avoid extra trimming; and consider directional lighting to highlight the artwork. Small details—consistent frame style, proper spacing, and good lighting—create a polished, intentional result.
More Posts You Will Love:
- DIY Frame for a Frame TV
- DIY Picture Frame Moulding
- How to Frame a Canvas (for Cheap!)