
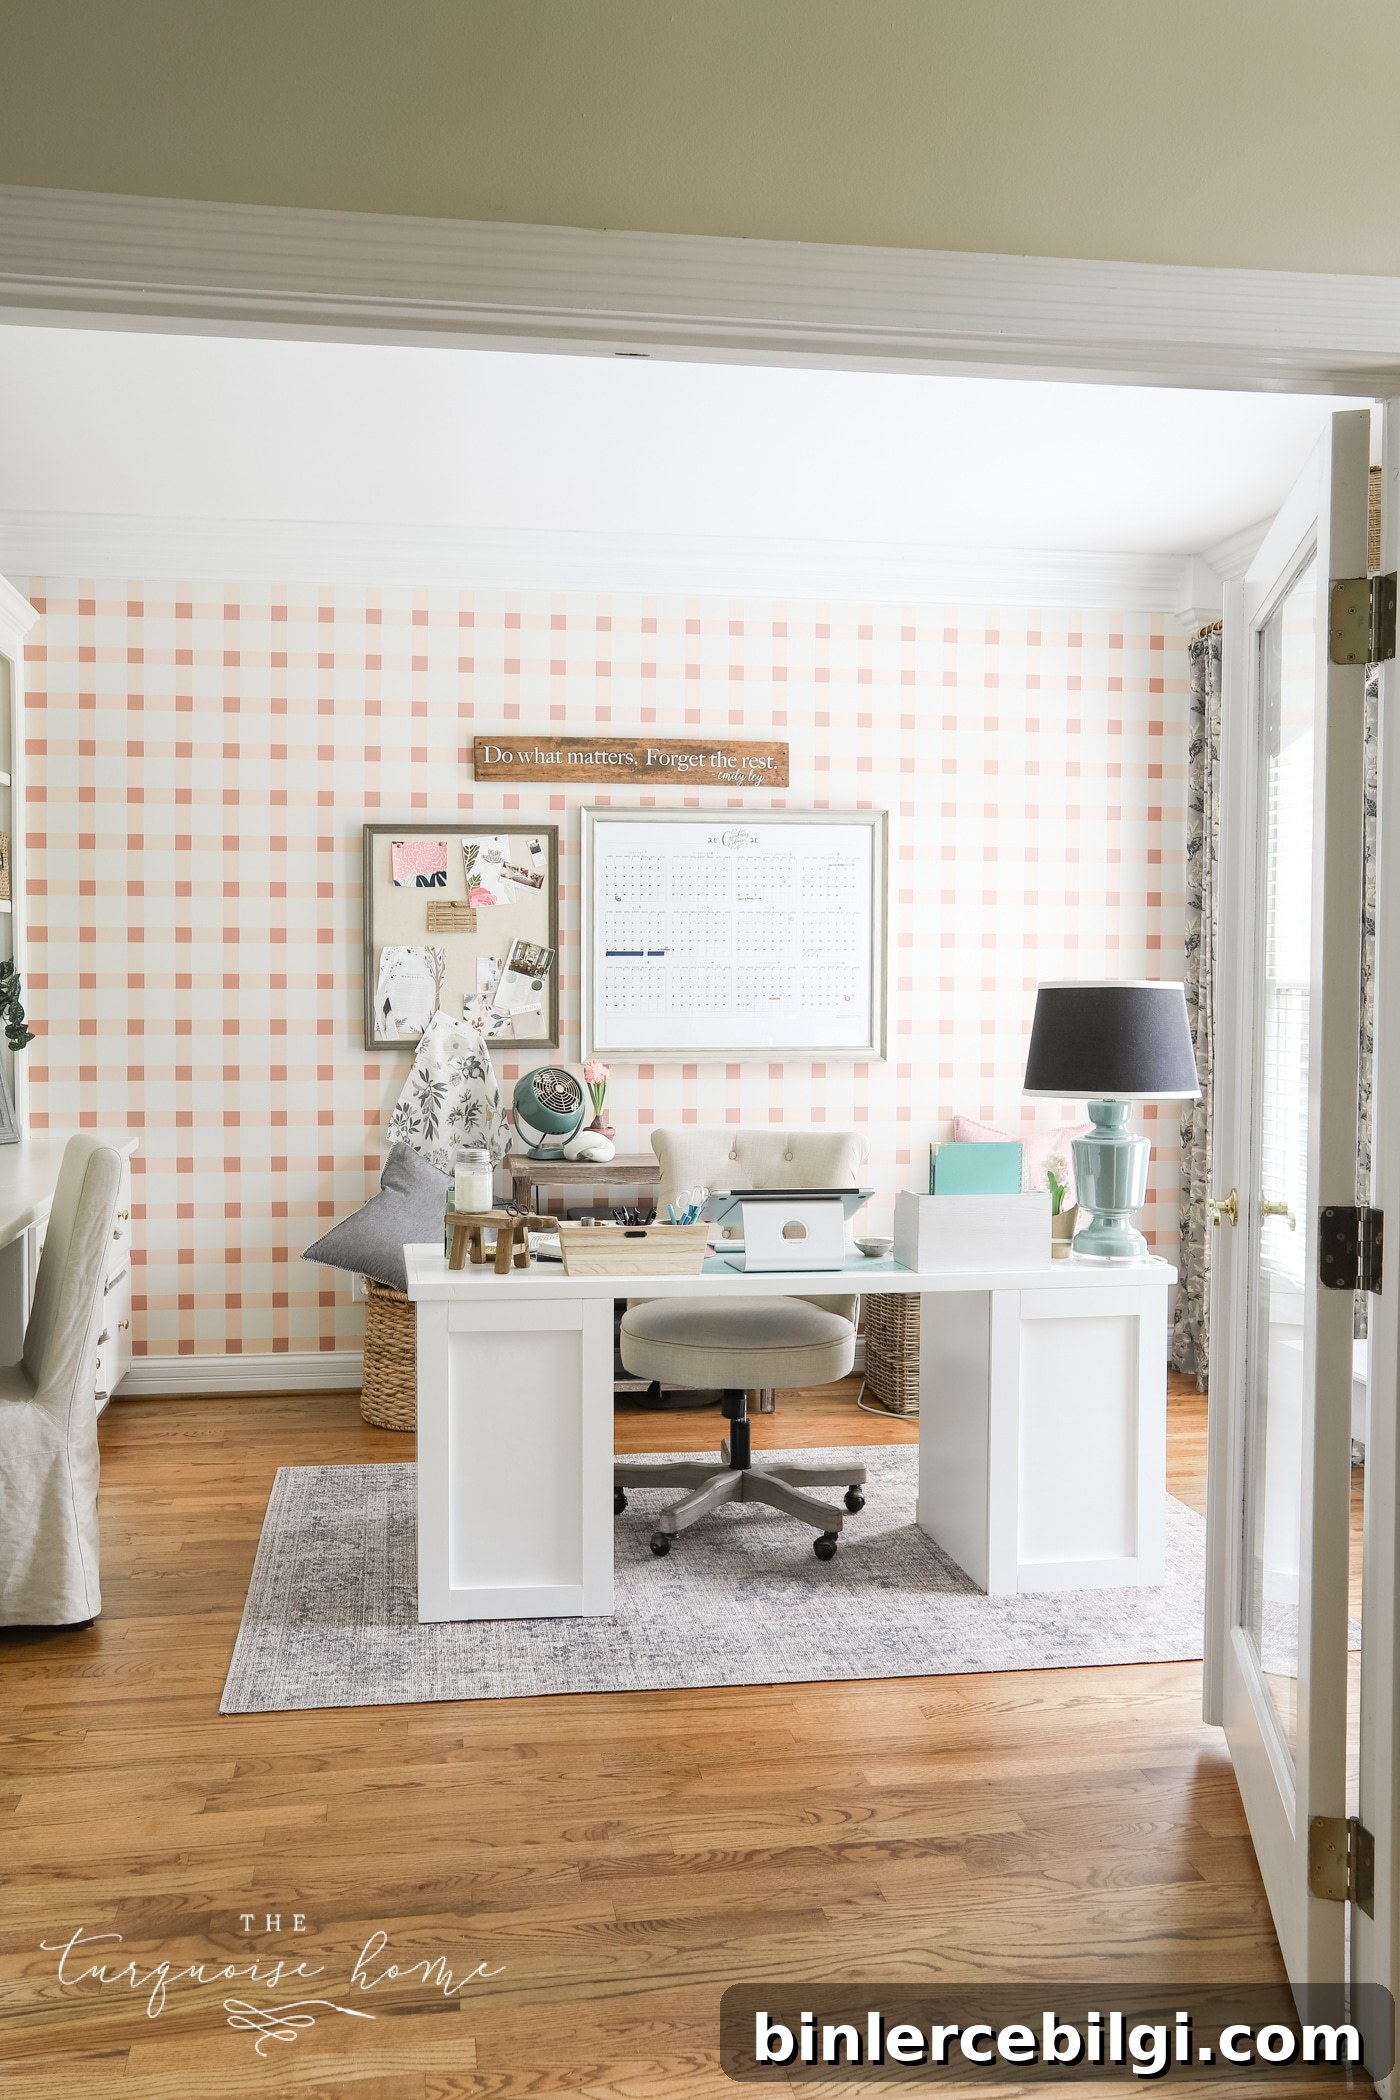
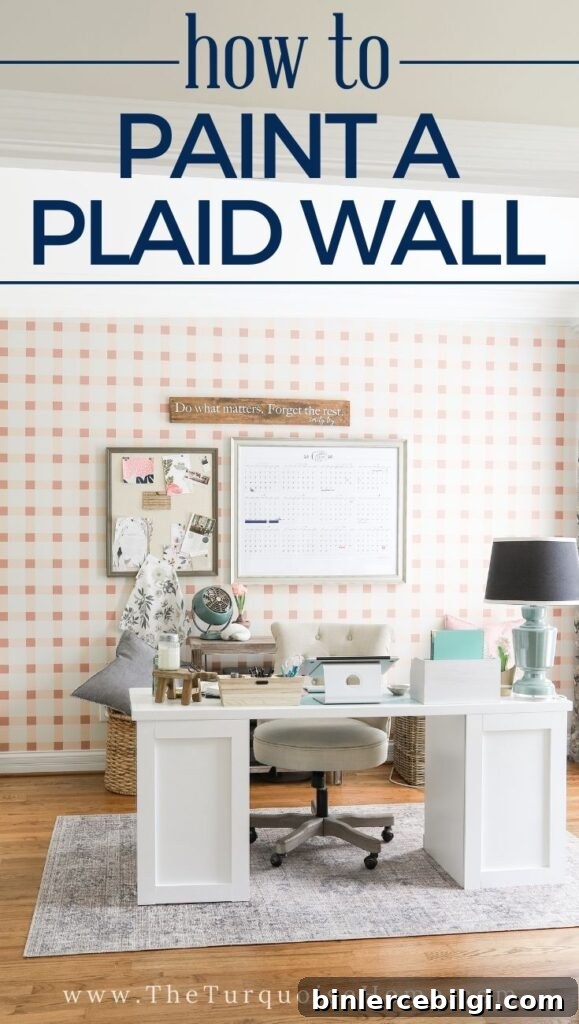
Learn how to paint a plaid wall with just a couple of simple measurements and no complicated math. This striking feature wall takes time and care, but the result is stunning and well worth the effort.
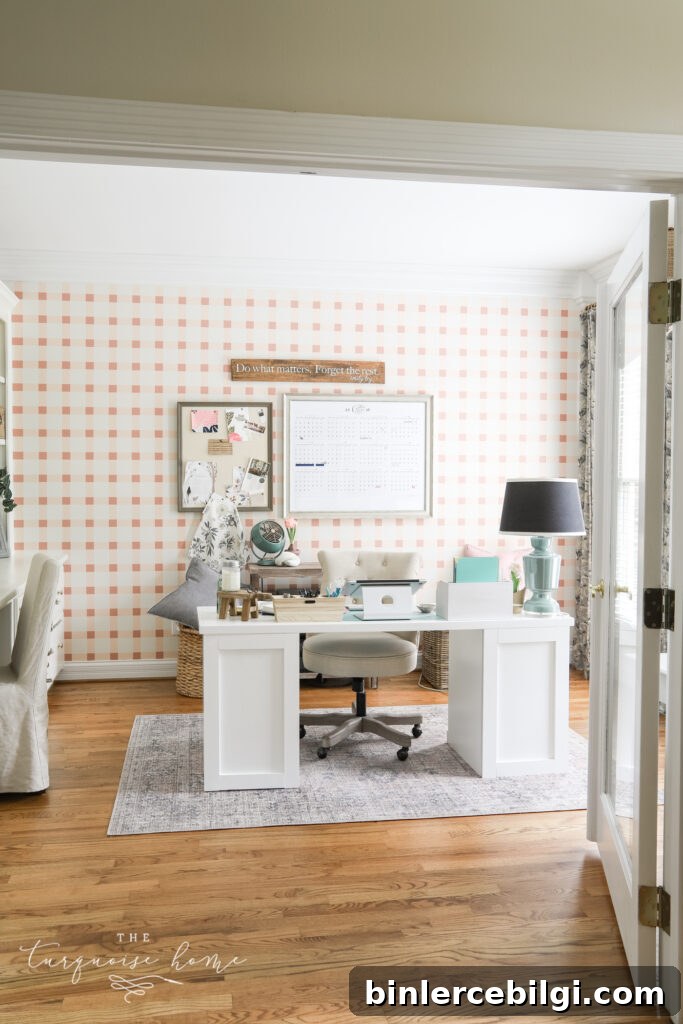
When I completed my office makeover, I wanted the wall behind my desk to have personality. Wallpaper was an option, but I chose paint to stay on budget and to create a custom look that complements my floral curtains. A geometric pattern felt like the right balance next to the florals—so plaid it was.
In the months since I finished the wall, it has drawn more compliments and questions than any other element in my home. People often assume it’s wallpaper because the finish looks so precise, but it’s painted—so you can achieve the same look without wallpaper.
The Paint Colors
Choose three coordinated colors: a light base, a mid-tone for the stripes, and a darker accent where the stripes intersect. For my office I selected a soft pink palette that complements the existing floral curtains and the overall blush-and-brass styling.
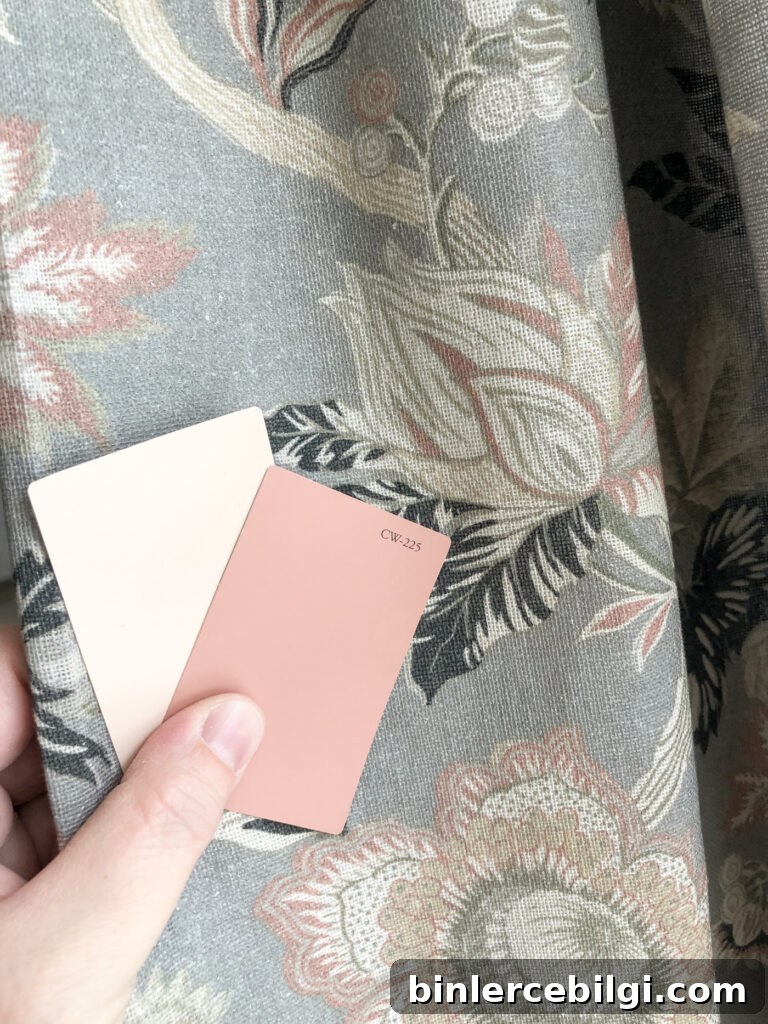
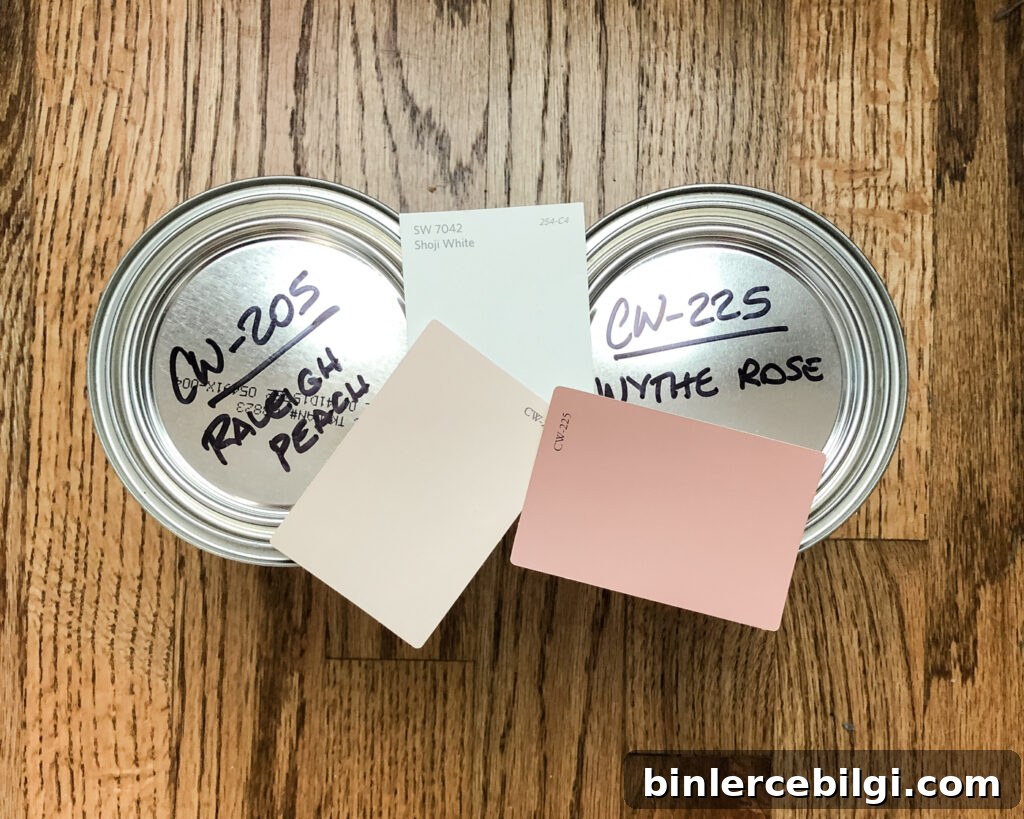
My picks were:
- Shoji White — light base (already the wall color)
- Raleigh Peach — mid-tone stripe
- Wythe Rose — dark accent for the intersections
If selecting paint pairs feels daunting, pick a light, medium, and dark shade from the same paint strip or color family to ensure harmony. The plaid effect looks especially convincing when the tones are closely related.
What You Will Need to Paint a Plaid Wall
- Painter’s tape — I used several rolls. A 1.88-inch delicate surface painter’s tape works well for this technique.
- Wallpaper smoothing tool — excellent for pressing tape edges down to prevent bleed-through.
- Ladder — for reaching the top of the wall safely.
- Level or laser level — a laser level makes marking straight lines fast and accurate.
- Good paint brush — a 1-inch angled brush is ideal for painting the tape-defined lines.
- Paint roller — only necessary if you’re painting the whole wall the base color first.
- Three paint colors — a light base, medium stripe color, and dark accent color.
How to Paint a Plaid Wall
This method uses only two main measurements and no math. The pattern is based on the width of the painter’s tape. I made the light squares twice the width of the tape, which simplifies spacing (for 1.88-inch tape, that creates 3.76-inch light squares). If you want larger squares, you can adjust accordingly and work out the measurements, but this approach keeps things quick and straightforward.
I recommend two coats of paint for each painted area for even coverage and a clean finish.
Step 1 — Paint the Base Color
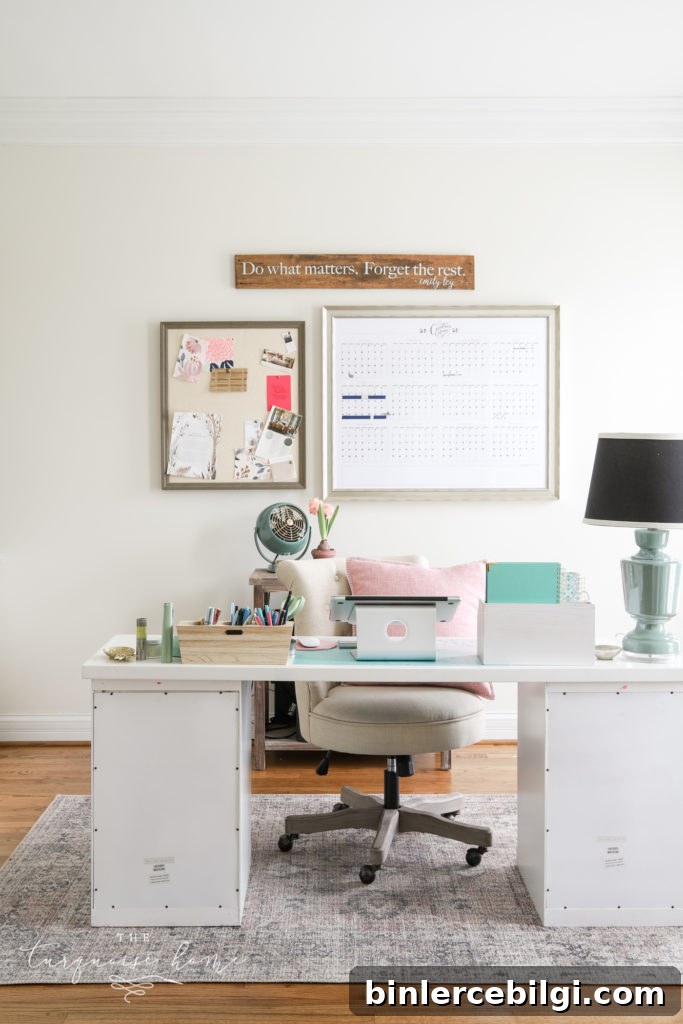
Start by painting the entire wall in the lightest color. If your wall is already painted the base color, you can skip this. Ensure any holes are patched and sanded before painting.
Step 2 — Mark a Center Vertical Line
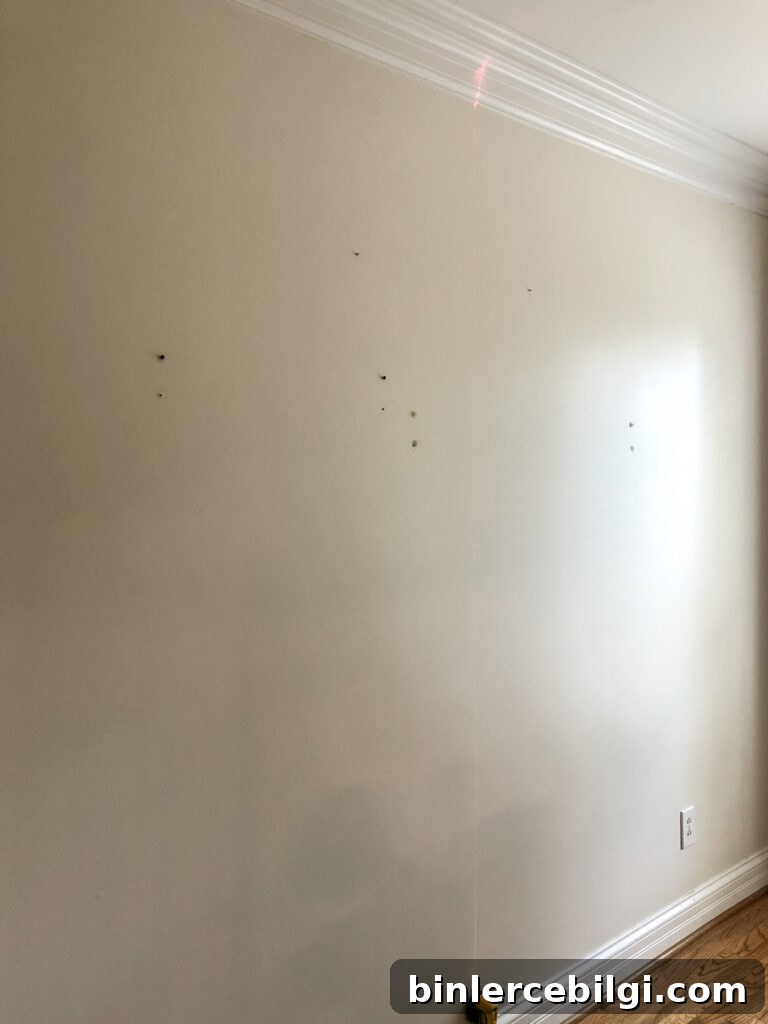
Using a laser level or a long straight edge and a hand level, mark a perfectly vertical line down the center of the wall. This is the first of two key measurements that will guide the entire pattern.
Step 3 — Apply Vertical Tape Stripes
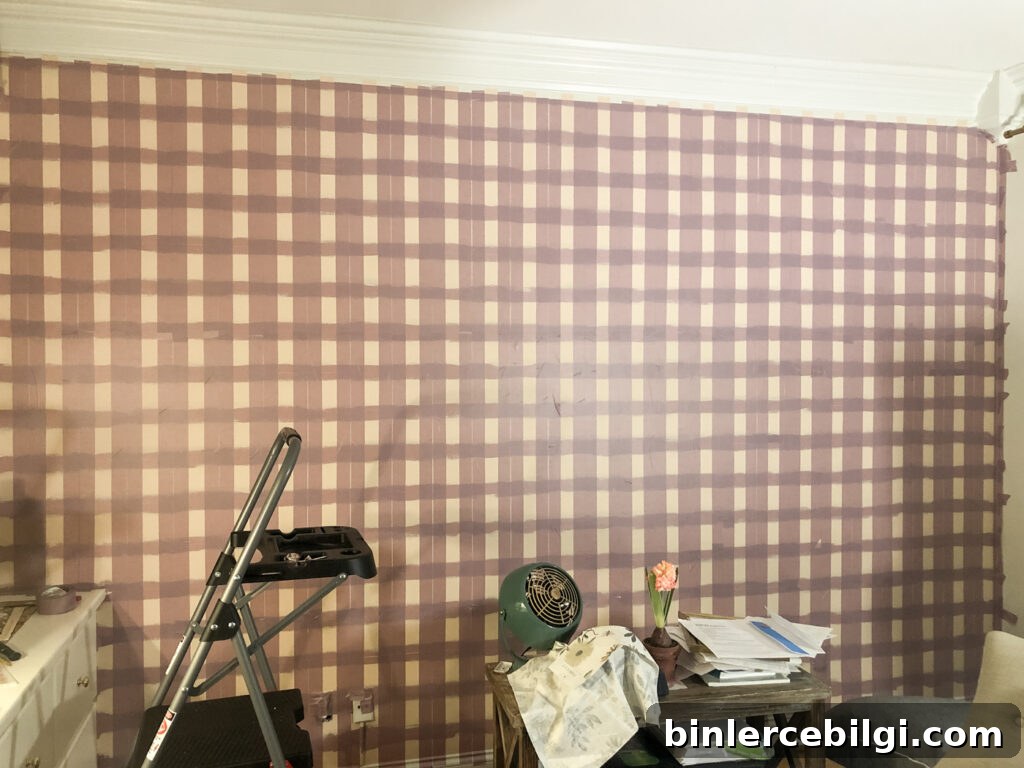
Place two strips of painter’s tape side by side from the top to the bottom of the wall, then skip the width of one tape strip and add two more strips. Continue this pattern across the wall. The small offcuts of tape can be used to measure the skipped spaces so the pattern stays consistent.
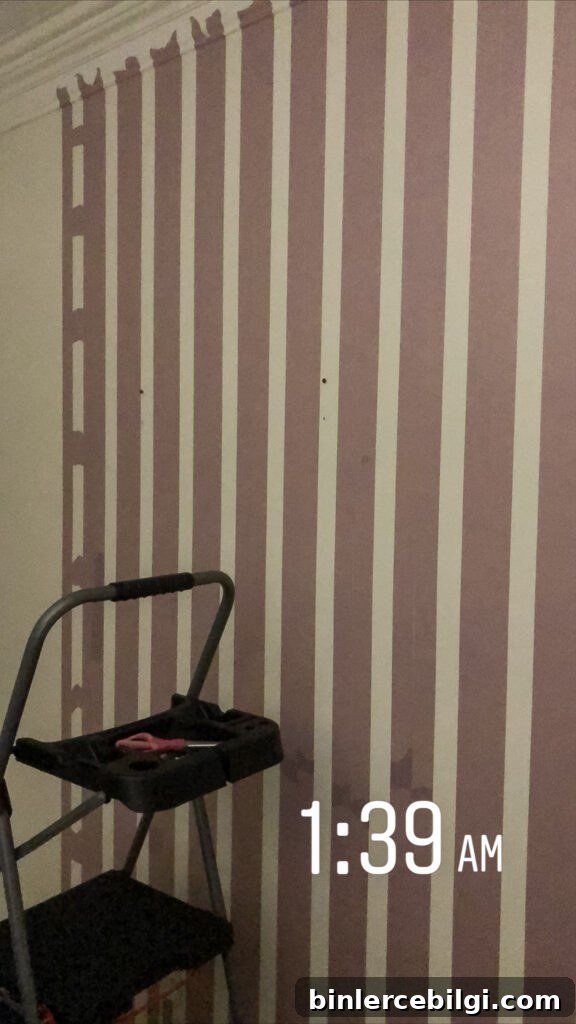
Check periodically with a handheld level to keep everything straight.
Step 4 — Press Down the Tape
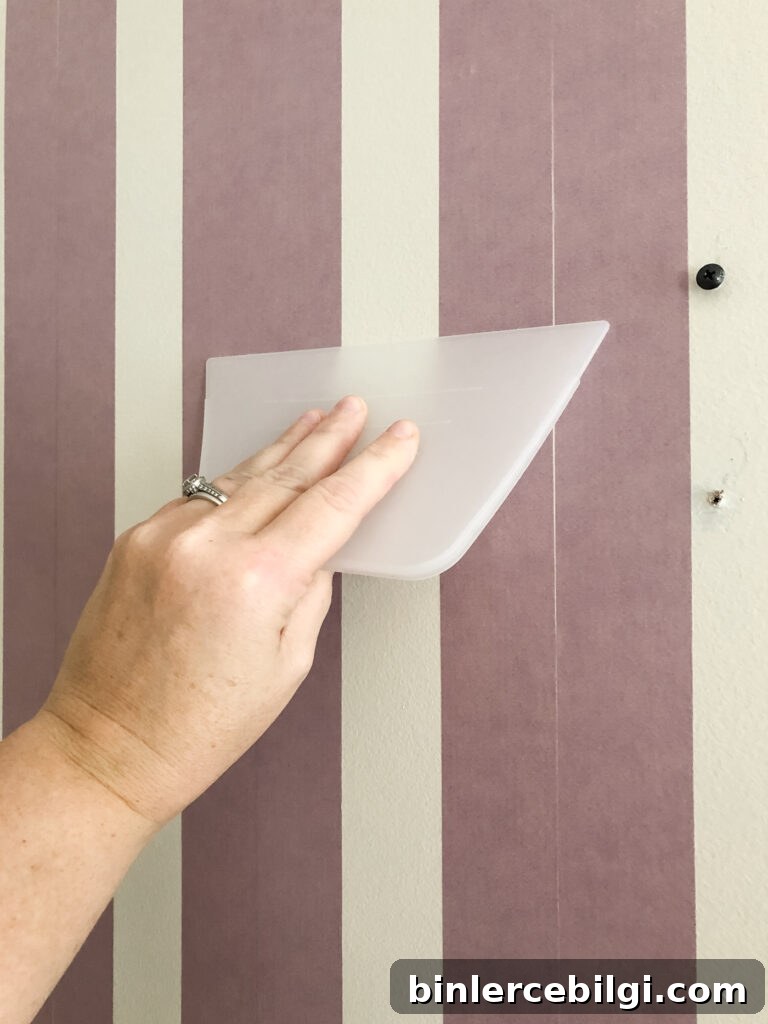
Run a wallpaper smoothing tool or a firm squeegee along every tape edge to ensure it adheres tightly. This will prevent paint bleed and produce sharp lines.
Step 5 — Paint the Mid-Tone Vertical Lines
With a 1-inch brush, paint two coats of the medium color into the taped vertical stripes. Work carefully and hold a steady hand to keep the edges crisp.
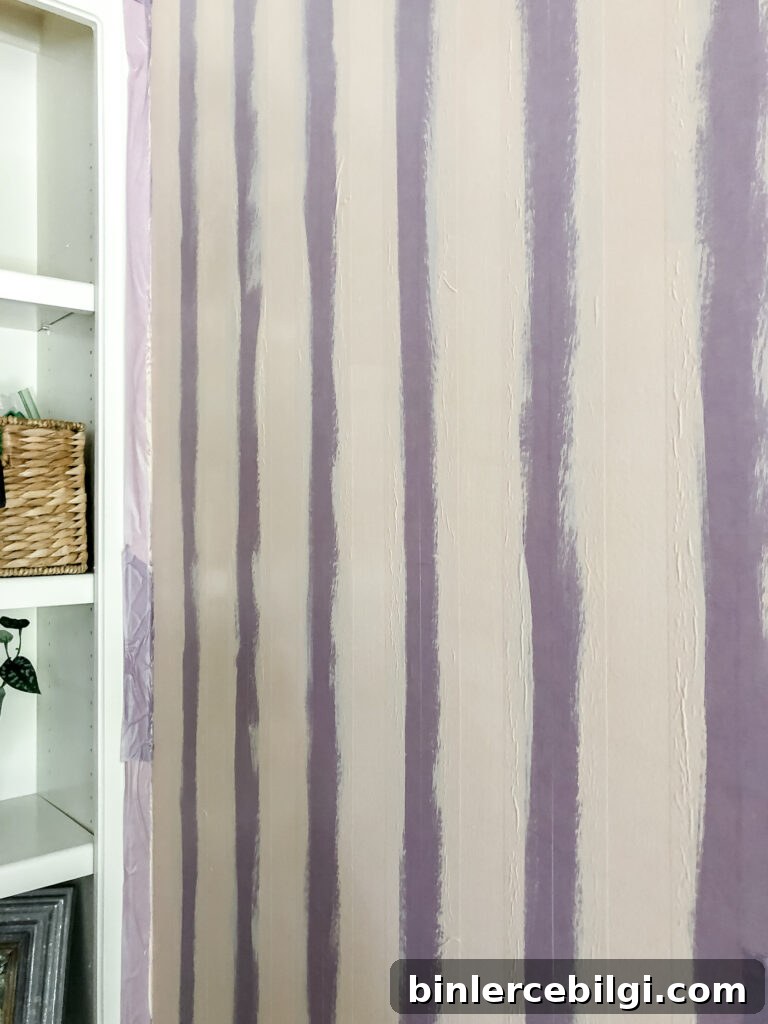
Step 6 — Remove Tape and Mark a Center Horizontal Line
Remove the tape and then use your level to draw a straight horizontal line across the middle of the wall. This is your second key measurement and will help align the horizontal stripes so the pattern is square and balanced.
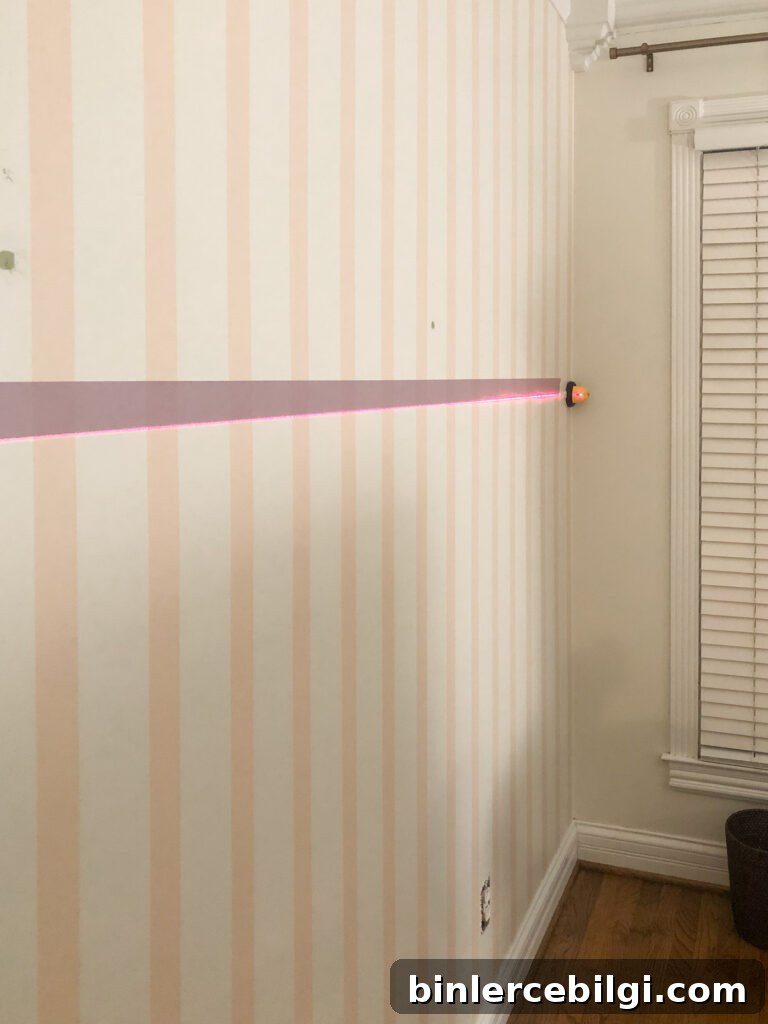
Step 7 — Add Horizontal Tape Lines
Apply tape along the horizontal center line just as you did vertically: two pieces side-by-side, skip one tape width, then two more, repeating across the wall. Keep checking for level as you go.
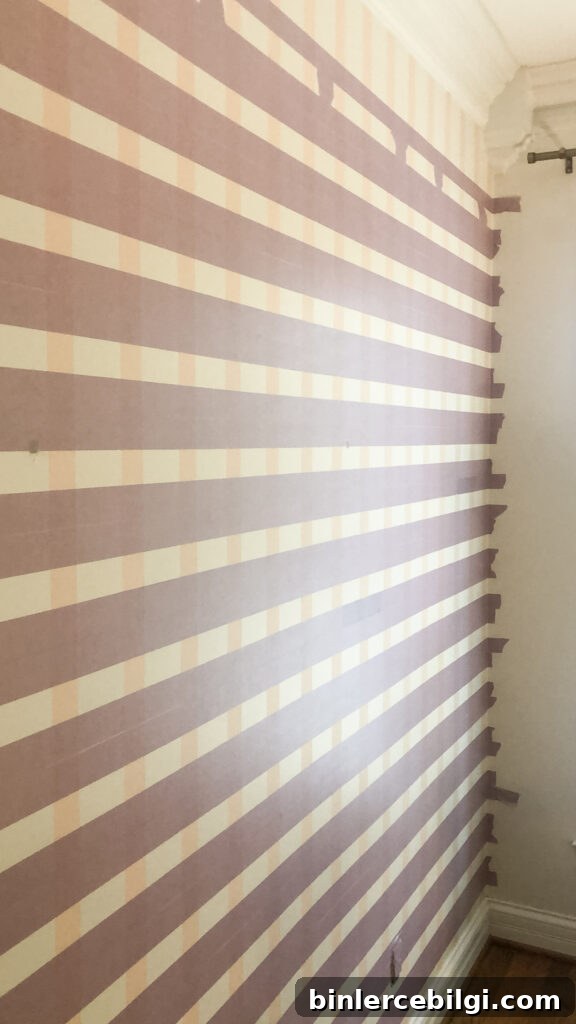
Step 8 — Press Down the Tape Again
Run the smoothing tool over the horizontal tape to seal the edges and prevent bleed.
Step 9 — Paint the Mid-Tone Horizontal Lines
Paint two coats of the medium color on the horizontal tape stripes. Important: Do not remove this tape yet; you will reapply vertical tape next to these stripes.
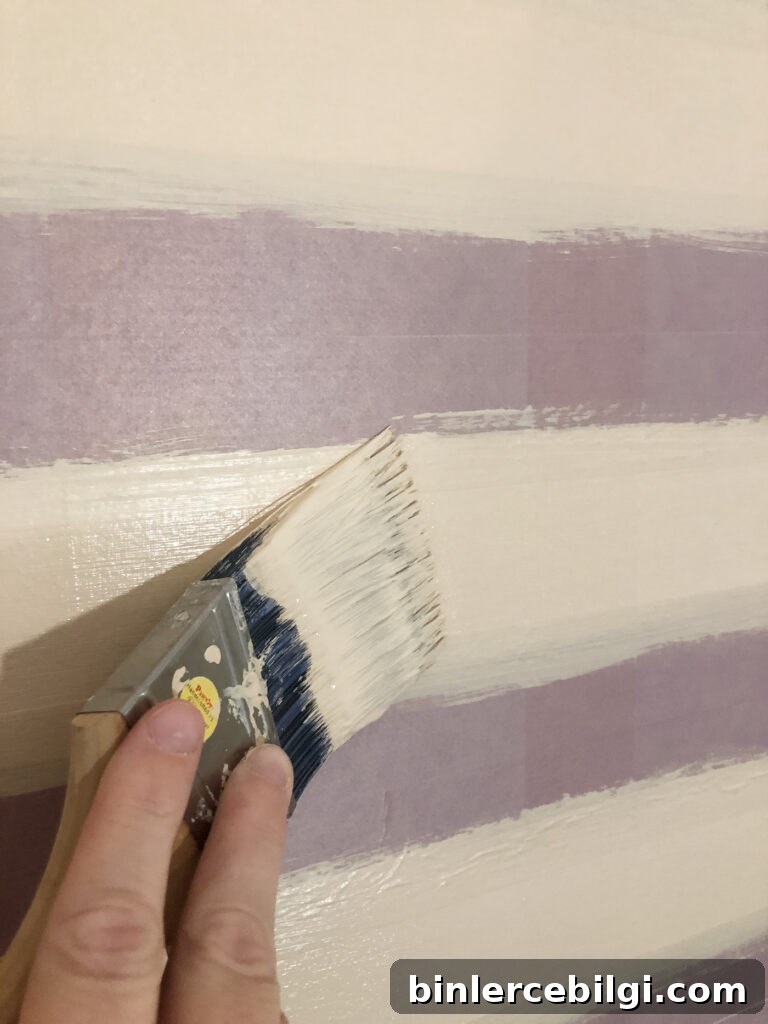
Step 10 — Re-Tape the Vertical Lines
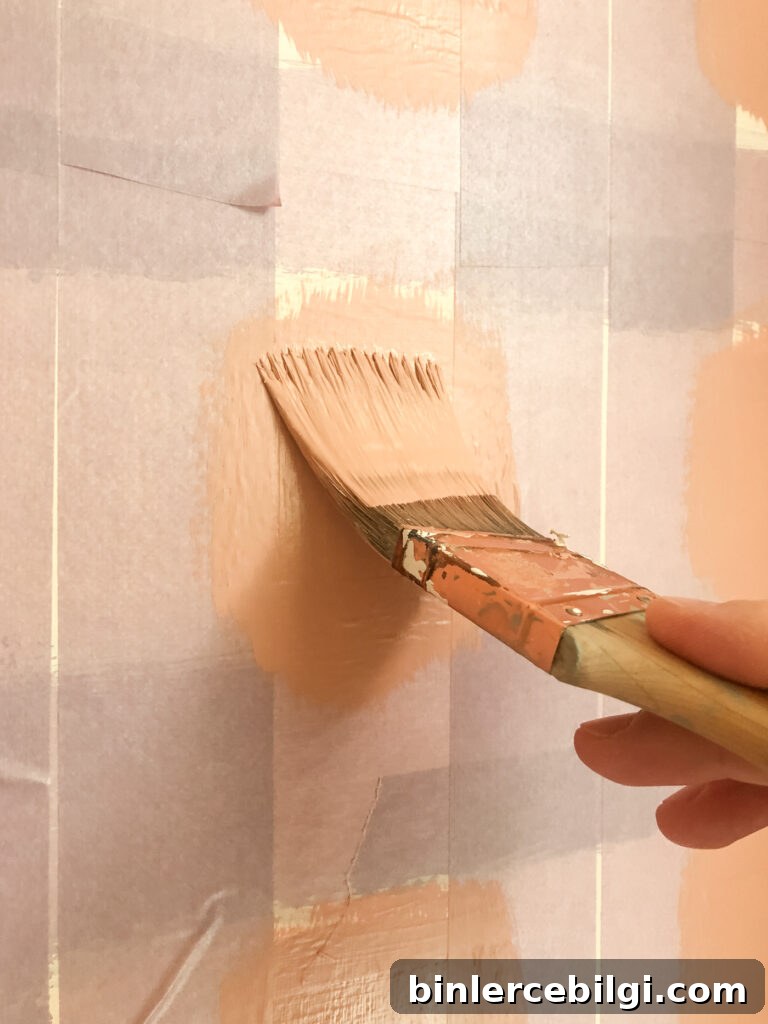
Reapply the vertical tape, aligning it over the previously painted vertical marks. Press it down firmly with the smoothing tool. This leaves small square openings where the horizontal and vertical stripes intersect—these are where you’ll add the darkest color.
Step 11 — Paint the Dark Accent Squares
Paint two coats of your darkest color into each small square. This creates the illusion of overlapping stripes and completes the plaid effect.
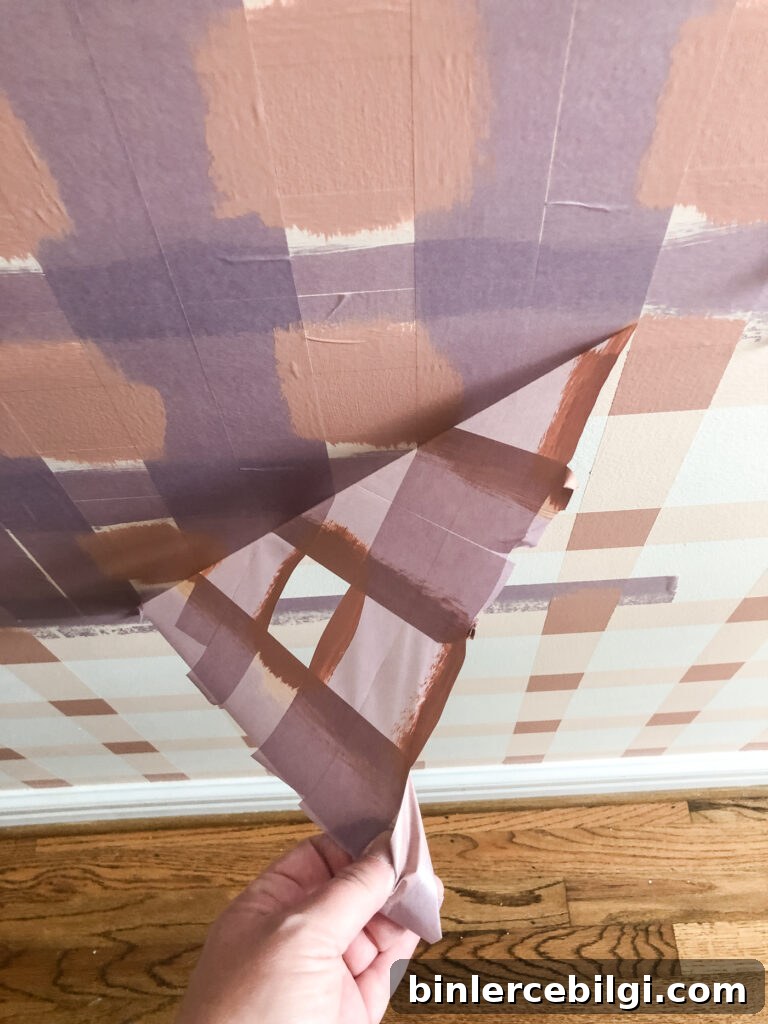
Step 12 — Remove All Tape and Enjoy
Carefully remove all the tape, step back, and admire your plaid wall. The crisp lines and layered colors will look professional and tailored to your space.
This painted plaid has become a favorite feature in my home and pairs nicely with other patterned pieces in adjacent rooms. It’s a flexible, removable alternative to wallpaper—when you’re ready for a new look, the wall can be painted over.
If you try this technique, I’d love to see your results. Happy creating!
More articles you may enjoy:
- The Best 15 Neutral Paint Colors
- Best Living Room Paint Colors
- Beautiful Interior Door Paint Colors
- How to Paint Outlet Covers
- Blush & Brass Holiday Office Decor