
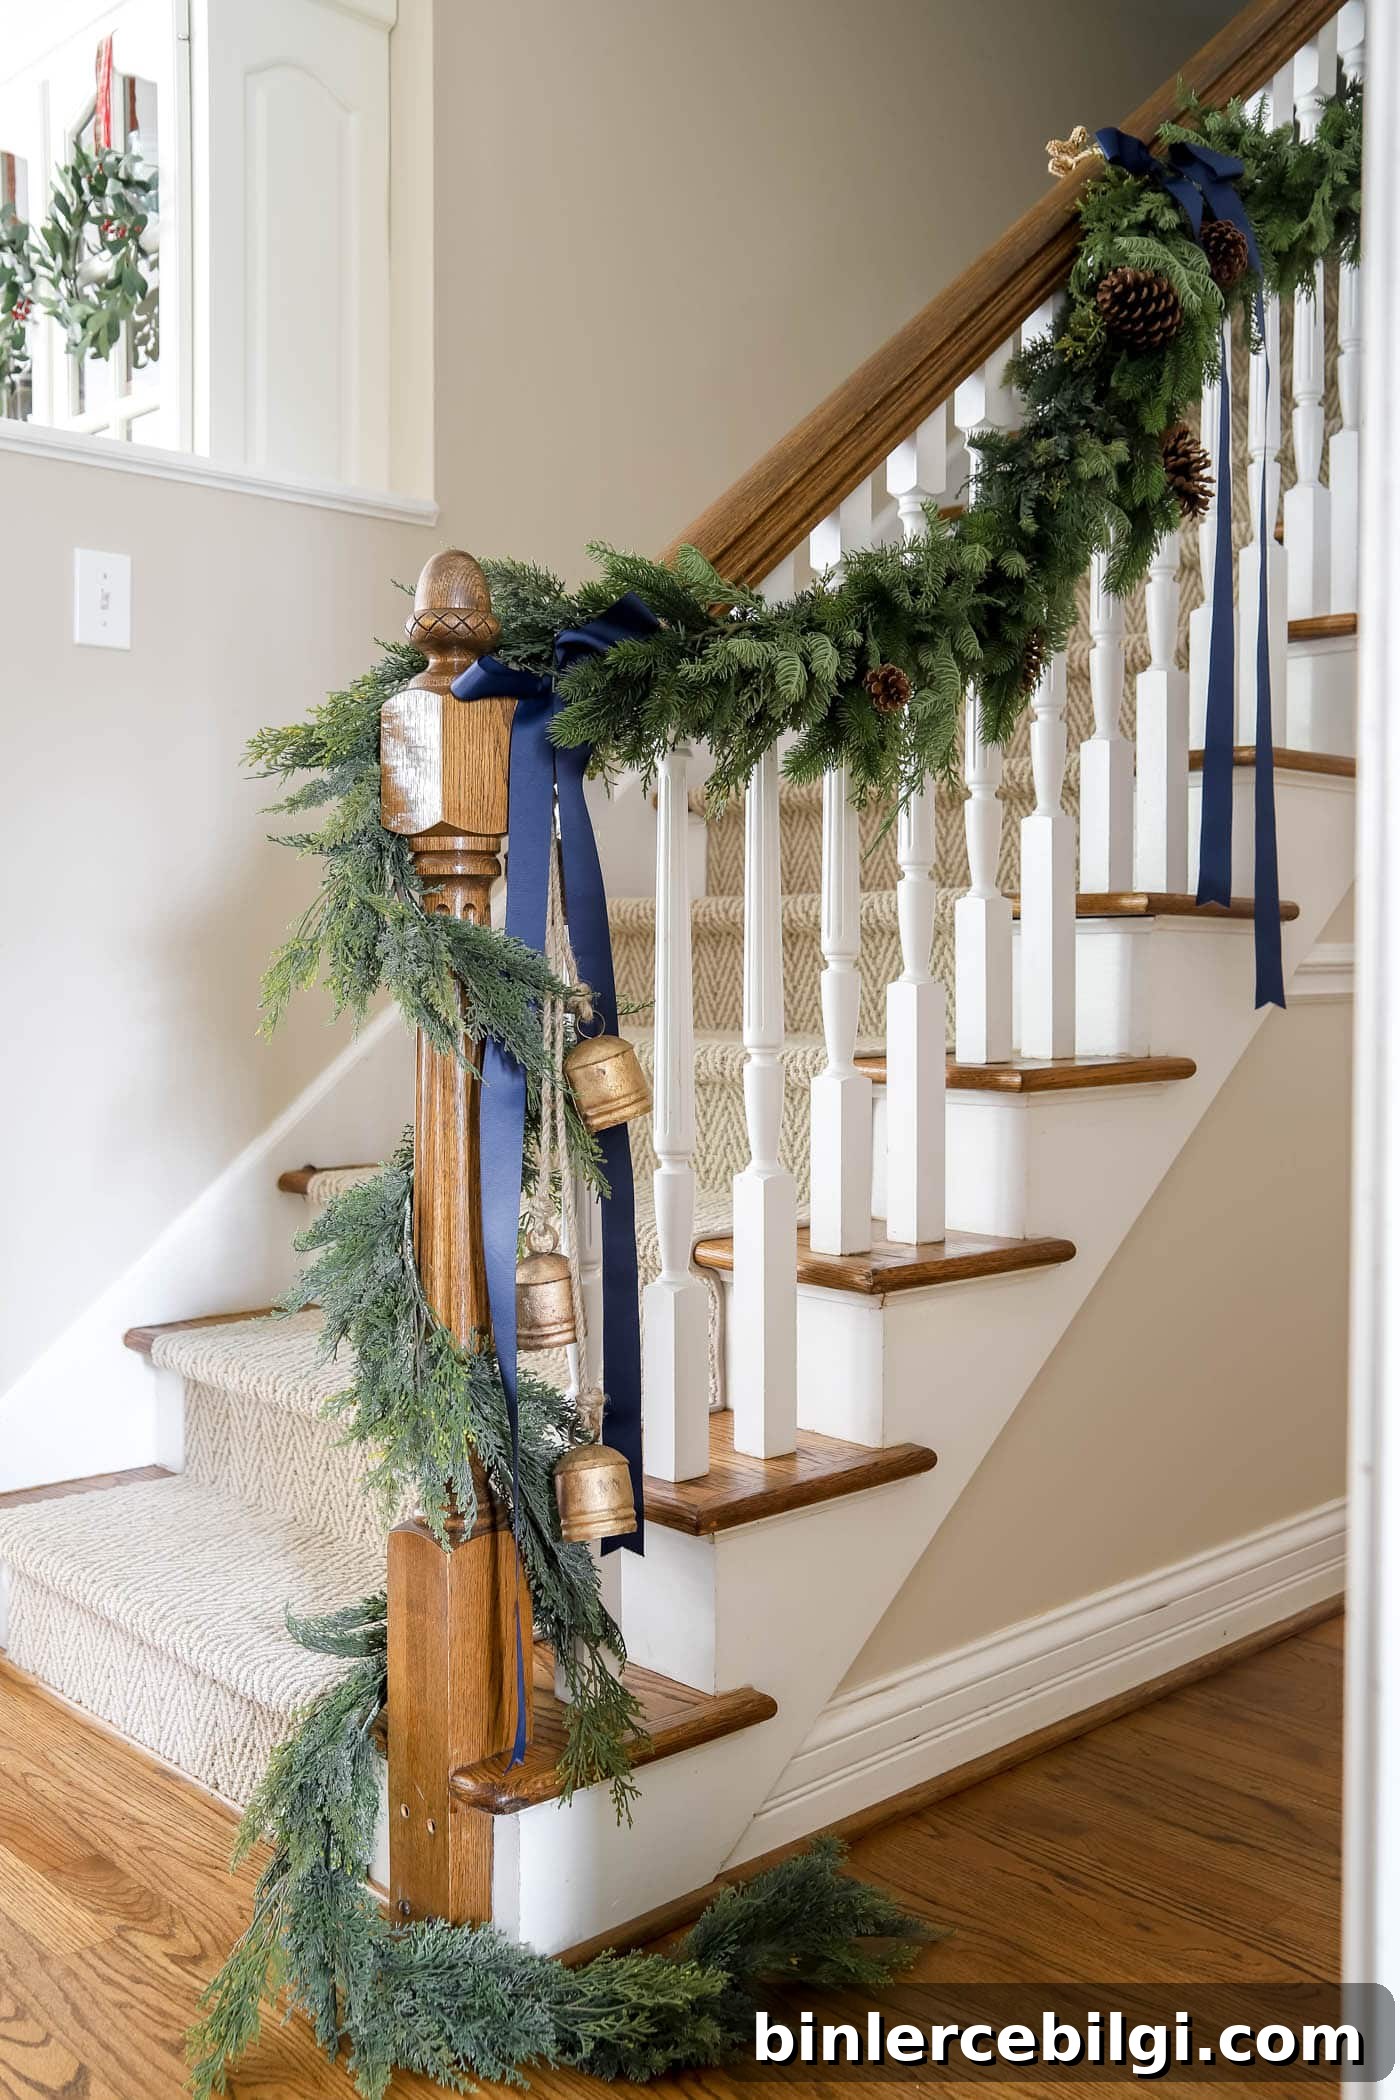
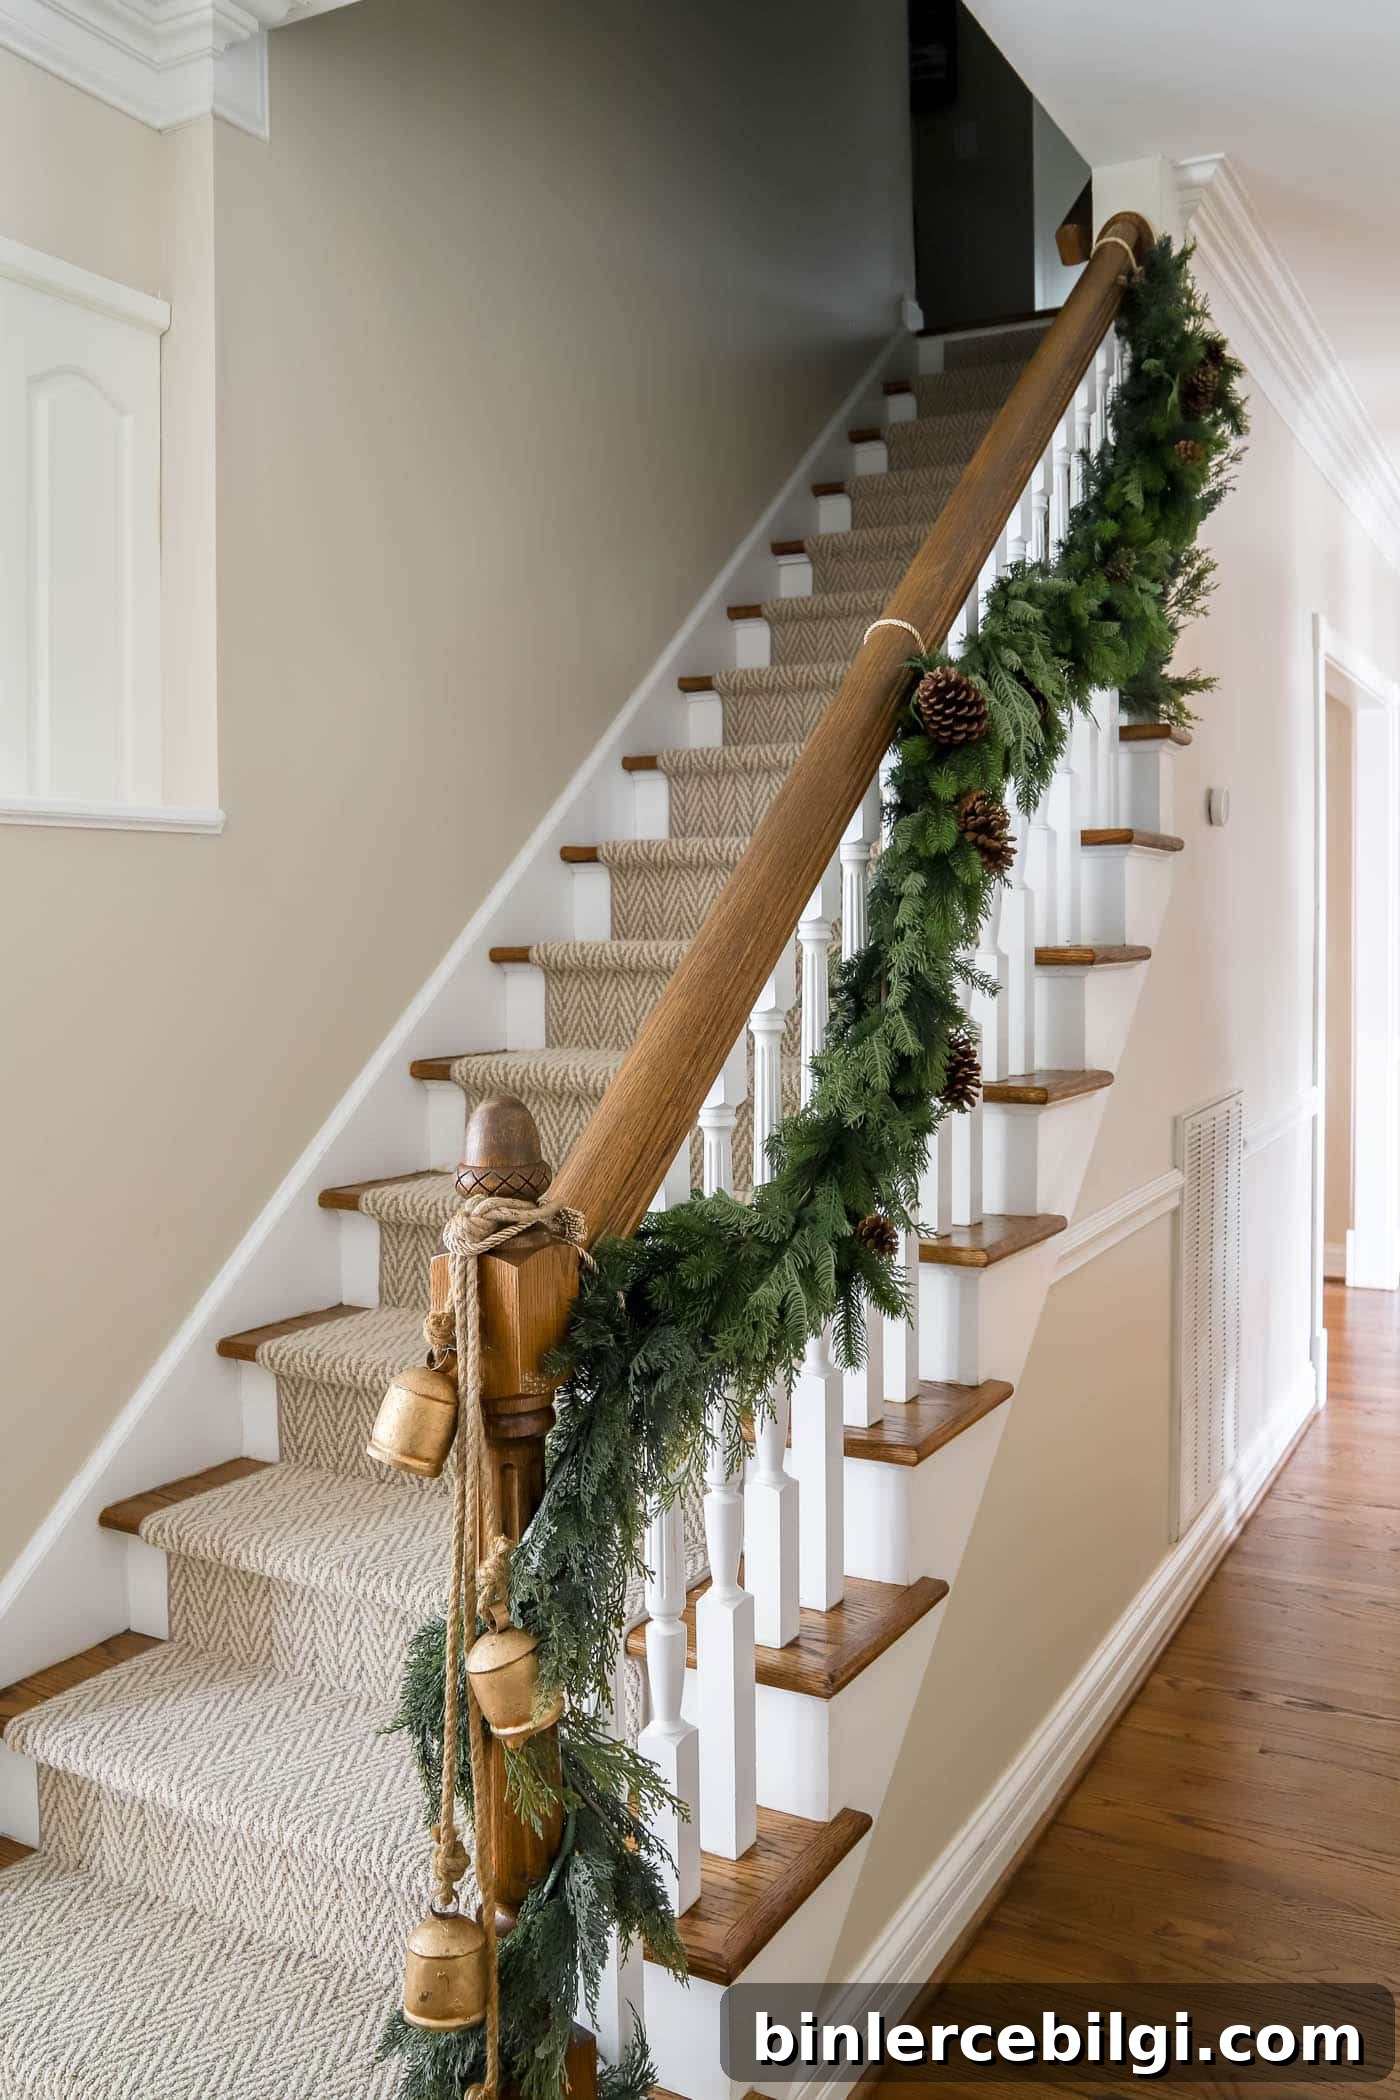
Get ready to decorate for the holidays with a straightforward, creative guide to hanging garland on your stairs. Create a show-stopping look using faux greenery, ribbon, pine cones and a few simple accessories.
When we moved into our home a few years ago, I was thrilled to have a staircase to decorate for the first time. A stairway can be a beautiful architectural focal point and a perfect place to make a festive first impression. (We also added a stair runner—that project made a big difference.)
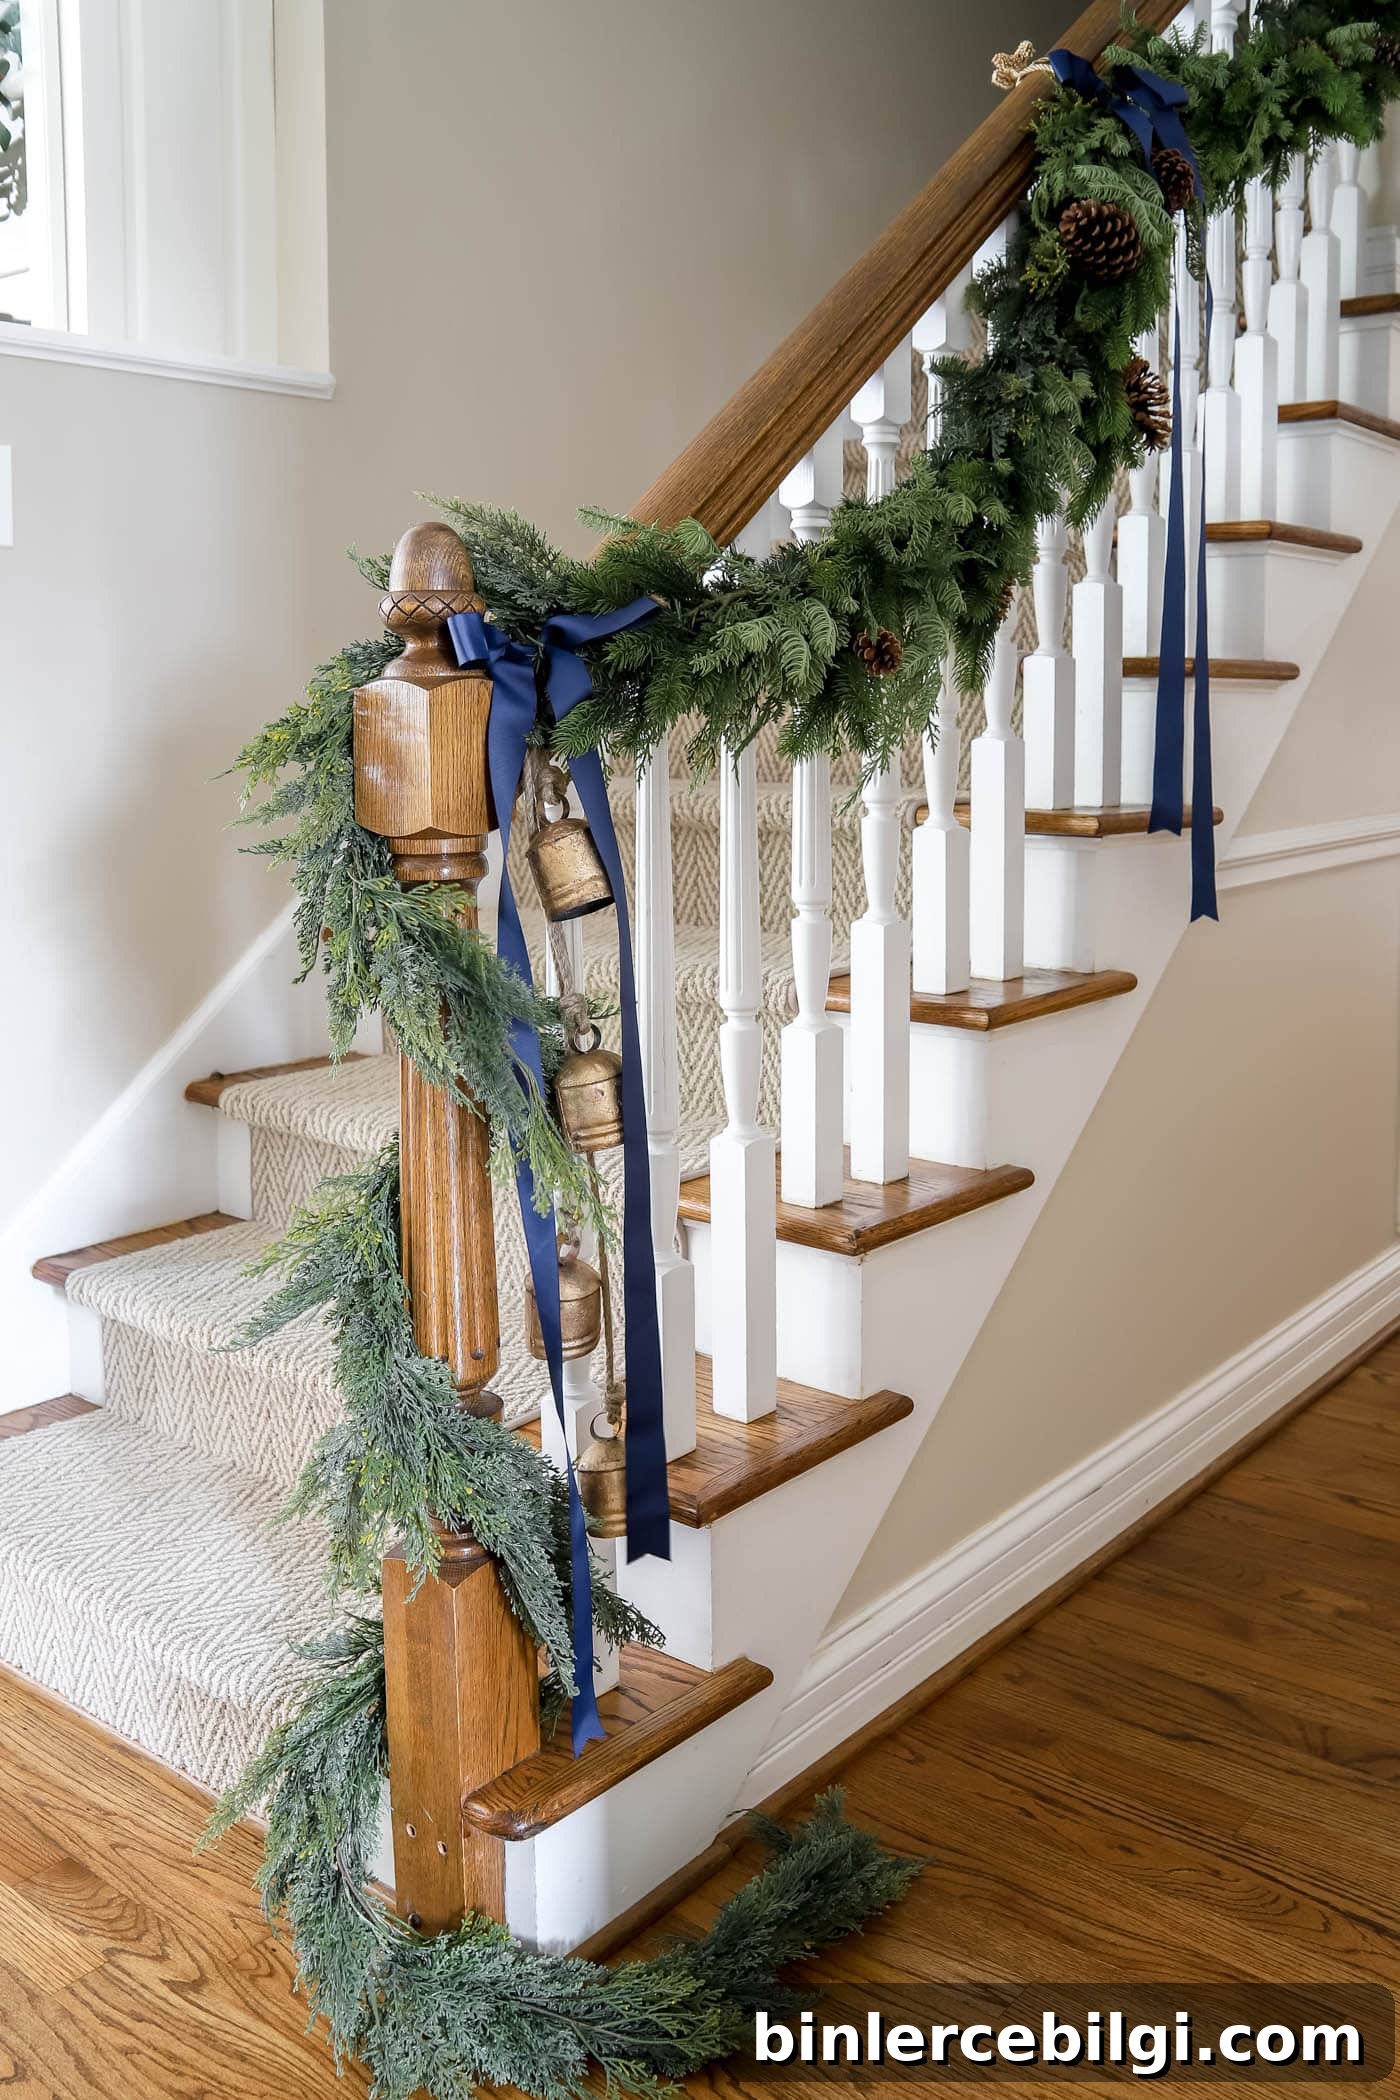
In many homes the staircase is one of the first things guests see, so it’s worth making it warm, welcoming, and cohesive with the rest of your holiday decor. A garland on the banister links decorations between floors and creates instant seasonal charm.
Hanging a beautiful stair garland is easier than it looks. You only need a few lengths of greenery, a method to secure it, and some accent pieces to finish the look.
This post contains affiliate links for convenience. See my full disclosure policy.
Before You Hang the Garland
After decorating my stairs for several years I’ve picked up a few tips that make the process faster and the result look more polished. Before you start, consider timing, materials, and how permanent you want the installation to be.
When is the Best Time to Buy Artificial Garland?
If you plan to use faux garland, shop early—ideally in October. The most realistic and full garlands often sell out by early November, so buying early gives you the best selection and time to prepare.
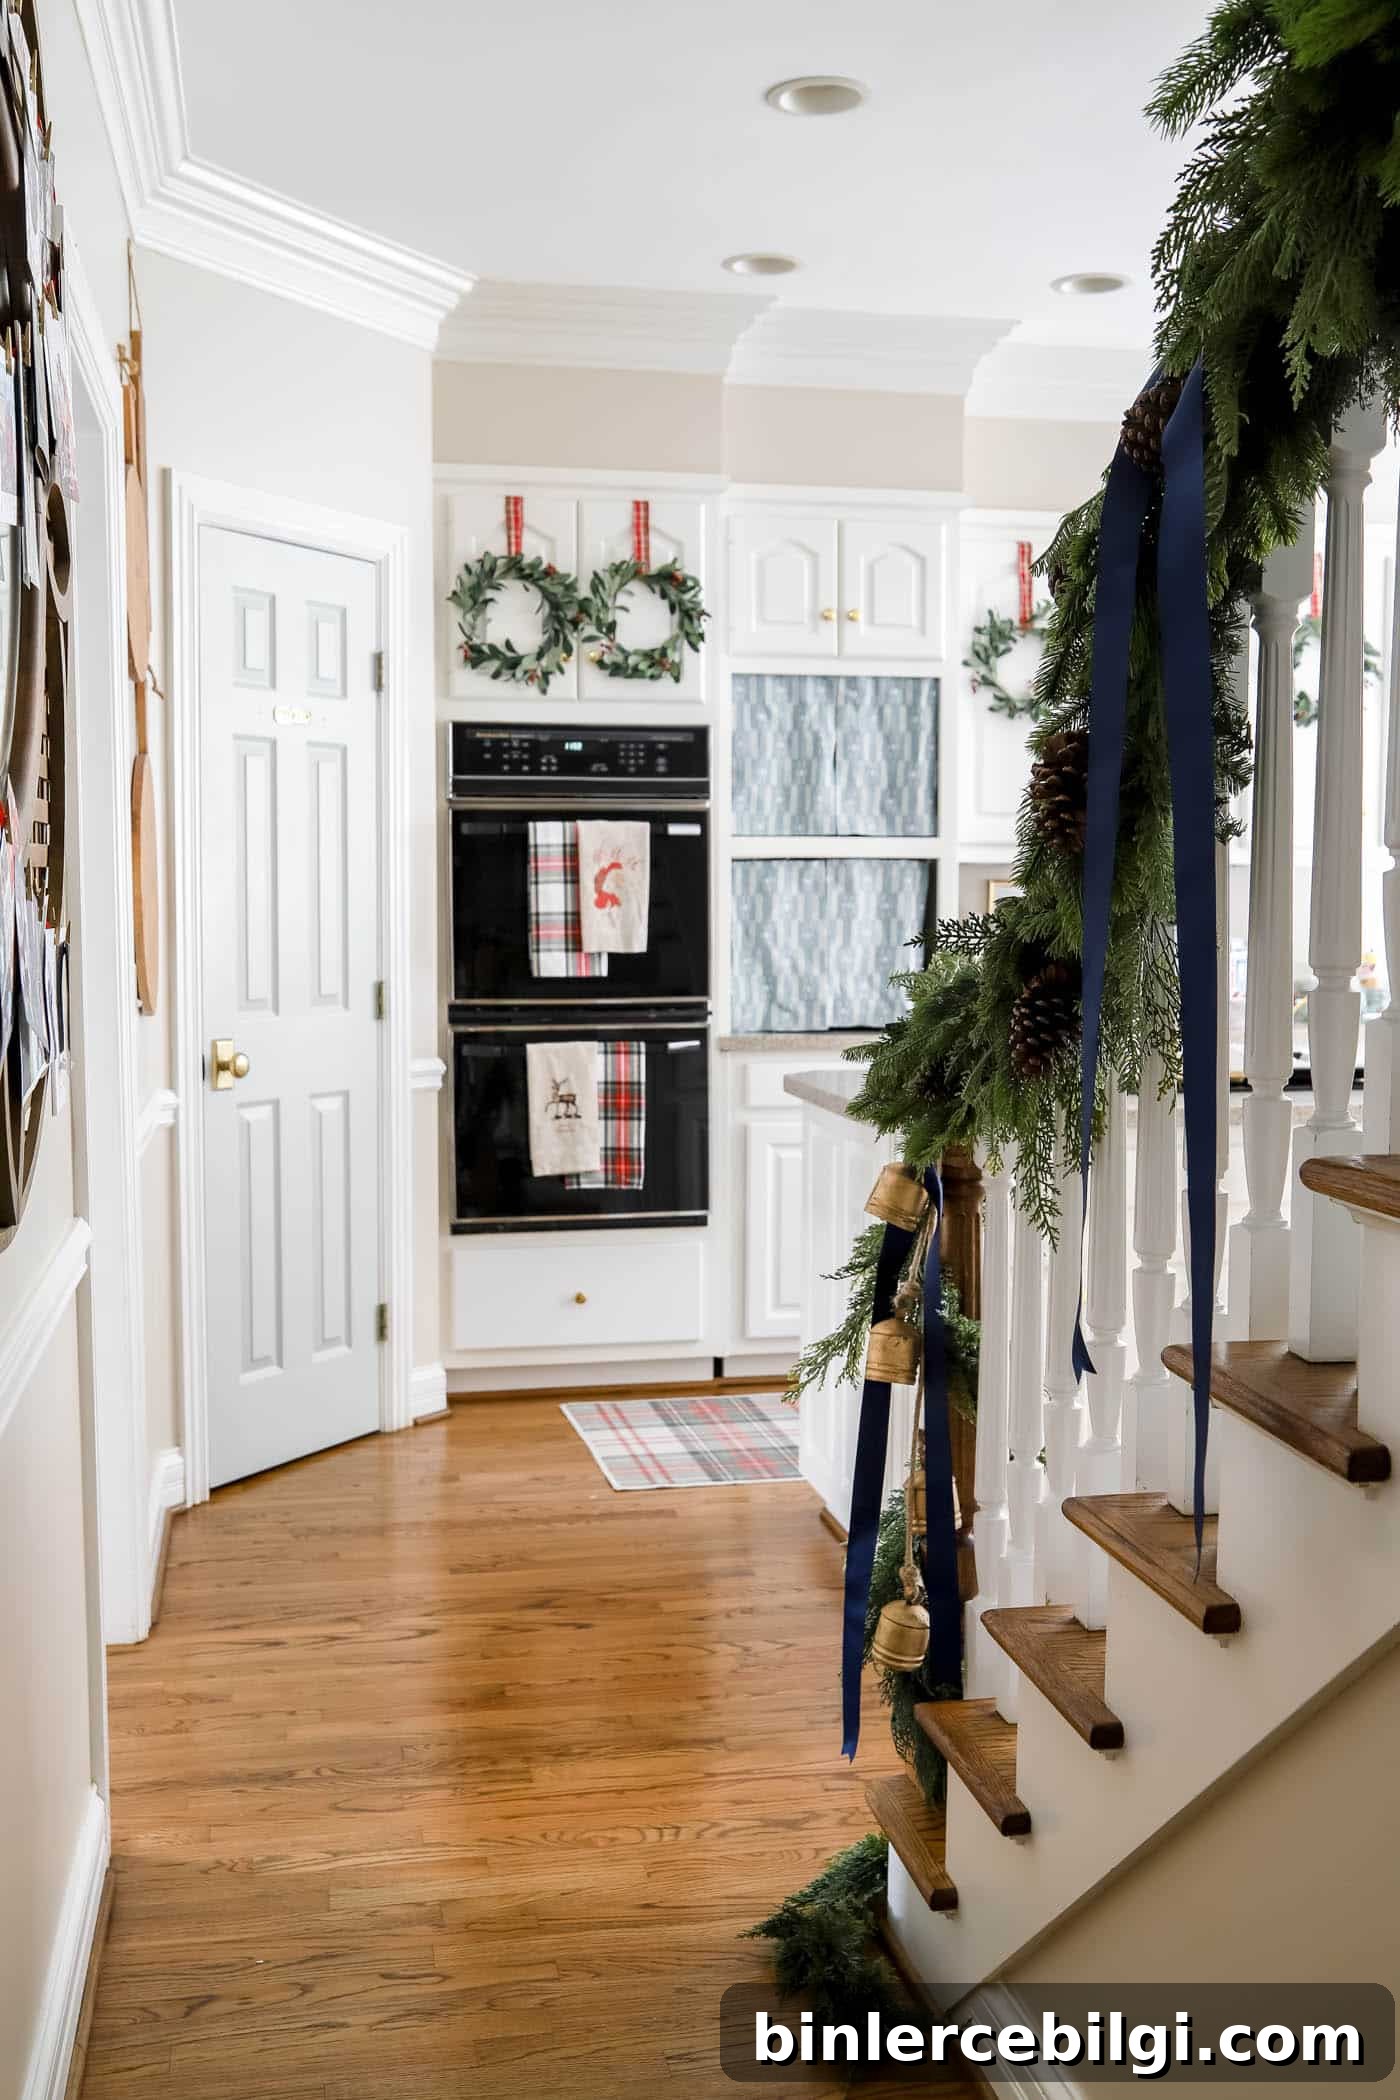
Can I Use Real or Artificial Garland?
Both real and artificial garlands work on stairs. Real greenery looks and smells wonderful but dries out and sheds needles after 2–4 weeks indoors. If you want the scent of fresh greens without the maintenance, consider layering a few sprigs of real greenery over a faux base, or use an evergreen-scented candle nearby. For longevity and reusability, faux garland is the easiest choice.
Can I Layer More Than One Garland?
Yes—layering multiple garlands creates a full, lush look. I typically use three different garlands on my banister: a simple wired base garland attached to the railing, then one or two fuller, more expensive garlands layered on top and incorporated into the base’s branches. This technique hides any attachment points and gives a professional, dimensional appearance.
Beautiful Evergreen Garlands (You can’t go wrong with any of them!)
- Real Touch Norfolk Pine Garland
- Long Needle Pine Garland
- Magnolia Leaf Garland
- Real Touch Cedar
- Faux Spruce Garland
- Carolina Pine Garland
- Faux Cedar Garland
- Lamb’s Ear Garland
- Silver Dollar Eucalyptus Garland
How to Attach the Garland to the Staircase
There are several attachment options that work well and won’t harm your banister. Choose based on how permanent you want the installation and what materials your railing is made from.
- Zip ties
- Floral wire
- Medium clear Command hooks
- Decorative twist ties — my personal favorite
- Artificial garland ties
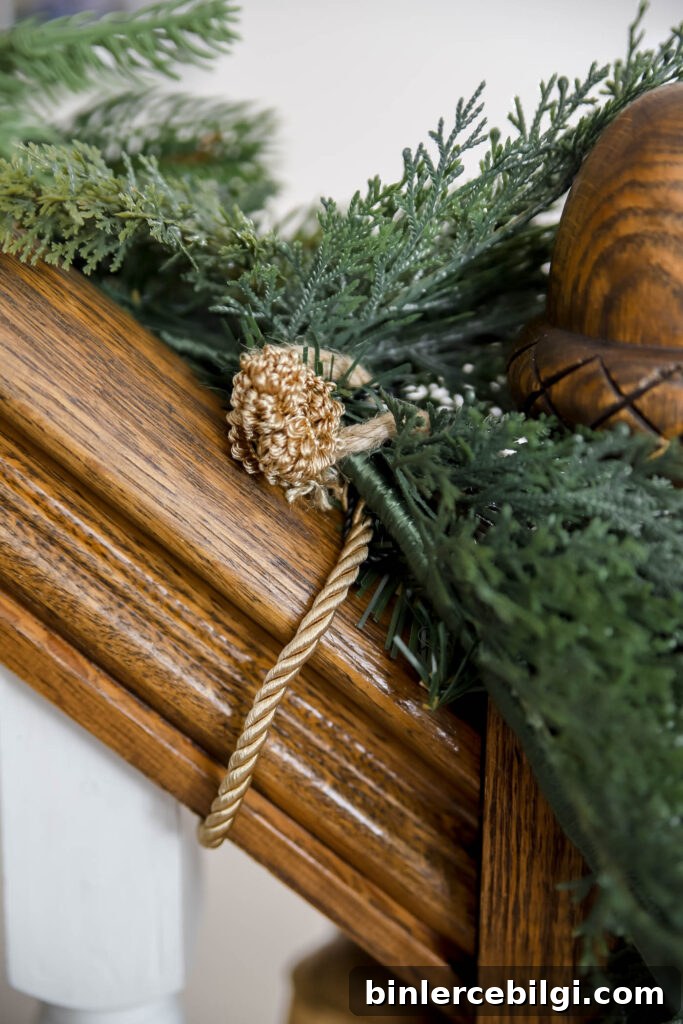
What Decorative Accents to Add to the Christmas Garland?
Once the garland is secured, add accents that match your holiday style. Popular additions include:
- Ribbon or bows (woven through the garland or applied where it’s tied)
- Extra greenery sprigs and floral picks
- Bells or other hanging ornaments
- Twinkle or fairy lights (battery-operated or plugged into a nearby outlet)
- Berry picks, pine cones, or dried orange slices
- Shatterproof ornaments for a more traditional look

How To Hang Garland On A Staircase: Easy Step-by-Step Guide
1. Measure Your Staircase Railing
Measure the length of your stair railing and decide if you want the garland to swoop between spindles or cascade down the newel post. Add an extra 1–2 feet for each swoop, plus a few extra feet if you plan to wrap or cascade at the end. For example, an 8-foot railing often looks best with 9–12 foot garlands if you want noticeable swoops and a cascading finish.
2. Attach the Garland to the Handrail
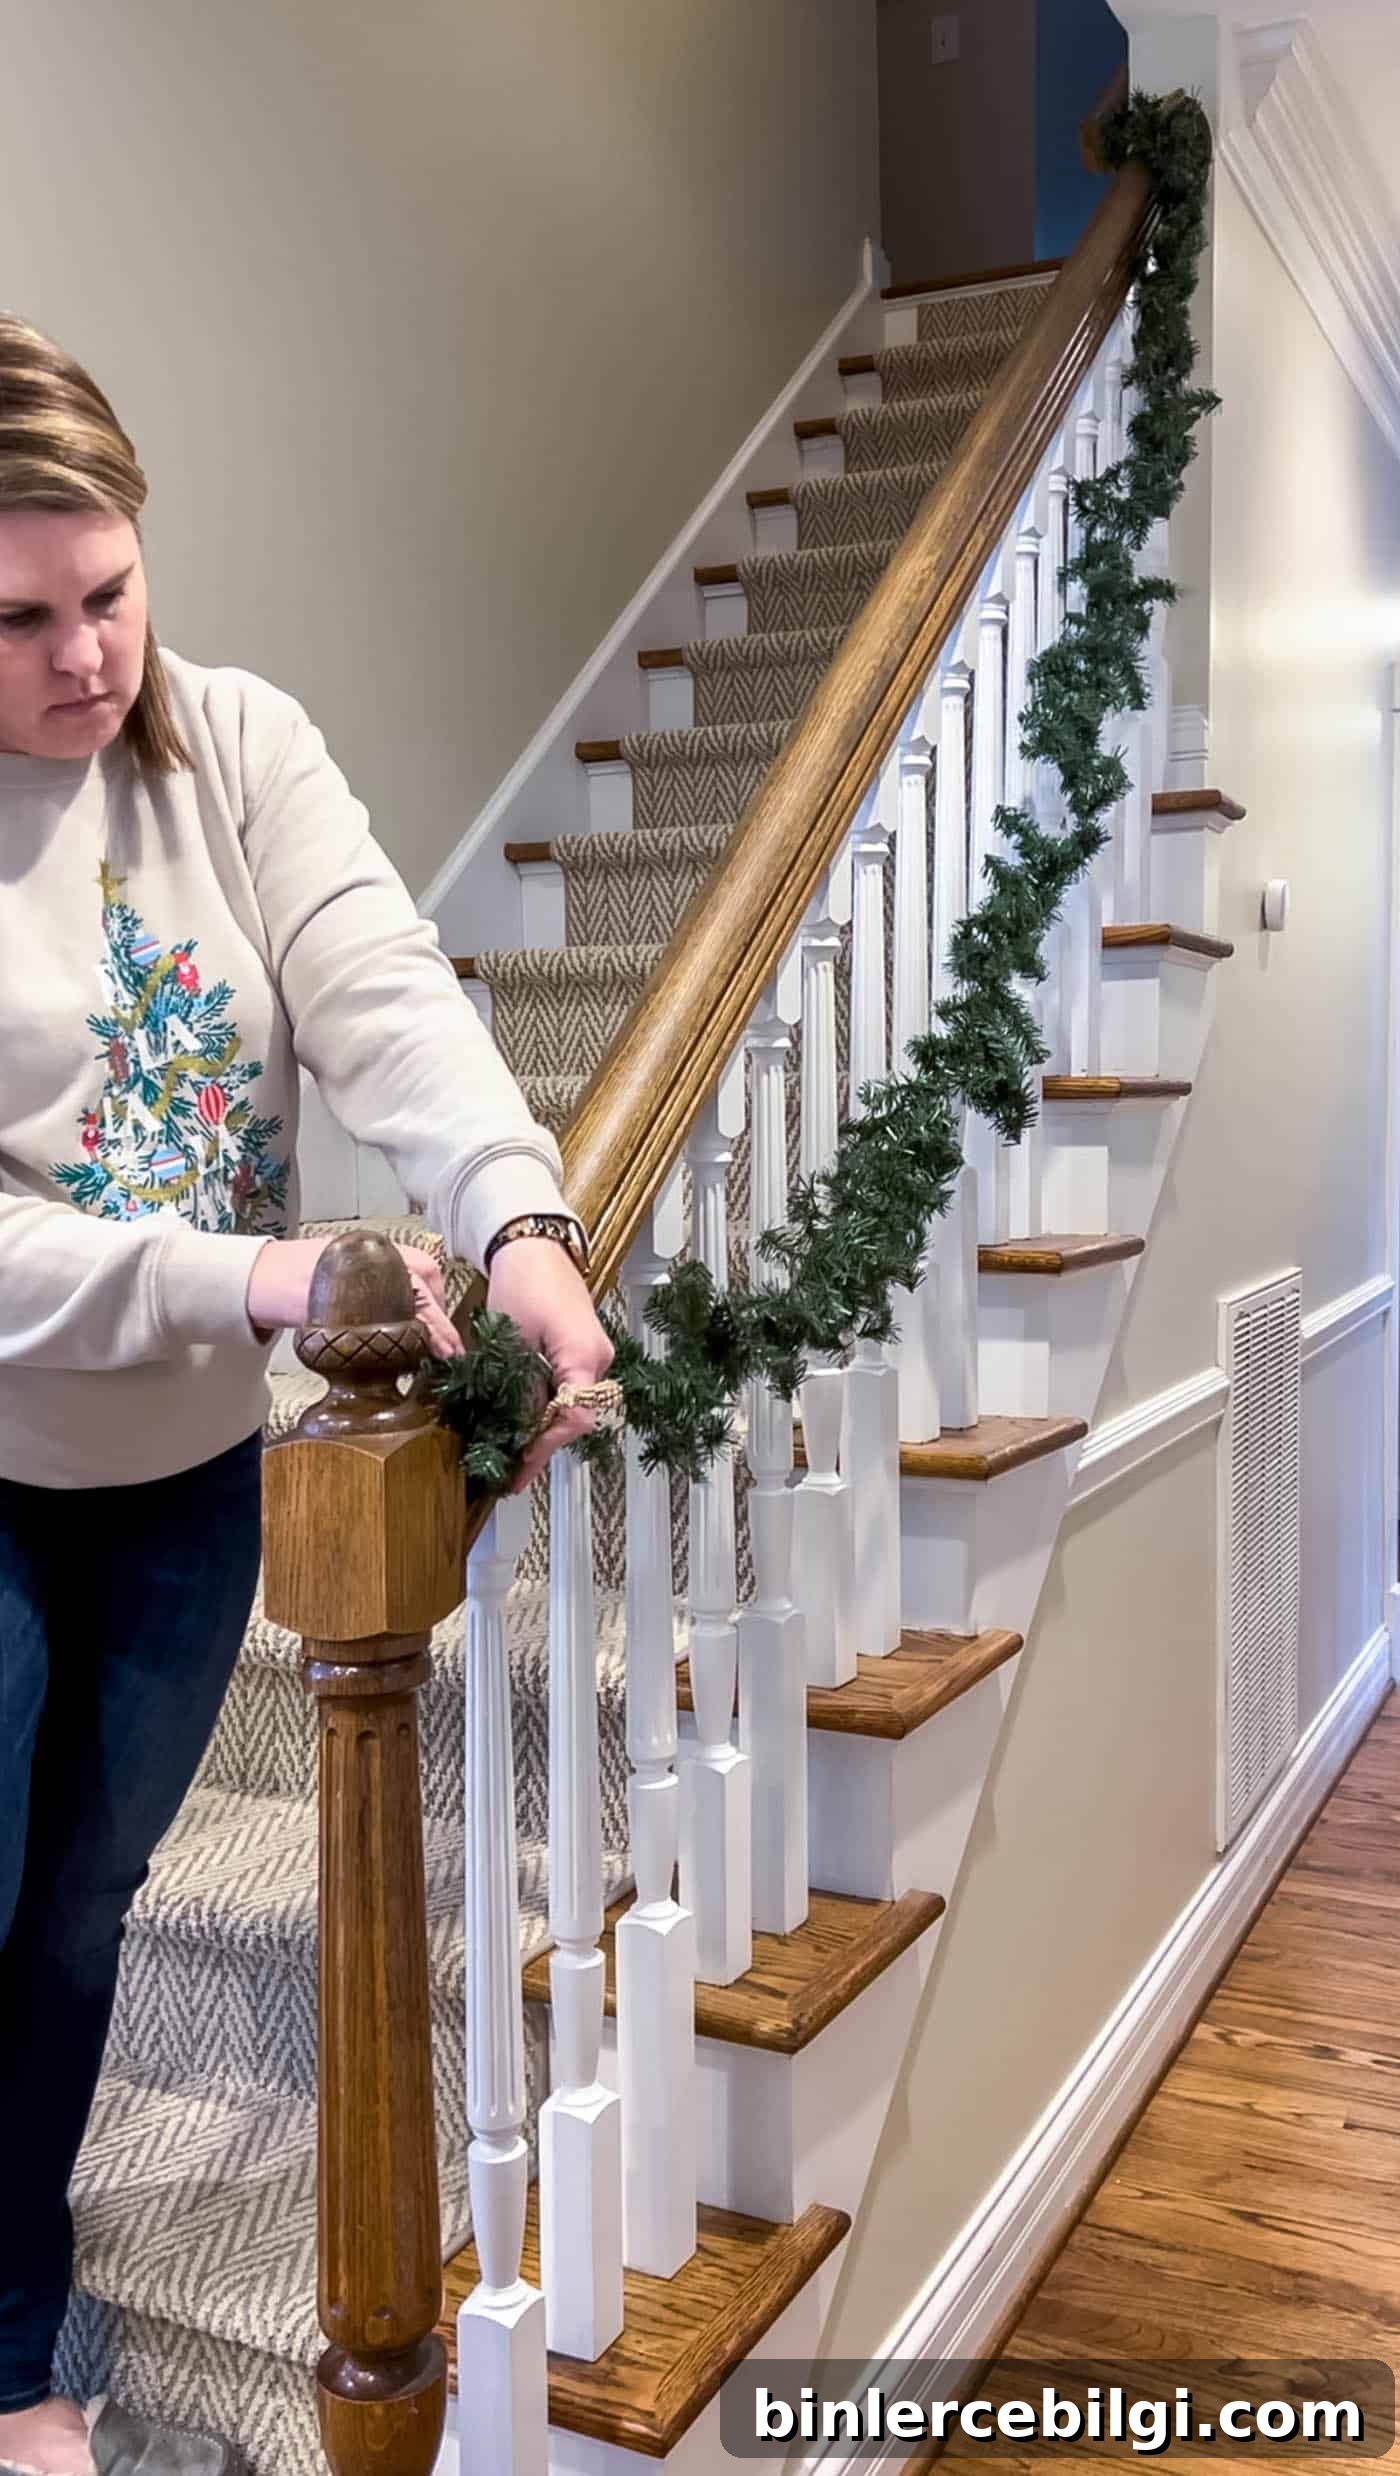
My preferred approach is a layered look using three garlands. Start by attaching a simpler, wired base garland to the railing using your tie method of choice. Whether you begin at the top or bottom is a matter of preference—starting at the top and working down often feels easiest. Secure the base garland at regular intervals so it supports any additional layers.
3. Attach, Swoop, Repeat
Work along the railing, creating the swoops you planned and securing the garland at each attachment point. If you want two swoops on an 8-foot rail, for example, secure at the middle spindle and then again near the ends, allowing the garland to drape naturally between points.
4. Layer on Additional Garlands
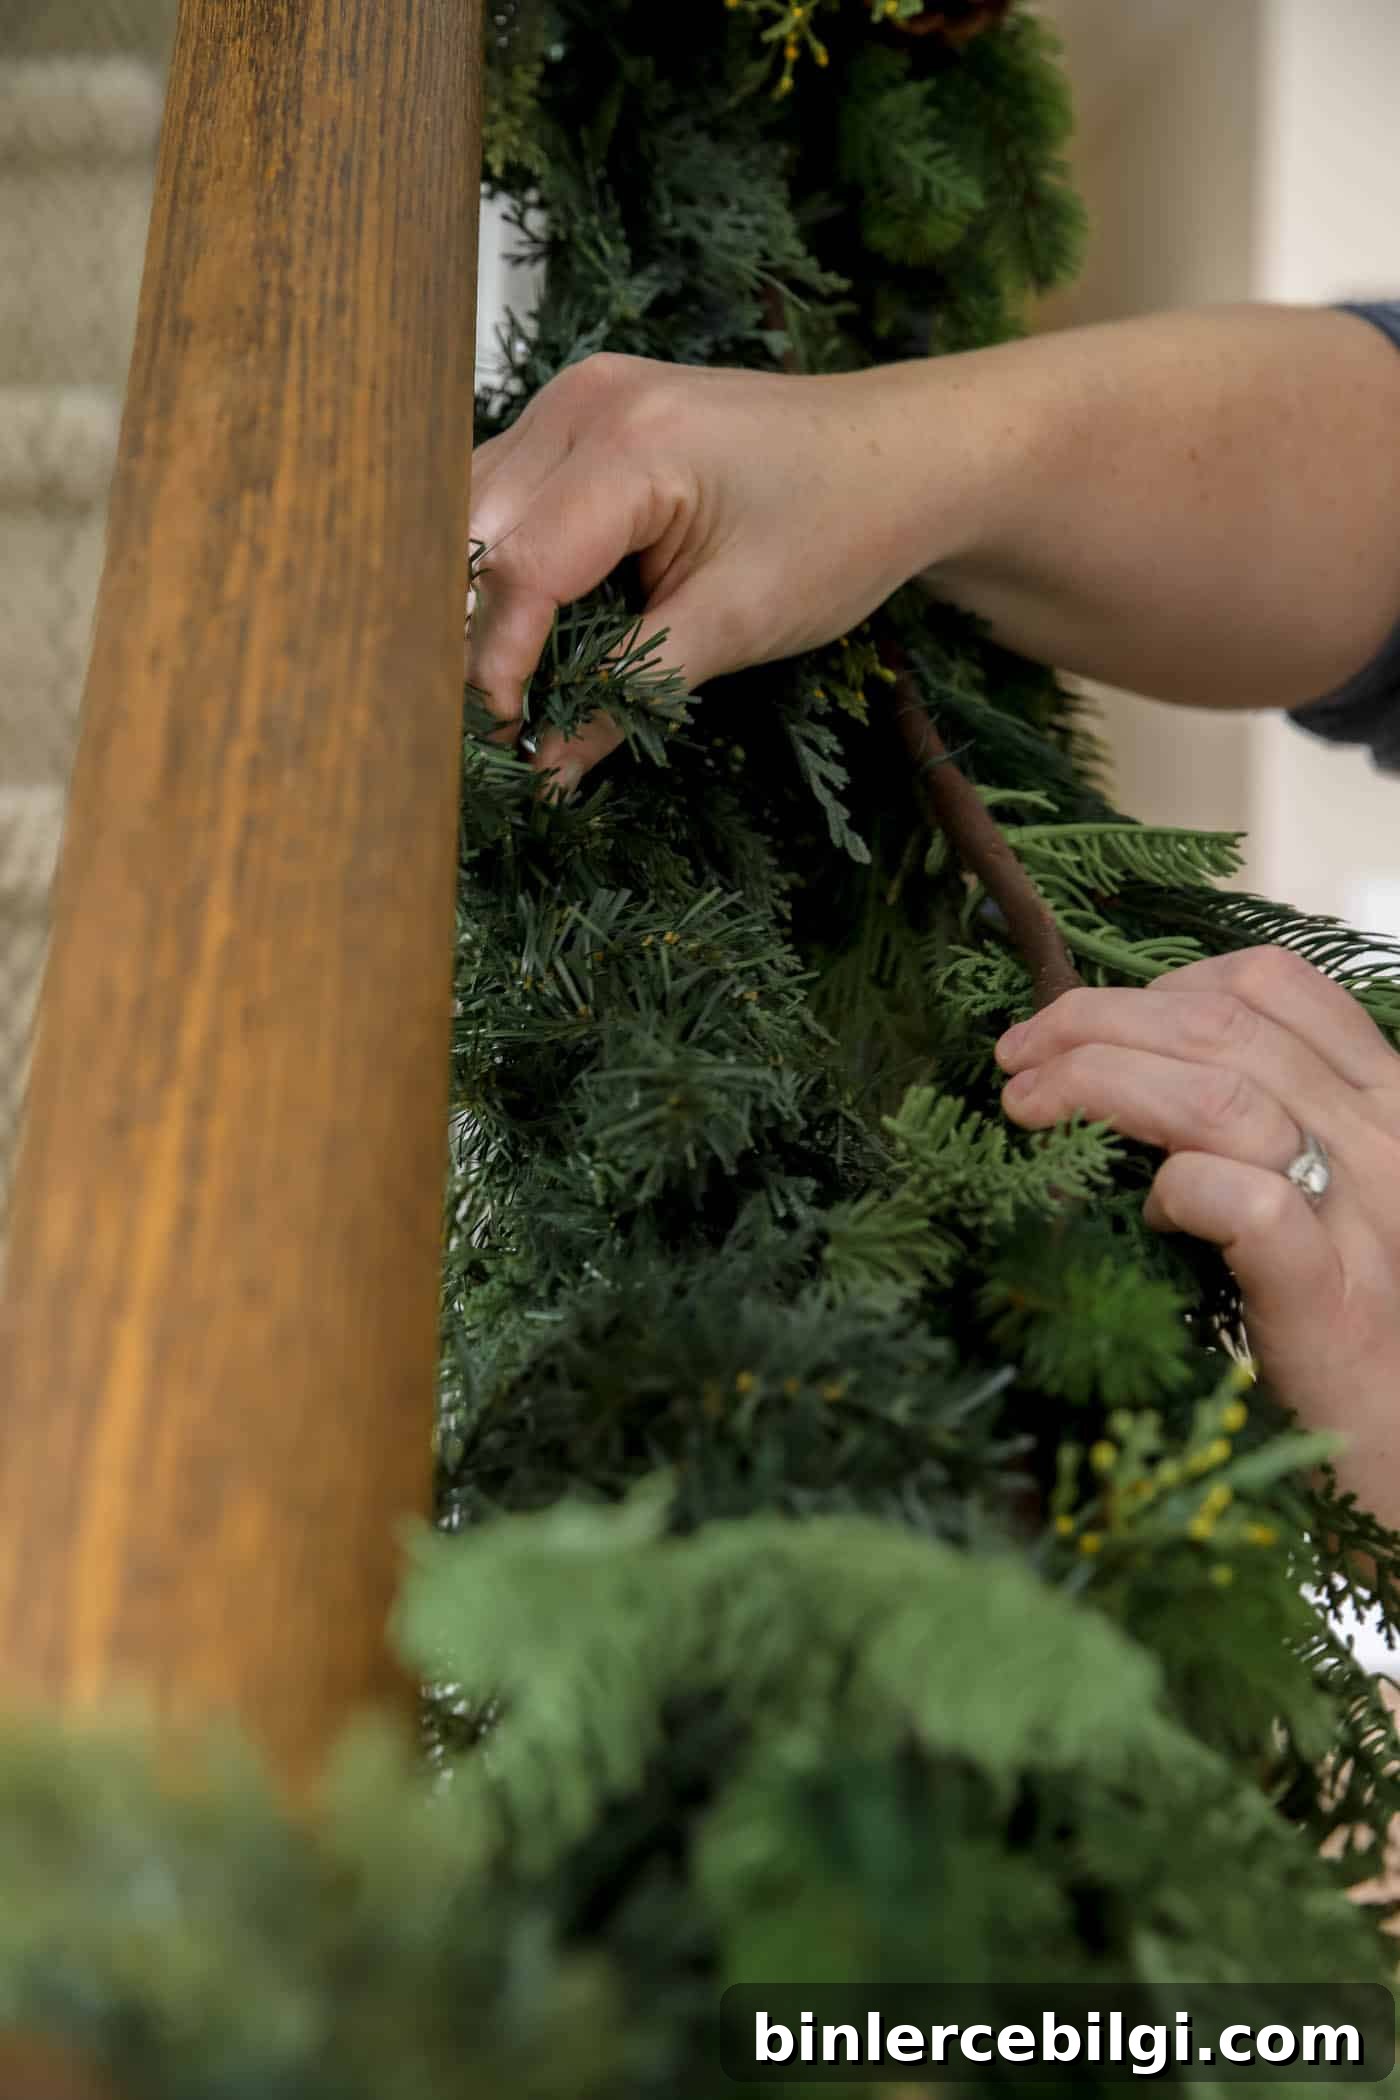
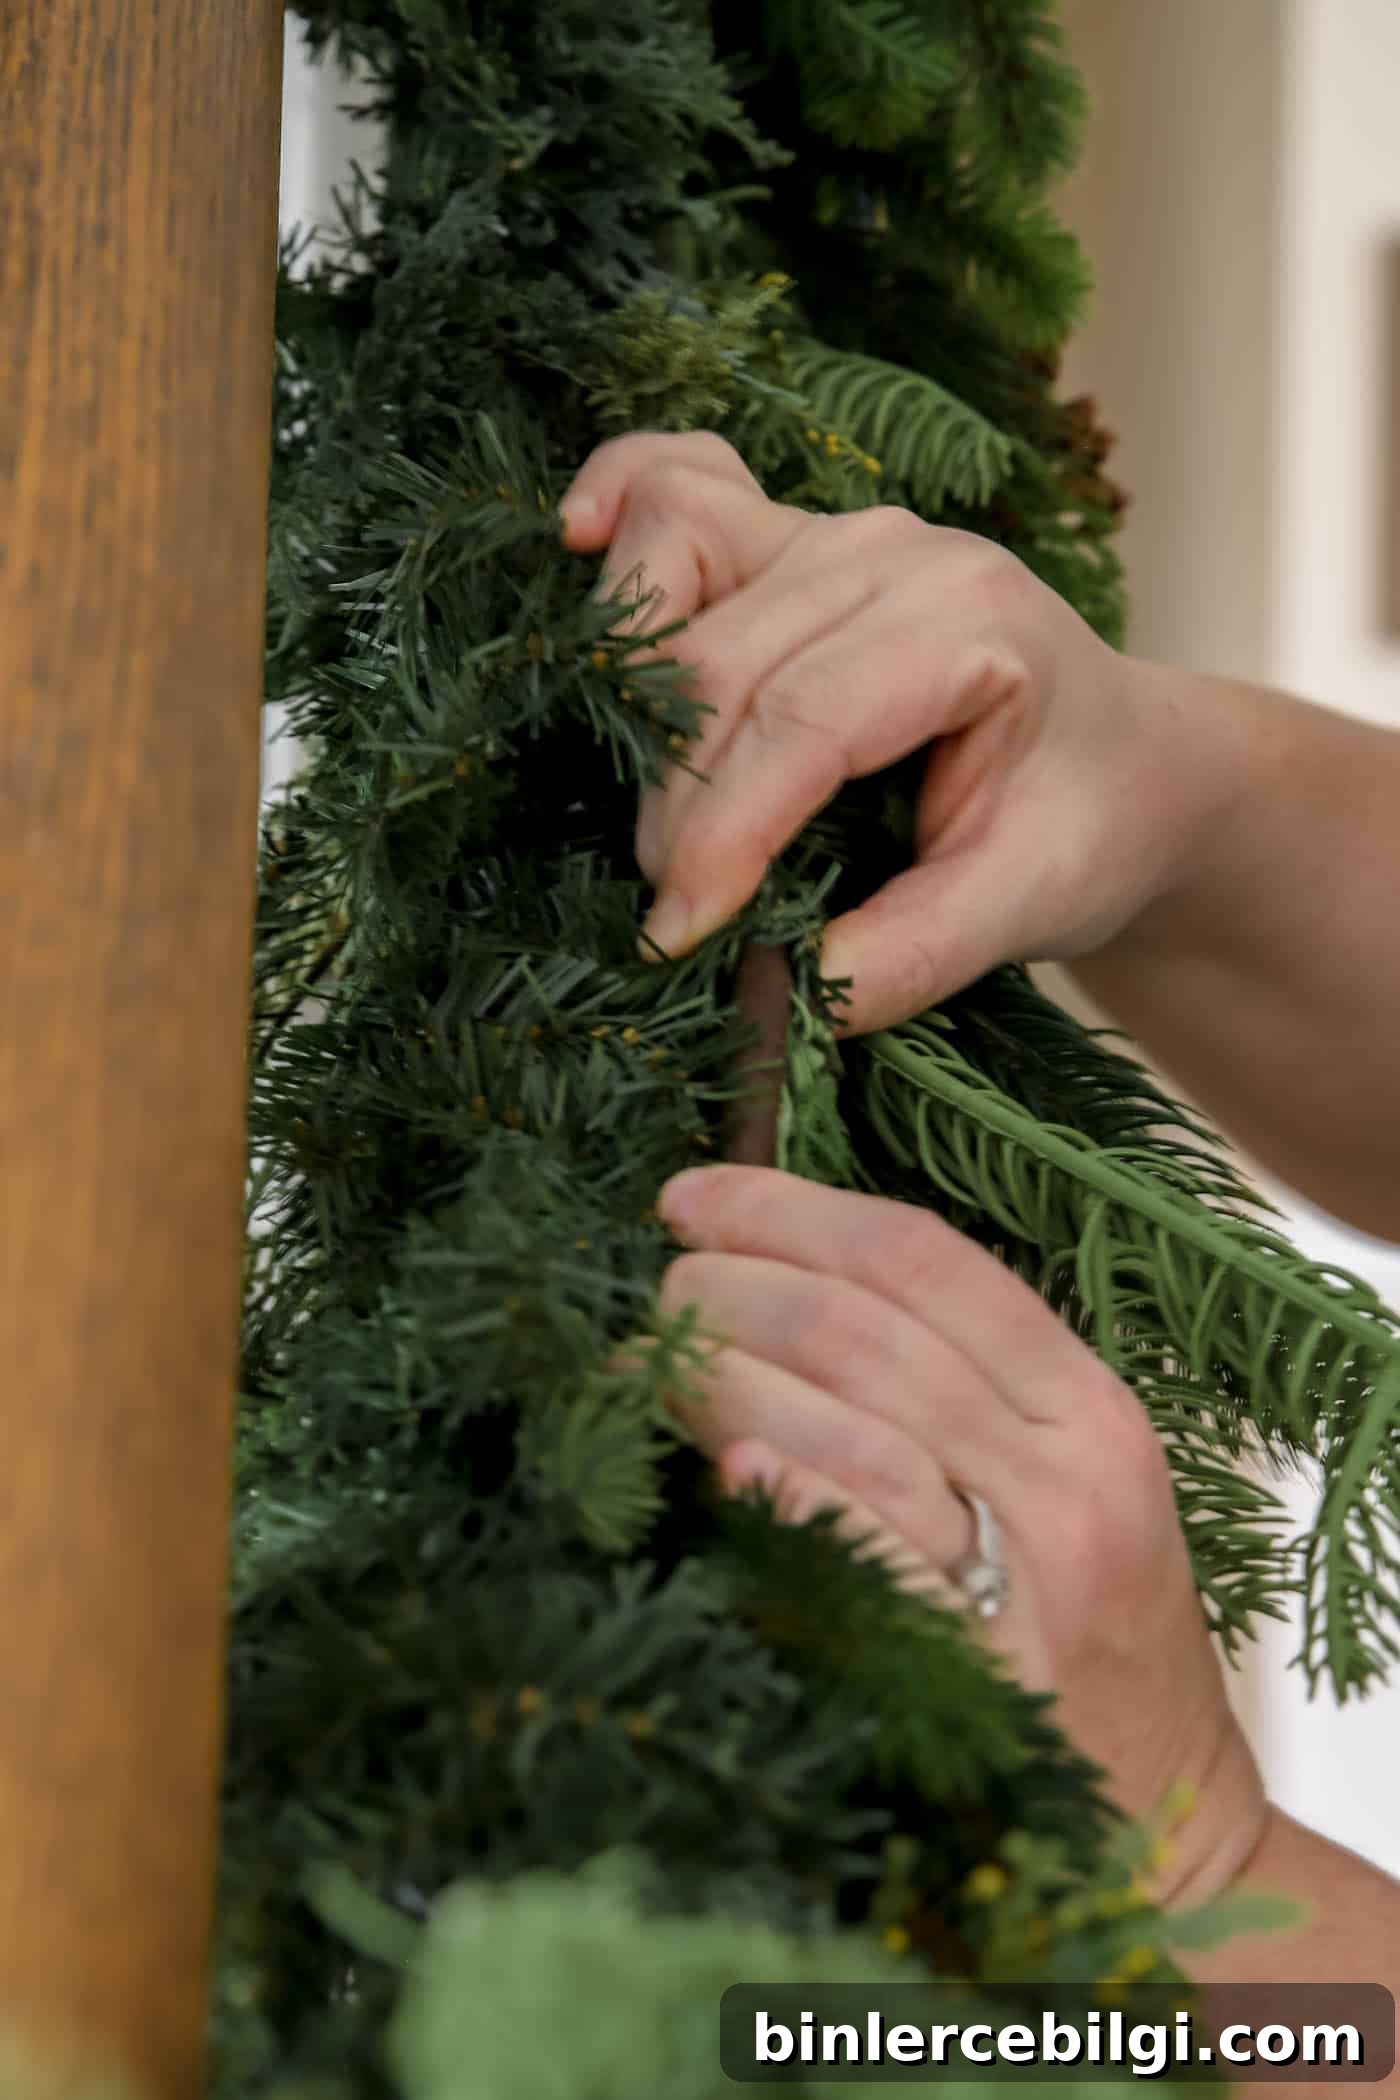
Once the base garland is secure, layer fuller garlands over it. Use the wired branches of the base garland to “grab” and hold the second garland in place. Repeat this process until the layers blend and the whole length looks like one lush piece.
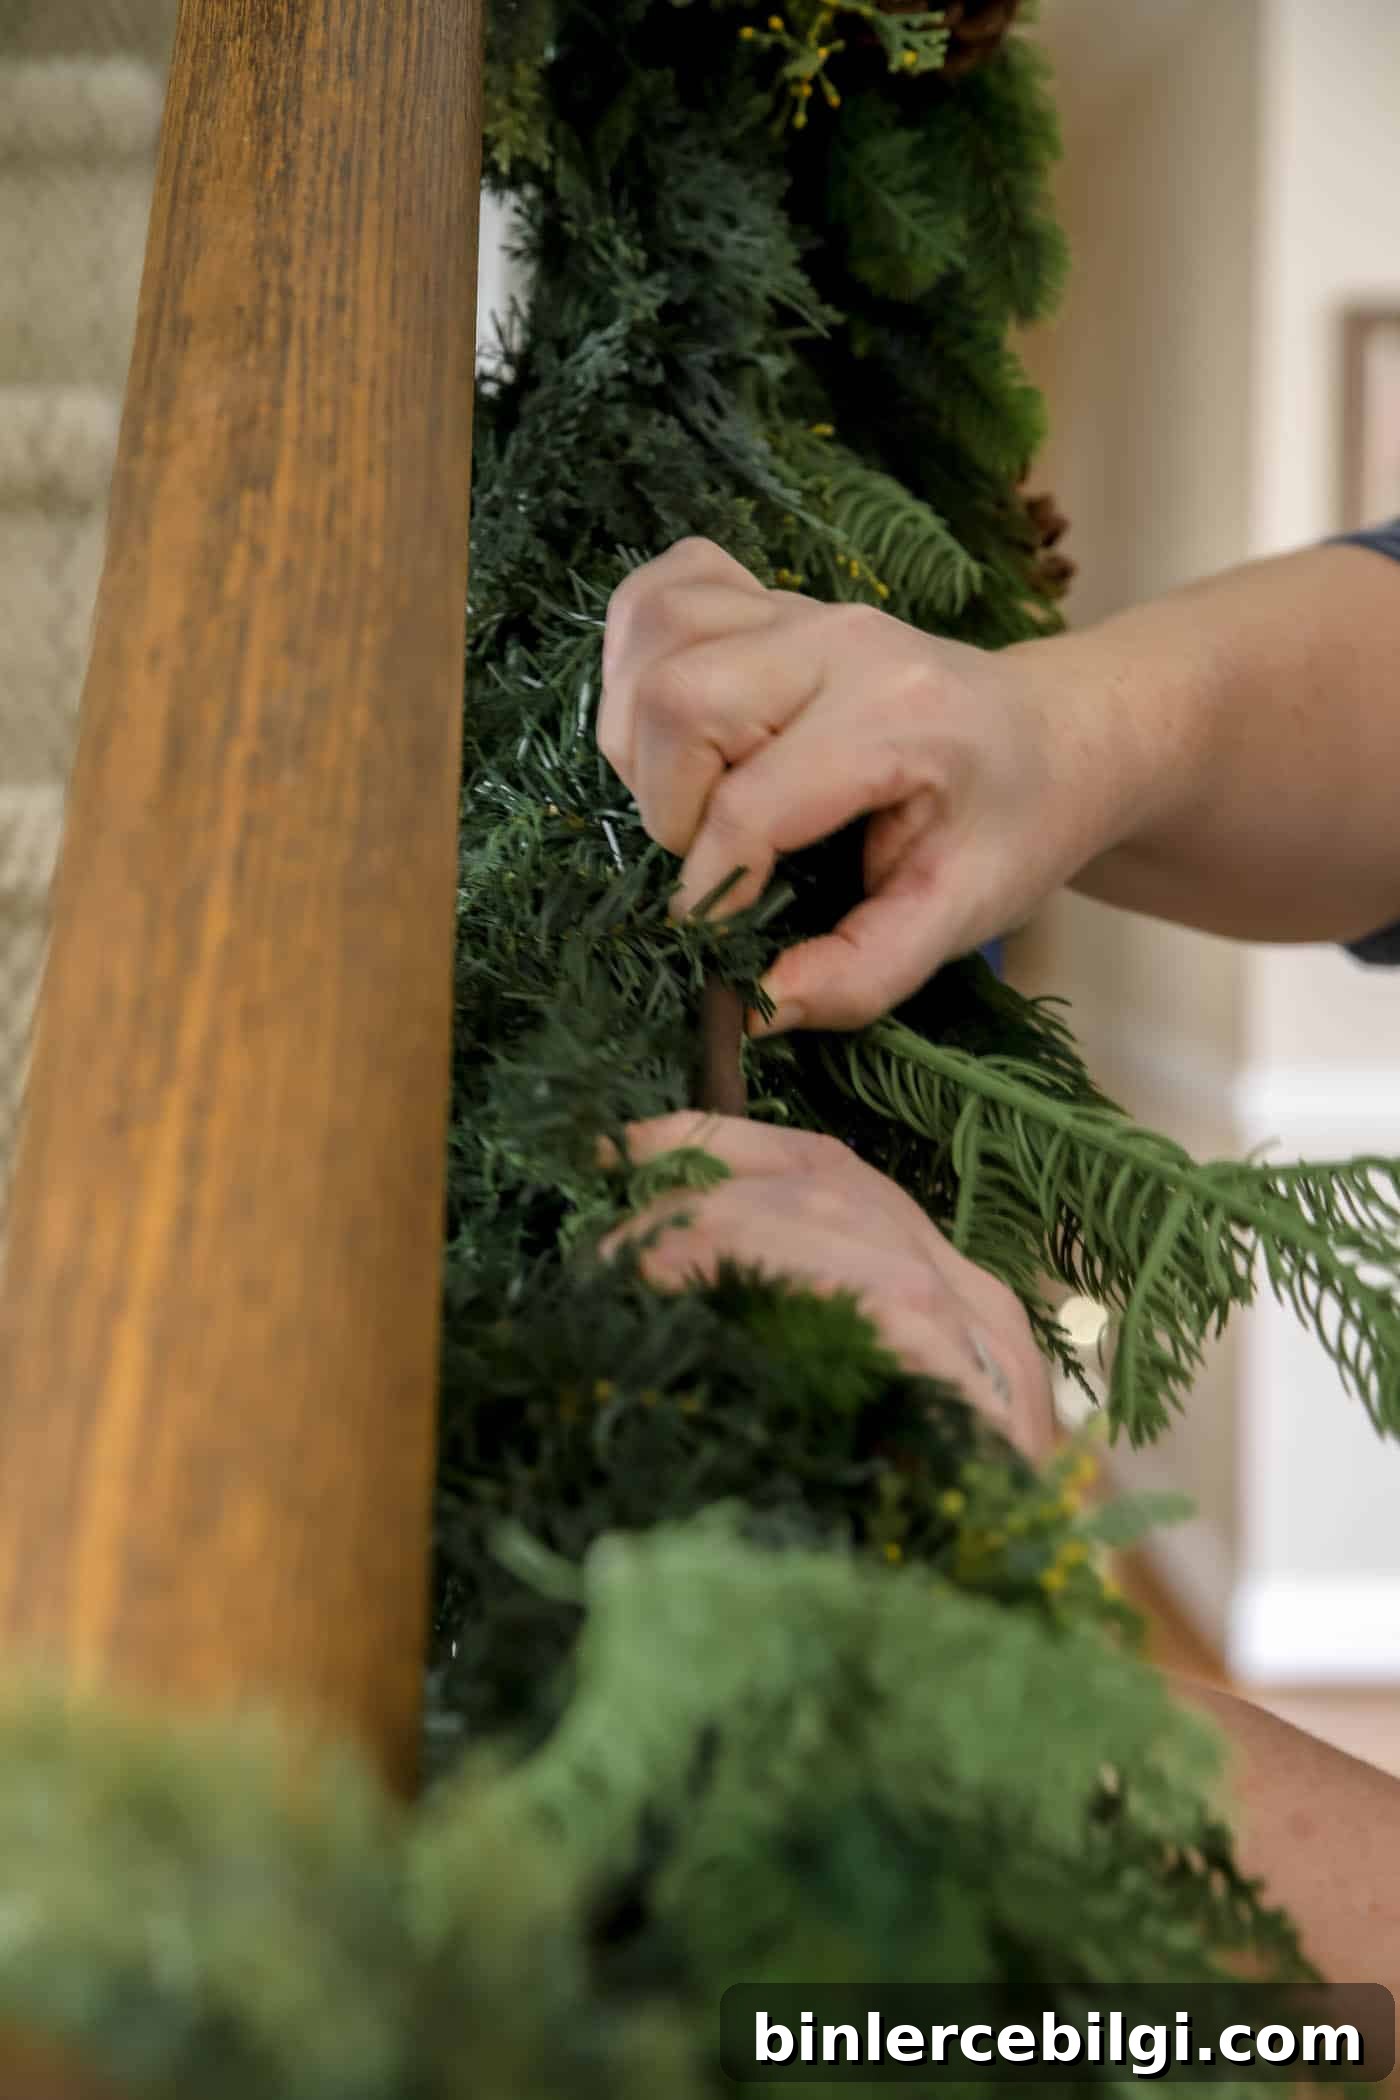
5. Fluff the Garland
Step back and inspect your garland for sparse areas or uneven sections. Adjust and separate the branches to create a full, natural appearance.
6. Add Accent Pieces
Now the fun part: add bells, bows, ribbons, picks, or ornaments. These accents can be concentrated at the newel post or spaced along the railing where the garland is tied. Use ribbon or bows to conceal zip ties or wire if needed.
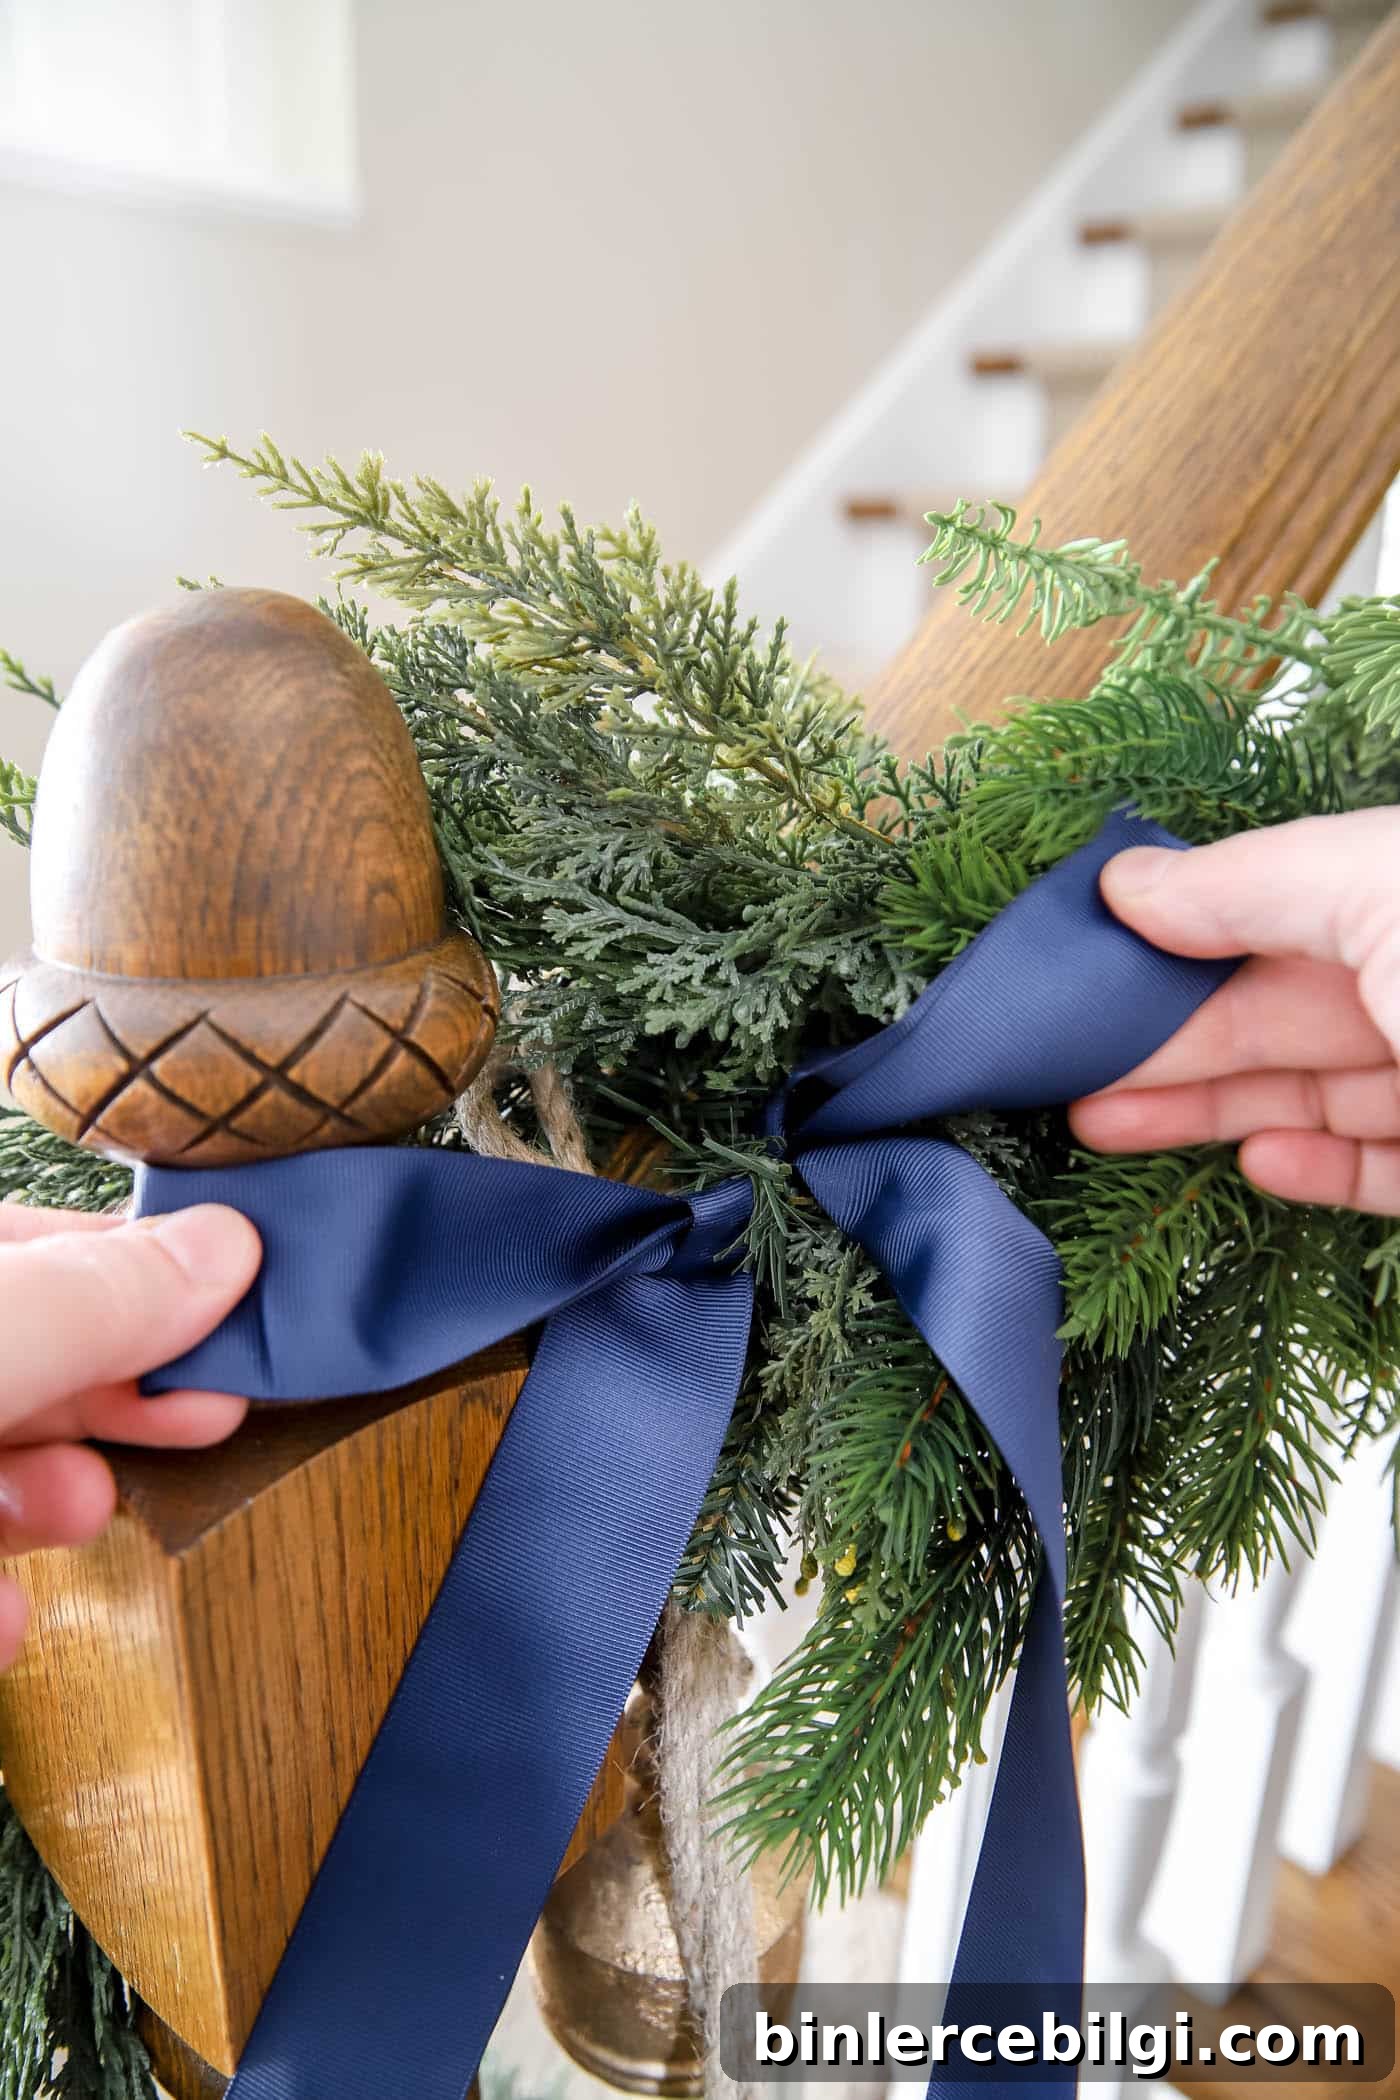
7. Add Lights
If your garland isn’t pre-lit, weave in twinkle lights. Battery-operated fairy lights are convenient for avoiding visible cords, while plug-in lights provide brighter illumination if you have an outlet nearby.
Final Thoughts
I hope this straightforward guide helps you create a beautiful, classic garland for your staircase. A well-styled banister can lift the entire home during the holidays—enjoy the process and the cozy results!
Frequently Asked Questions
Choose garland at least the length of your railing and add about one foot per swag or swoop. If you want it to cascade down a newel post, allow extra length for wrapping and draping.
Use non-damaging solutions like Command hooks, decorative twist ties, zip ties (if acceptable), or floral wire. These methods secure the garland while protecting the finish of your railing.
Choose soft, removable fasteners such as clear Command hooks or padded twist ties. Avoid abrasive methods and test any product on an inconspicuous spot first.
More Posts You Will Love:
- How to Hang a Christmas Mantel Garland + Video
- 40+ Amazing DIY Christmas Gift Ideas
- 21 Fun Holiday Ideas for Your Family’s Christmas Bucket List
- Classic Ralph Lauren Christmas Decor
- Beginner’s Guide to Doing Disney World with Little Kids