
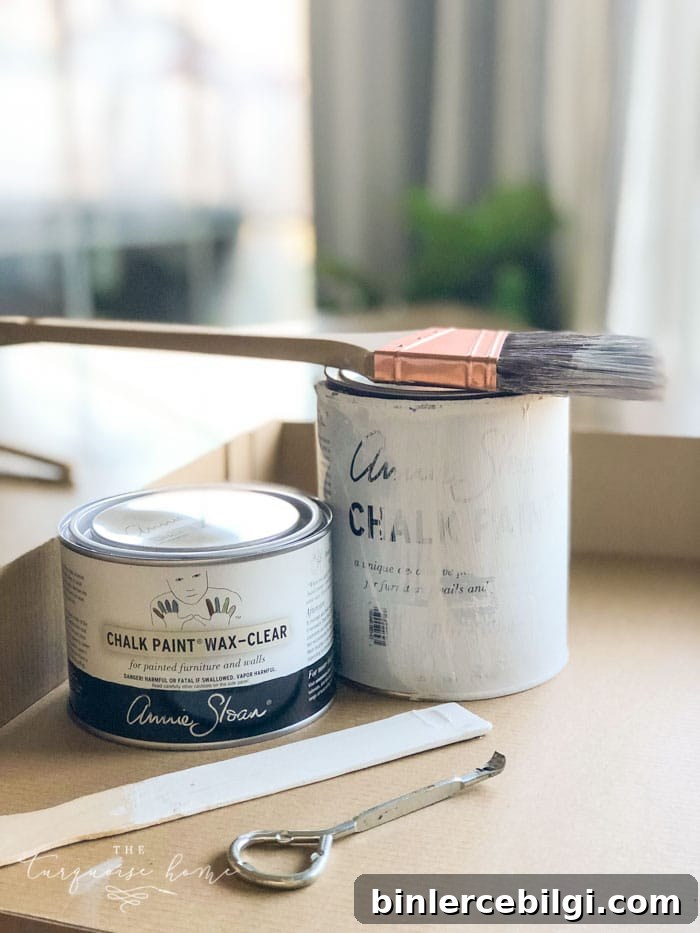
Annie Sloan Chalk Paint® is one of the simplest ways to refresh an older or outdated piece of furniture. The biggest advantage is that primer is usually unnecessary—once the surface is clean, you can begin right away and enjoy fast, visible results.
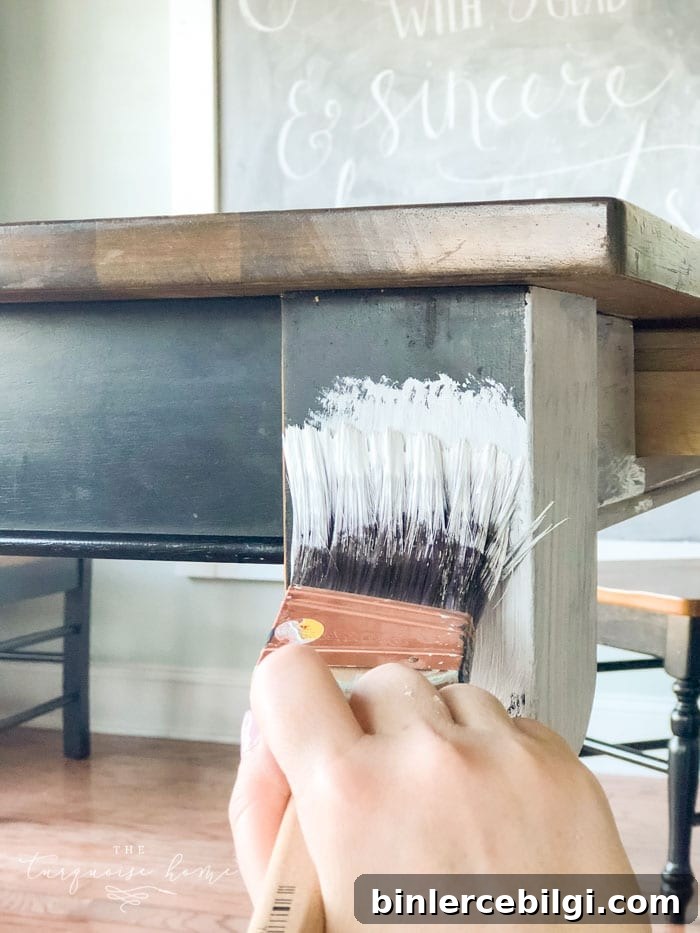
I’ve tried many chalk-style paints over the years, and Annie Sloan Chalk Paint® is consistently one of my favorites. It’s my go-to for quick furniture makeovers because it embraces an imperfect, lived-in look and eliminates the long process of priming and painting with traditional paint.
Below I share practical tips, the supplies you’ll need, and a clear step-by-step tutorial for using Annie Sloan Chalk Paint®. Whether you’re a beginner or experienced DIYer, this guide will help you get beautiful results.
First: Thoughts on Painting with Chalk Paint®
- Tools speed the job up. If it’s your first time, having the right brushes and supplies makes the project much easier and more enjoyable.
- Start small. If you’re nervous, begin with a small, inexpensive item. Once you complete one piece you’ll gain the confidence to tackle larger furniture.
- Intended look. Chalk paint is best when you want a slightly distressed, vintage, or chippy finish. It naturally wears over time, which is part of its charm. If you need a perfectly smooth, fully durable finish, consider a different type of paint designed for full coverage and durability.
- Brush choice matters. Use a natural bristle brush made for chalk paint when you want a textured, brushed finish; use a standard high-quality brush (Purdy or similar) if you prefer a smoother surface that you will distress afterward.
- Embrace imperfections. Chalk paint highlights surface character; if visible imperfections bother you, this may not be the best medium.
- Paint consistency. Chalk paint is thick. If you leave the can open or if it becomes too thick while working, transfer a portion to a mixing container and add a tiny amount of water to thin it—stir well. A little water goes a long way.
- Drying time. Chalk paint dries quickly—often within 20–30 minutes—so you can apply additional coats in one session. Always let coats dry completely before distressing or waxing.
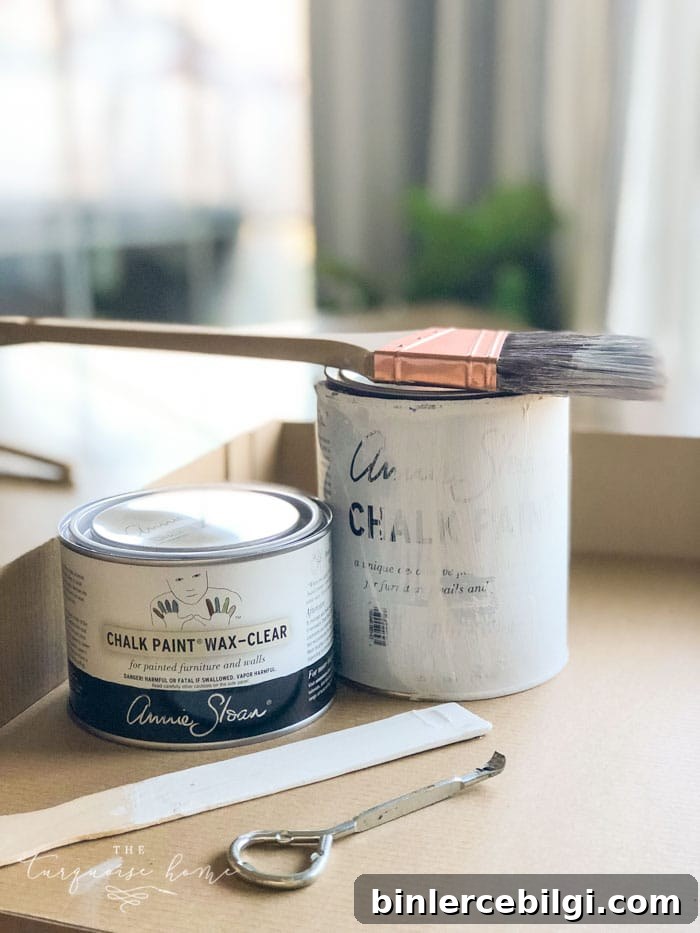
Supplies You Will Need
- Drop cloth. Protect floors and work surfaces.
- Painter’s tape. For masking hardware or areas you don’t want painted.
- Brushes. A natural bristle brush for a textured look or a high-quality synthetic/natural blend brush for a smoother application.
- Chalk paint. Annie Sloan Chalk Paint® is recommended for the classic chalk finish; alternative chalk-style paints exist if you can’t source Annie Sloan.
- Cleaning supplies. Damp rags and a mild cleaner to remove grease and grime before painting.
- Lint-free cloths. Old T-shirts work great for wiping and applying wax.
- Fine grit sandpaper. Around 180 grit is ideal for gentle distressing.
- Wood putty. Optional—use for filling holes, but test paint over putty in an inconspicuous spot first to check color match.
Steps to Use Annie Sloan Chalk Paint®
1. Choose your project piece.
Pick something manageable for your first attempt—a small side table, stool, or picture frame. When you’re ready, move up to larger items like dressers or table bases.
2. Gather your supplies.
Refer to the supply list above and make sure everything is clean and at hand before you begin.
3. Remove hardware and fill holes if needed.
Remove knobs and pulls where possible. If you’ll replace hardware or if there are unattractive holes, fill them with wood putty and sand smooth when dry. If hardware can’t be removed, protect it with painter’s tape.
4. Prep your surface.
Chalk paint usually adheres well without priming, but surfaces must be clean and dry. Remove grease, food residue, or dust with a warm, soapy cloth or a degreaser for stubborn grime, then wipe with a damp rag to remove residues. Allow the piece to dry completely.
5. Apply the first coat of Chalk Paint®.
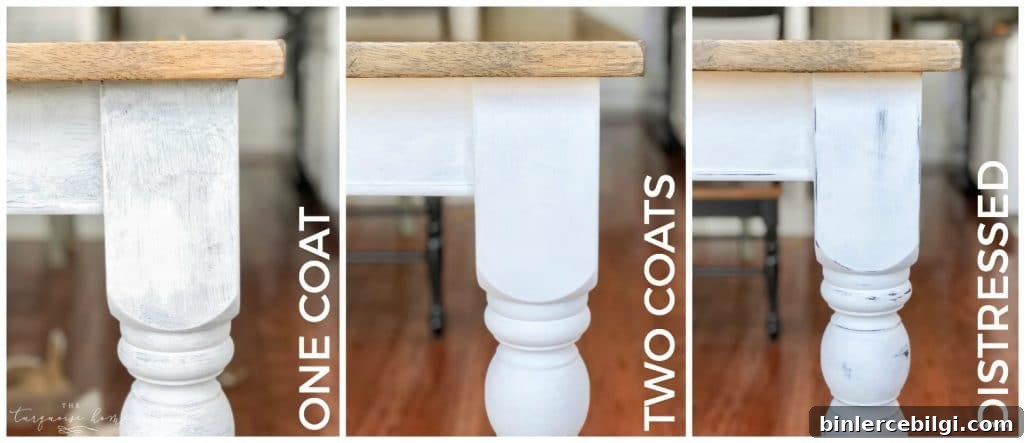
Paint in the direction and style that suits your desired finish. For a smooth finish, brush with the grain; for a textured, rustic look, use a natural bristle brush and a heavier stroke. One coat often looks great, but plan for a second coat if you want fuller coverage.
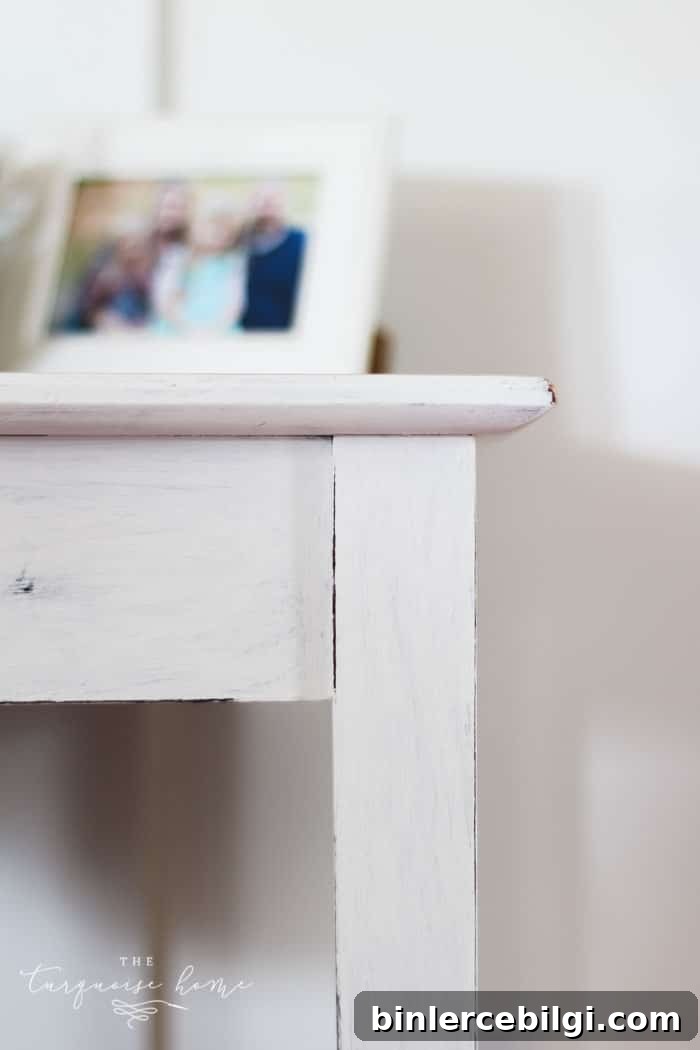
6. Apply the second coat.
A second coat typically evens out brush marks and increases color depth. If the paint has thickened, pour some into a separate container and thin lightly with water as needed. If you get too much texture, sand lightly and recoat—the paint is forgiving.
7. Clean your brushes.
Wash brushes in warm soapy water, taking care not to force water into the ferrule. Lay brushes flat or hang by the handle to dry. Proper care extends their life for years.
8. Distress your project.
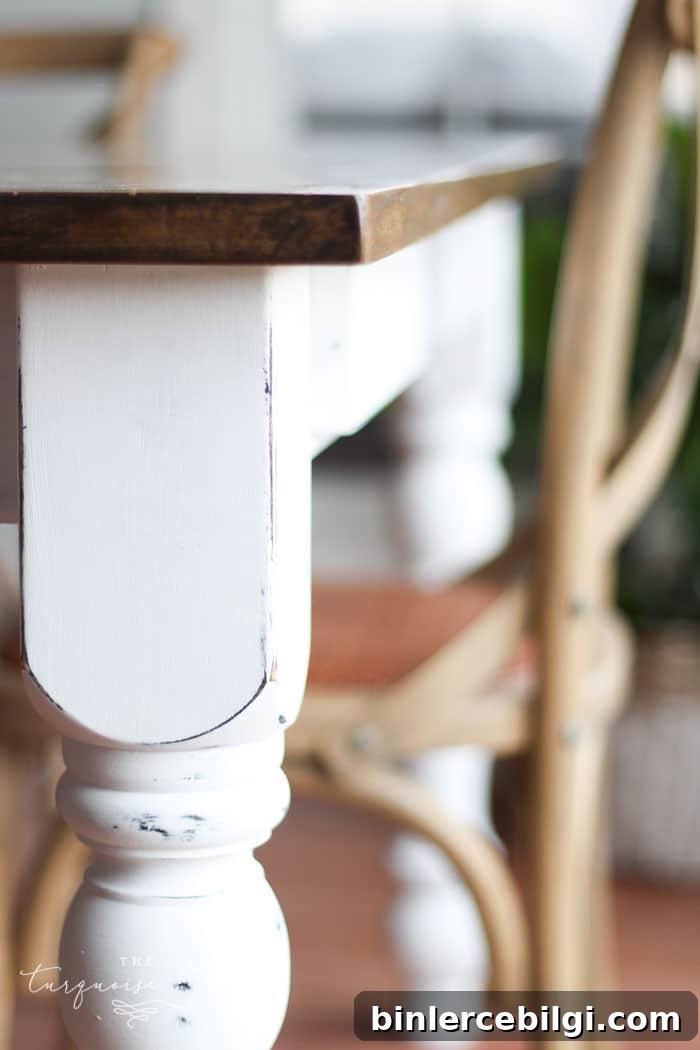
Distressing gives chalk-painted pieces their characteristic charm. Use fine-grit sandpaper (about 180 grit) and lightly sand corners and edges where natural wear would occur. For softer wear, rub a damp cloth over raised areas. Distress before waxing for easier cleanup and consistent sealing.
9. Seal with wax.
Clear soft wax is the most common choice for sealing chalk paint. Apply a thin, even layer over the entire piece with a wax brush or lint-free cloth, then wipe away excess. For contrast or antiqued looks you can use dark wax selectively, but that requires more practice.
10. Buff to finish.
Allow wax to cure (about 24 hours) and then buff with a clean cloth or soft T-shirt to a smooth sheen. Buffing smooths the surface and enhances durability.
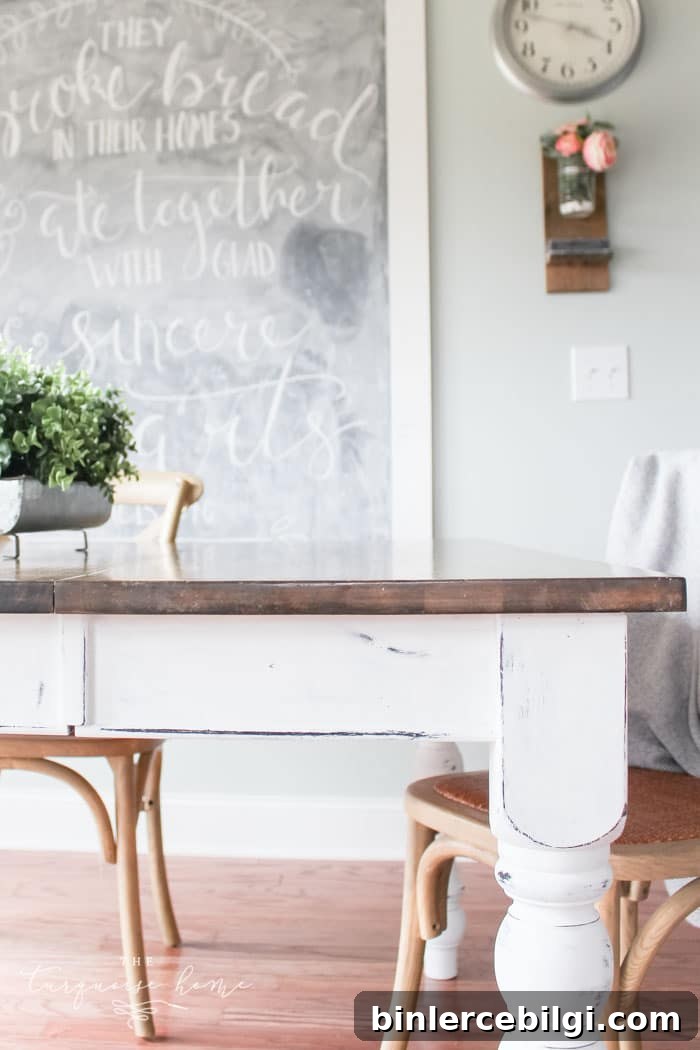
Congratulations—your project is complete! Step back and enjoy the refreshed piece. Chalk painting is a fast, creative way to update furniture and give it a fresh personality without the fuss of traditional refinishing.
Thanks for reading this detailed guide. If you try Chalk Paint®, enjoy the process and feel free to experiment—part of the appeal is how forgiving and characterful the finished piece becomes.
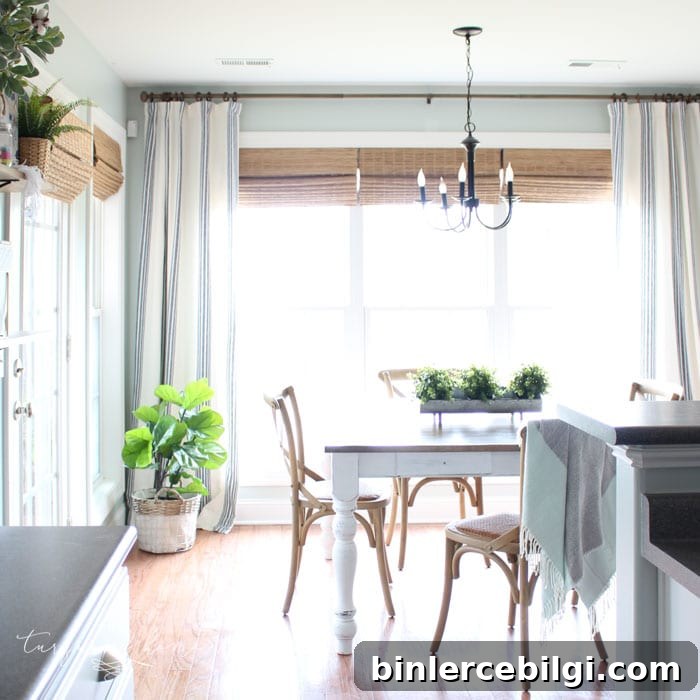
More project ideas: kitchen table bases, chair legs, small dressers, picture frames, plant stands, and accent cabinets all take chalk paint beautifully. Share your experience or tips in the comments if you’ve used Chalk Paint®—your insight helps others learn and get inspired.