
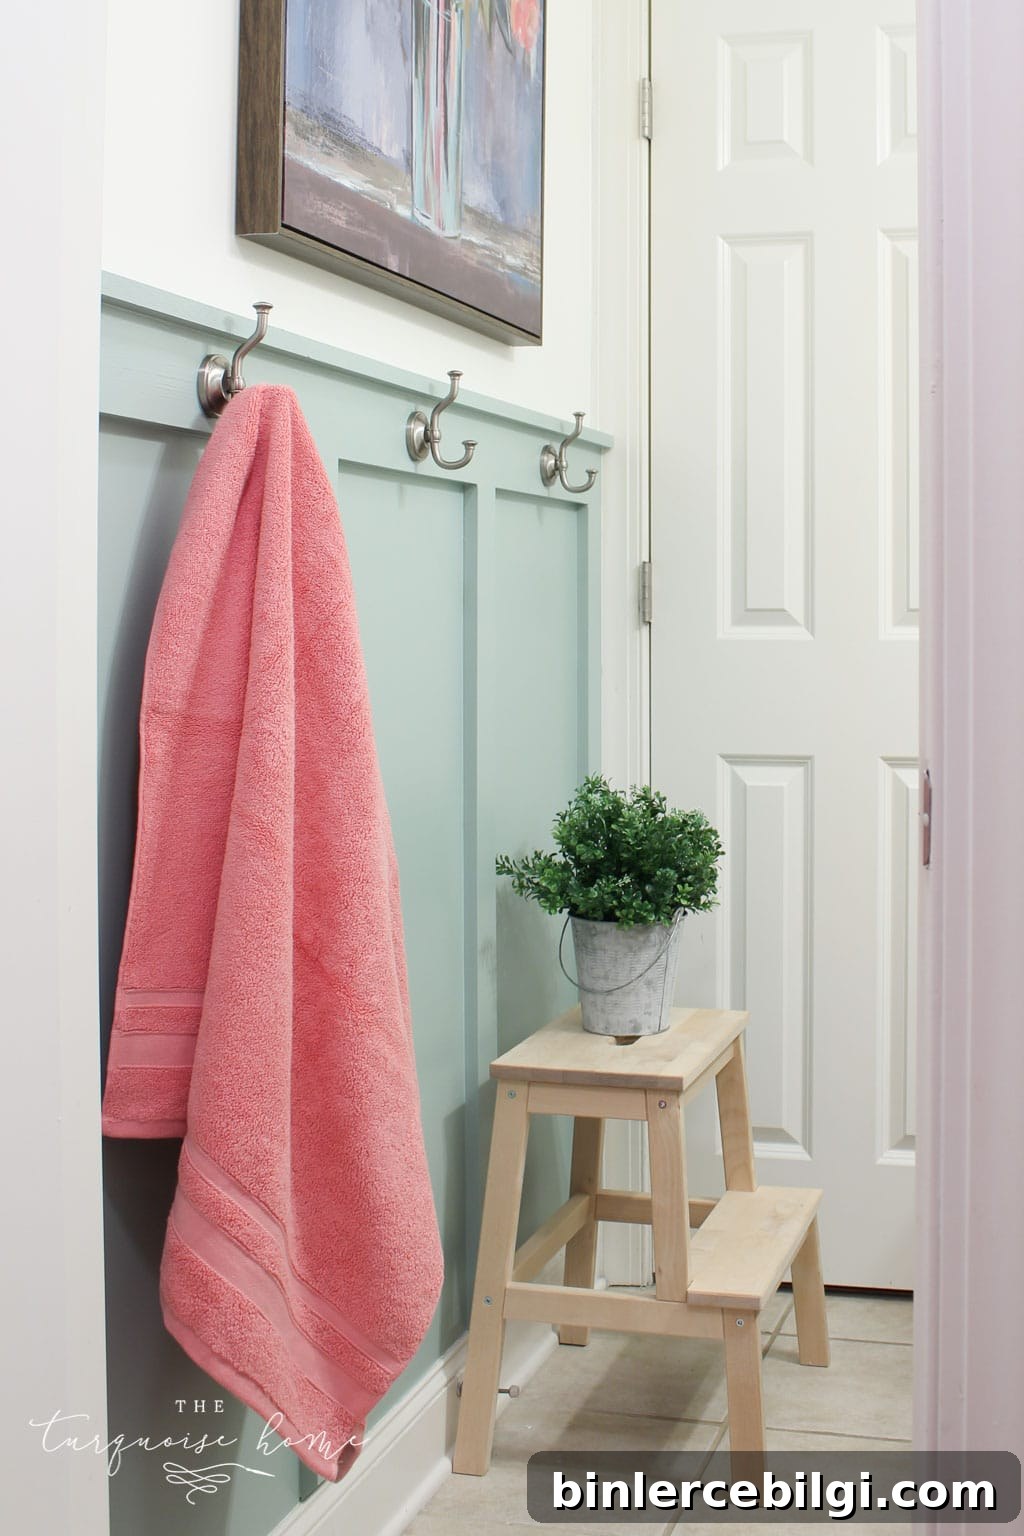
Learn an easy, practical way to install board and batten in your home, including tips to protect existing baseboards and time-saving painting advice. This DIY adds serious architectural impact with minimal fuss.
I first installed a full board and batten wall in my living room years ago as a new DIYer. It was a big job for a large room, but the result was worth every minute—the project is straightforward and gives a dramatic, polished look to any space.
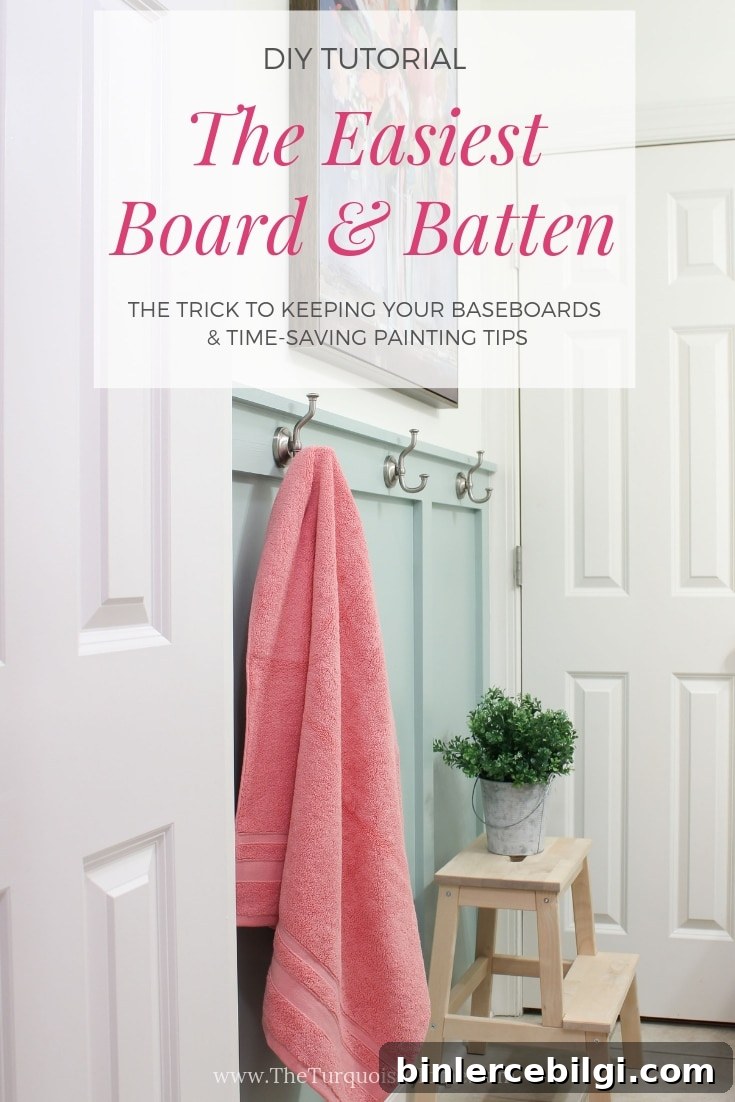
More than a decade later, that post remains a favorite. For the girls’ bathroom refresh, I wanted a high-impact solution in a tiny space that also offered a place for hooks—board and batten fit the bill perfectly.
I almost painted everything white at first, but I’m drawn to color. While painting over gray, I realized the all-white look would feel flat, so I chose a blue-green for the battens for a pop of personality. I couldn’t find many examples of that exact look, but I’m so glad I trusted my instincts—now I’m completely in love with the result.
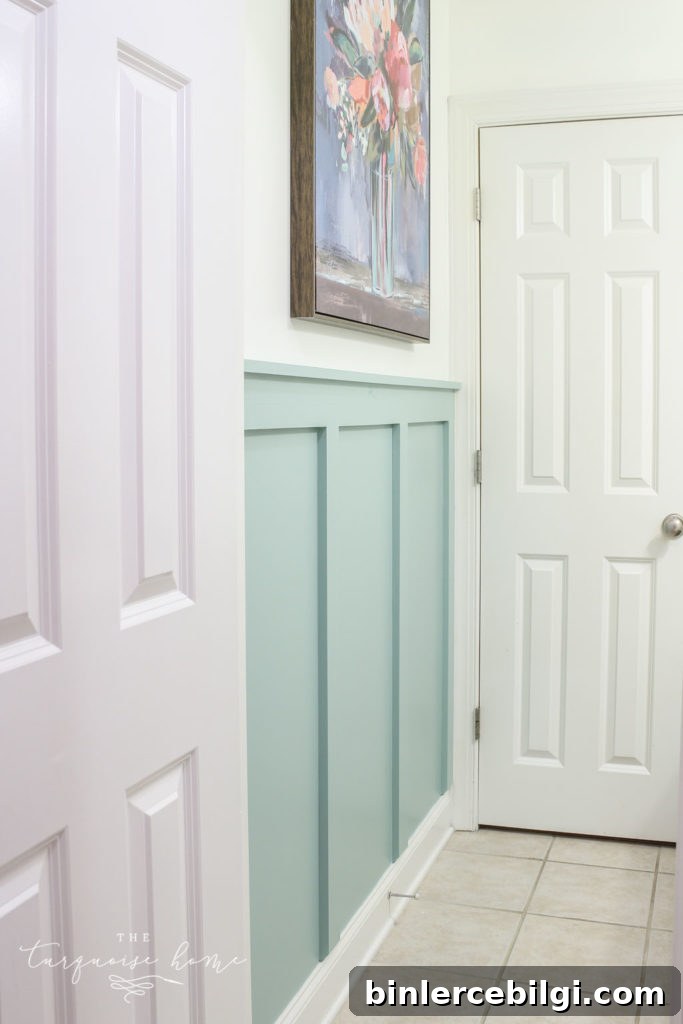
This approach works especially well in small rooms like bathrooms, laundry rooms, or closets—flip your colors if you want contrast or keep everything neutral for a subtle texture boost. This bathroom project is part of a larger refresh plan; with the painting complete, floor and finishing details are next.
What is Board and Batten?
Board and batten is a classic form of paneling that originated on exteriors and now appears indoors as a decorative wall treatment. The system combines wider flat boards or panels with narrow vertical strips (battens) placed over the seams. The result is a textured, dimensional wall that works with many design styles—from modern farmhouse to coastal and minimalist interiors.
How Much Did the Project Cost?
When I completed this project in 2016, the boards and paint totaled about $42: approximately $25 for the lumber and $17 for paint. I used common pine boards for straight edges and square corners, which was convenient for a small area. For larger projects, lumber costs will be higher today, and you can consider alternatives like furring strips, ripped MDF, or lattice for a budget-friendly batten option.
The Planning Phase
Before you begin, sketch or visualize your plan and answer these questions:
- Boards plus battens, or battens only? If your walls are textured, installing full boards first gives a smooth surface. On smooth drywall, you can often skip the full boards and attach only the vertical battens with a top rail—this is faster and cheaper.
- Color choices: Decide whether the whole treatment will be one color or if the battens will contrast. I used Simply White and Wythe Blue (Benjamin Moore) and had colors matched locally.
- Top board height: A horizontal rail is often placed at one-third or two-thirds up the wall for the best visual balance. Consider fixtures, artwork, or hooks and how the rail will run around the room.
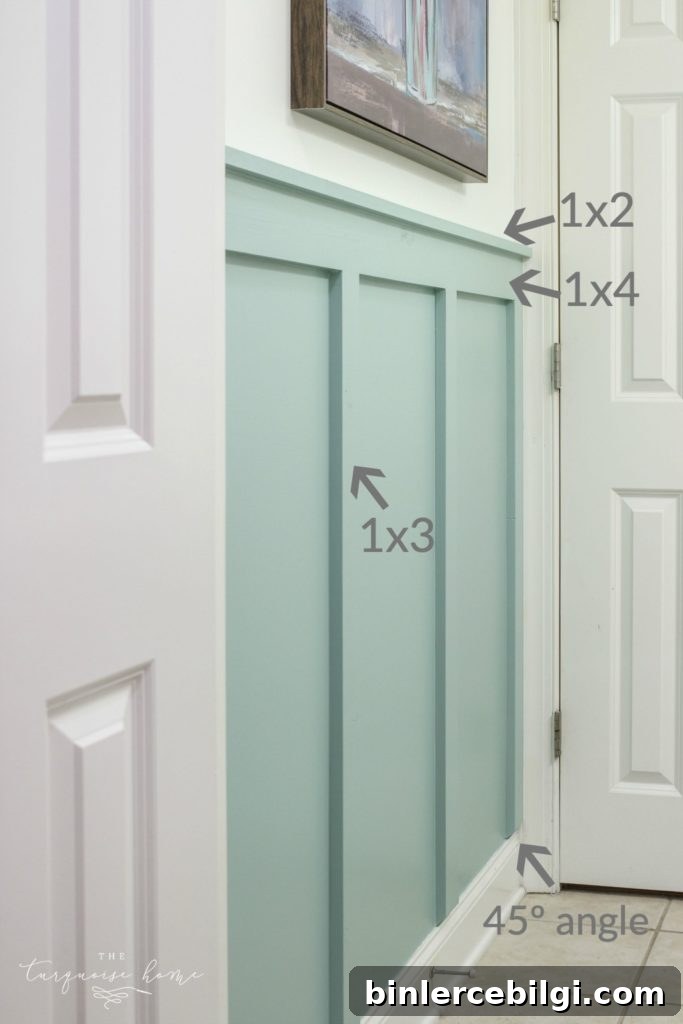
- Baseboards: Will you keep existing baseboards or replace them? I kept mine and cut the bottoms of battens at a 45° angle so they appear to rest on the baseboard instead of overlapping it.
- Board sizes and layout: Determine whether you want thick, chunky boards, thin battens, one or two horizontal rails, and whether a bottom board sits on top of or replaces your baseboards.
Read through the full process before starting. You may want to adapt methods depending on your wall condition, room size, or preferred aesthetic.
This post includes product suggestions for convenience.
Supplies for DIY Board and Batten
- Boards — sizes depend on your design. For the look shown:
- 1 x 4 for the horizontal rail (length of the wall)
- 1 x 3 for the vertical battens (height × number of battens)
- 1 x 2 for a top ledge or shelf (length of the wall)
- Paint — adjust quantity to your wall area. (Colors used: Simply White & Wythe Blue)
- Primer — for raw wood before painting
- Miter saw — for accurate cuts and angled bottoms
- Brad nailer or hammer and nails
- 2″ brad nails
- Level and preferably a laser level for long runs
- Spackling compound to fill nail holes
- Paintable caulk for seams
- Medium to fine grit sandpaper
- Optional: liquid nails for extra hold
These are basic tools and supplies; the project is well within reach for a motivated beginner.
Step-by-Step Instructions
1. Start at the Top
Decide the height of your top rail and mark a level line around the room. A common and visually pleasing placement is one-third up the wall; choose what fits your room and any fixtures. I placed mine 42″ above the top of the baseboard to allow hooks at a reachable height for my girls. This is also the line to which you’ll paint in the next steps.
2. Plan Your Battens
Decide how many vertical battens you want and their spacing. Locate wall studs with a stud finder; nailing into studs when possible provides the most secure installation. Typical stud spacing is 16″ or 24″. I placed battens at studs and finished the ends with vertical boards to create a clean, framed look.
3. Cut Your Boards
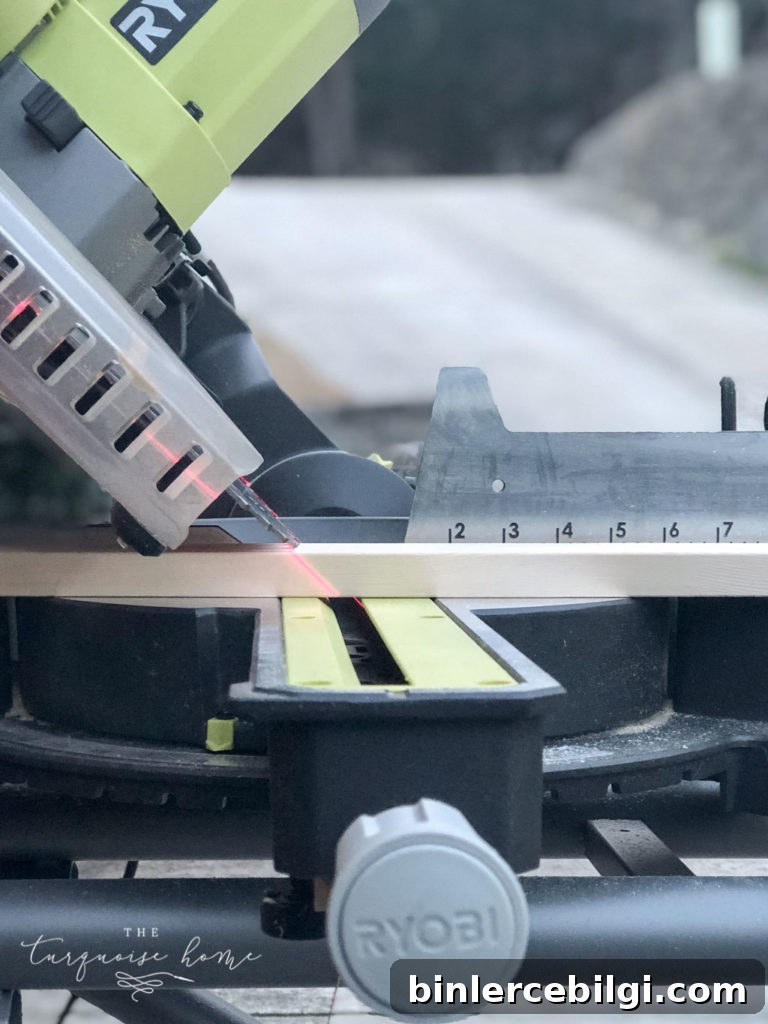
Measure each vertical run individually when working with longer walls or uneven baseboards. Cut the bottoms of thicker battens at a 45° angle if they will overlap your existing baseboard—this makes them look like they sit on the baseboard rather than overhang it. For thin battens like lattice, angled bottoms aren’t necessary.
4. Paint First
Big tip: Paint the walls and the boards before installing anything. Prime raw wood, paint the boards, and paint the wall to the height of your top rail. Pre-painting saves time and helps ensure clean coverage—after installation you’ll typically need only one quick touch-up coat over spackle and caulk.
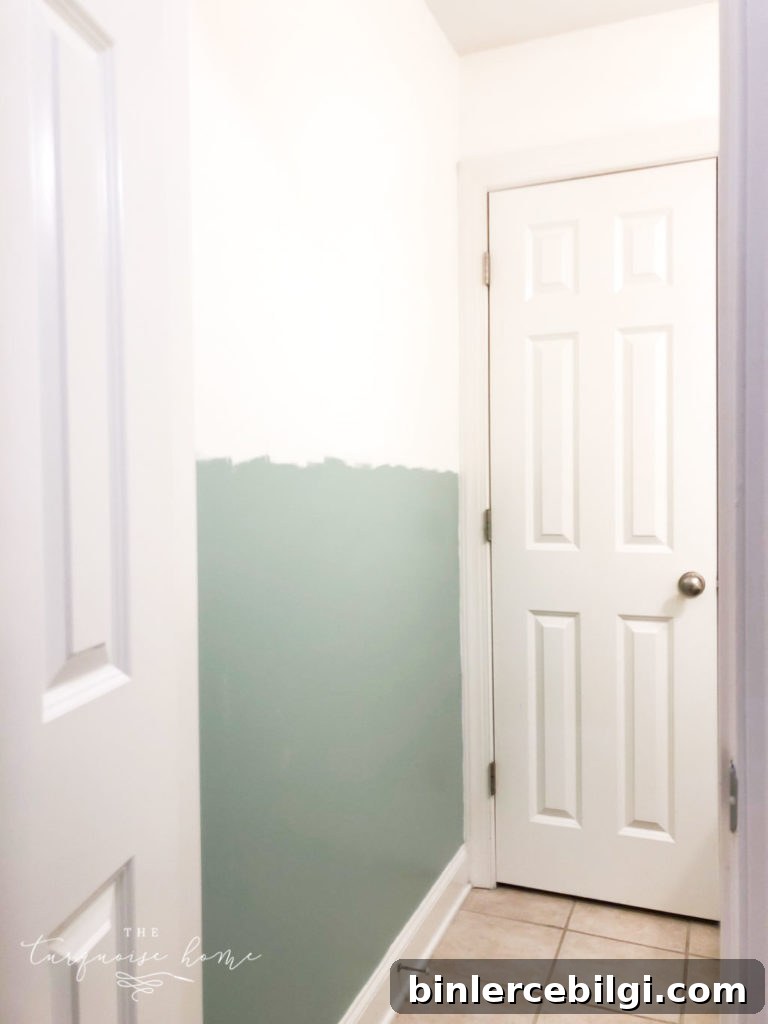
I primed the boards once and applied two finish coats; the wall received two coats as well.
5. Mark and Dry-Fit
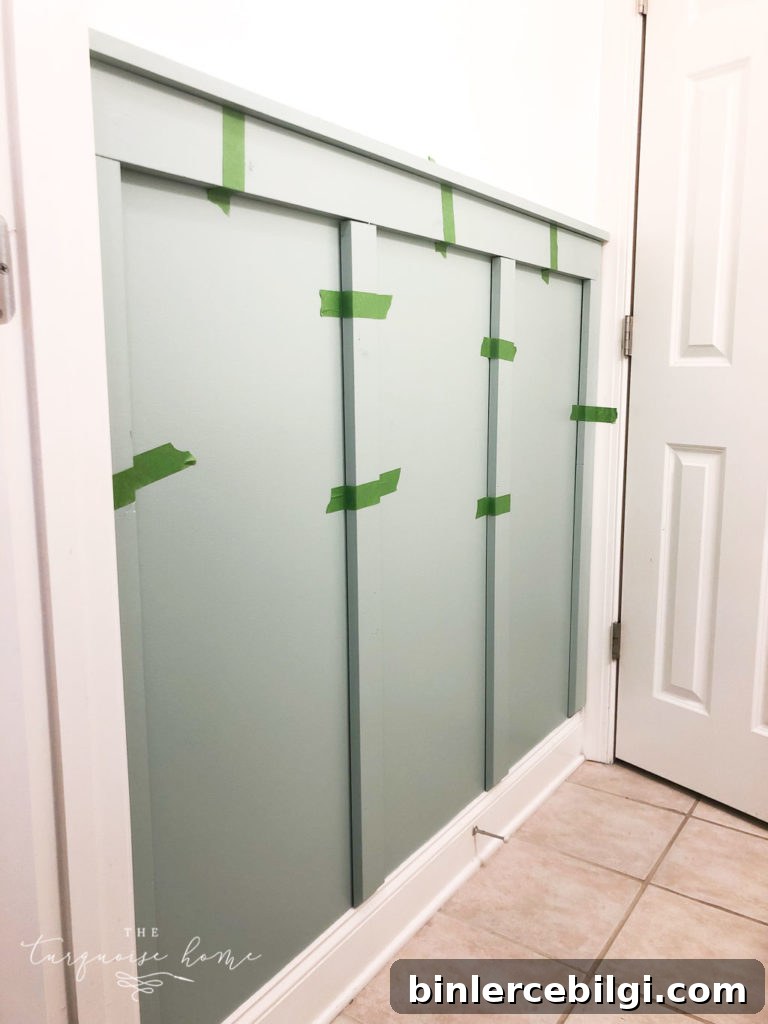
Before nailing, position each board with painter’s tape to visualize spacing and make adjustments. Mark the exact locations for the vertical battens and the top rail.
6. Install the Horizontal Rail
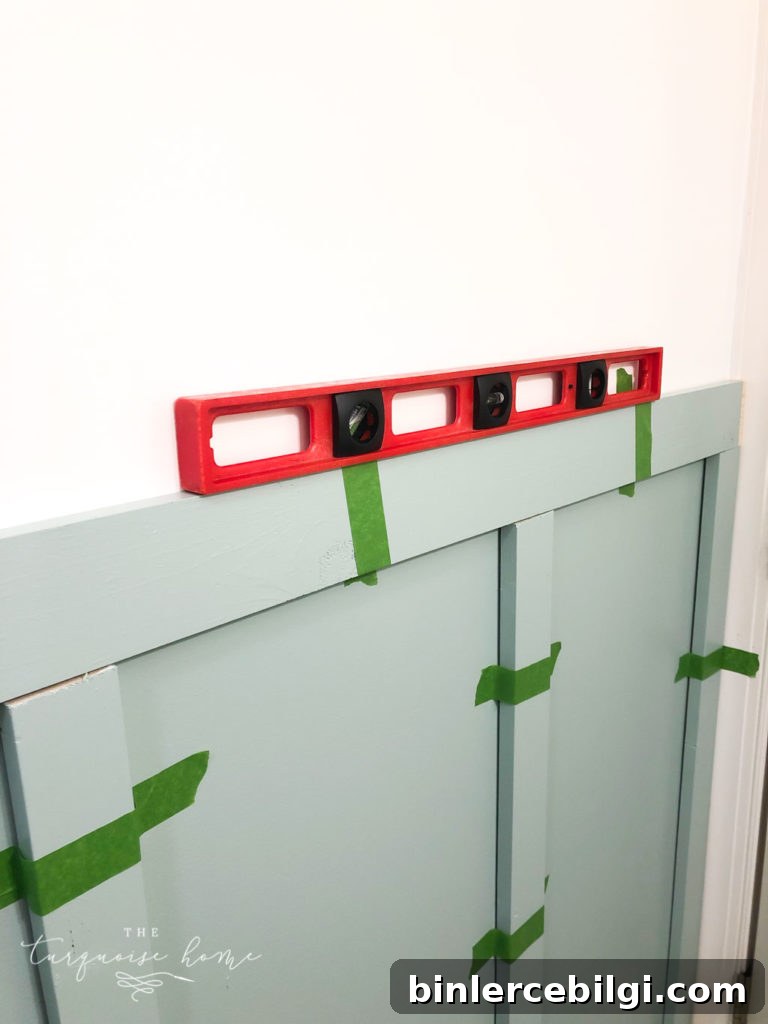
Use a level or laser level to position and fasten the top rail. Always check for level—optical illusions can make boards look straight when they are not. Use 2″ brad nails and fasten into studs or use construction adhesive for extra hold. I prefer to avoid heavy adhesive if I think I might remove trim in the future.
7. Attach the Vertical Battens
Nail each vertical board in place, checking for plumb and alignment. Fasten into studs when possible. Use only as many nails as necessary—each fastener will need to be filled later, so avoid over-nailing.
8. Patch Nail Holes
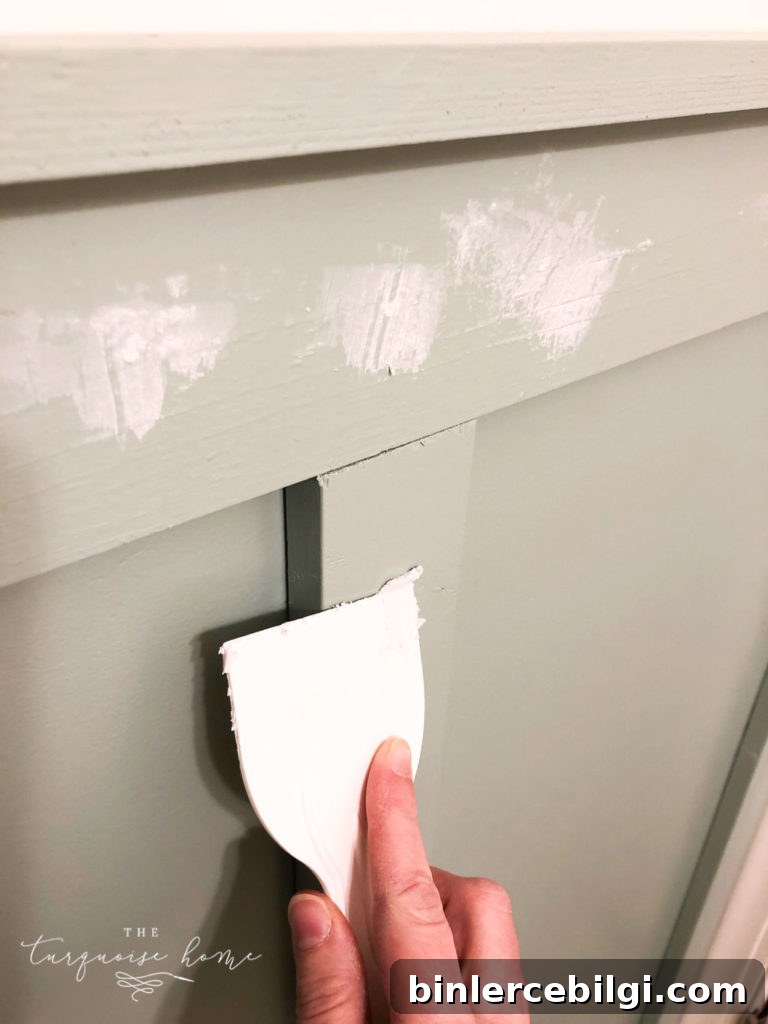
Fill brad nail holes with spackling compound. Because the holes are small, a little compound goes a long way.
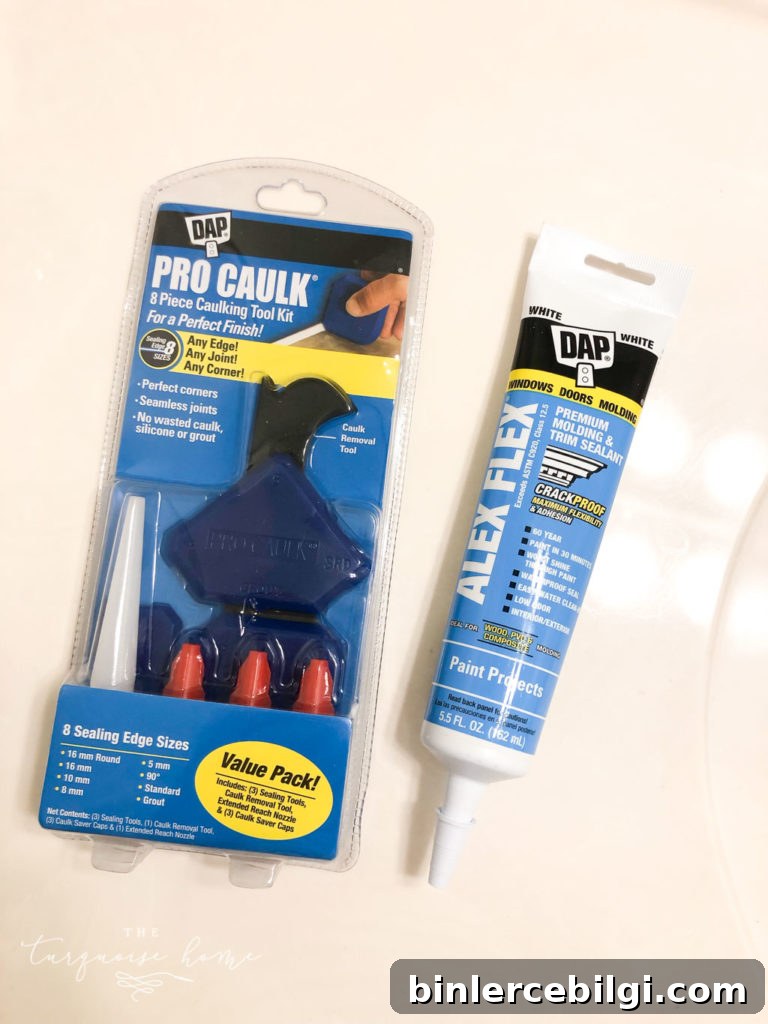
9. Caulk the Seams
Run a bead of paintable caulk along seams where boards meet and smooth it with a finger or a caulk finishing tool. Wipe clean promptly to avoid skin irritation from prolonged contact with caulk. If you have a preferred finishing tool, use it for the best result.
10. Sand Smooth
When spackle and caulk are dry, sand lightly until smooth. Wipe away dust and be ready to paint.
11. Final Paint
Touch up all patched spots and caulk lines with one final coat of paint. Once that dries, your board and batten wall is complete.
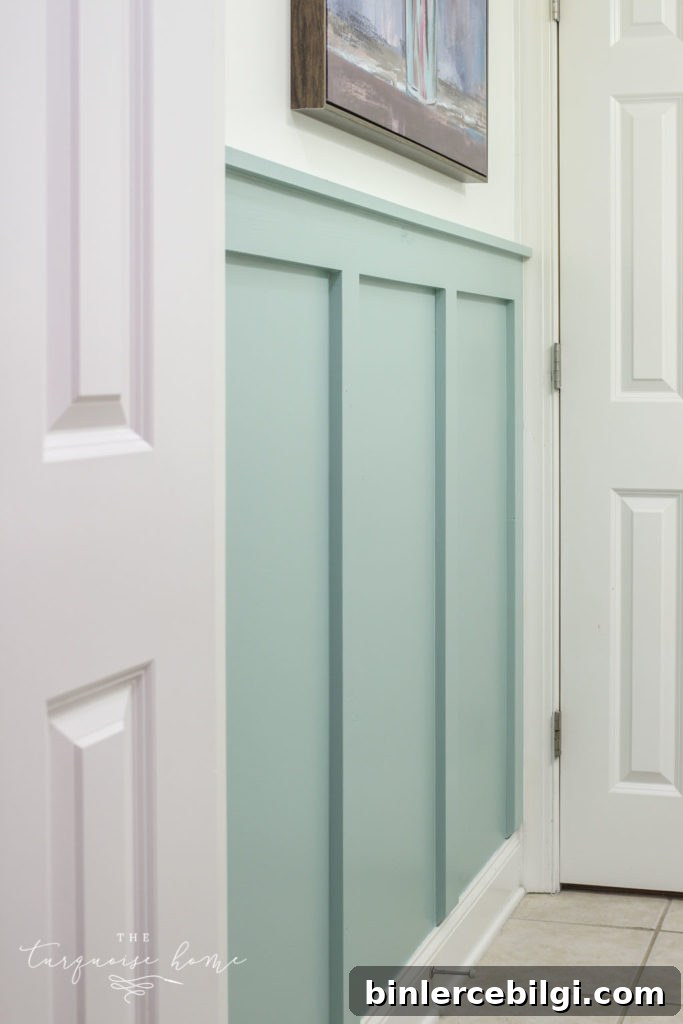
The steps may seem numerous, but each is simple. Try the technique in a small room like a bathroom to get comfortable before tackling larger areas. With careful planning and basic tools you can achieve a custom, professional-looking result.
Related ideas you may enjoy:
- A guide to wall trim and molding ideas
- How to frame a canvas on a budget
- DIY rustic door decorations
- Large-scale wall decor concepts
- Paint color spotlight and comparisons