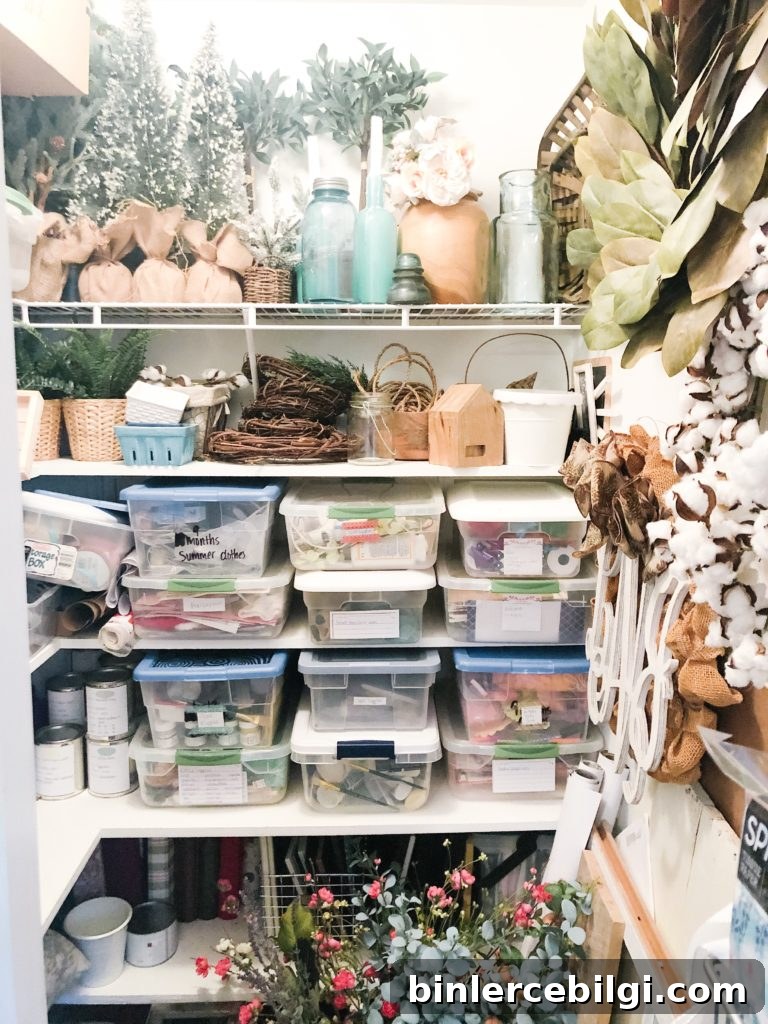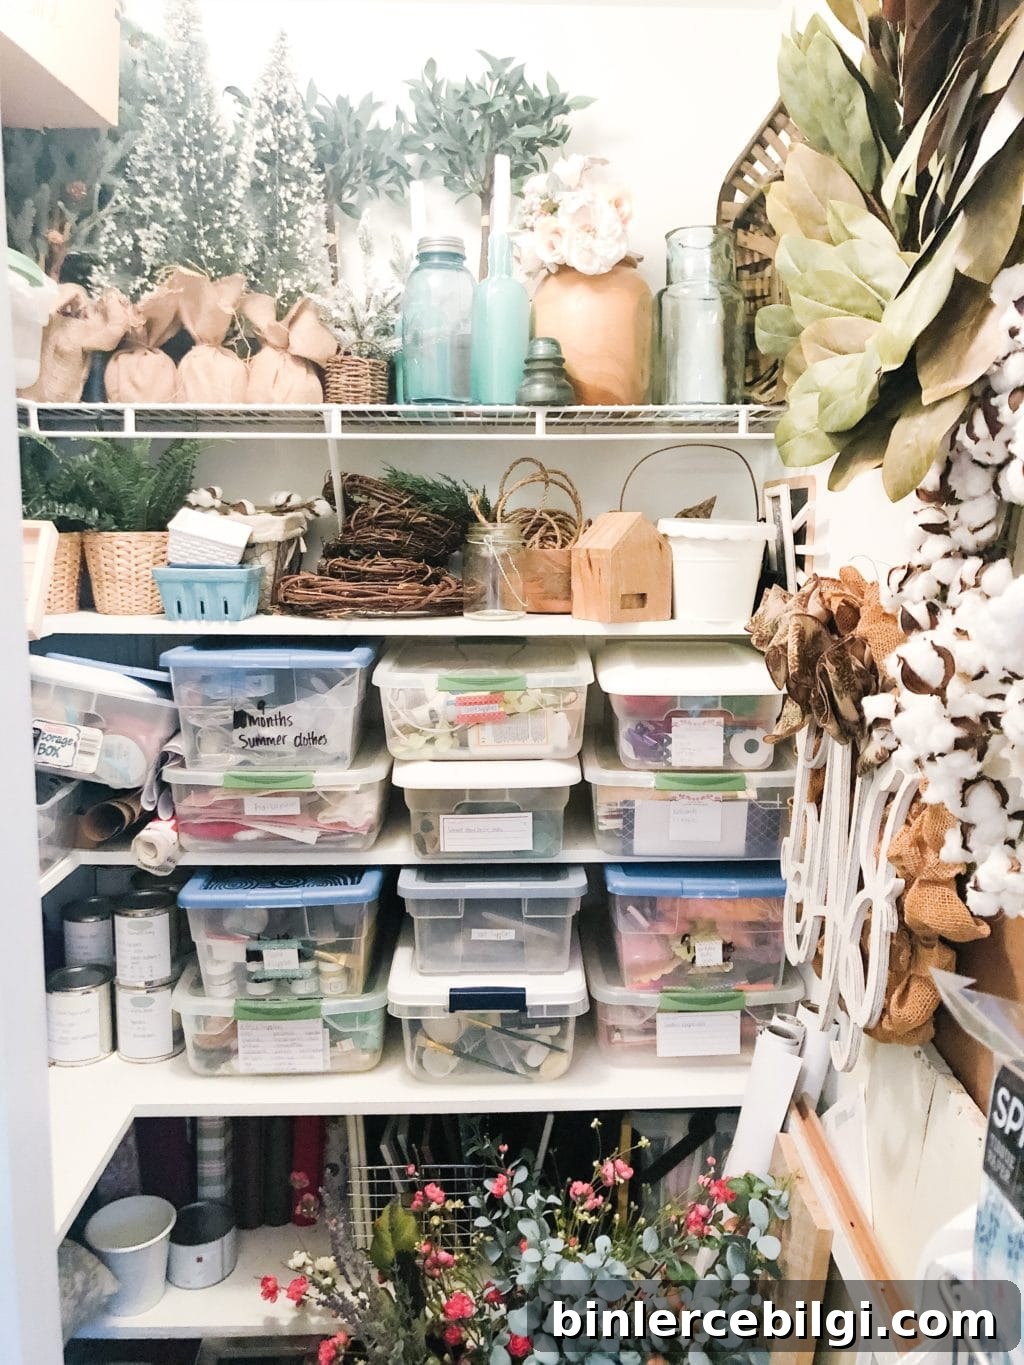
Do you need more storage at home? Make the most of vertical space in your closets by building your own custom closet shelves.
When we moved into our house, nearly every closet—except the master—had only a single wire shelf and a rod. That left a lot of wasted vertical space, especially in closets that didn’t need to hold hanging clothes. I wanted practical, sturdy shelving to store bins, seasonal décor, a filing cabinet and other items, so I decided to build custom shelves to maximize every inch.
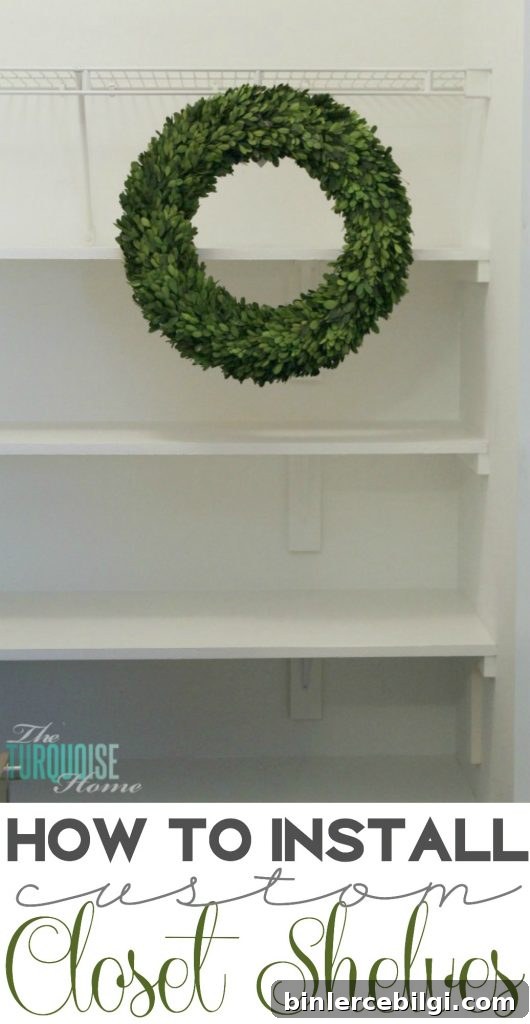
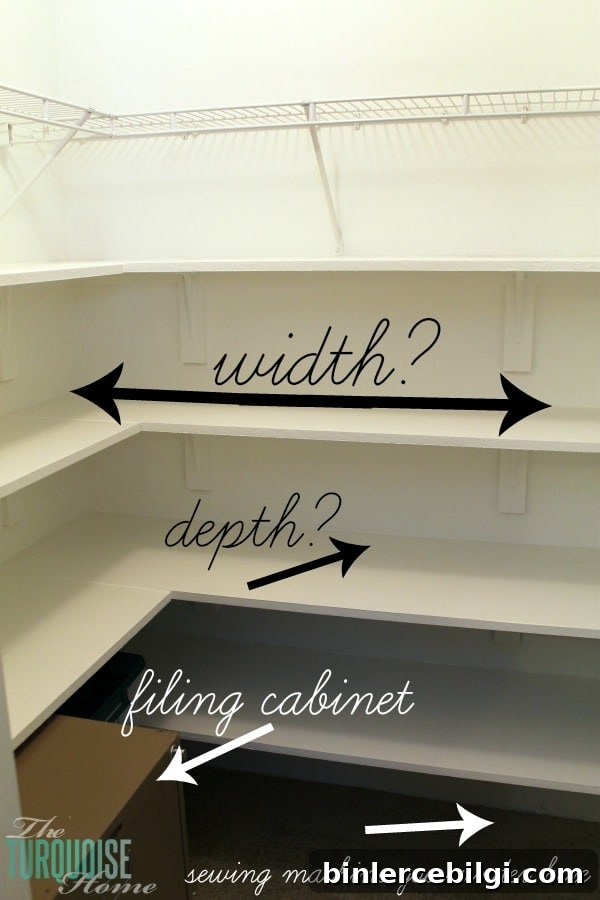
I opted to keep the original wire shelf in place so the closet could easily be converted back to a hanging closet in the future. For my needs, however, a series of fixed shelves made far better use of the space. I tailored shelf depths and heights to fit specific items—like a filing cabinet and a sewing machine case—so everything would have a dedicated spot.
Why DIY? I enjoy DIY projects, and when you want custom sizes and an exact look, building your own shelves is often the best solution. DIY can be more time-consuming than buying a pre-made system, but it allows precise control over layout, depth and budget. If you can find a ready-made product that fits, by all means buy it. If not, building custom shelves is a practical alternative.
Supplies Needed to DIY Closet Shelves
- 3/4 inch MDF or plywood for shelves – quantity depends on your measurements (I used two sheets).
- Measuring tape
- Circular saw or miter saw
- Table saw (optional if you prefer to have boards ripped at the store)
- 1×2 boards for perimeter support
- 1×3 boards for bracket backing and support blocks
- Metal shelf brackets – choose size based on shelf depth (I used 8″ x 10″ brackets)
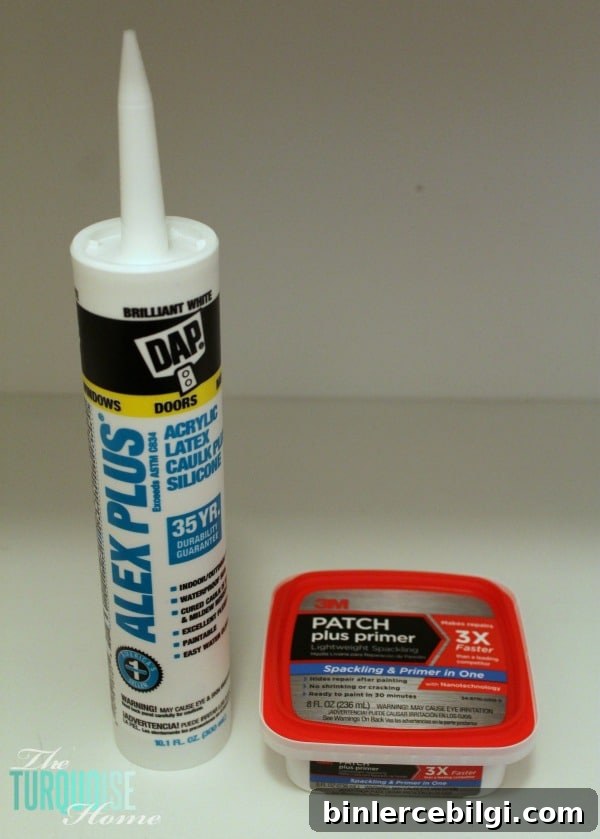
- Caulk and spackling for seams and holes
- Primer and semi-gloss paint for a durable, clean finish
- Wood screws rated for studs and mounting
- Stud finder, level and straightedge/ruler
How To Build Closet Shelves
Step 1. Finalize your measurements
Start by deciding what you need to store and measure those items. Plan shelf heights to accommodate the tallest items you’ll store under each shelf (for example, a filing cabinet or a sewing machine case). Decide shelf depths based on bins and organizers you already own or plan to use. In my closet I used a variety of depths—my top shelf is 13″ deep, the middle shelf 14″, and the bottom two shelves 18″ deep—arranged to make best use of the vertical space.
Step 2. Buy or prepare your materials
Purchase enough 3/4″ MDF or plywood for the shelf tops and the required lengths of 1×2 and 1×3 lumber. Most hardware stores will rip or cut sheets to depth for you, which helps maximize material usage. Also buy brackets sized to the shelf depth, screws long enough to hit studs, paint, primer, caulk and spackling. Make a complete list before heading to the store to avoid multiple trips.
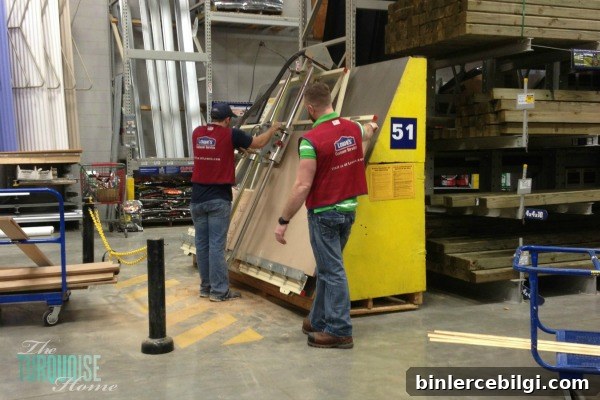
Step 3. Prime and cut your boards
It’s much easier to prime and apply at least one coat of primer to shelf boards and supports before installation. Lay everything out in a well-ventilated workspace, prime both sides and let dry. After priming, cut boards to final lengths. You can also cut first and then prime; either order works. Cut the 1×3 pieces into short blocks for bracket backing (about 8″ long or matched to the bracket heights).
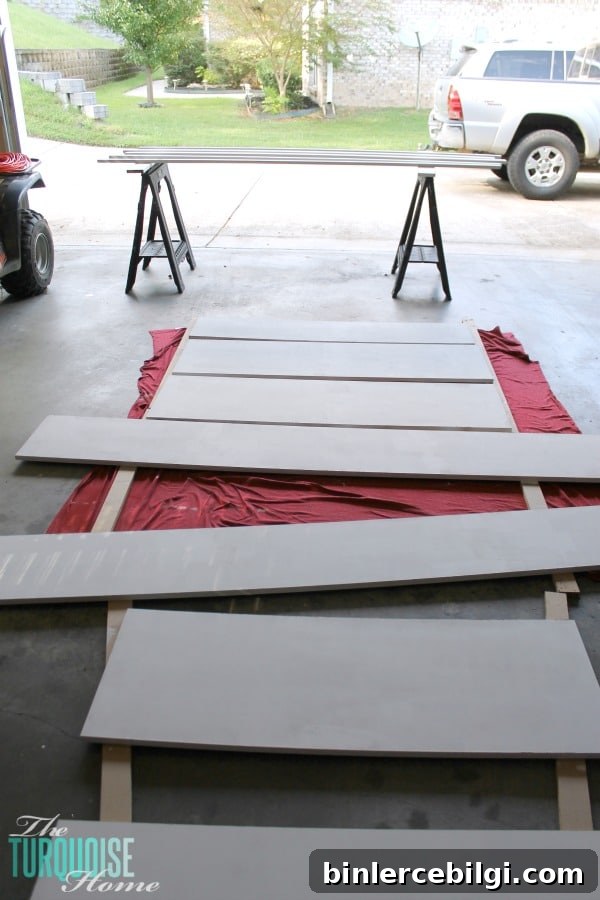
Step 4. Mark your shelf lines
Use a level and a straightedge to mark the exact shelf lines on both walls so your supports will be perfectly level. Mark placement for each shelf at the same height on both sides of the closet. This makes nailing and screwing in the support boards far easier and ensures your shelves sit straight.
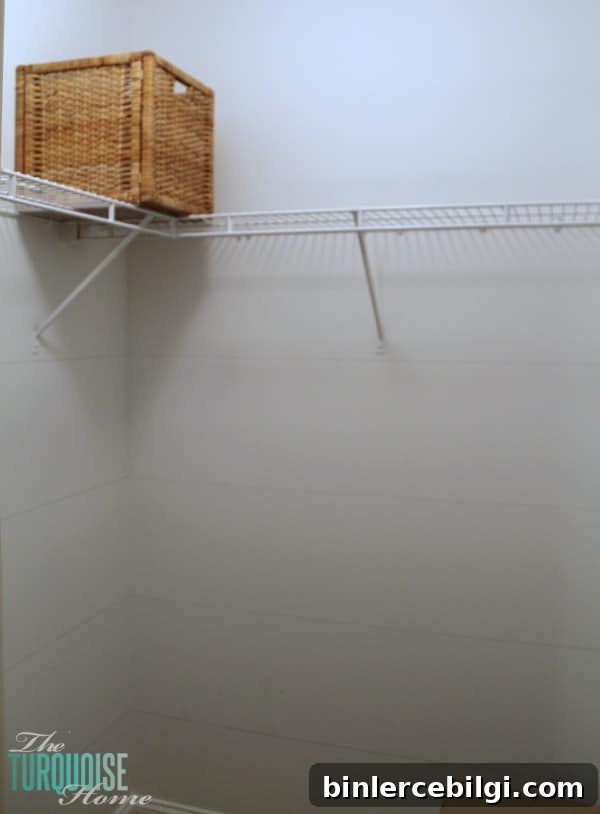
Step 5. Install the perimeter support boards
Attach 1×2 support boards to the wall along the lines you’ve marked. Use a stud finder to locate studs and secure the support boards with screws into studs for strength. If you have a nail gun, you can use it for temporary placement, but final attachment should be screwed into studs so the shelves are safe and secure.
Step 6. Set the shelf panels in place
Once the support rails are secure, set the shelf panels onto the supports. For shallow wall closets, insert shelf boards before attaching some supports so the panels can be slid into place. For standard closets like mine, bringing the finished panels in and setting them on the supports is straightforward.
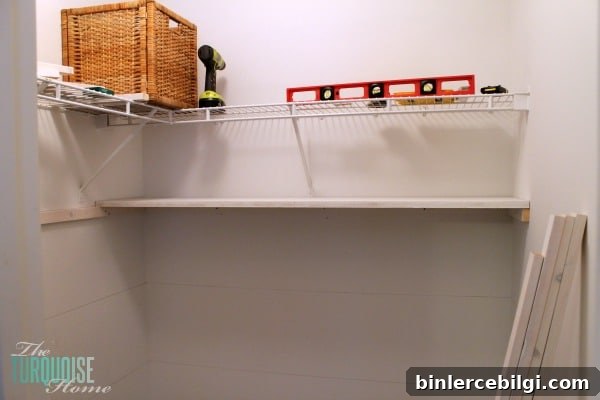
Step 7. Add bracket supports and screw everything securely
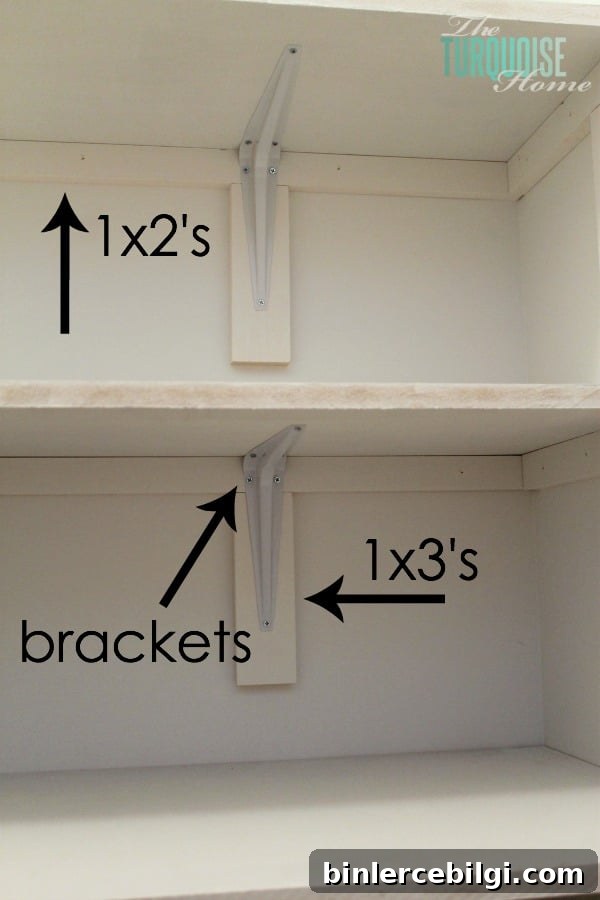
Install short lengths of 1×3 beneath the 1×2 rails where brackets will attach. Screw those blocks into studs, then fasten metal brackets to the block and the shelf underside. Place brackets evenly across each shelf—my 58″ shelves used two to three brackets each, and I added a bracket where two shelves met to support the joint.
Update: after five years of regular use these shelves remain straight and sturdy.
Step 8. Caulk, patch and finish
Fill nail and screw holes with spackling, and caulk seams where shelves meet the wall for a clean, built-in look. Sand smooth as needed, then apply two coats of semi-gloss paint for a durable, easy-to-clean finish. I used a neutral white to match existing trim.
Finished!
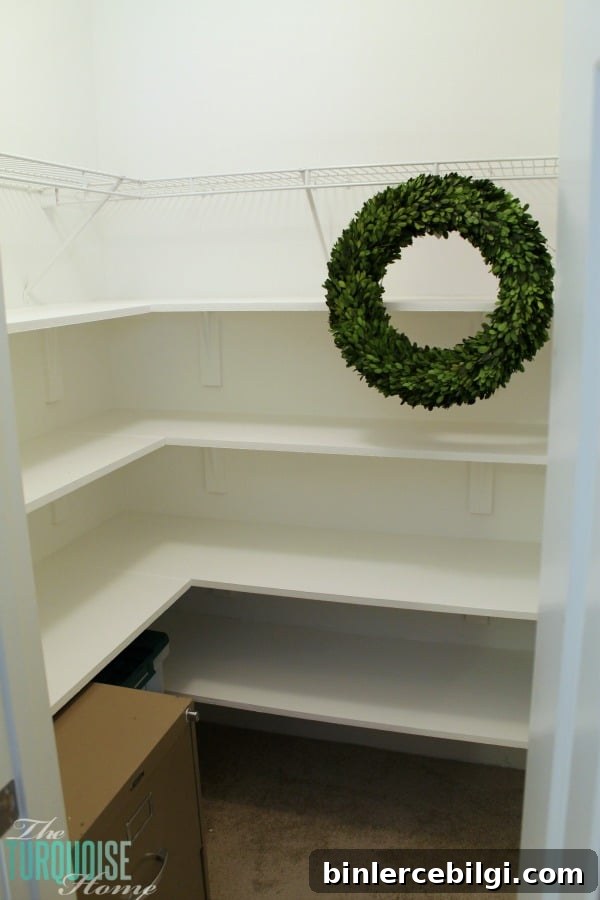
It may sound like a lot of steps, but none are particularly difficult—just methodical. I completed the project in small increments over several weeks; with uninterrupted time, you could finish in a few days. The result is organized, usable vertical storage that transformed an underutilized closet into a functional storage space.
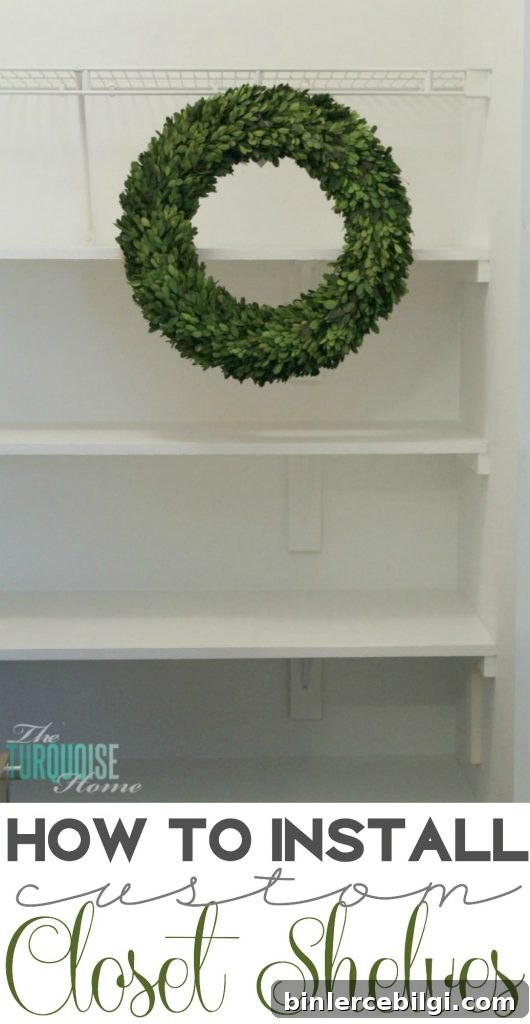
Now comes the satisfying part: purge what you don’t need, label bins if you like, and start filling your new shelves. Good planning, proper support into studs and a clean finish will give you durable closet shelving that maximizes vertical space for years to come.
Five-year update: I still use these shelves daily and they’ve held up beautifully. I plan to add the same approach to our hallway coat closet to make better use of vertical space there as well.