
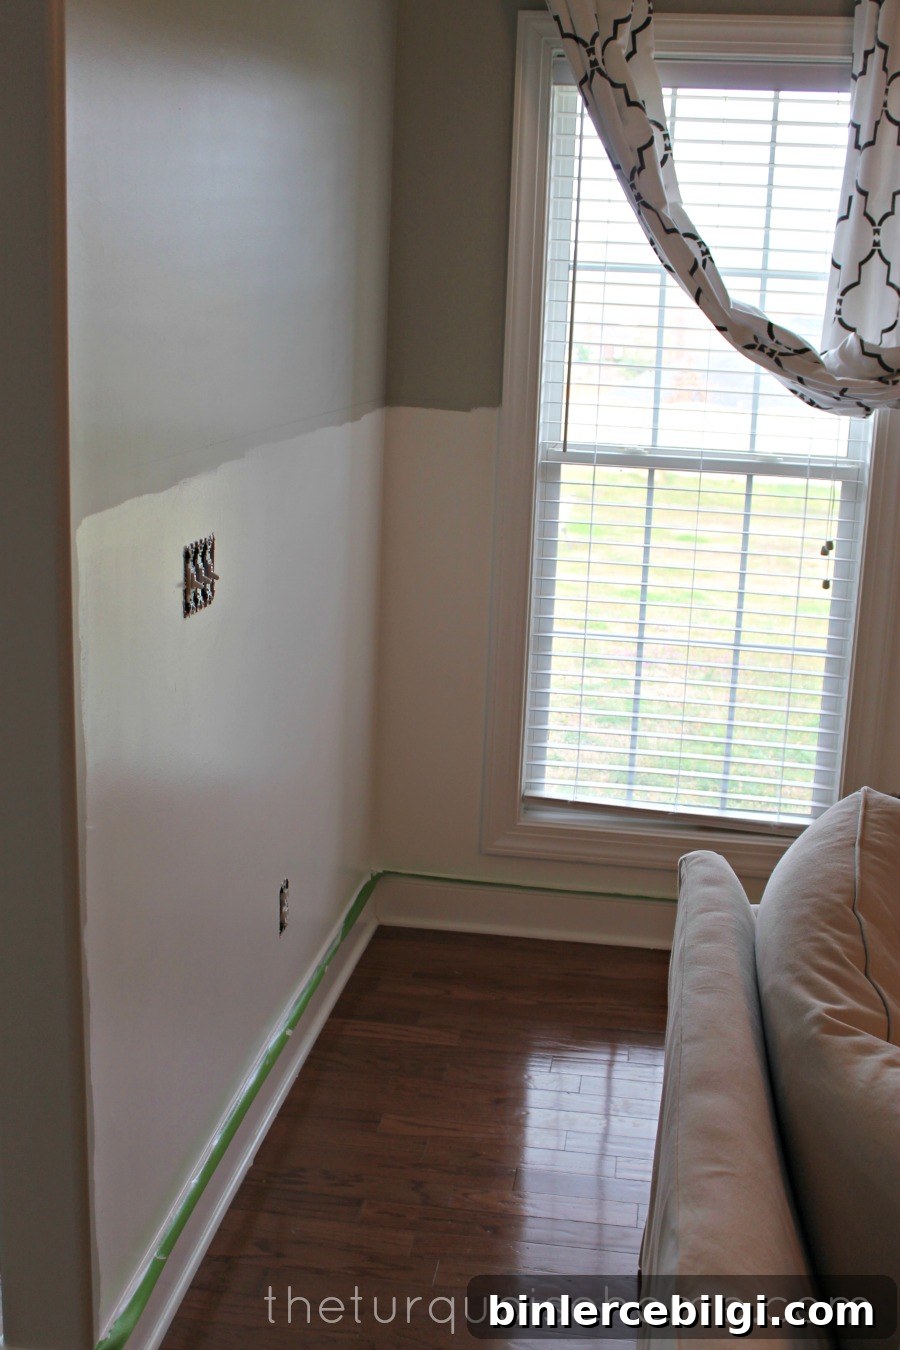
I had hoped to finish attaching all of the boards to the walls over the past weekend, but like most DIY projects, things moved more slowly than I expected. Between color choices, prepping, and juggling family time, progress was steady but not quite complete.
I applied two coats of white paint to the lower portion of the walls. I hit a brief snag when the first white I brought home was far too bright—an icy, neon white that just didn’t read well in the room. I returned it to Lowe’s and had them color-match Benjamin Moore’s Simply White, and that made a world of difference. The new shade reads softer and warmer, so the gray above looks more true-to-tone instead of leaning toward blue.
I also started priming and painting the MDF boards outside. Painting boards before installing them is a tip I’ve heard repeatedly, and it makes sense: it’s quicker and less fiddly than trying to paint around seams and nails after they’re hung. I’m doing one coat of primer and one coat of the final paint on each board before hanging, which should reduce the touch-up work later. After the boards are up, I’ll caulk the seams, fill nail holes with wood filler, sand smooth, and then apply a final coat of paint where needed.
A practical challenge has been finding space to lay out and paint all of the boards. MDF sheets and battens take up a lot of room, so I’m painting in shifts—prime and paint as many boards as I can, let them dry, then move on to the next batch. It’s slower than doing everything at once, but it helps keep the finish consistent and avoids smudges or damage while working.
Late last night I started nailing some boards into place, and I’ll share photos of the finished layout once they’re all installed. For now, I’m focusing on prepping each piece correctly: ensuring edges are sealed, applying primer to prevent swelling, and getting smooth, even coverage so the boards look professional when installed.
One benefit of prepping boards ahead of time is easier cleanup. With a good primer coat and a first layer of paint done, the amount of sanding, caulking, and filling that remains after installation is much reduced. I’ll still fill nail holes and run a bead of caulk along seams for a seamless finish, then touch up with a final coat.
On the home front, this week is a bit busy: we have two sets of guests coming to stay, and it’s my birthday (party Wednesday!), so I don’t expect to get a lot of uninterrupted work time. Small kids and solo projects mean progress often happens in short bursts—an afternoon here, an hour there. It’s realistic to accept that it will take longer than planned and still feel good about the progress made.
I’m especially grateful to my husband for taking Miss A out for most of the weekend so I could work—bike rides, park visits, and outdoor play gave me the time I needed to move the project forward. Big thanks to him for the help and the chance to get a chunk of work done.
For now, I’m happy to report there’s no more beige showing; the gray looks like gray, not light blue, and the white trim feels warm and balanced. I’ll keep chipping away at the installation and share the finished photos when all of the boards are nailed up, caulked, and painted.
More Posts You Will Love:
- How to Install Board and Batten
- Christmas Decorating in the Living Room
- Revere Pewter {The Best Home Decor Paint Colors}