
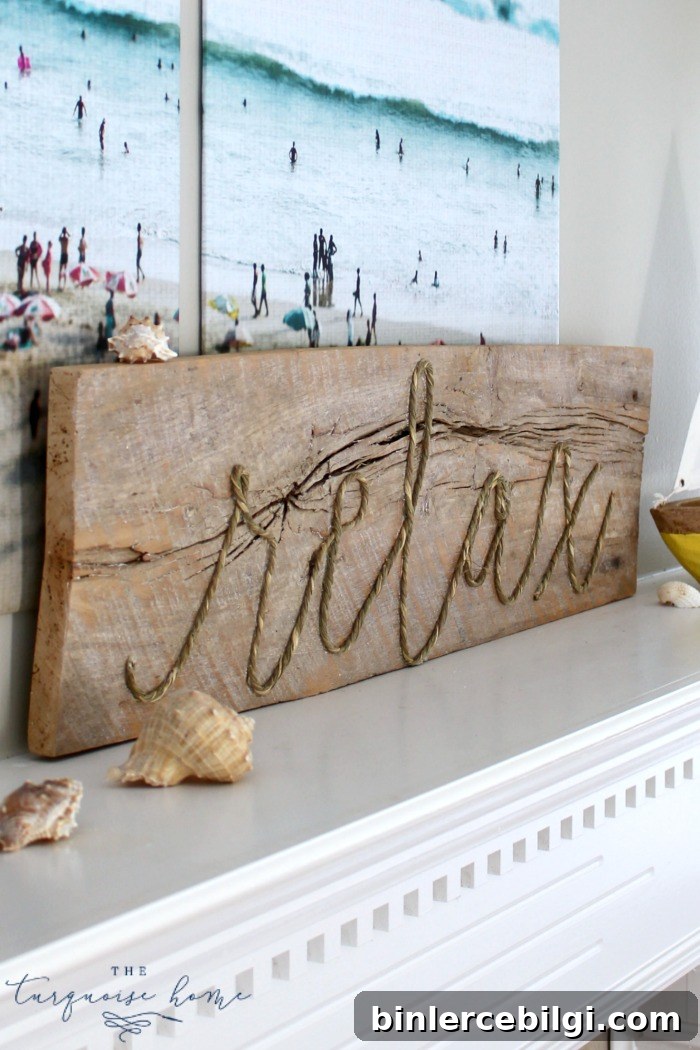
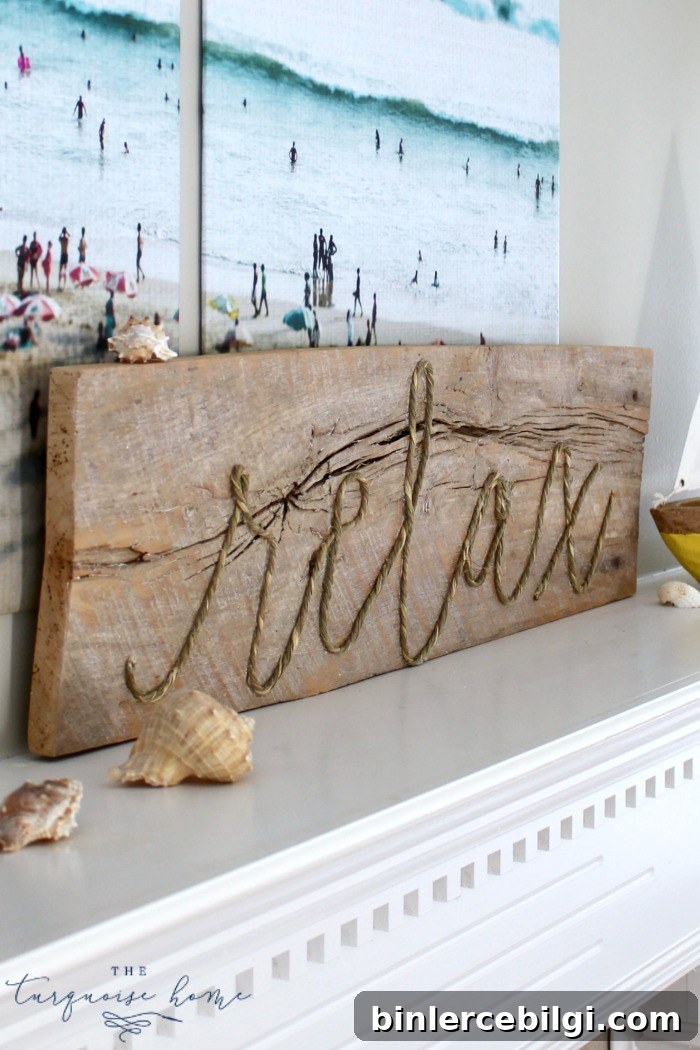
Create a charming DIY weathered rope sign using just three basic supplies and a bit of time. This simple, coastal-inspired project adds texture to your summer decor and makes a lovely reminder to slow down and relax.
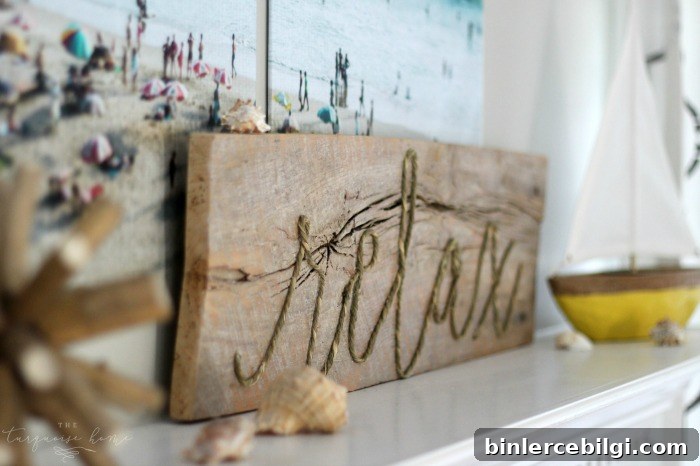
I created this weathered “relax” rope sign to complement a driftwood-finish piece I’d been working on. The goal was to mimic the cozy, nautical look of rope-trimmed home accessories, using reclaimed or distressed wood and a simple rope outline for the lettering. The result is a natural, textured accent that’s perfect for a summer mantel, entryway, or porch.
Tools and Materials for a DIY Weathered Rope Sign
- Wood board (reclaimed barn wood, pallet board, or a piece cut to size)
- Natural rope or jute (or grass cord) — choose thickness to suit the size of the lettering
- Hot glue gun and hot glue sticks
- Chalk or a pencil for sketching the word
- Optional: sandpaper, stain, paint, sealer for finishing the wood
Choose a piece of wood that matches the look you want — rough-sawn barn wood adds instant character, while a smooth board offers a cleaner, more modern look. If your wood isn’t already weathered, consider a DIY driftwood finish or light sanding and a whitewash to give it a faded, coastal appearance.
To plan the lettering, pick a script-style font you like and type the word on your computer as a guide, or practice the word on paper. I used a flowing script as my visual reference and then freehanded the word directly on the board with chalk. Chalk is ideal because it’s easy to erase and adjust until the shape feels right.
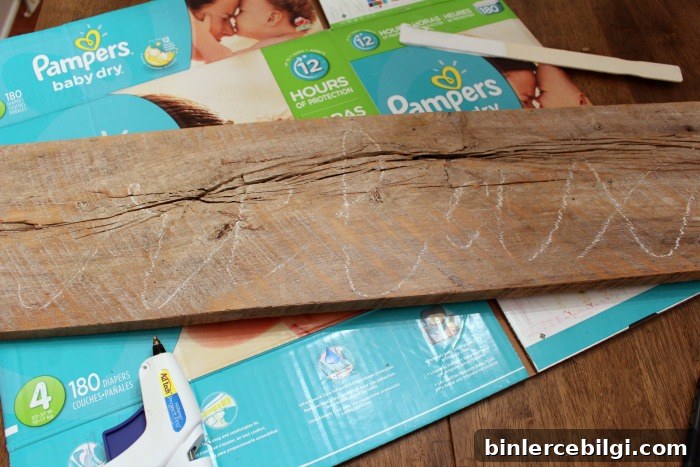
Once your chalk outline is complete, heat the hot glue gun and prepare your rope. For script letters, work in short lengths so you can shape curves and maintain control. Apply a thin line of hot glue along a small section of the chalk line, press the rope into the glue, and hold for a few seconds until set. Continue in short sections, trimming and tucking the rope at tighter curves to keep the letters smooth and continuous.
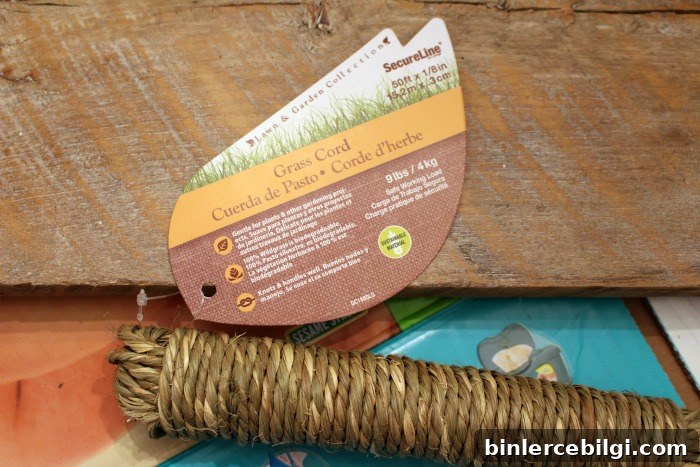
I used a grass cord for this project—it’s lightweight, textured, and easy to manipulate. If you prefer a thicker look, use braided jute or twine and plan slightly larger lettering so the word remains legible from a distance.
Step-by-Step Tips for a Neat Finish
- Practice the letter shapes on paper or a scrap board before starting on the final piece.
- Work with short rope segments around tight curves to avoid bulky overlaps; longer straight sections can be glued in one pass.
- If the rope frays at cut ends, use a tiny dab of glue or trim cleanly with sharp scissors.
- Keep a damp cloth nearby to wipe away chalk lines or any excess glue while it’s still warm.
- Consider sealing the wood with a clear matte sealer if the sign will be displayed outdoors or in humid areas.
For a more authentic driftwood effect before adding the rope, try a light white wash or dilute gray stain over the wood to soften the tones. If you want a contrast between the word and the board, paint the rope lightly with diluted white paint or a soft blue wash and then distress it slightly for a weathered look.
Display Ideas and Variations
- Hang the sign with hidden sawtooth hangers, or attach rope loops to the back for a nautical display.
- Create multiple small signs with different words like “Breathe”, “Beach”, or “Welcome” for a coordinated vignette.
- Mix materials: outline painted letters with rope for a mixed-media look, or add small shells or beads to the rope for a beachy accent.
- Scale the design up for wall art or down for a small shelf sign—choose rope thickness to keep the word readable.
This weathered rope sign is a fast, low-cost DIY that yields a high-impact decorative accent. Whether you use reclaimed wood for a rustic feel or a sanded board for cleaner lines, the rope lettering adds natural texture and a handmade touch that complements summer decor and coastal interiors.
More Project Ideas: Try pairing this sign with a driftwood frame, a woven textile pillow, or a collection of glass bottles for an inviting summer mantel display.