

Get your cozy, wintery Christmas fix by learning how to flock a Christmas tree the easy way! It’s simple, much cheaper than buying a new flocked tree, and a satisfying DIY that transforms an ordinary tree into a snowy centerpiece.
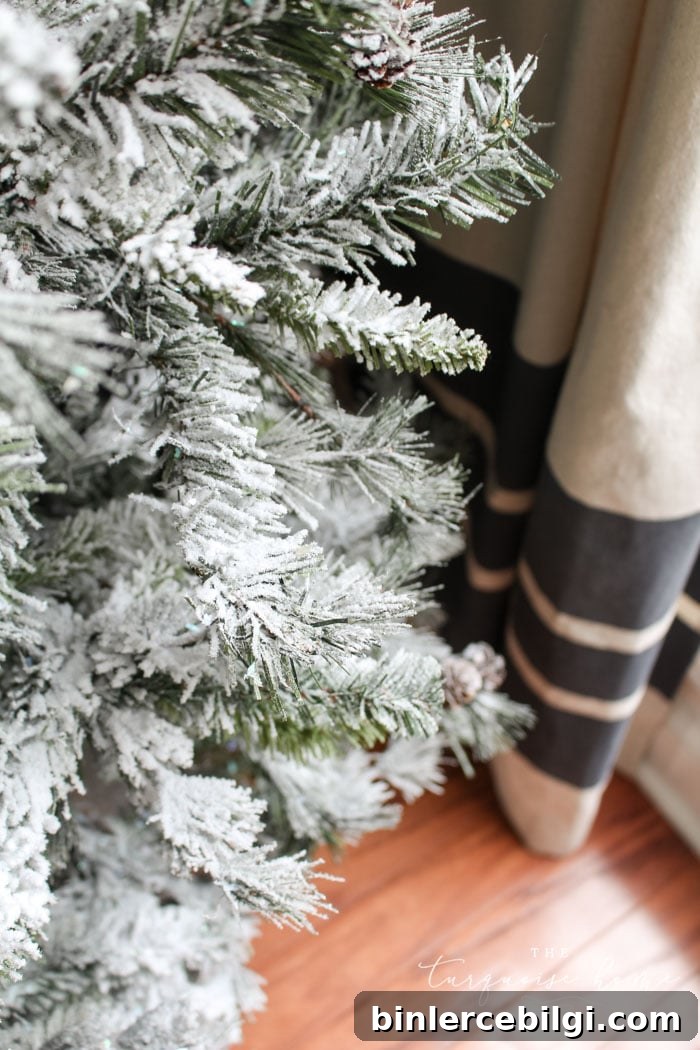
I truly love the look of a flocked Christmas tree. A few years ago I swapped out a small living room tree for a flocked version, and the snowy branches instantly made the room feel like a cozy winter retreat—even when there’s no snow outside.
There’s something magical about curling up by the fire with twinkling lights and a tree that looks freshly dusted with snow. If you love that vintage, rustic charm but don’t want to buy a new tree, flocking your existing artificial tree is an excellent DIY option.

Until recently I was happy with our 9-foot slim artificial pine in the front window, but I started dreaming of a flocked version to give the space a seasonal boost.
Buying a new flocked tree didn’t make sense when the one I had was perfectly good—so I turned to a DIY flocking powder. After reading a few reviews I ordered a 5 lb box (enough for my 9-foot tree) and was pleasantly surprised at how straightforward the process was.
If you’re a bit worried about mess, I’ll walk you through a tidy, efficient way to flock your tree. It’s easy to do and yields a beautiful result.
Tools You Need to Flock a Christmas Tree
- SnoFlock decorative snow flocking powder (5 lb box for a 9-foot tree)
- Kitchen strainer or sifter
- Large spray bottle filled with water
- Drop cloth or other protective floor covering
How to Flock a Christmas Tree
1. Set up your tree
Decide whether you want to flock the tree while assembling it section by section, or after it’s fully assembled. I chose to flock from the bottom up as I put the tree together—this made it easier to get flocking deep into the center and between branches for a fuller, more natural snowy effect. Lay a drop cloth beneath the tree to protect your floor; a garage or basement works well if you’re concerned about indoor dust.
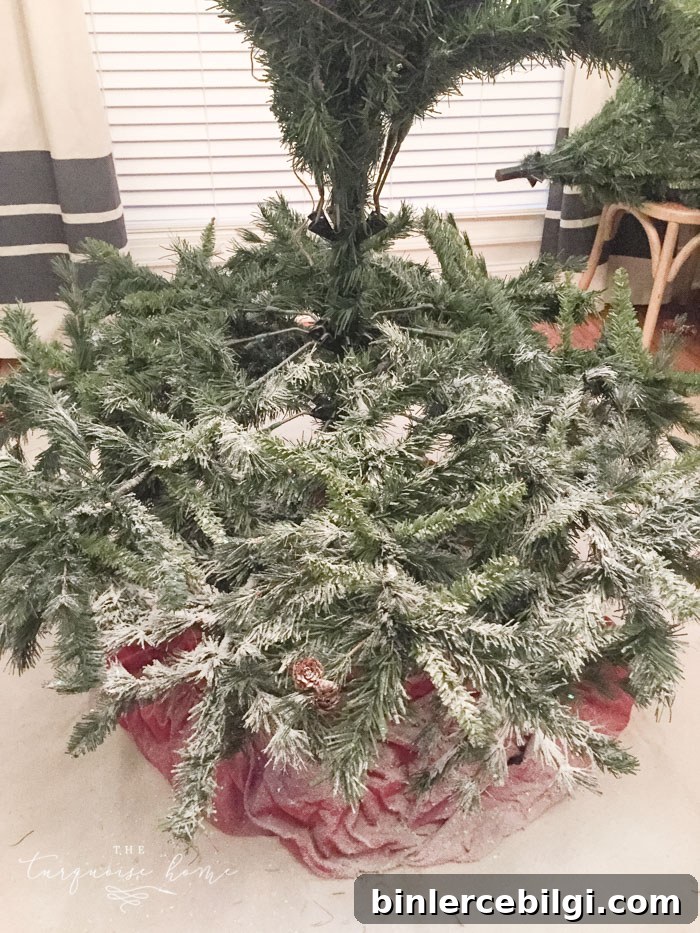
2. Gather your supplies
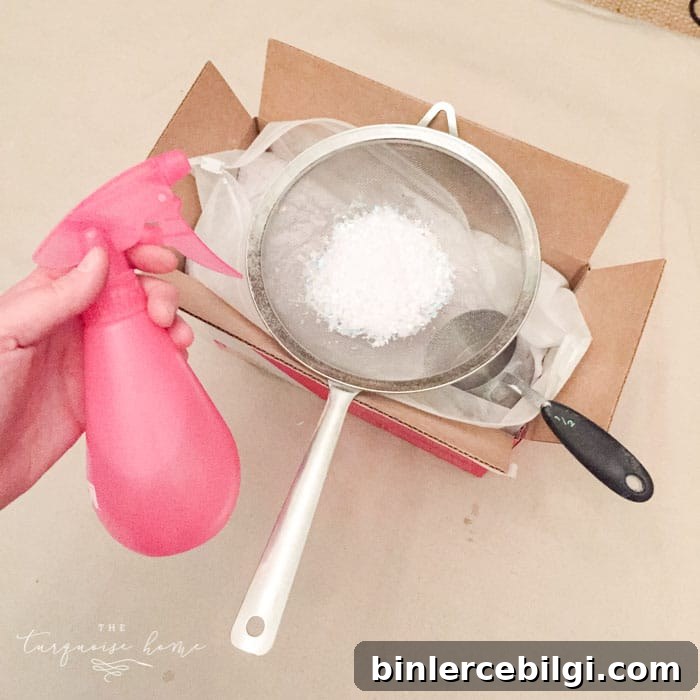
Fill your spray bottle with water and set out the strainer and the flocking powder. Have the drop cloth and a damp cloth nearby for quick cleanup.
3. Mist first
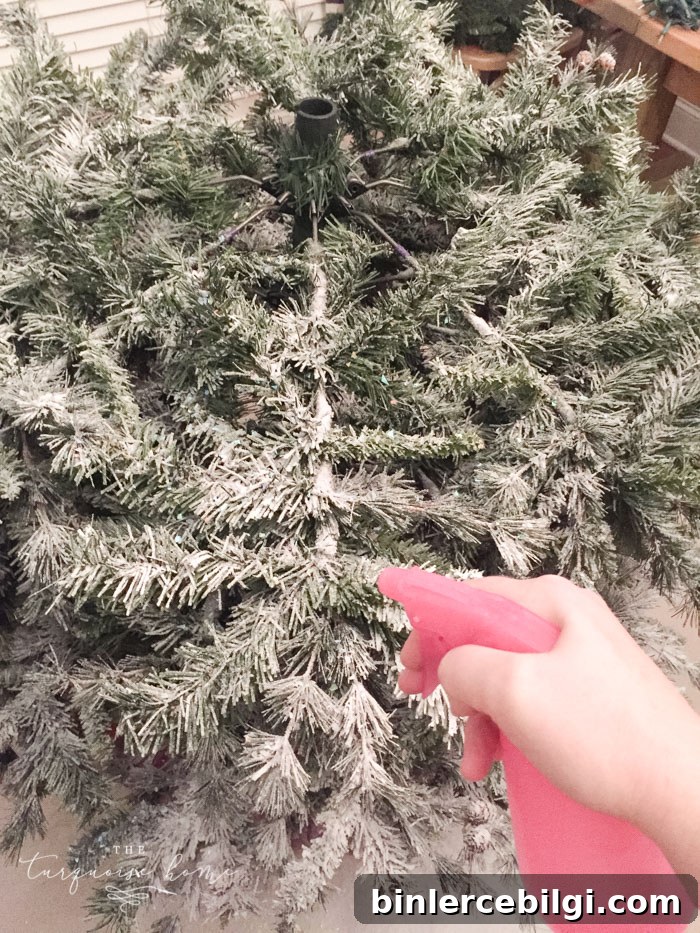
Generously mist a section of the tree with water. The flocking adheres best to slightly damp branches, so aim for an even, damp surface—not dripping wet.
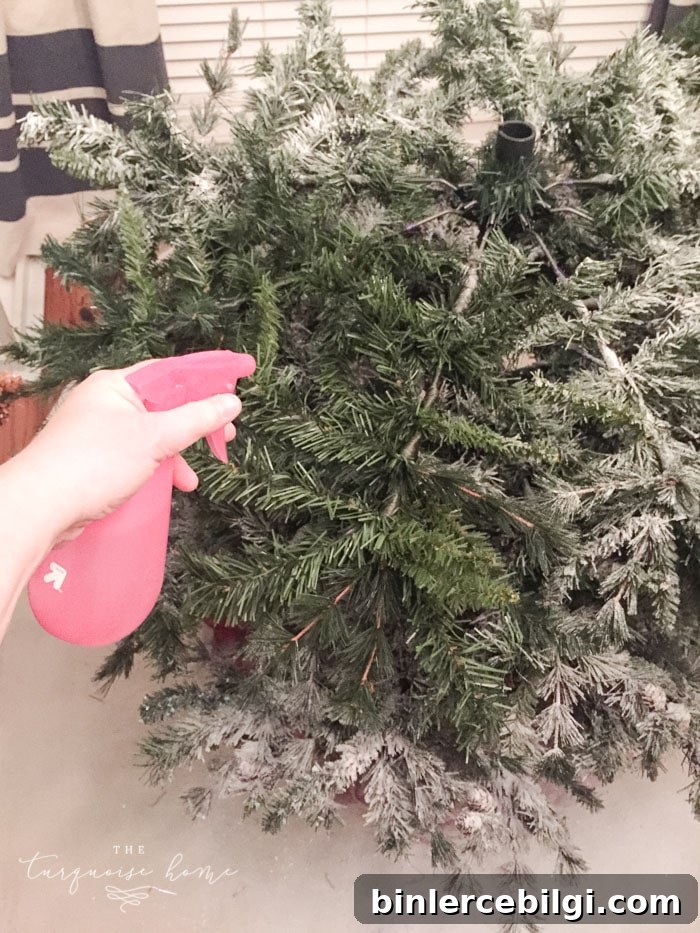
4. It’s time to flock!
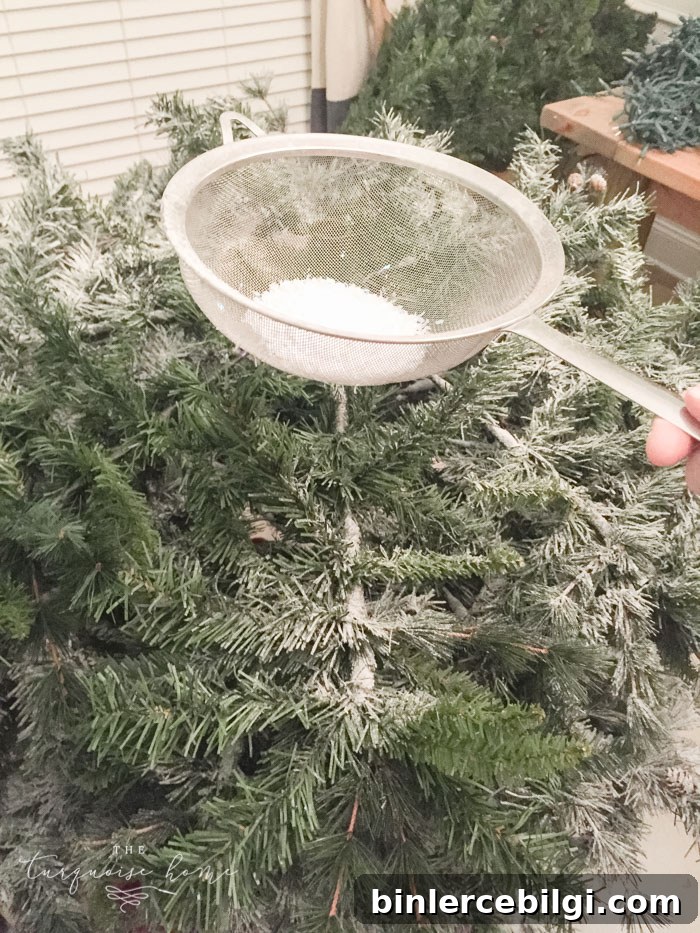
Spoon the flocking powder into the strainer (about half full) and gently shake it so a fine snowfall of powder falls onto the damp branch section. The manufacturer suggests spraying as the powder falls, but I found it fine to mist the branches first and then sifter the powder over them. If you try to spray through the sifter, be cautious to avoid clogging it.
5. Add the sparkle (optional)
If your flocking kit includes shiny “IceFlakes” or glittery bits, sprinkle them lightly where you want extra sparkle. They’re optional but can add a pretty frosty shimmer.
6. Mist again
Lightly mist the flocked area again until the flocking feels saturated and begins to pill up into a soft, snowy texture. Avoid soaking the branches—just enough moisture for the flock to set and hold.
7. Repeat until complete
Work in sections from bottom to top (or around the tree if it’s fully assembled), repeating the mist, sift, and mist steps until you’ve covered the tree to your liking. For a very full look, focus on applying flocking between branches as well as on the tips.
8. Let it dry
Allow the flocking to dry completely before adding lights or ornaments. I applied the flock in the evening and it was dry by the next morning; for best results, wait up to 24 hours to make sure everything is set.
Once dry, your newly flocked tree will look beautiful all season long. The transformation from plain green to snowy white is surprisingly dramatic and very satisfying.
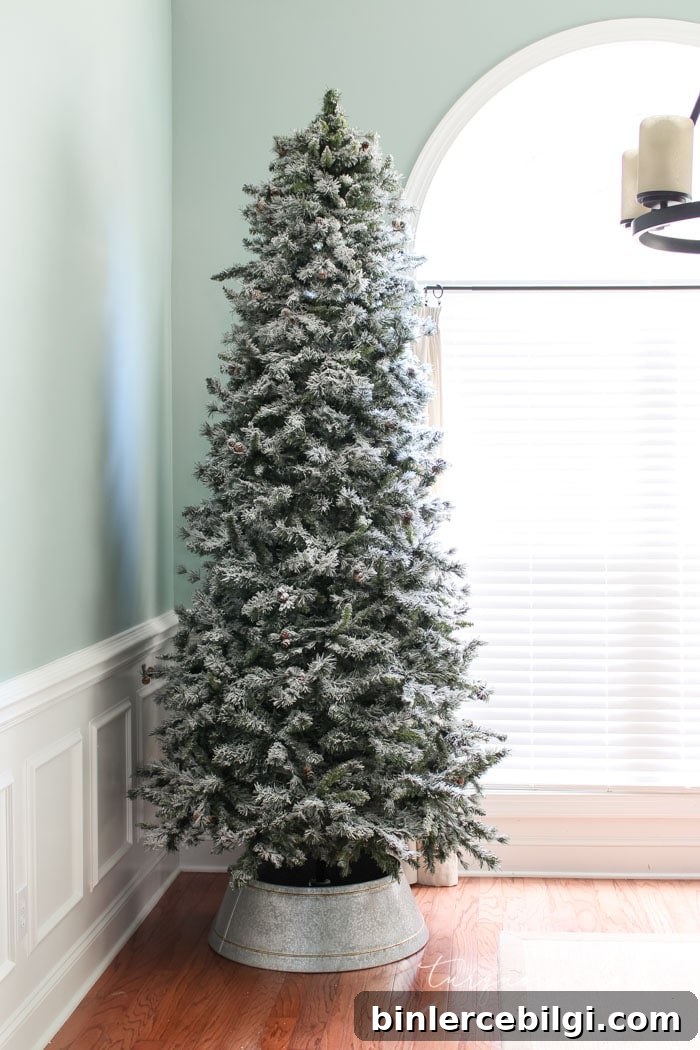
Galvanized tree collar idea
Frequently Asked Questions about How to Flock a Christmas Tree
Q: Is it messy?
A: The process can be a little messy, but it’s manageable. A drop cloth catches most of the powder; any fine dust on the floor wipes up easily with a damp cloth. After drying, most of the flocking adheres well and doesn’t come off easily.
Q: Will it look like a store-bought flocked tree?
A: Home-flocked trees can look very close to store-bought ones. Keep in mind that powder tends to stick more to the tops of branches than underneath, so you may see less coverage from a frontal view. If you want complete coverage under the branches, you can rotate and flock the sections again when you take the tree apart at season’s end.
Q: Is flocking safe?
A: Many commercial flocking powders are non-toxic and naturally sourced, but the product instructions often recommend using a dust mask, gloves, and eye protection. I didn’t use protective gear and had no issues, but follow the manufacturer’s safety guidance and use your own judgment.
If you have more questions, ask away—I’d be happy to help. Flocking your own tree is a budget-friendly, creative way to get that snowy, cozy Christmas look without buying a new tree.
I loved the results: it took a few hours, cost far less than a new flocked tree, and delivered the exact wintery vibe I wanted. Enjoy the process and the glow of your new snowy tree all season long!