
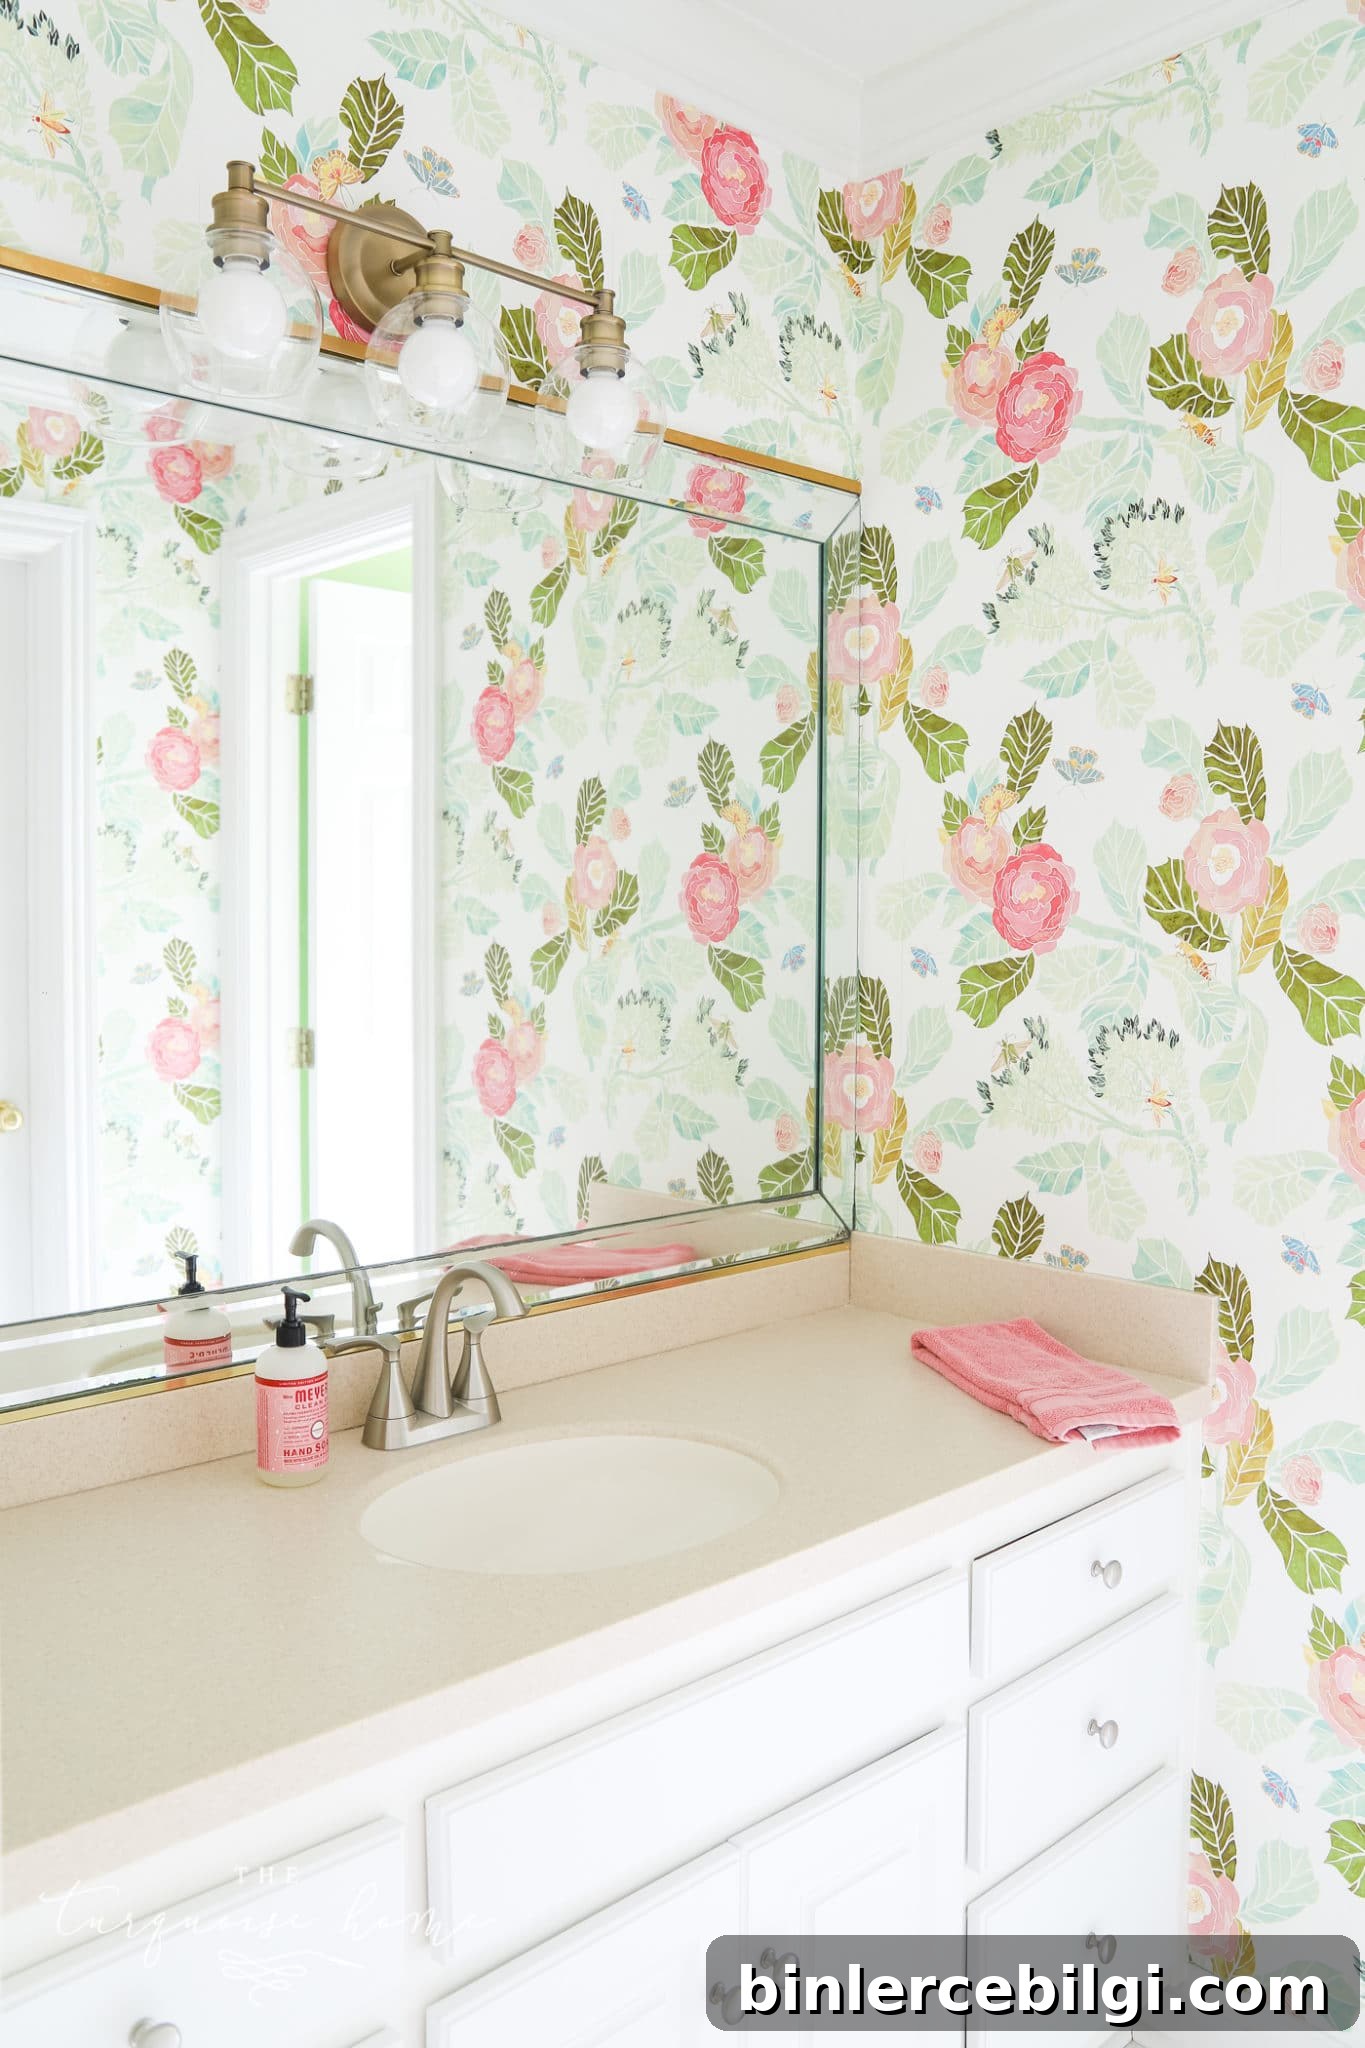
Are you nervous about starting a wallpaper project? Here are my best tips for hanging pre-pasted wallpaper, written for a complete beginner.
I’m a newbie too. From one beginner to another, I’ll walk you through how I hung pre-pasted wallpaper for the first time. I was terrified to begin and delayed this for years, but once I jumped in I found it far less intimidating than I expected. There were a few frustrating moments at tight corners, but overall the process was manageable and even enjoyable. If you’ve been hesitating, I hope this guide helps you feel ready to try it.
I chose real pre-pasted wallpaper instead of peel-and-stick. After testing the method, I liked the results and plan to wallpaper more rooms. The final look was absolutely worth the effort (and the occasional f-bomb at a tricky doorway!).
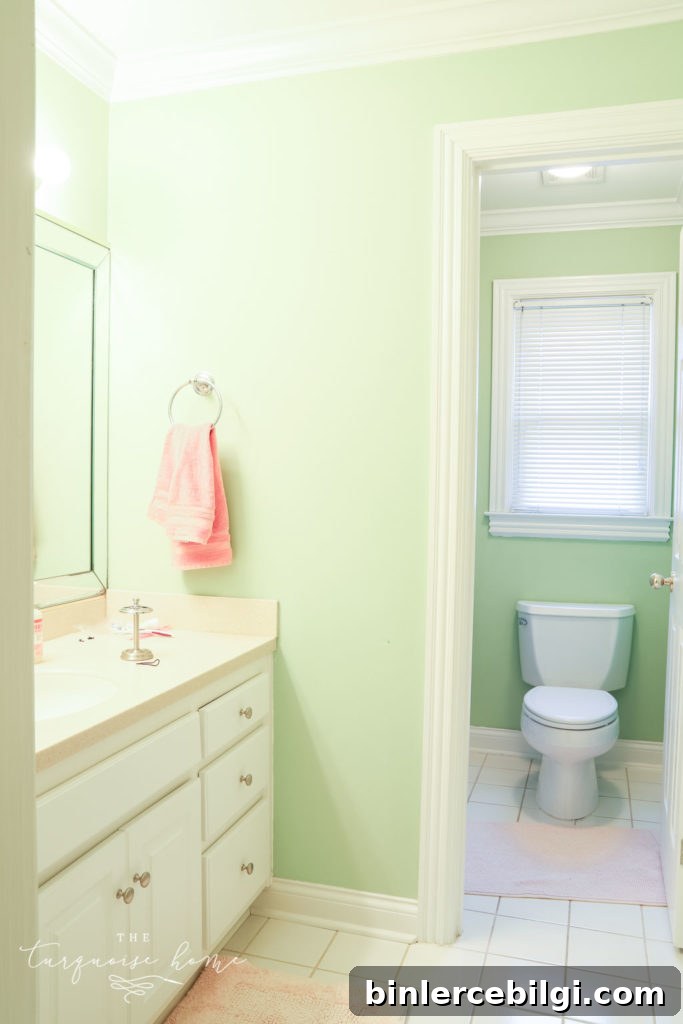
This project was part of a larger girls’ bedroom and bathroom makeover. Below is a quick before photo of the bathroom I used as my practice space.
This post contains affiliate links for your convenience.
Wallpaper Installation Tips for Beginners
Practical lessons I wish I’d known before starting.
Start in a low-stakes room: Pick a secondary bathroom, laundry room, or small bedroom where mistakes won’t be on display. I began in an en suite bathroom that only my family uses—perfect for first-time nerves.
Choose a small area: Try an accent wall or a compact room first. Smaller spaces keep costs down and reduce the time you spend wrestling with long runs of paper. My small bathroom presented lots of doorways and corners, which created extra cuts, so keep that in mind.
Check level often: Use a level or plumb line frequently while hanging each strip. I missed this early on and had to trim and adjust a strip later. Simple tools can save a lot of patch-up work.
Accept small imperfections: If this is your first time, a few tiny gaps or imperfect seams are normal. They’re less noticeable once the room is furnished and styled.
Change blades often: A fresh razor blade makes cleaner cuts and smoother edges. Replace blades frequently for best results.
Overestimate your paper needs: Measure wall square footage, then plan for extra—usually about 20–30% more rather than double. Return policies vary, so keep receipts and confirm returns before buying excess rolls.
Supplies You Will Need for Hanging Wallpaper
- Pre-pasted wallpaper (choose a pattern you love and confirm the repeat size)
- Tape measure
- Pencil
- Seam roller
- Straight-edge ruler
- Level or plumb line
- Smoothing tool (essential for removing bubbles and smoothing seams)
- Wallpaper sprayer or pump sprayer for activating paste on pre-pasted paper
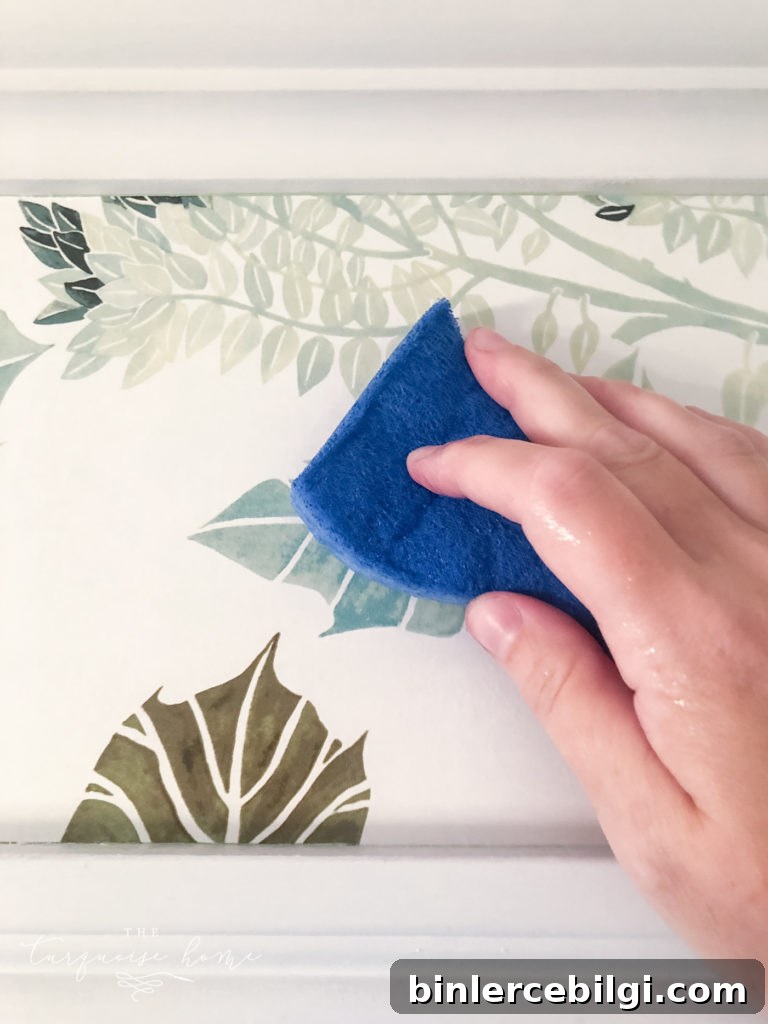
- Sponge (for cleaning paste from seams and wiping excess glue)
- Razor trim knife with extra blades
- Drop cloth
- Step stool or ladder
Step-by-Step Instructions for Installing Pre-Pasted Wallpaper
Always follow the manufacturer’s instructions for your specific wallpaper. Below is a clear, general workflow I followed that made the process straightforward.
1. Prep the walls
Fill and sand any holes or imperfections. Clean the walls to remove dust and grease. If you’re concerned about show-through, consider a wallpaper primer or sizing recommended for your wall type. Remove or replace light fixtures and anything that will interfere with the paper before you start.
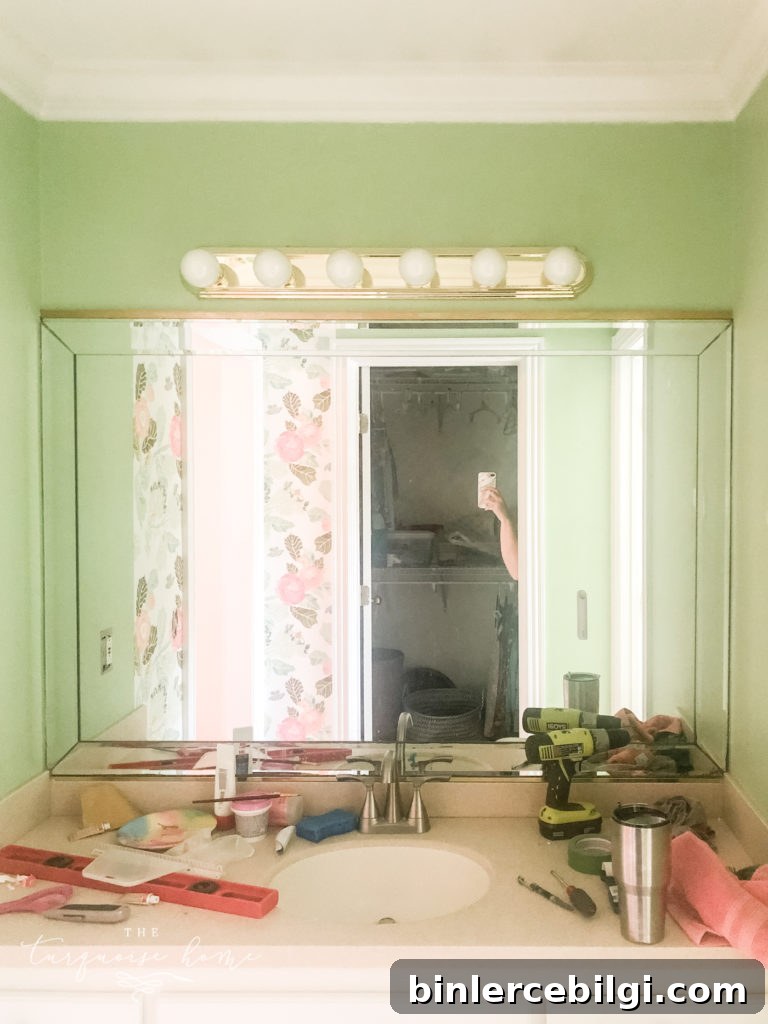
2. Measure the first wall
Decide an unobtrusive starting point—behind a door or near a corner no one focuses on. Measure from floor to ceiling and add a few extra inches for trimming at the top and bottom.
3. Cut wallpaper to length
Cut each strip several inches longer than the wall height to allow for trimming. If your pattern repeats, plan the cuts so motifs align across seams. Check level for each strip before you hang the next to avoid cumulative drift.
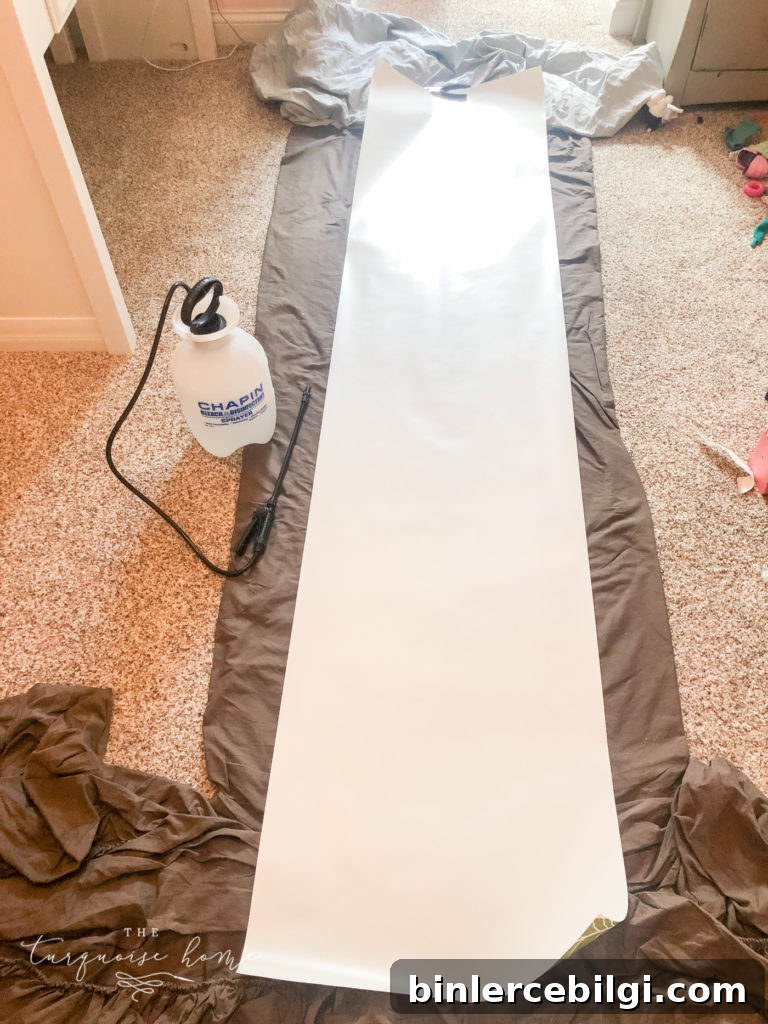
4. Lay the paper pasted-side up and mist with water
Protect the floor with a drop cloth. Spray the pasted side evenly from top to bottom, paying attention to edges and corners. Follow the timing guidelines for your wallpaper—over-wetting can cause damage, while under-wetting may not activate the adhesive.
5. Book the paper
Fold each long edge toward the center so pasted sides touch without creasing, then roll the strip like a newspaper and let it sit for 2–3 minutes. This “booking” allows the paper to relax and prevents seams from opening once on the wall.
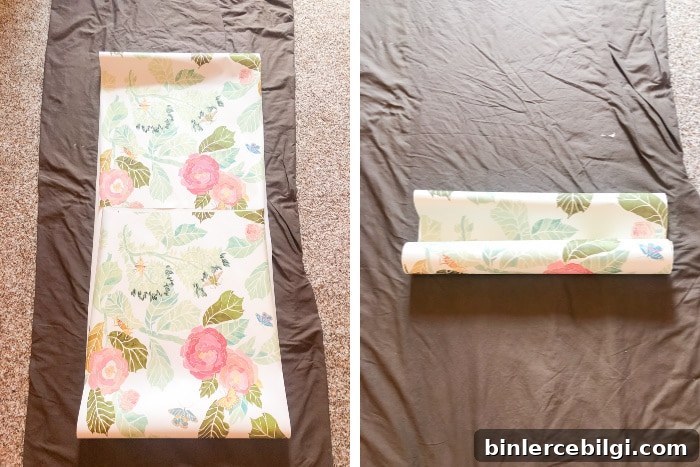
6. Unfold the top and apply it to the wall
Position the top of the strip at the ceiling line, aligning the pattern as needed. Smooth the paper downward, keeping the strip plumb and overlapping the previous edge only as specified for your pattern type.
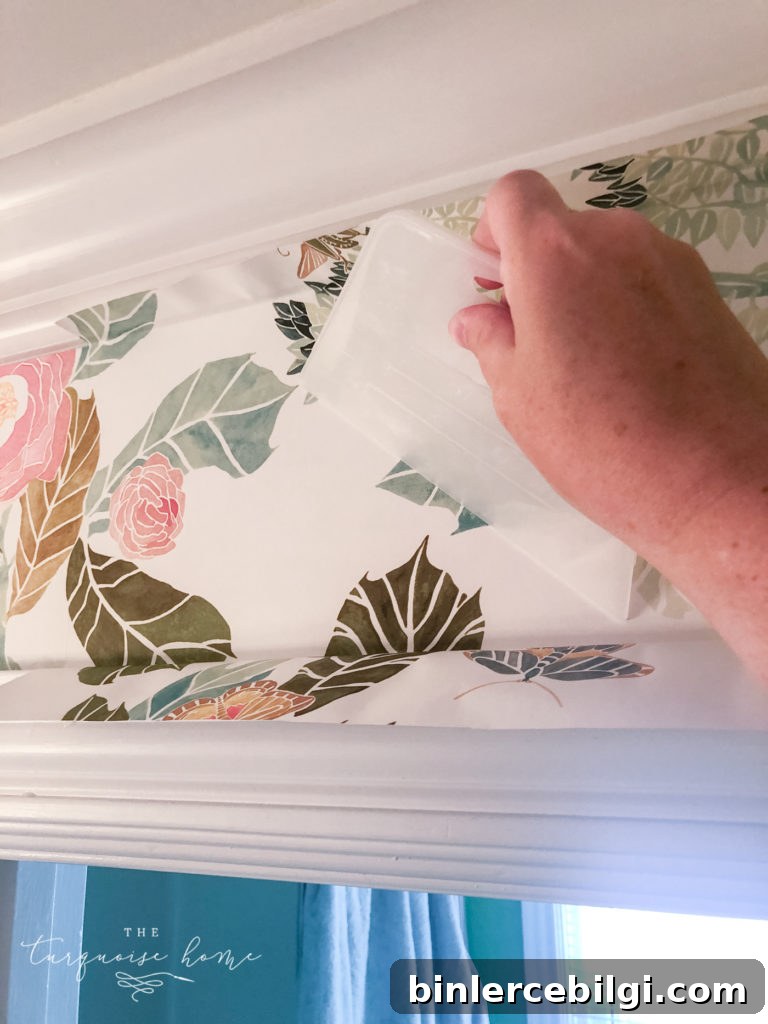
7. Smooth the paper
Use a smoothing tool to push air and excess paste out from the center toward the edges, working from top to bottom. This step is immensely satisfying and essential for a flat, bubble-free finish.
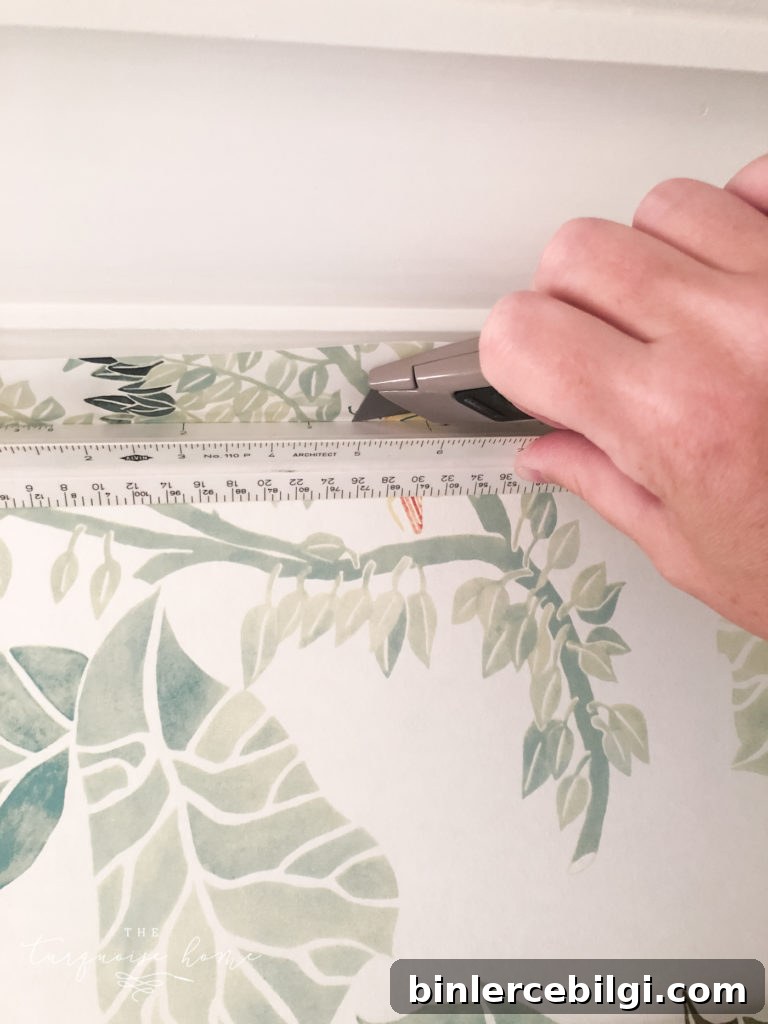
8. Trim excess paper
Use a straight-edge ruler and a fresh razor blade to trim excess at ceilings, baseboards, and around openings. Replace blades often to keep cuts clean. Corners and door trims are the trickiest areas, so take your time and make small, careful cuts.
9. Finish seams and clean up
Wipe seams and surface lightly with a damp sponge to remove excess paste. Use a seam roller to press seams together firmly, then wipe away any residue before it dries. Inspect each strip and fix any loose areas while the paste is still workable.
Repeat the process until the room is complete. Take breaks between strips if you’re feeling tired—fresh eyes help you spot alignment issues before they become problems.
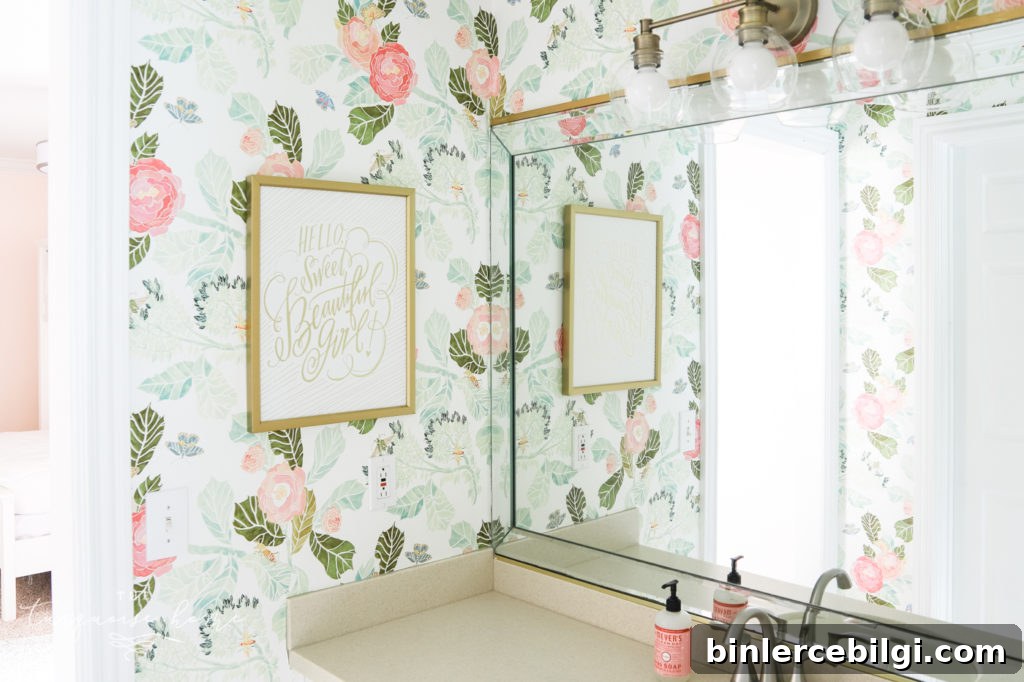
I loved watching the girls’ lime-green bathroom transform into a jewel-like space framed by their bedroom and closets. The finished wallpaper ties into the bedroom color palette and makes the whole suite feel intentional and special.
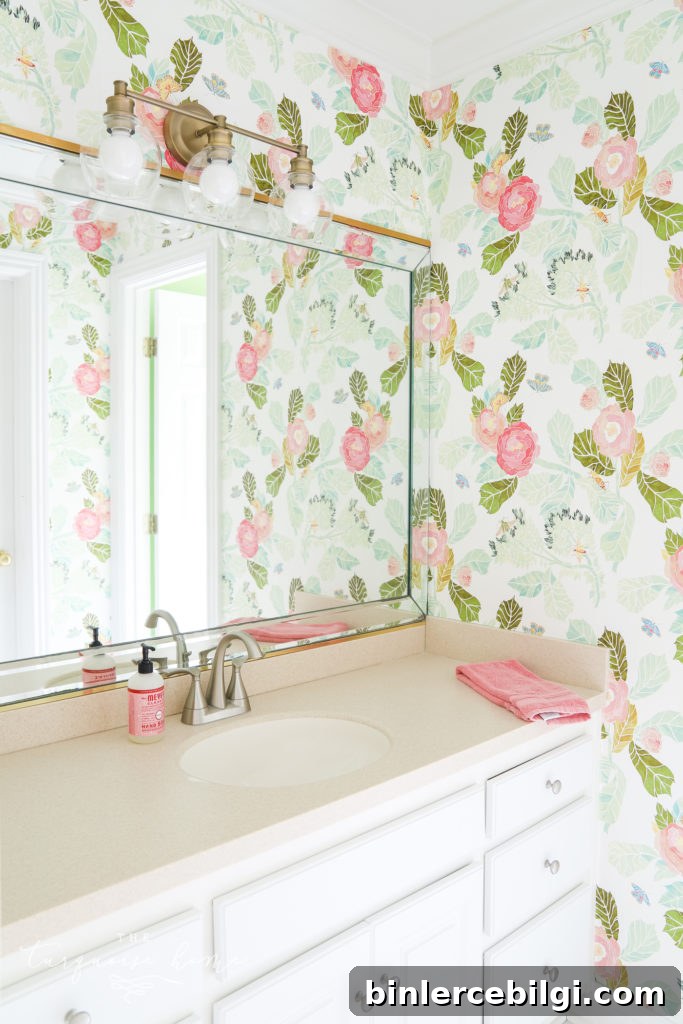
A final detail—the aged brass vanity light I installed complements the wallpaper beautifully. It’s all about small decisions that make the space feel finished.
Project Next Steps and Notes
- Paint bedroom walls with the chosen paint color (sample color matched at the store).
- Use wallpaper as an accent in the bathroom—installation completed.
- Plan furniture layout: loft bed, new bedding, and a dresser to be painted white.
- Reuse decor where possible and finish textiles like hemming curtains.
- Replace ceiling fan with a low-profile option that works with loft beds.
If this is your first time wallpapering, be patient with yourself. Gather the right tools, take your time with measurements and cuts, and don’t be afraid to practice on a small wall first. You’ll be surprised how much confidence you gain after the first successful strip. Happy wallpapering!