
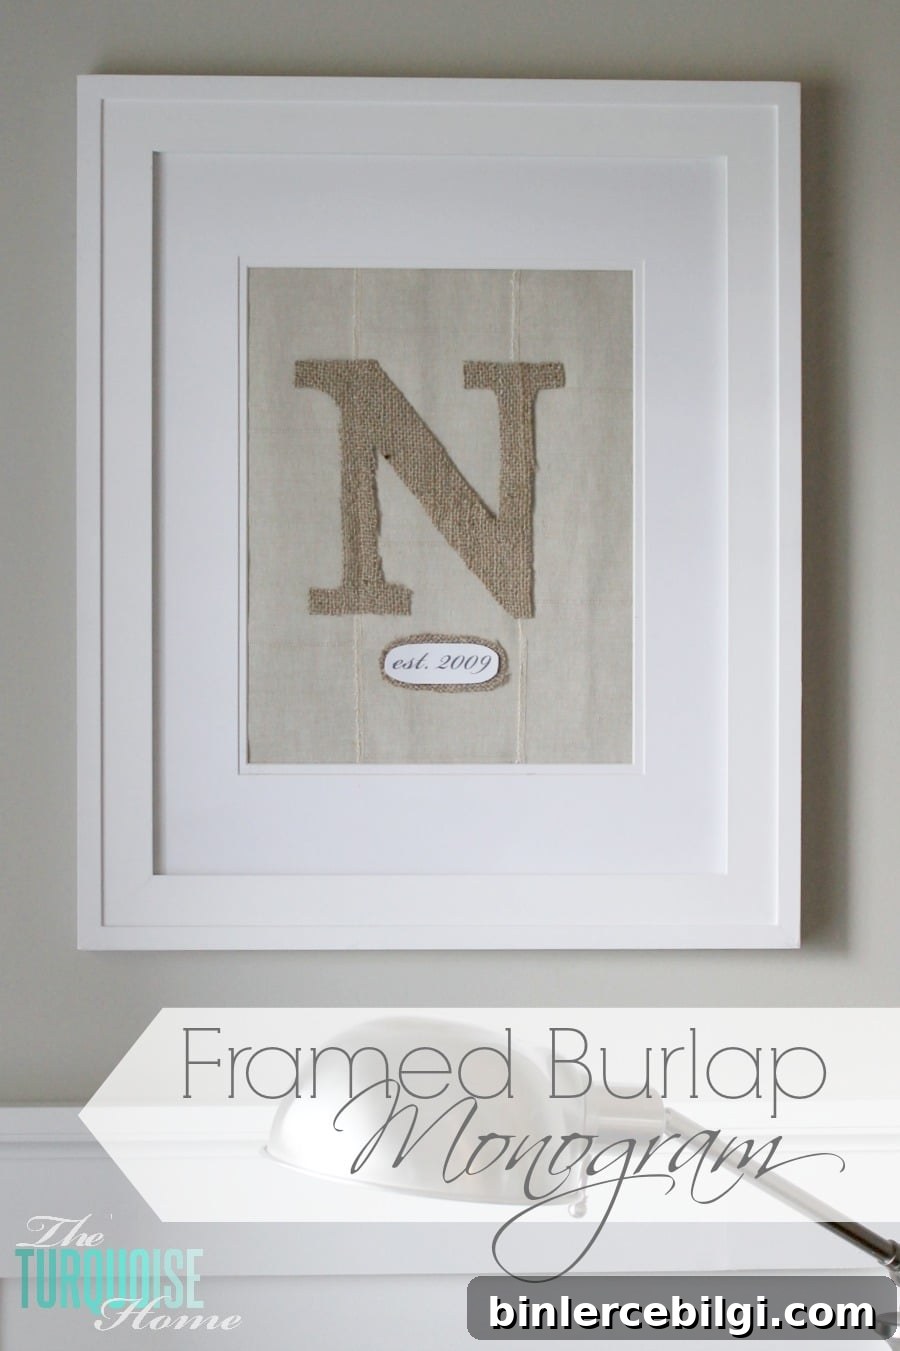
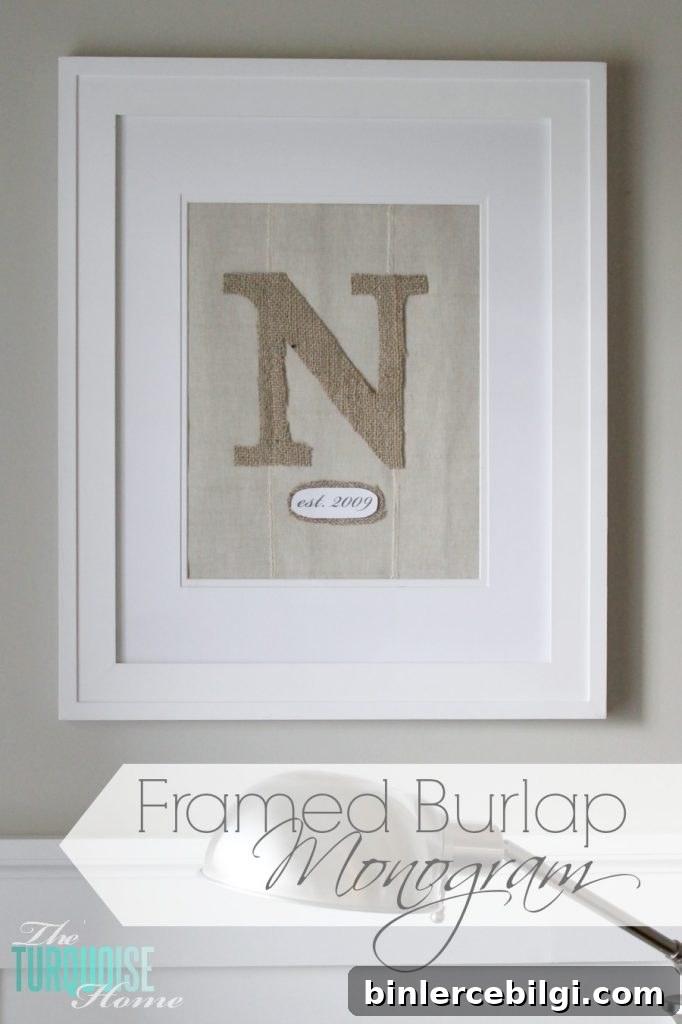
If you’ve been following along, you may have noticed a change in my reading corner. I created a framed burlap monogram using fabric scraps, so the whole project cost me nothing. I love simple, attractive, low-cost DIY home decor—especially when it’s quick and easy to make.
Burlap is one of my favorite materials for seasonal decor. I’ve used it before for a fall bunting and continue to weave it into other areas of the house. Its rustic texture gives a cozy, layered feel and works well throughout the year.
I’d saved an inspiration photo on my phone ages ago after spotting it in someone’s wedding images. It inspired the monogram idea—whether the original used burlap or another fabric doesn’t matter. I already had burlap and wanted to use it, so burlap it was.
I finally put one together this week. From start to finish the DIY framed burlap monogram took me about 30 minutes—an ideal quick project for a weekend afternoon.
I needed something to fill a frame in the corner of my living room. It had been displaying a print called Summer Bouquet by Mai Autumn, but with the seasons changing I wanted a piece that felt more autumnal and versatile. The burlap monogram fit the bill perfectly.
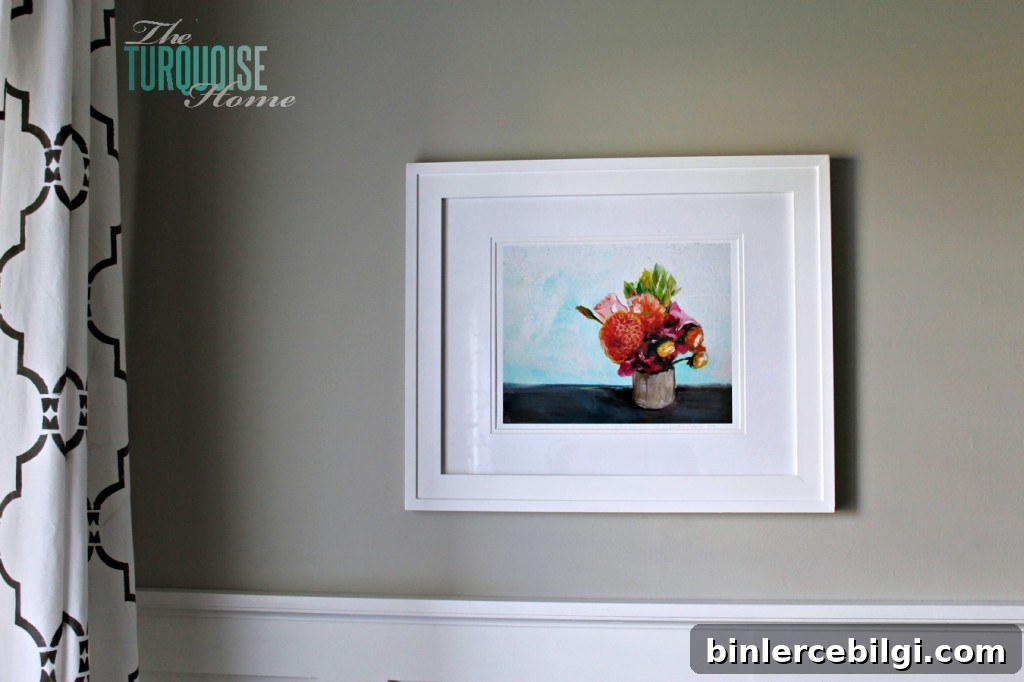
Update: I moved the Summer Bouquet print to my office and now keep the framed monogram in that spot most of the year—it’s that easy to love.
Tools You Need for a Framed Burlap Monogram
- Burlap fabric
- Fabric scraps for the backing
- Card stock or heavy printer paper (for printing the letter template)
- A picture frame (any size will work; mine is 11×14 with a mat for an 8×10 insert)
That’s all you need. I used burlap from a swag bag from OnlineFabricStore and leftover fabric scraps from hemming my IKEA curtains. I save every scrap—I might be a fabric-scrap hoarder, but it pays off for little projects like this.
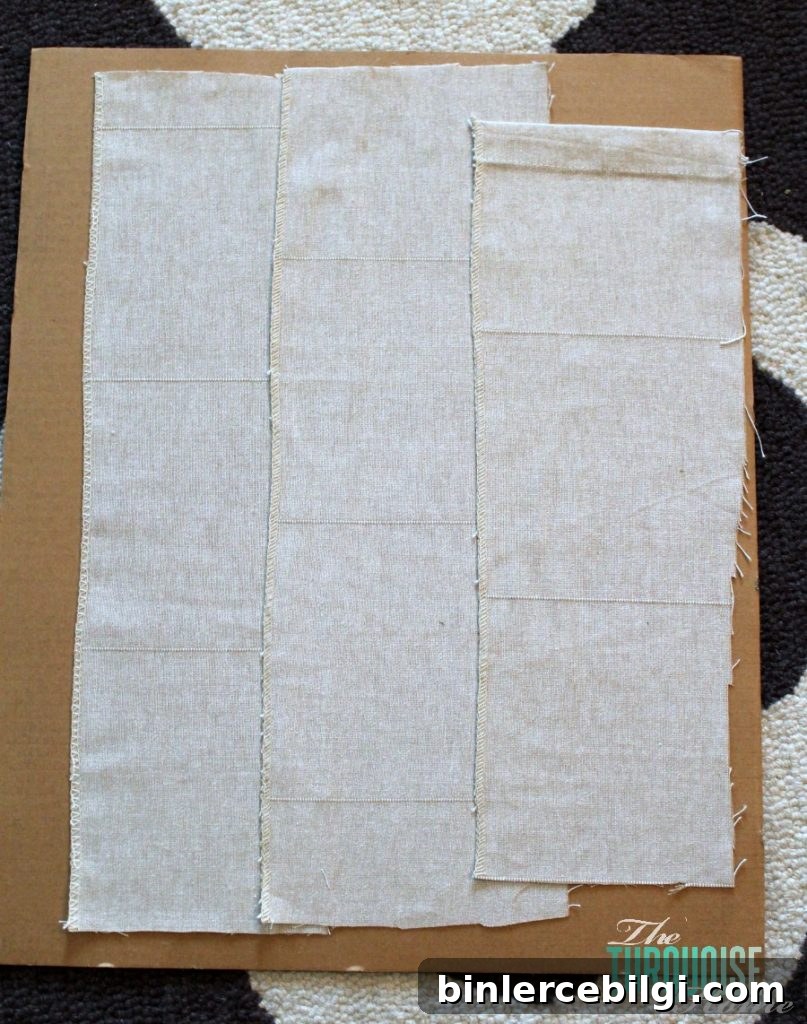
I didn’t have a single scrap wide enough to cover the entire frame, so I layered strips of fabric. The layered backing adds visual interest and depth to the piece. I secured the scraps with double-sided tape—an easy, reversible method that lets me switch the design seasonally.
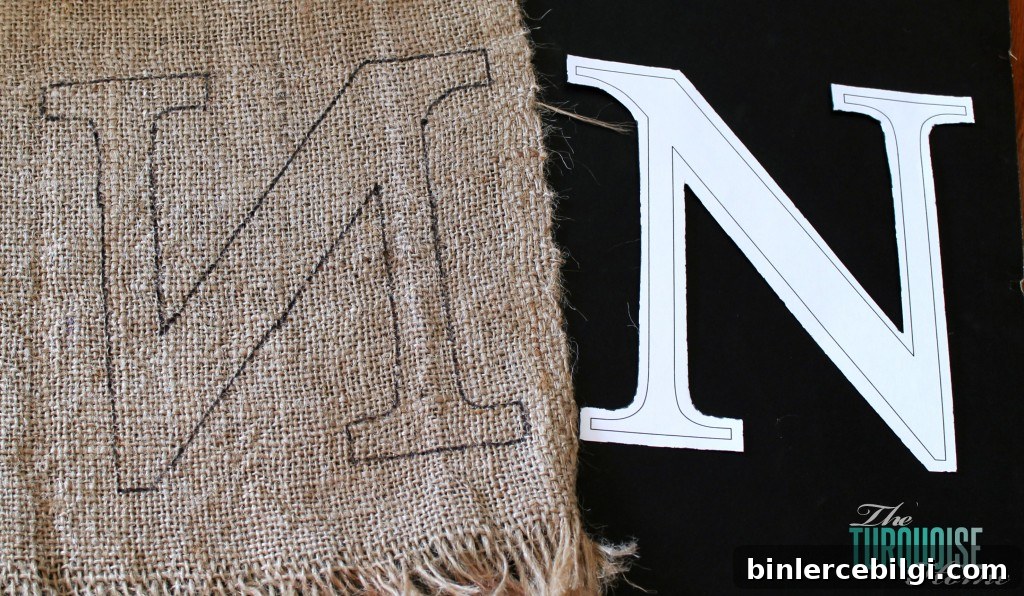
For the monogram, I printed a large letter (an “N” in my case) from Word on card stock and used it as a template. I chose Times New Roman for simplicity, printed it on sturdy paper, and trimmed the paper slightly thicker than the printed letter to make the traced outline bolder. Next I traced the letter onto the burlap and cut it out carefully.
I attached the burlap letter to the layered fabric backing using double-sided tape. Because it’s taped rather than glued, I can easily remove or replace it later—perfect for switching to a holiday motif or a different initial.
The inspiration image also featured an “est.” date, which I thought was charming. I created a small oval plaque by printing “est. 2009” on card stock using a script font (Bickham Script Pro), cut it into an oval, and mounted it onto a slightly larger burlap oval. I tucked that under the monogram and secured it with tape. The imperfect edges and handmade look give the piece character and a warm, homey feel.
I considered aging the white card stock with tea to achieve a cream tone but was in a hurry, so I left it as is. From a normal viewing distance it reads well and complements the burlap. If you prefer a more refined look, cream card stock or a light staining technique will give a vintage finish.
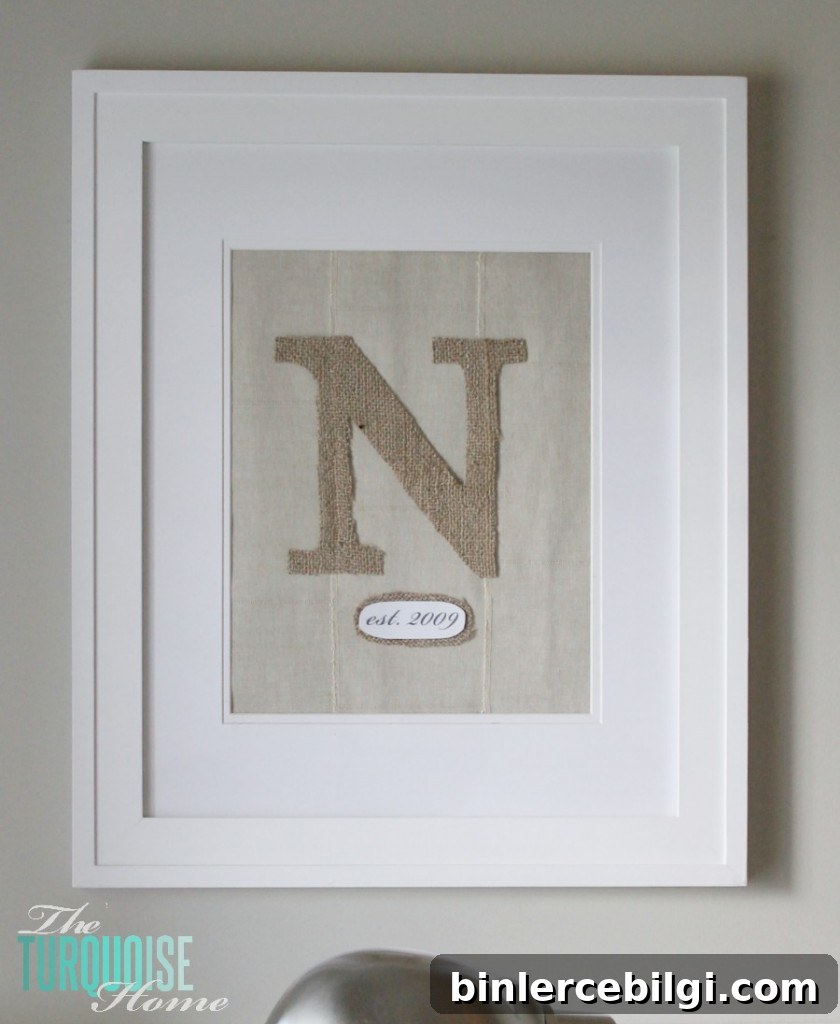
Once everything was in place, I reassembled the frame and rehung it. The finished framed burlap monogram coordinates nicely with my seasonal decor and brings a personal, handmade touch to the room. It’s a straightforward DIY home decor project that’s affordable, customizable, and quick to make.
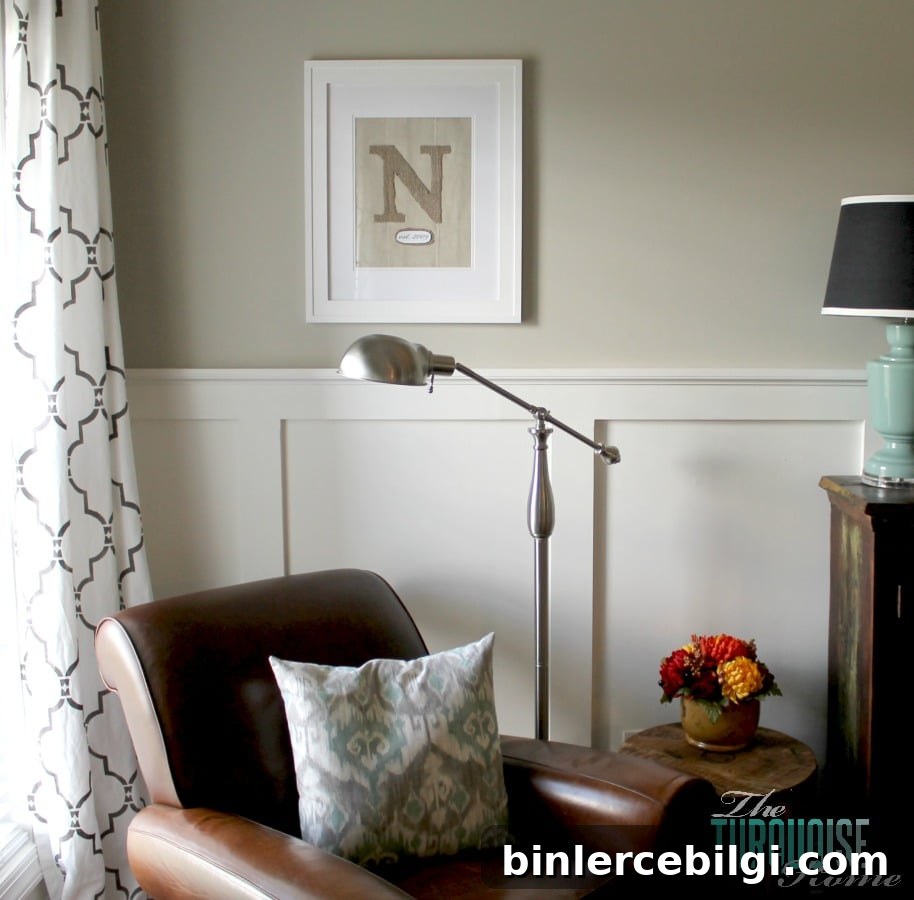
If you want to try this DIY framed burlap monogram yourself, vary the font, frame size, or background fabrics to suit your style. It’s an easy way to add a personalized accent to any room.
Have a great weekend and enjoy crafting!
More posts you might enjoy:
- Quick Tip: How to Keep Canvas or Burlap from Fraying
- DIY Gold, Pink and Burlap Accessory Holder
- DIY Canvas Unicorn Craft