
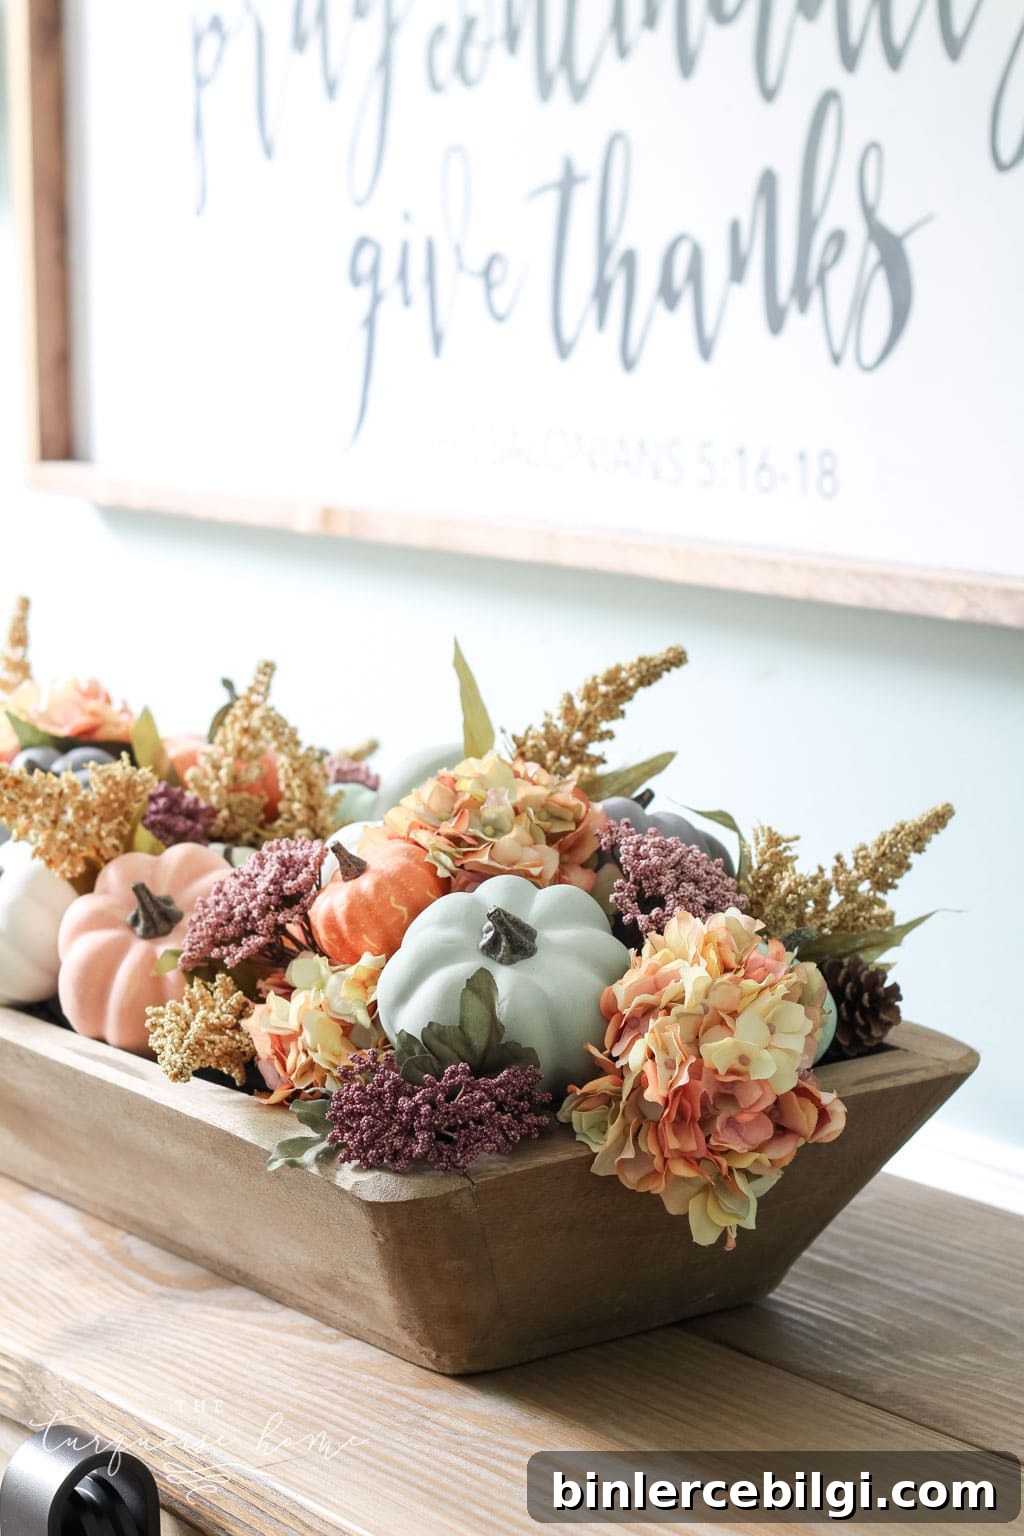
This fall dough bowl centerpiece is fun and simple to create using any dough bowl, tray, or wooden box you already have at home. With a few faux or real pumpkins, some stems, and basic floral supplies, you can make an elegant seasonal centerpiece following this step-by-step guide.
Hello friends! I’m excited to share my first fall post of the season. I always look forward to autumn and all the cozy decorating possibilities it brings.
I especially love a good fall floral centerpiece for the dining room. After finding a large dough bowl at a nearby antique shop, I knew it would make a lovely focal point. This tutorial will show you how to turn a simple tray or dough bowl into a rich, jewel-toned fall display.
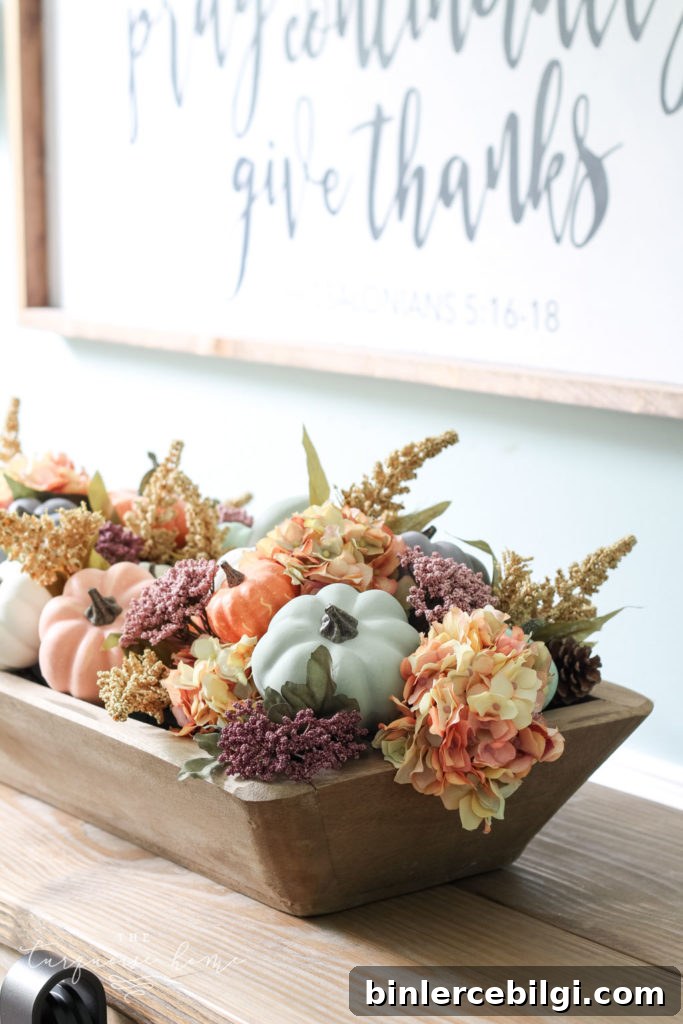
I love sharing my favorite fall decorating tips. Over the years I’ve shown how to create a fall mantel, make DIY fall wreaths, and design beautiful fall centerpieces. These projects are meant to inspire you to create a home you love as the seasons change.
This project is perfect if you already have a container you love—like a dough bowl, tray, or wooden box—and a few favorite florals. You can adapt the look using faux or real stems, gathered natural items from outside, or craft pumpkins you already own. Pinecones, evergreen clippings, and dried grasses are wonderful alternatives or additions.
I was set on faux hydrangea stems because they add so much texture and color. I searched locally but ultimately splurged on stems I loved. They make the arrangement feel full and polished, but you can substitute with other stems you have on hand.
Supplies for a Dough Bowl Centerpiece
Gather the following supplies to assemble your dough bowl centerpiece. You can substitute items you already own or find at craft stores.
- Dough bowl or any long tray or wooden box (mine is 26 inches long).
- Faux hydrangea stems in autumn tones, or other large floral stems.
- Queen Anne’s lace or similar filler stems for texture.
- Heather or small filler stems for contrast and depth.
- Assorted faux pumpkins and gourds in coordinating colors (mix sizes and tones).
- Mini pumpkin filler in cream and green for variety.
- Neutral pumpkin filler to balance the palette.
- Floral foam or, if the container is deep, mason jars or weighted bases to hold stems.
- Floral wire cutters for trimming stems.
- Wood skewers to secure foam pumpkins into the base.
How to Make a DIY Fall Dough Bowl Centerpiece
Follow these simple steps to create a striking farmhouse-style dough bowl centerpiece. The basic rule is to work from the largest elements to the smallest and fill in gaps with texture and color.
1. Place the floral foam in the bottom of the tray or bowl
Cut the floral foam to fit snugly into the base of your dough bowl or tray. If your container is deep, you can also use mason jars or other weighted containers to anchor stems instead of foam. Make sure the foam or jars are secured so the arrangement won’t shift.
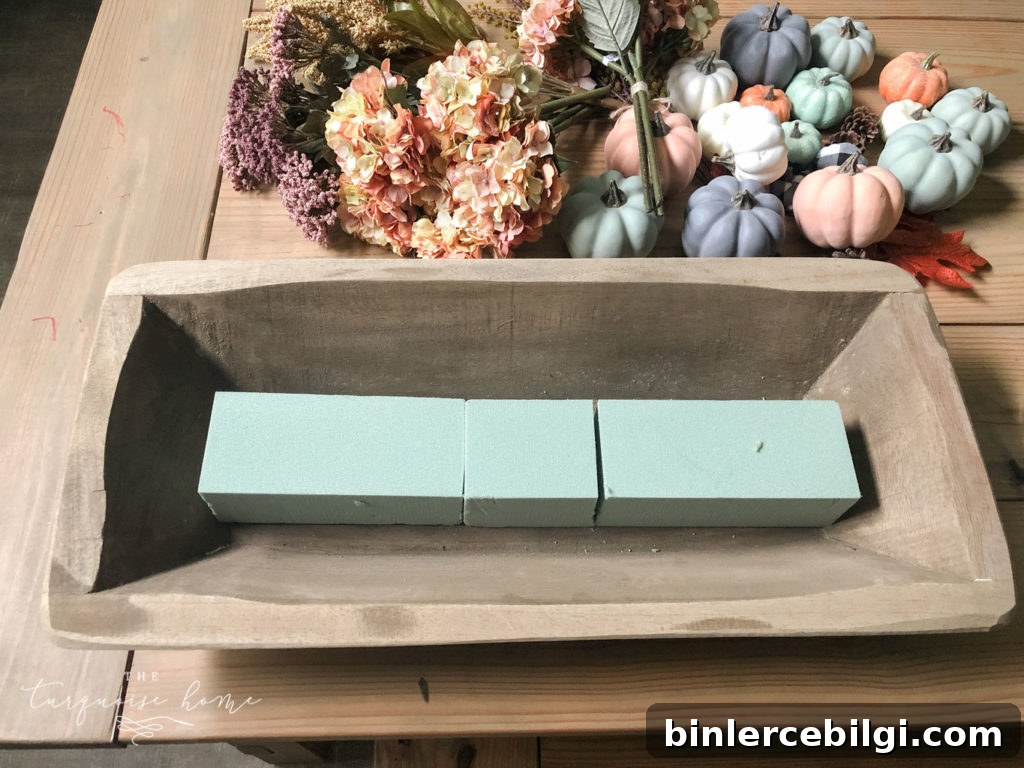
2. Add the pumpkins
Start by skewering the largest foam or faux pumpkins with wood skewers. Trim the skewers so they sit securely in the foam—about 6 inches is usually a good length after cutting. Place the largest pumpkins first, spacing them across the length of the bowl to establish the overall shape and balance.
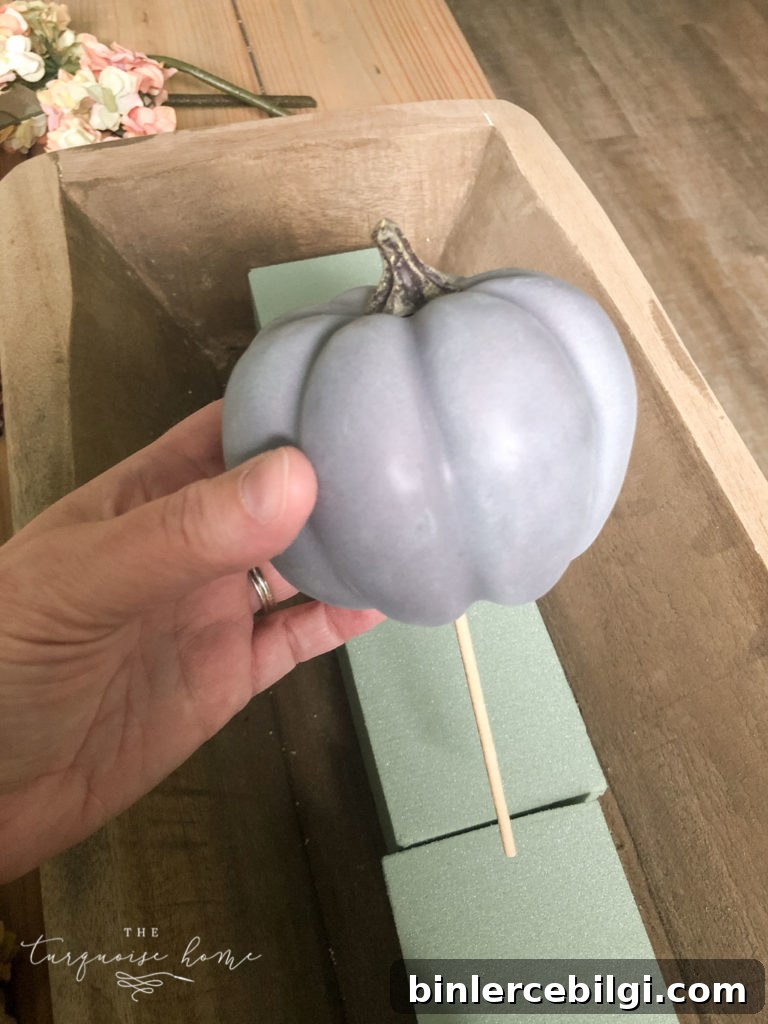
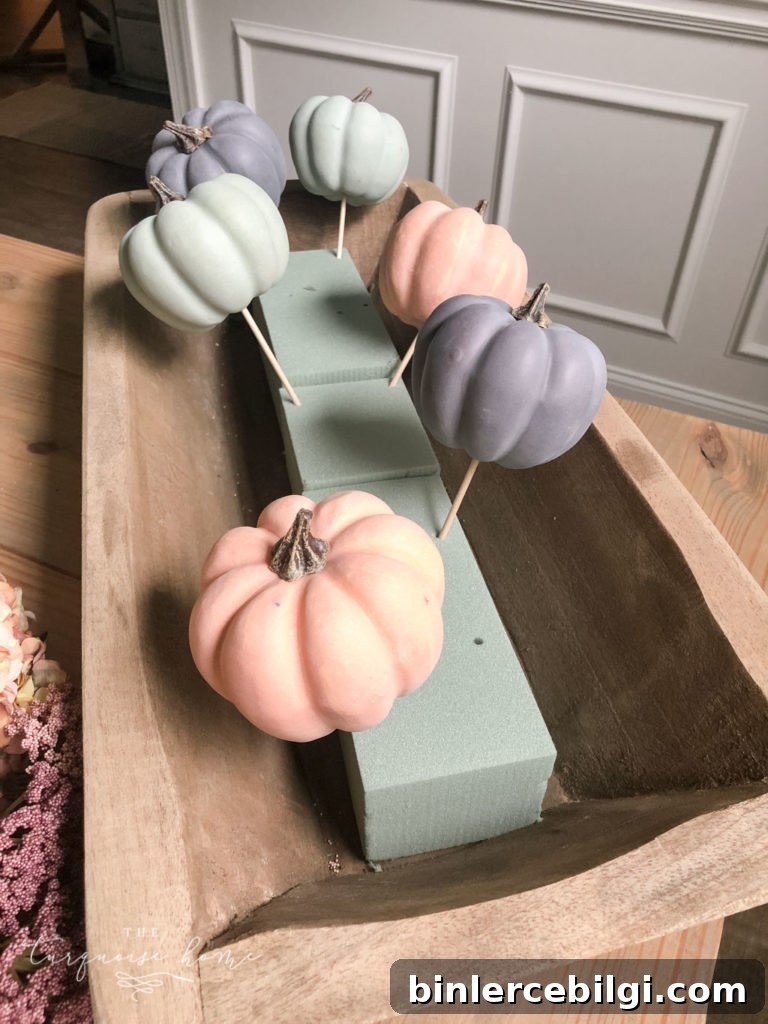
3. Continue adding smaller pumpkins
After placing the largest pumpkins, add medium and small pumpkins to fill in the composition. Work organically—step back periodically to check balance and spacing so the arrangement reads naturally from all angles.
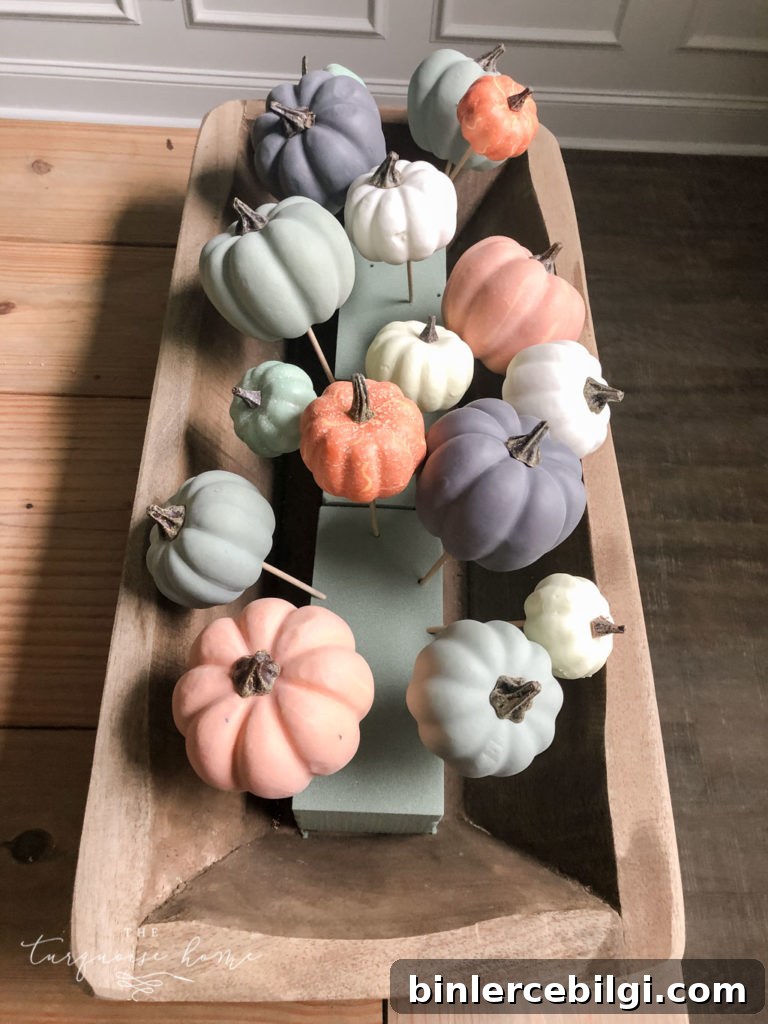
4. Fill in the blank spaces with flowers
Begin filling in around the pumpkins with your largest floral stems—hydrangeas make a beautiful base. If you prefer not to pierce the floral foam with certain stems, you can tuck them along the bowl’s edge or rest them on top so they drape naturally.
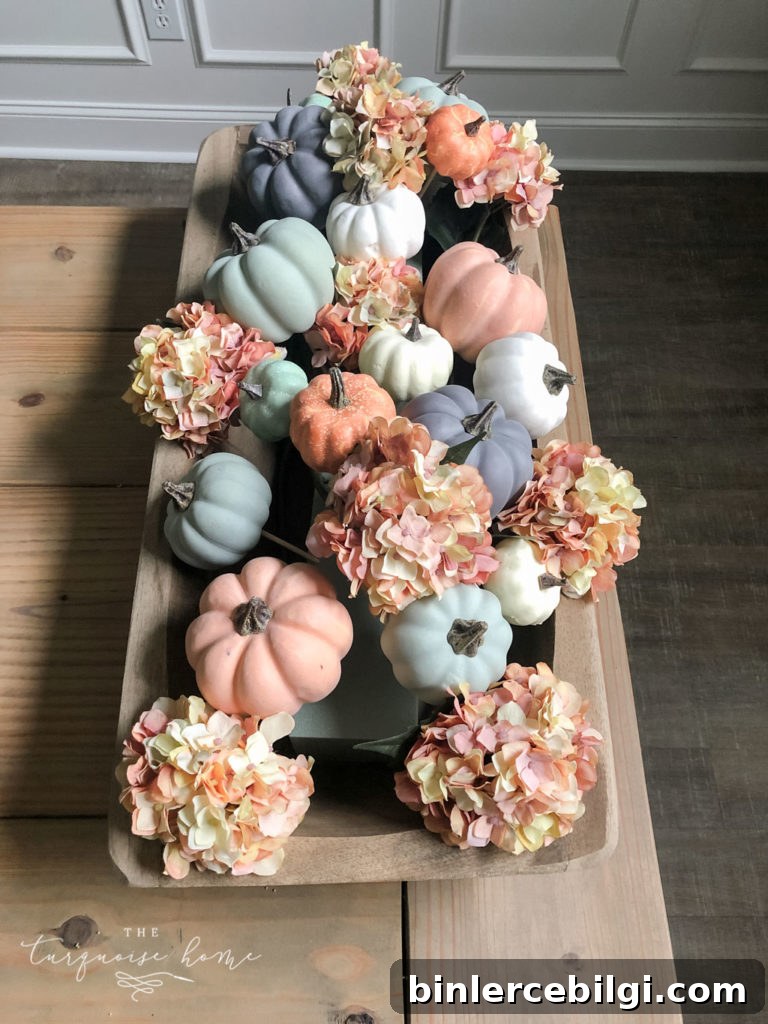
5. Fill in all blank spaces with florals and texture
Continue adding filler stems—like Queen Anne’s lace, heather, and smaller filler pumpkins—until all gaps are covered. Layer the stems to create depth, and vary the height slightly so the centerpiece feels organic and not overly uniform.
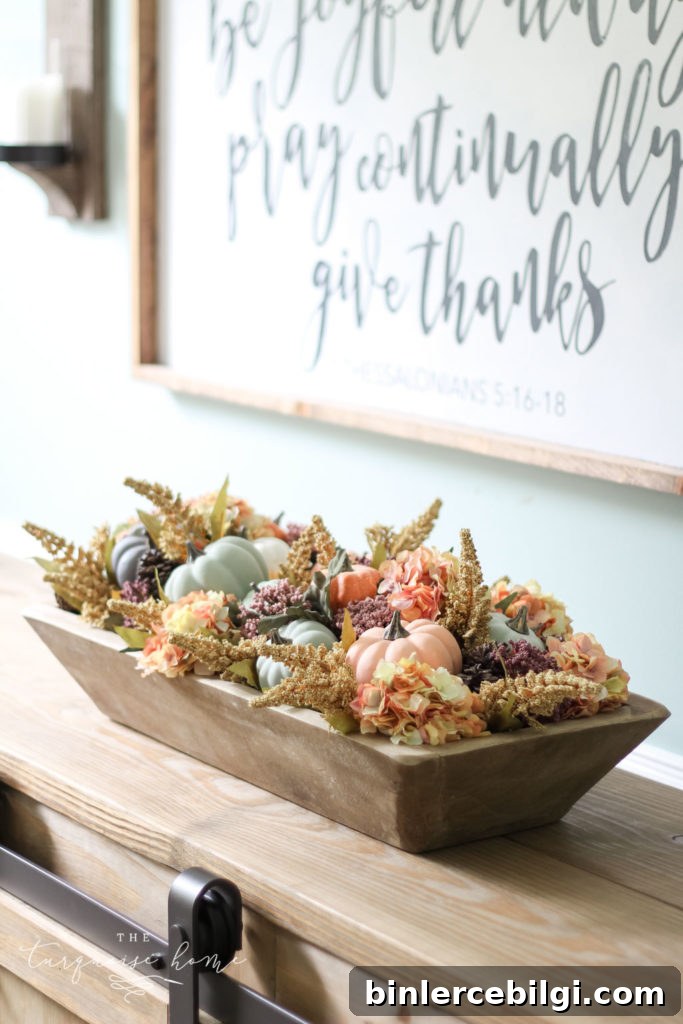
This method is straightforward and forgiving. The key to a polished arrangement is starting with the largest elements and working toward the smallest, which makes it easy to adjust balance and color as you go.
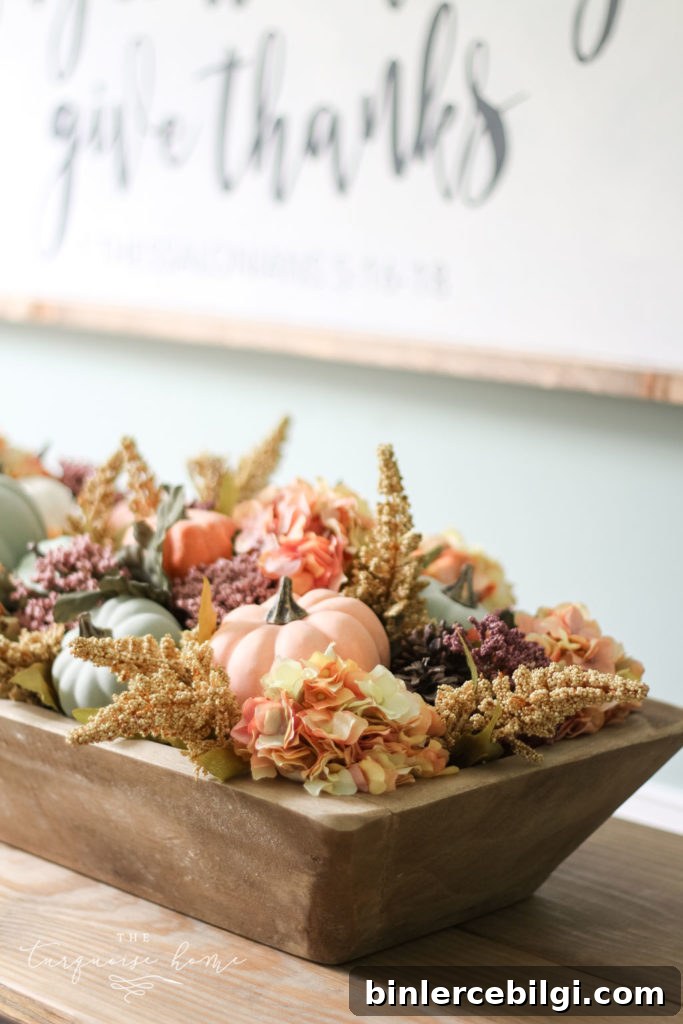
I love how the jewel-toned stems and pumpkins came together in this arrangement. You could also tuck in pillar candles, small battery-operated lights, or natural accents like pinecones to change the mood. This dough bowl centerpiece is ideal for a Thanksgiving table or any fall dining room display. Pair it with a simple runner for an inviting seasonal look.
Frequently Asked Questions
Traditional dough bowls are carved from wood, but you can also find or make replicas from materials like paper mache or reclaimed wood. Many DIY versions are simple wooden boxes or trays styled to look like antique dough bowls.
Dough bowls are versatile. Use them to hold blankets or pillows, display seasonal decor, collect small items on a coffee table, or hang them on a wall in groups for visual interest. They work in both functional and purely decorative roles.
Antique malls, flea markets, and local thrift shops are good places to search for vintage dough bowls. Handmade or reproduction options are also widely available from craft and home decor sellers.
More fall home decor posts you will love:
- Budget-Friendly Fall Decor Tips & Home Tour
- 25+ Free Fall Printables to Decorate Your Home
- Simple & Neutral Fall Mantel Decor
- 25 Amazing DIY Fall Wreaths
- Navy & Orange Fall Printables
Enjoy creating your own dough bowl centerpiece this fall. It’s an easy, adaptable project that brings seasonal color and texture to any room. If you try it, arrange the pieces slowly and step back often—you’ll be surprised how small adjustments make a big difference.