
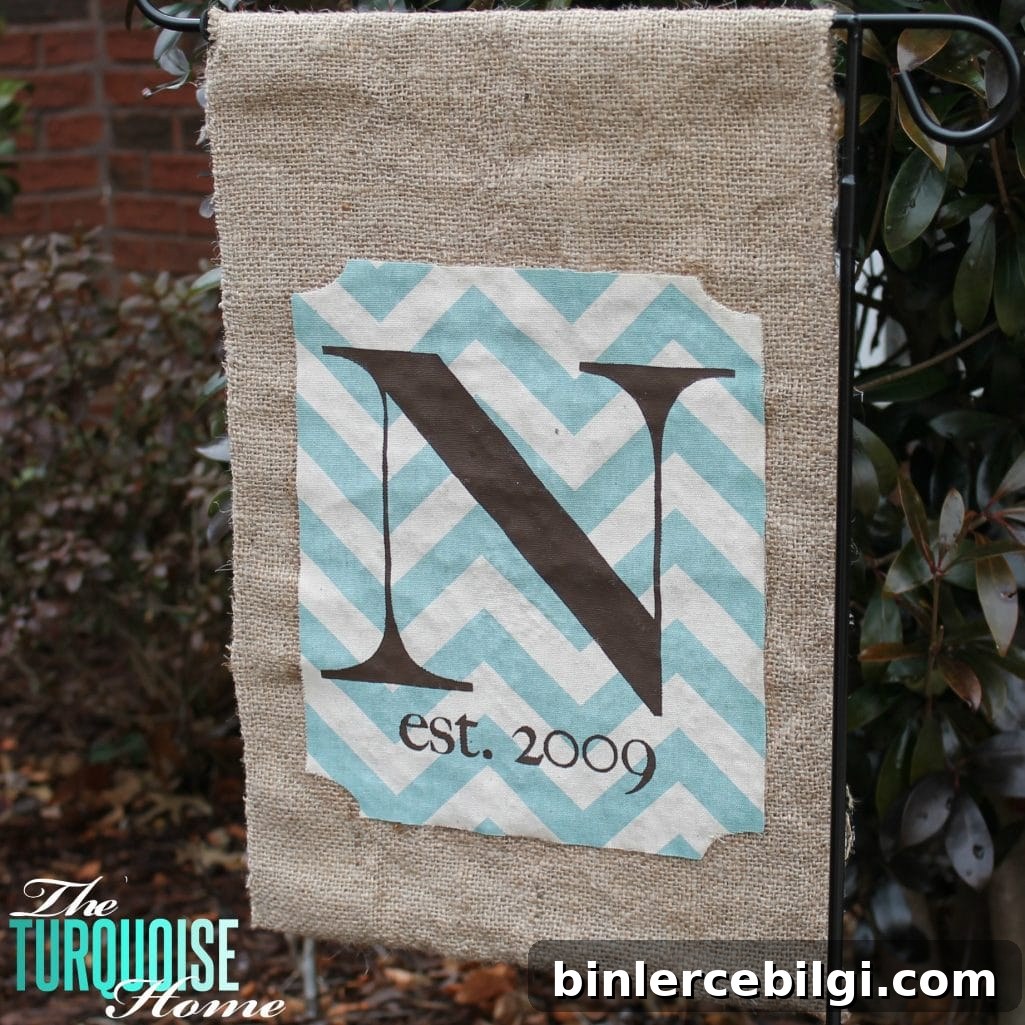
A simple, no-sew DIY garden flag is a stylish accent for any front entry. A personalized monogram adds a warm, welcoming touch.
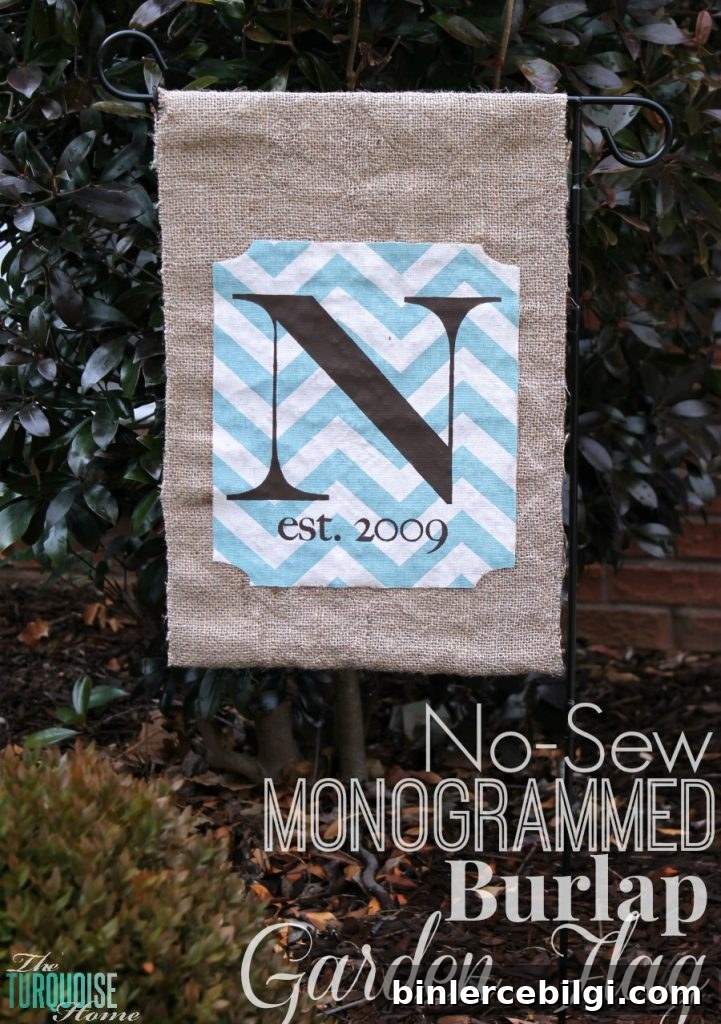
Original post date: February 10, 2014
Good morning! With a cold snap on the forecast here in northern Alabama, I found myself dreaming about warmer days and planning some springtime projects. One quick craft I worked on was a monogrammed garden flag — an easy, inexpensive way to freshen up the front yard.
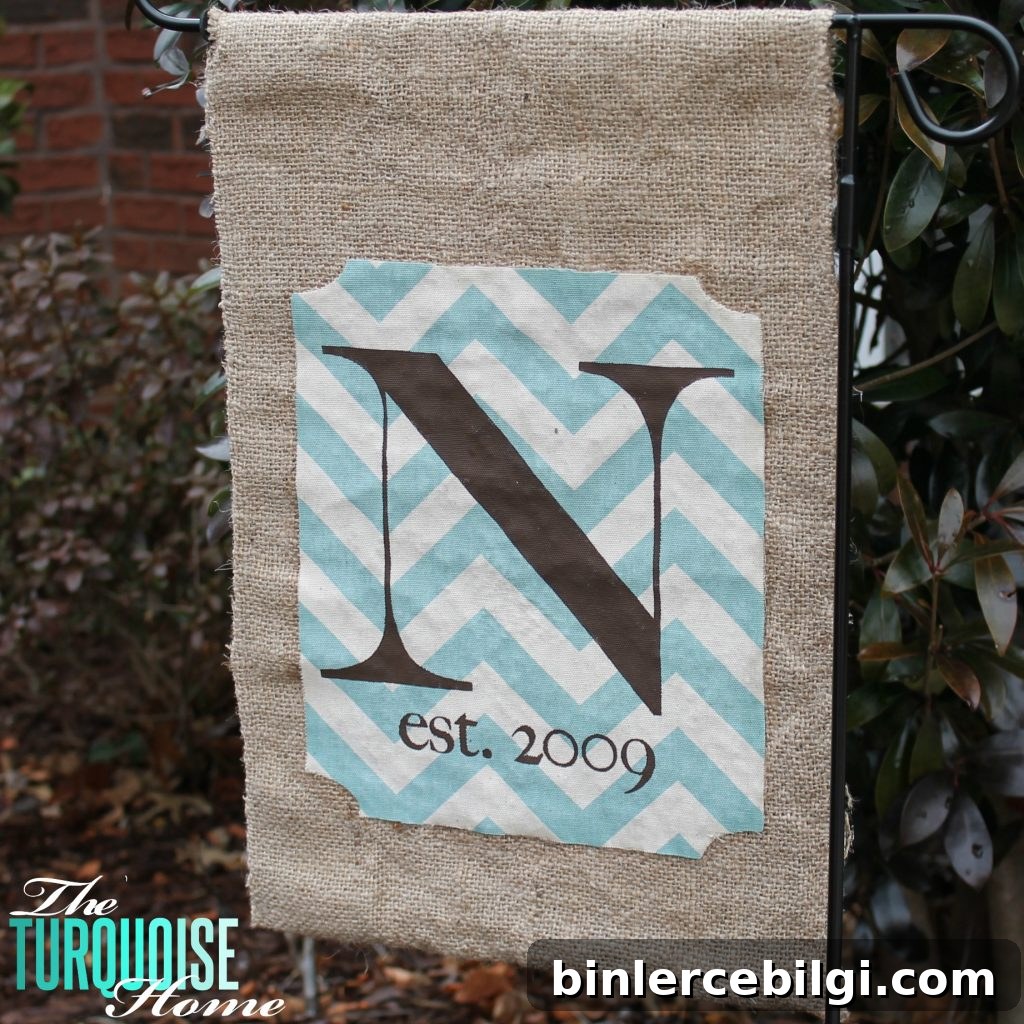
This no-sew project is straightforward, and you may already have most of the supplies on hand. The finished flag is durable when sealed for outdoor use and looks great on a simple garden flag stand.
Note: some of the materials mentioned are commonly available online and at craft stores.
Supplies to Make a DIY Garden Flag
- Garden flag stand
- Burlap (approximately 12.5″ x 40″) or another sturdy fabric — canvas or duck cloth both work well
- Hot glue gun and glue sticks
- Accent fabric for the monogram/frame
- Paint and a small stenciling brush or spouncer
- Outdoor Mod Podge or similar fabric adhesive for exterior projects
- Outdoor craft sealer (spray) to protect the finished flag
- Silhouette or similar cutting machine (optional)
- Contact paper or cardstock for stencils
If you don’t have a cutting machine, a craft knife or sharp scissors and cardstock will work fine to create stencils and fabric templates.
DIY Garden Flag Step-by-Step Tutorial
Step 1. Gather Supplies and Choose a Garden Flag Stand
Begin by choosing a garden flag stand that fits your space. These are commonly sold at hardware stores, garden centers, and craft retailers. Pick a stand that is sturdy and the correct height for your beds or porch area.
Step 2. Cut and Press the Background Fabric
Measure and press your burlap or background fabric. Most garden flags measure about 12.5″ x 18″ for the finished flag, so I cut a length of burlap approximately 12.5″ wide by 40″ long to allow for a folded pocket at the top. Iron the fabric flat to remove creases and make the edges easier to work with.
Step 3. Assemble the Flag and Create a Top Pocket
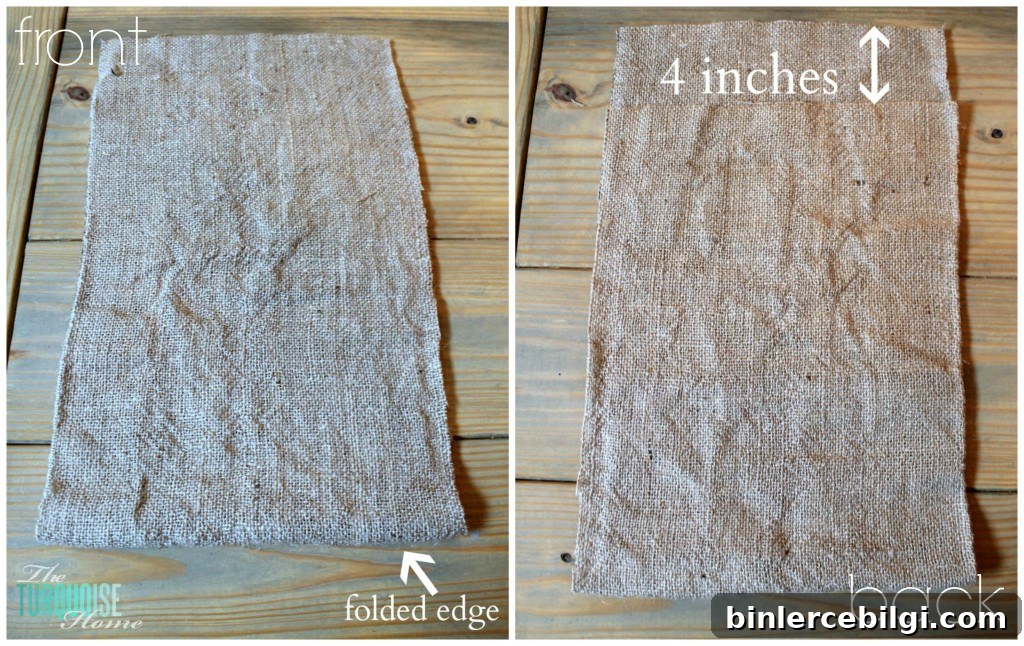
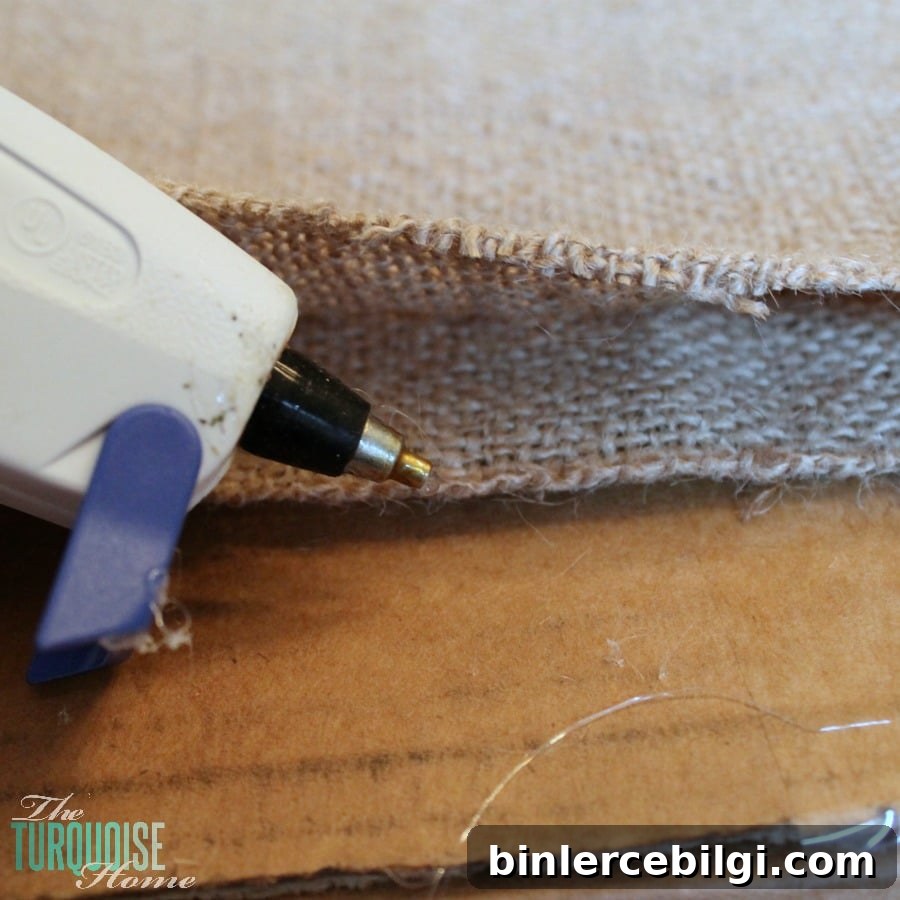
For a no-sew finish, use a hot glue gun to secure the side seams, folding the fabric so the front and back align neatly. Fold the excess at the top downward to create a pocket wide enough to slide onto your flag stand. Glue the folded edge down along the back to make a secure channel for the pole.
Step 4. Design the Monogram and Frame
Tip: If you don’t have a cutting machine, skip to the stencil instruction below — you can print and cut a template by hand.
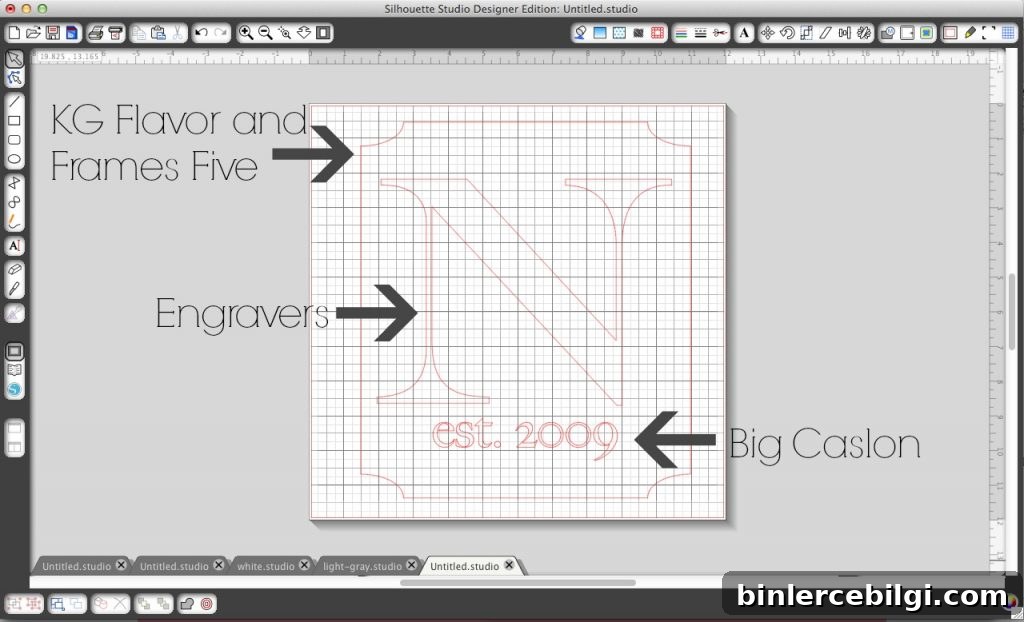
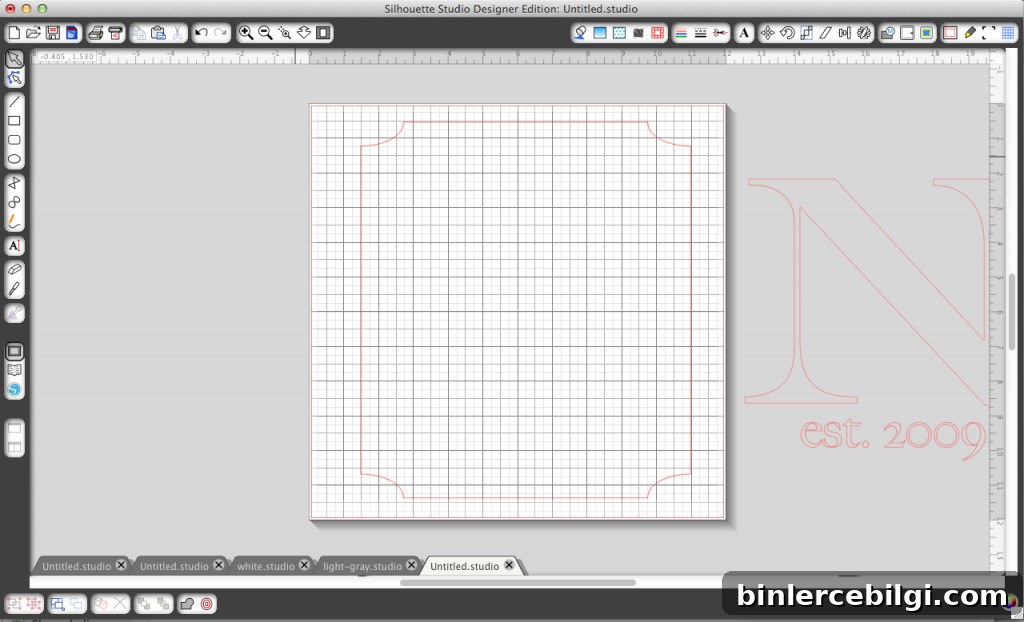
I designed a decorative frame and a single-letter monogram plus a small “est.” date to place beneath it. If you use digital tools, pick a readable, elegant font for the monogram and a complementary serif or script for any smaller text. Arrange the elements so the frame centers well on your flag.
Step 5. Cut the Frame from Fabric
Note: Hand-cutting a template is a perfectly fine alternative.
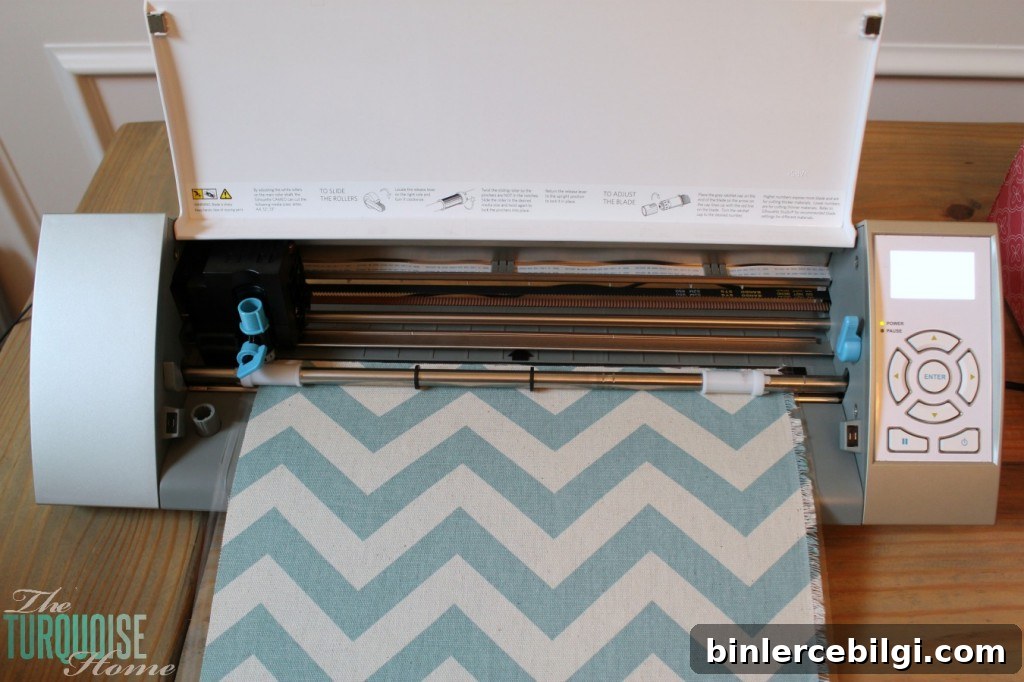
If using a cutting machine, test cut a scrap first. For thicker fabrics such as duck cloth or canvas, use a suitable blade and the machine’s thicker fabric setting. If the cut doesn’t go all the way through, finish carefully with sharp scissors to avoid frayed edges.
A separate fabric blade dedicated to cutting cloth helps maintain clean cuts and keeps other blades sharp for paper or vinyl.
Step 6. Create a Stencil for the Monogram
Alternative: Print your letter and any small text onto cardstock and cut a stencil by hand if you don’t have a cutting machine.
I used contact paper as a stencil material because it adheres to fabric and keeps paint edges crisp. When cutting contact paper on a machine, increase the blade pressure until it cuts cleanly through the backing. Cut both the letter and a thin outline of the frame so you can easily center the lettering on the fabric.
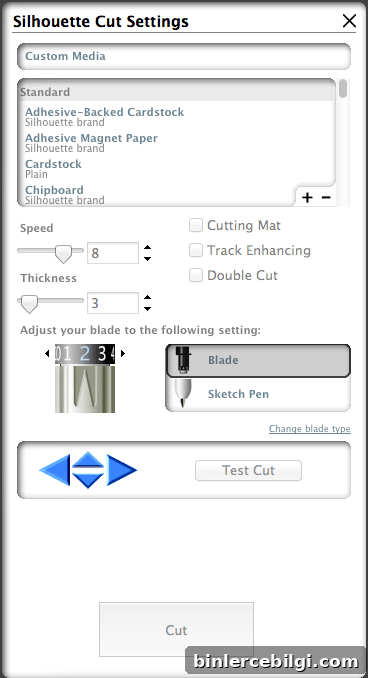
Step 7. Paint the Monogram onto the Fabric
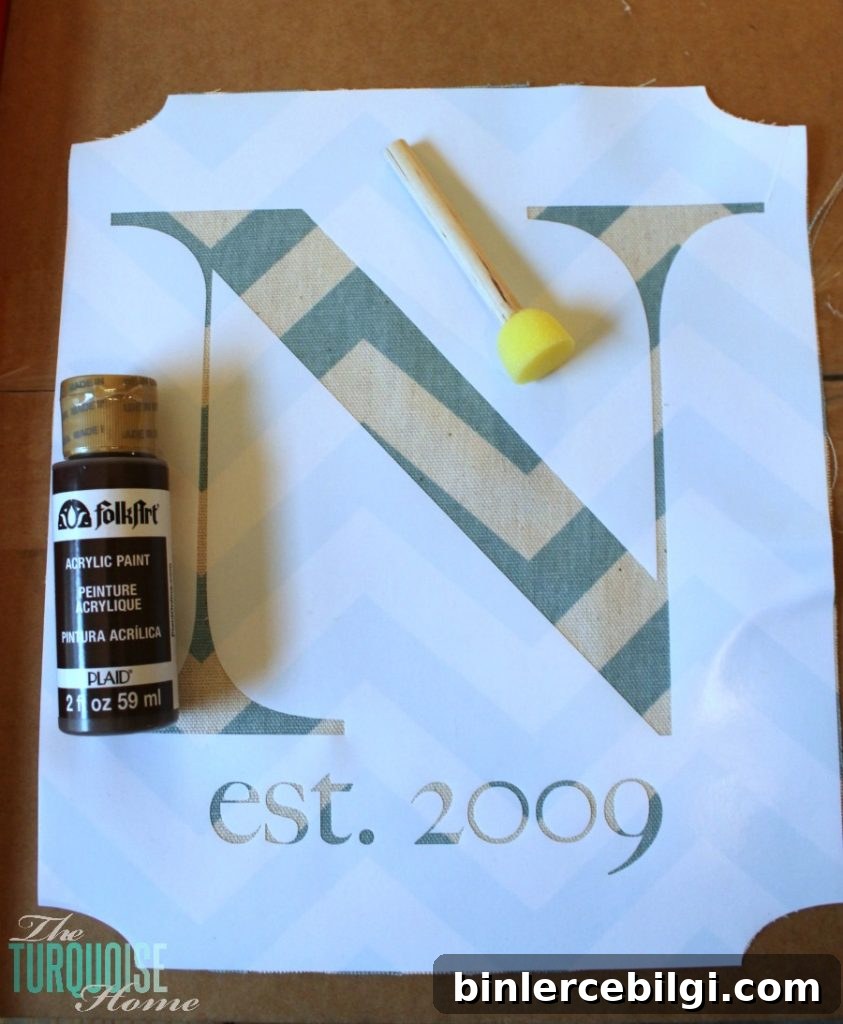
Apply the stencil to the flag, making sure it is flat and centered. Using a spouncer or stencil brush, dab paint in an up-and-down motion to avoid bleeding under the stencil. Choose a craft paint color that contrasts well with your background — I used a warm brown for a natural, classic look. Allow the paint to dry completely before removing the stencil.
Step 8. Adhere the Fabric Frame and Monogram
Attach the cut fabric frame or appliqué to the burlap using an outdoor-safe adhesive like Mod Podge formulated for exterior use. Smooth out any bubbles and press firmly so the edges are well-adhered. Let the adhesive cure according to the product instructions before handling further.
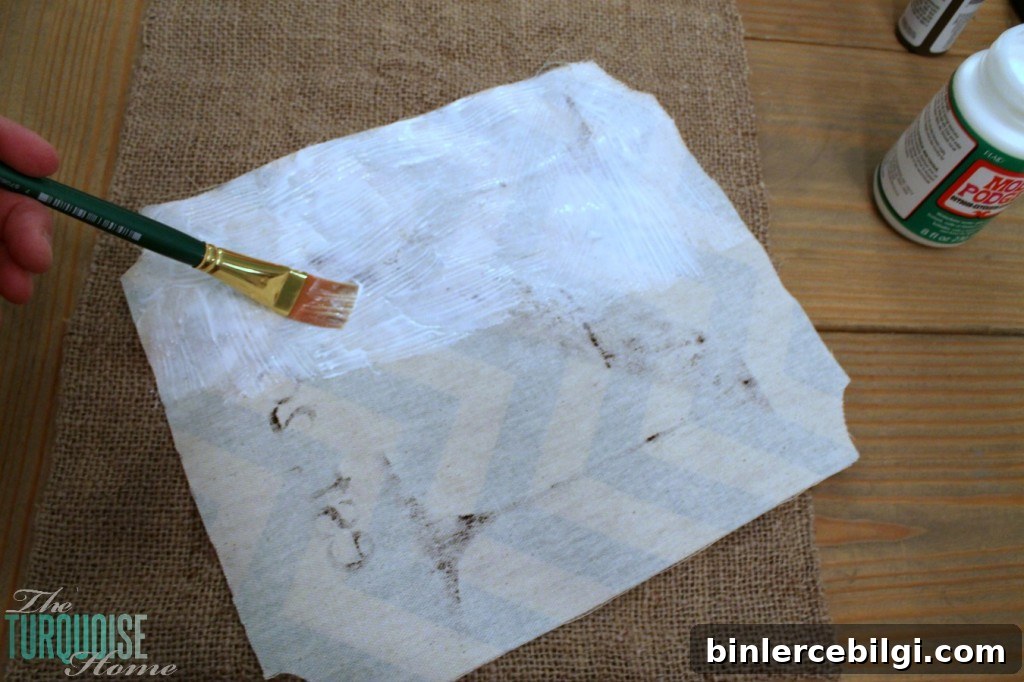
Step 9. Seal the Finished Flag for Outdoor Use
To protect your flag from moisture and sun, spray it with a clear outdoor sealer in a matte finish. Apply several light coats outdoors on a dry, windless day, allowing each coat to dry before applying the next. Once sealed and fully cured, your flag will be ready to display.
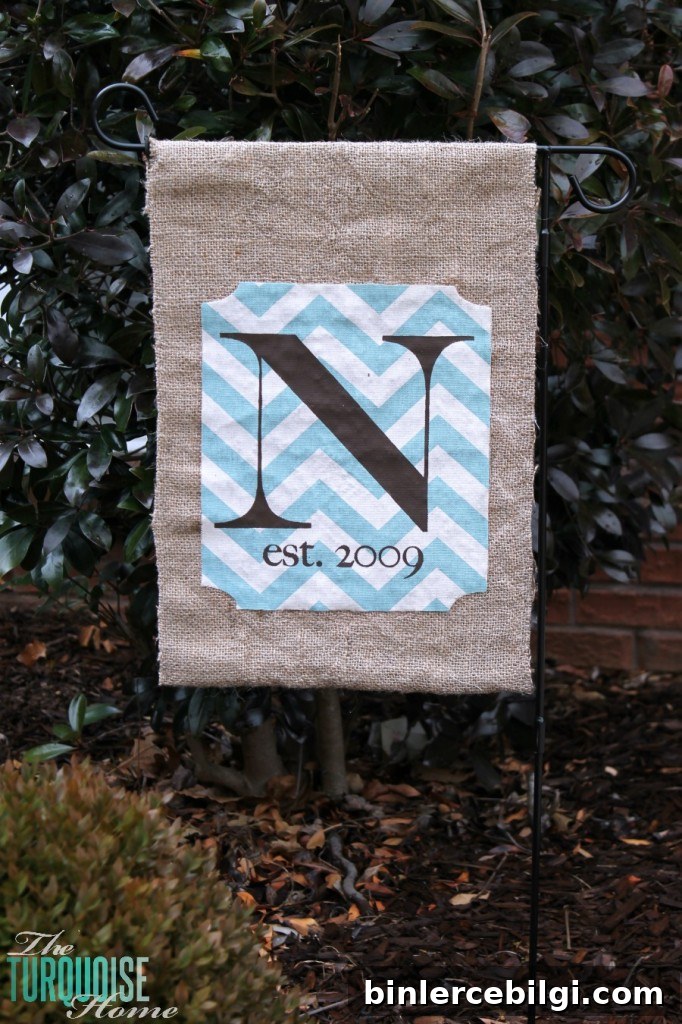
This was my first garden flag project and I was really pleased with the result. The monogram adds personality without being fussy, and the no-sew construction keeps the process fast and beginner-friendly.
Do you enjoy garden flags? How would you personalize one for your home?
More Posts You Will Love:
- Spring Favorites Free Printable
- 5 Craft Supplies to Throw Away Today!
- DIY Chinoiserie Egg Wreath