
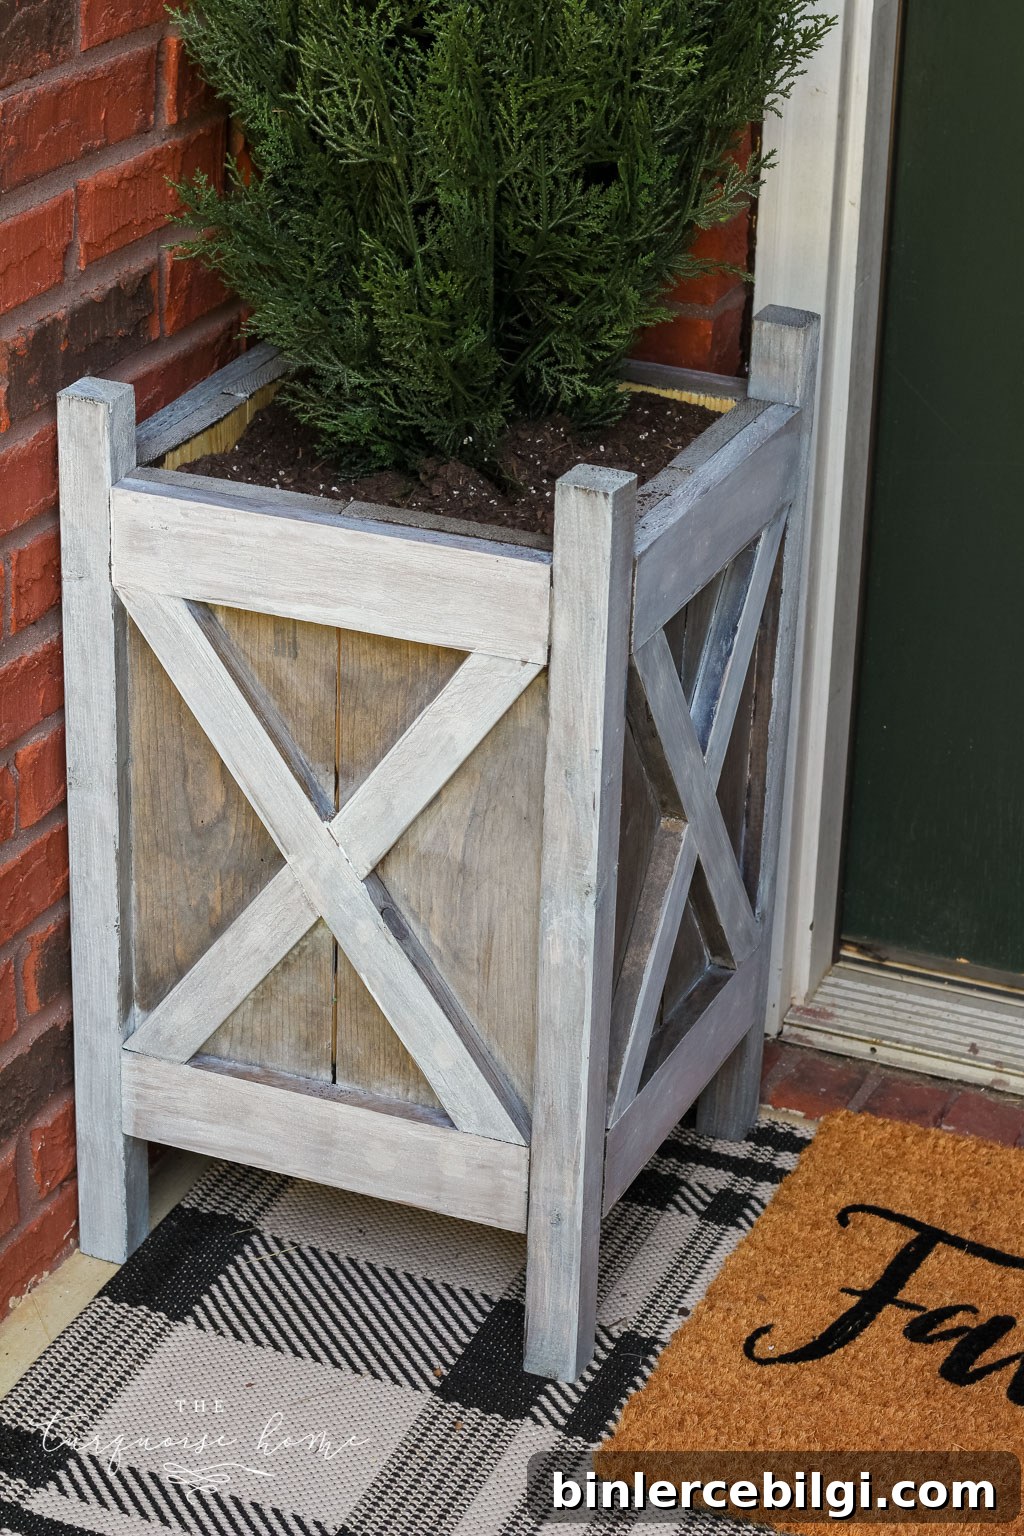
Learn an easy method to create a beautiful gray-wash finish on raw wood using a simple paint-and-water mixture. This quick technique works on planters, furniture, and other wooden projects—five easy steps and you’re done.
A little while back I made some DIY wood planters and only finished one enough to photograph. The other sat half-done until I needed them for my fall home tour—sometimes a deadline is the best motivation for a chronic procrastinator! I wanted a soft, weathered look for the planters that still showed wood grain and warmth, so I combined stain and a watered-down white paint to achieve a gray-wash effect. It’s fast, forgiving, and works on most exterior and interior wood pieces.
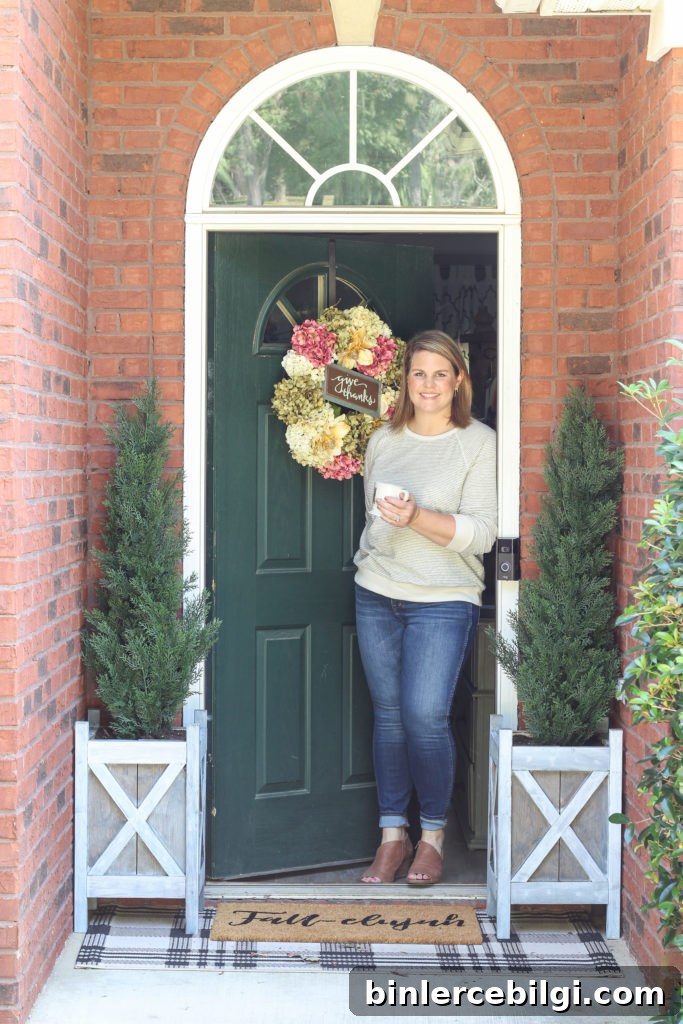
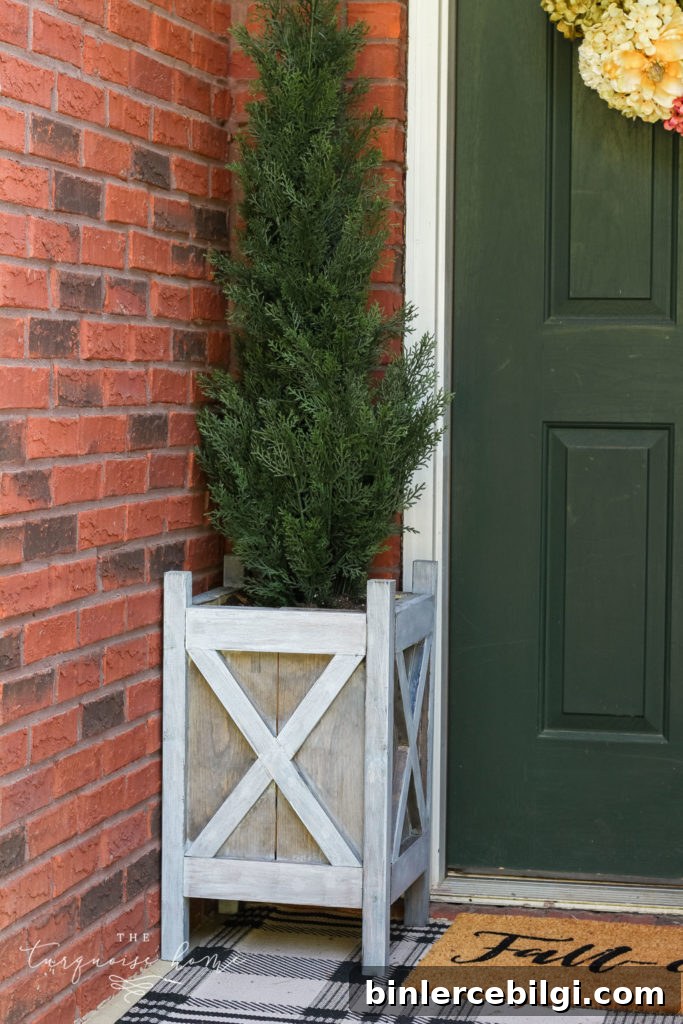
If you want gentle color with visible grain and a weathered farmhouse vibe, gray-washing is a great choice. Below I share the supplies I used and the exact step-by-step process so you can reproduce the result on your own projects.
What You’ll Need for DIY Gray Wash Wood Technique
- Dark wood stain (I used a dark walnut tone)
- White latex paint (a neutral white creates the soft gray tone when mixed with stain)
- Mixing container or small bucket
- Paint brush for applying the paint wash
- Sponge brush or disposable brush for applying stain
- Lint-free rags for wiping off excess paint
- Outdoor sealer if your finished piece will be exposed to weather
How to Apply DIY Gray Wash Wood
This technique is refreshingly simple, but the small details make a big difference in the final look. Work in manageable sections, follow the stain and sealer instructions, and test the paint-to-water ratio on a scrap piece of wood first if you’re unsure.
Step 1. Stain your wooden piece.
Choosing a darker stain gives the washed effect more depth. Apply the stain evenly across the wood following the manufacturer’s directions—brush or wipe it on, and make sure you get into any grooves or joints. Dark walnut or espresso-colored stains work particularly well for a classic gray-wash outcome.
Step 2. Let the stain dry fully.
Drying times vary by product and temperature, so allow the stain to cure according to the can’s instructions before moving to the next step. Rushing this part can cause uneven absorption of the paint wash and affect the finished look.
Step 3. Make the paint-wash mixture.
In a container, mix about 50% white latex paint with 50% water and stir until smooth. This creates a translucent wash that lets the stain show through while toning it down to a gray finish. If you prefer a subtler or stronger effect, adjust the ratio slightly—more water for a subtler veil, more paint for greater coverage. Test the mixture on scrap wood to confirm the look before you start.
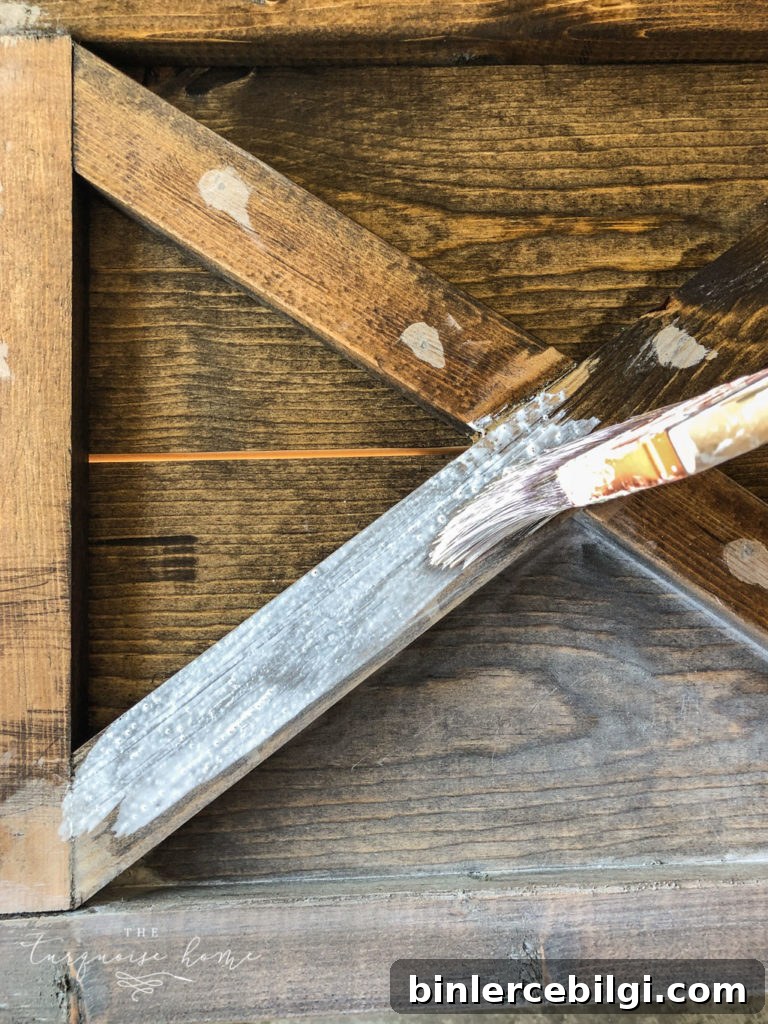
Step 4. Brush the paint mixture over the stained wood.
Work in small sections so the wash doesn’t begin to skin over before you can wipe it. Apply the wash with a brush, spreading it evenly and following the grain. Keep your strokes light—this is meant to tint the stain, not fully cover it.
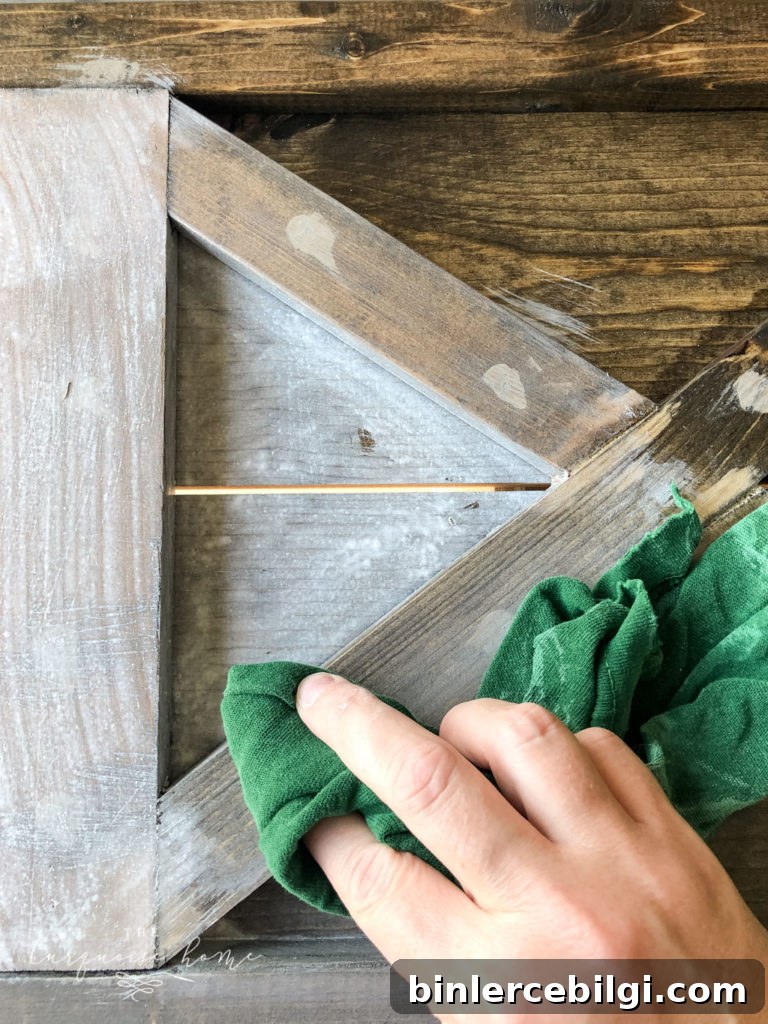
Step 5. Wipe off the paint mixture after about 30 seconds.
Use a lint-free rag to lift the excess wash while it’s still wet. Wiping quickly prevents the paint from building up and preserves the grain and depth from the stain. If you accidentally leave too much paint, you can lightly sand or reapply a diluted stain to restore contrast.
Step 6. Repeat until the entire piece has a balanced gray-wash.
Continue applying the wash and wiping it off section by section until the whole surface reads as a cohesive gray wash. Step back occasionally to view the piece from a distance and ensure the tone is even. You can always build more layers for a deeper effect—just rinse and re-wipe as needed to maintain texture.
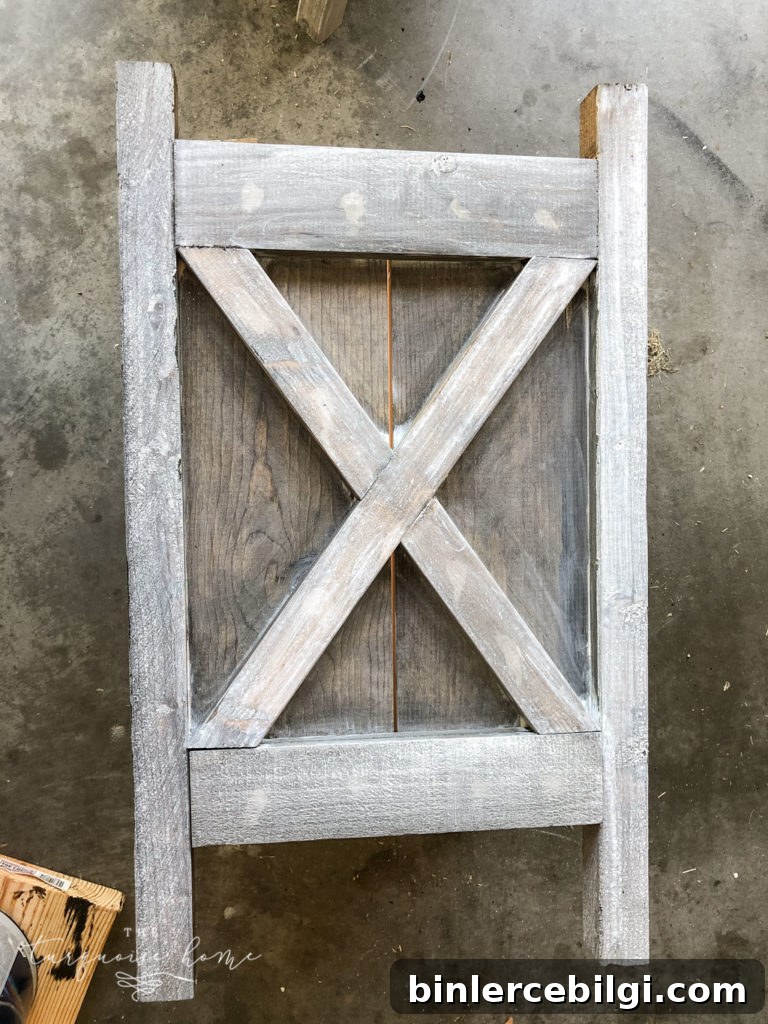
Once dry, protect any outdoor pieces with an appropriate exterior sealer to extend the finish’s life. For indoor furniture, a clear topcoat will add durability while keeping the matte, weathered look. Small details—like painted accents or filled nail holes—can be left visible or blended in depending on your aesthetic. On my planters, I painted the X-shaped accents with the same diluted paint but didn’t wipe them off; that made those areas stand out more and created a nice contrast with the gray-washed surfaces.
This simple gray-wash method is a great way to give new wood a lived-in, vintage feel without complicated products or techniques. It’s versatile, quick, and ideal for planters, garden furniture, signs, and small accent pieces. Enjoy the process and tweak the ratios and layers until you get the exact look you want.
More Posts You Will Love:
- 5 Easy Steps to Stain an Outdoor Structure
- How to Style a Console Table Behind a Couch (4 ways!)
- Butler’s Pantry Ideas: 10+ Beautiful And Functional Designs
- Sherwin Williams Extra White (SW 7006)
- How To Decorate With Ginger Jars