
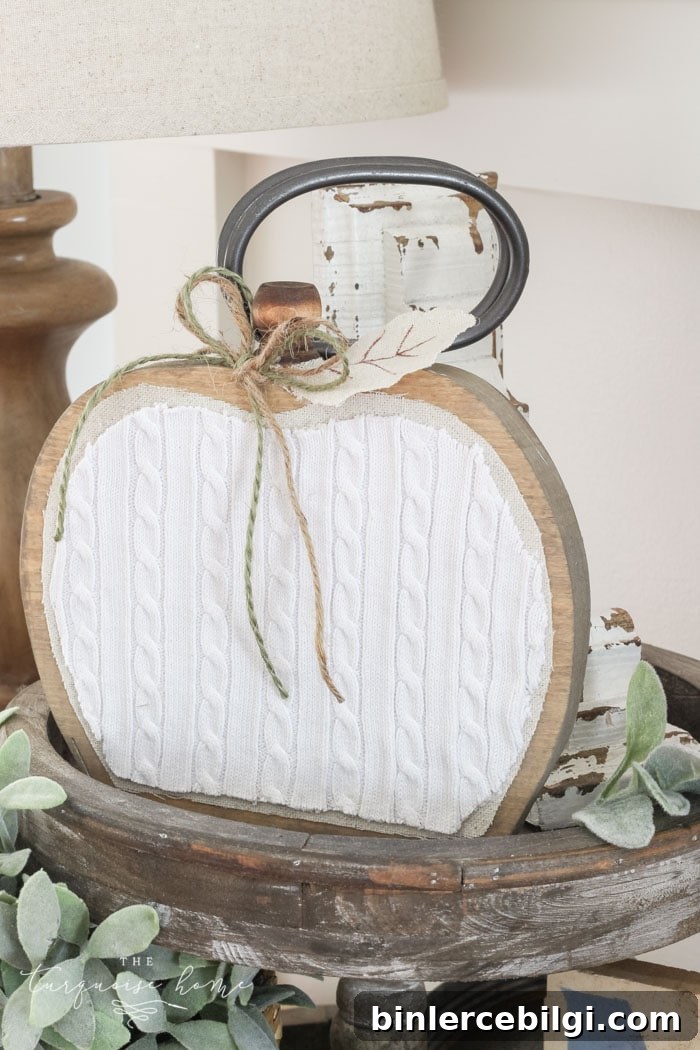
Make a simple farmhouse-style wooden pumpkin from scrap wood and craft materials you already have at home — it’s charming and easy!
If you have leftover boards, fabric scraps, or an old sweater tucked away, you can transform those bits into cozy farmhouse wooden pumpkins that are perfect for autumn decor. These rustic pumpkins look great on a mantel, on a shelf, or grouped in a vignette for a warm seasonal touch.
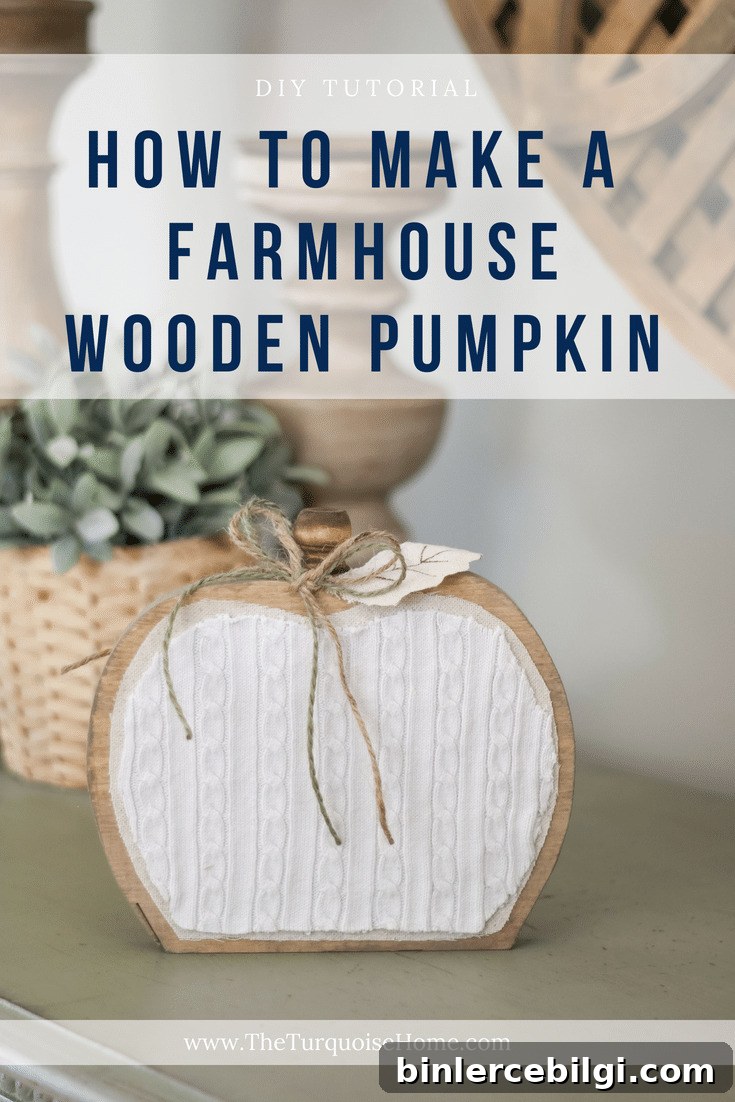
I’m a sucker for little wooden pumpkins — they add a subtle fall vibe without being overly whimsical. Even better, this project can be made using supplies you already own, so it’s budget-friendly and satisfying to create.
Wooden Pumpkins for Purchase
If you’d rather skip the crafting, there are many ready-made farmhouse wooden pumpkins available for purchase. They’re an easy way to get the look if you’re short on time or tools.
Supplies & Tools Needed to Make Wooden Pumpkins
- 1″ x 8″ board — about 1 foot long (or use whatever scrap wood you have)
- Printable template (optional — use a template or sketch your own pumpkin shape)
- Mod Podge or white craft glue
- Sandpaper
- Wood stain and brush (any warm wood tone you like)
- Burlap or drop cloth (or another neutral fabric)
- Cable knit sweater or textured fabric for extra cozy texture
- Finial or small wooden knob to serve as the pumpkin stem (size to suit your pumpkin)
- Hot glue gun and glue sticks
- Jigsaw (or a coping saw for more control)
Steps to Create Wooden Pumpkins
1. Draw the pumpkin outline on your board.
Trace a pumpkin shape on your board — you can freehand it or use a template. Make sure the bottom edge is straight or aligns with the board edge so the pumpkin will sit flat.
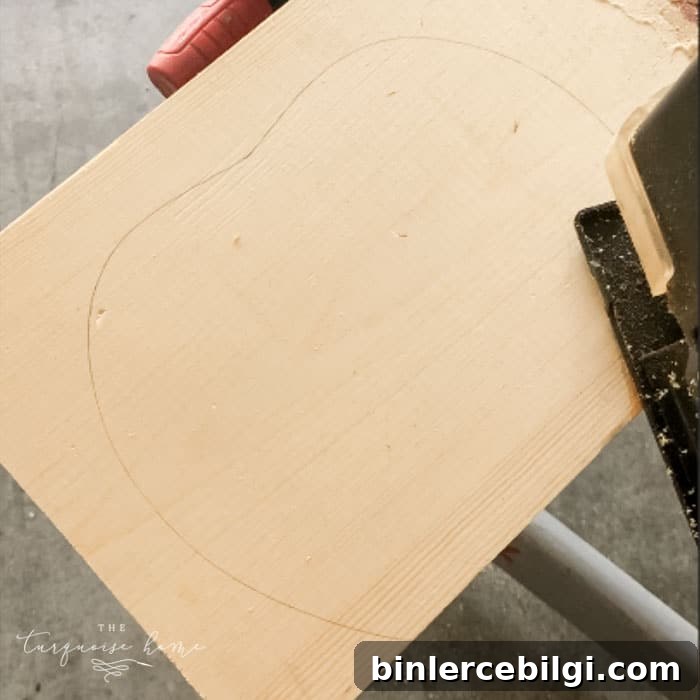
2. Cut the pumpkin outline with a jigsaw
Carefully cut along your outline. Take your time around curves and use sandpaper to smooth any rough or uneven edges once the piece is cut out.
3. Stain the pumpkin
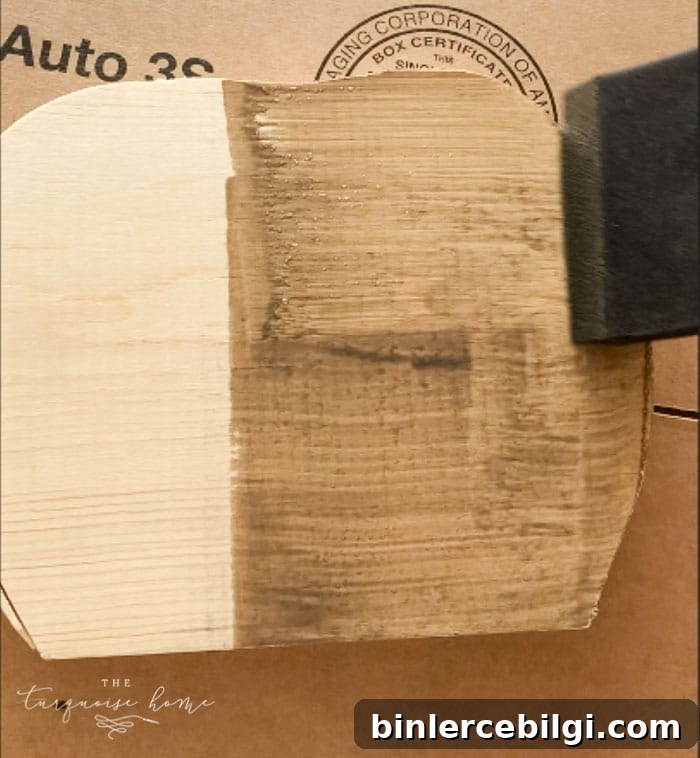
Apply the wood stain of your choice evenly and let it dry completely. A thin coat often gives the best, most even coverage. Allow drying time according to the stain instructions before moving on.
4. Cut the fabric to fit the pumpkin
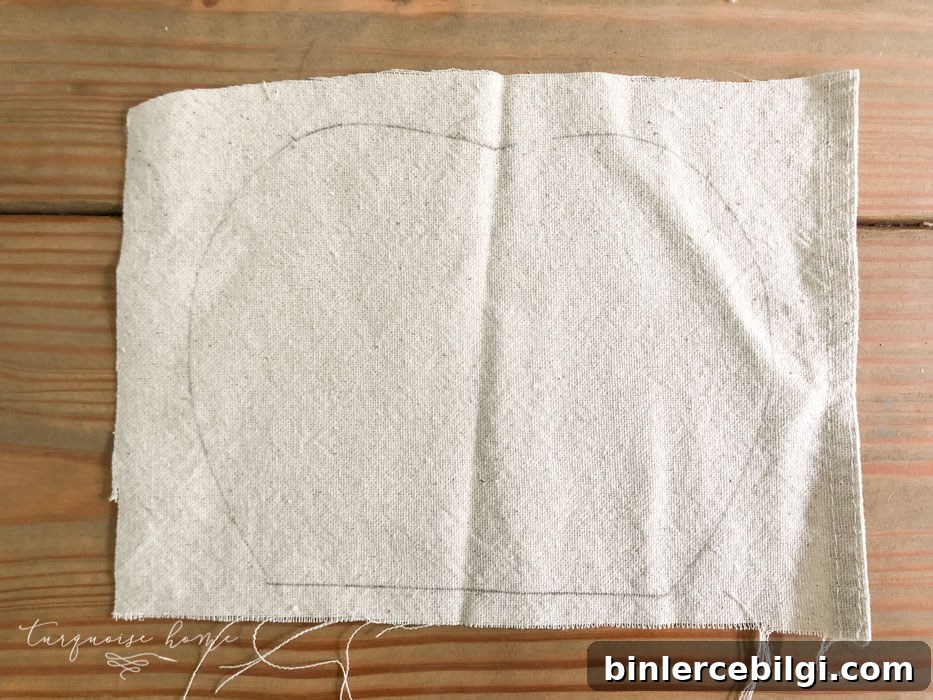
Use the wooden pumpkin as a pattern to trace the shape onto your burlap, drop cloth, or sweater. Cut the fabric slightly smaller than the wood shape so it fits comfortably inside the frame and doesn’t hang over the edges.
5. Glue the fabric to the wood with Mod Podge
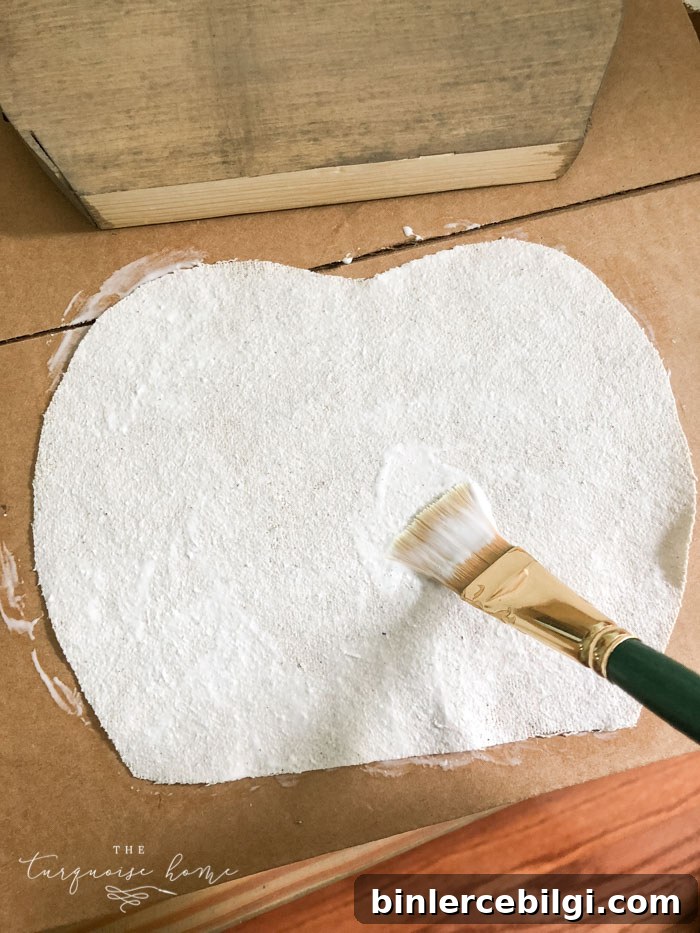
Brush Mod Podge on the back of the fabric, press it onto the stained wood, and smooth out any wrinkles or bubbles. You can apply a thin layer of Mod Podge over the top to seal if desired.
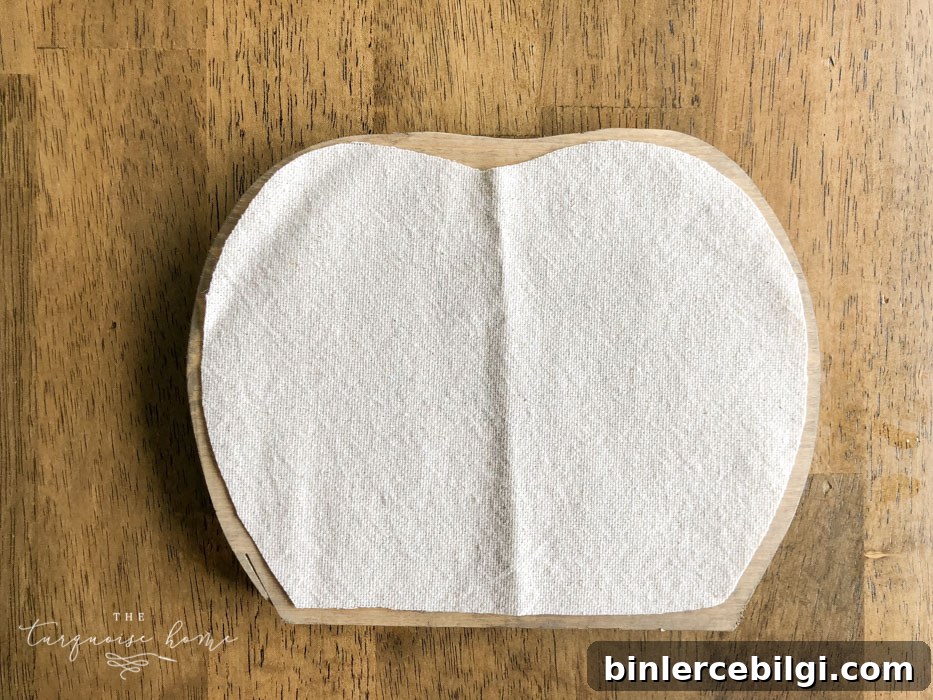
6. Repeat with the sweater or textured fabric
For a layered look, cut the sweater fabric slightly smaller than the burlap layer and adhere it with Mod Podge or hot glue. The textured knit adds a cozy, unexpected element to the pumpkin.
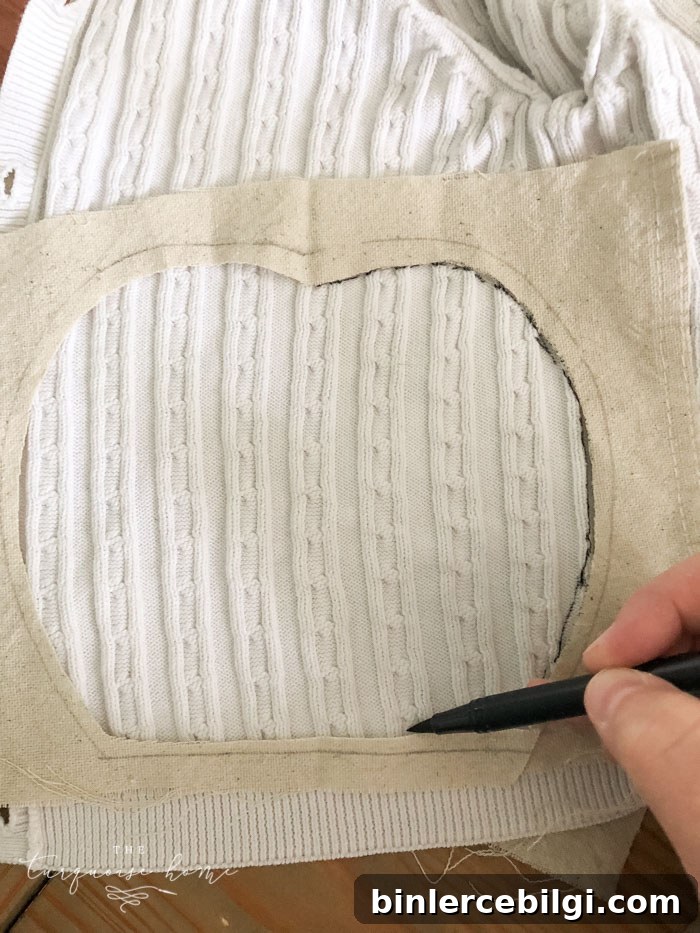
7. Stain the finial and attach as the stem
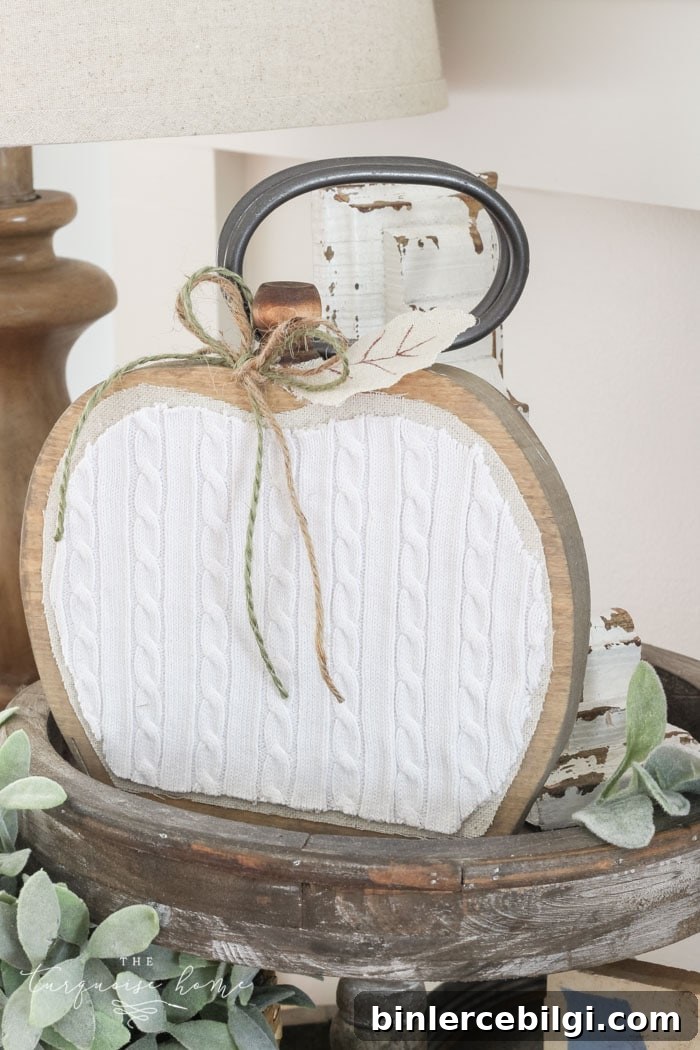
Finish a small finial or wooden knob with a matching stain and attach it to the top center with hot glue — this becomes the pumpkin stem. Press firmly and let the glue set.
8. Add finishing embellishments
Add a jute bow, a fabric leaf cut from the drop cloth, or hand-drawn veins with a marker for extra detail. Little touches like these make each pumpkin unique.
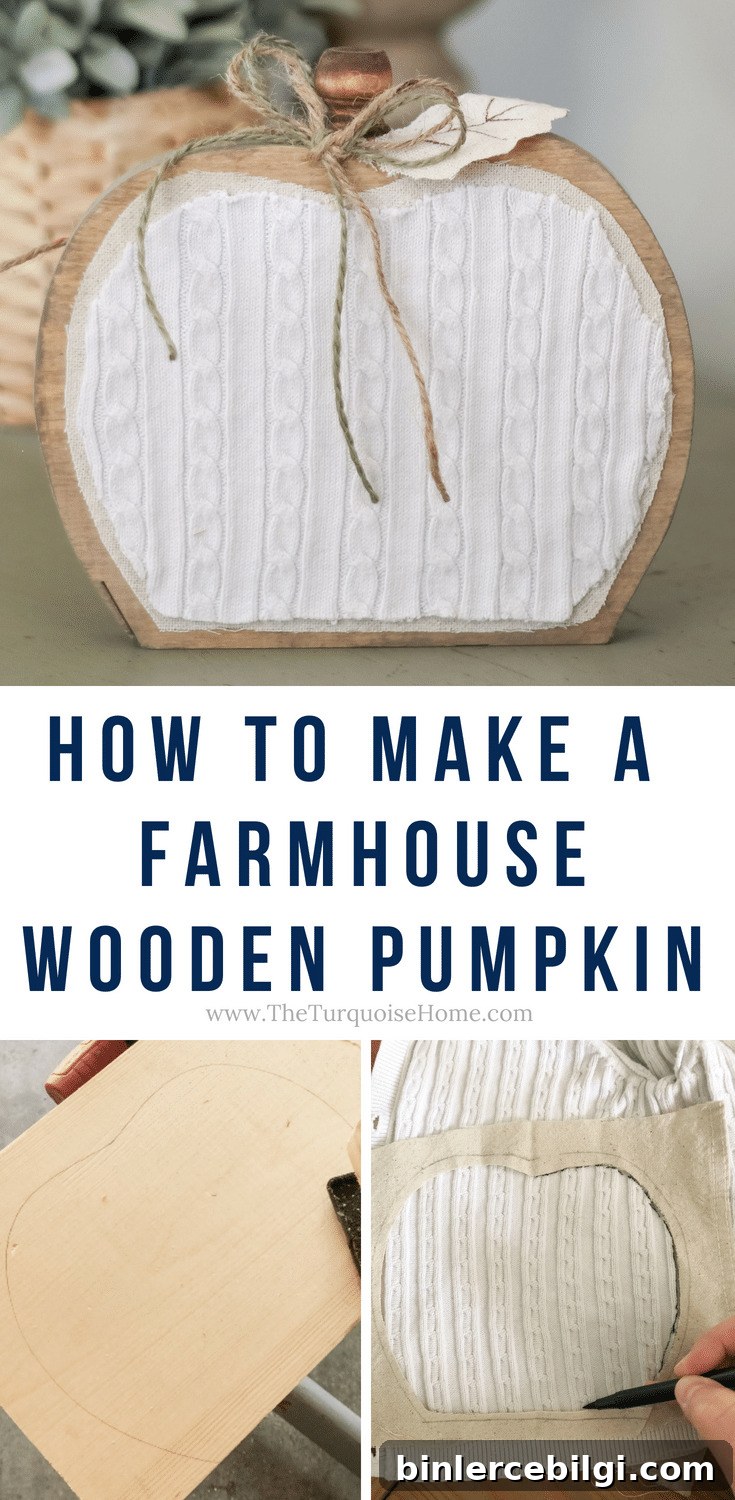
That’s it — your farmhouse wooden pumpkin is finished! These make great seasonal accents, thoughtful gifts, or extras to style with other fall decor. If you try this project, take a photo and share it with friends — it’s such a satisfying, low-cost craft.
More pumpkin-related ideas
- DIY Lighted Pumpkin Candy Holder
- Mason Jar Lid Pumpkin Craft
- “Scrappy” Pumpkin Fall Decor
- Pumpkin Chocolate Chip Muffins Recipe
More posts you might enjoy
For additional fall decorating inspiration, consider browsing posts on cozy pillow ideas, printable fall art, wreath projects, outdoor fall decor, tablescape settings, and simple seasonal updates. These projects pair nicely with handmade wooden pumpkins for a complete autumn look.